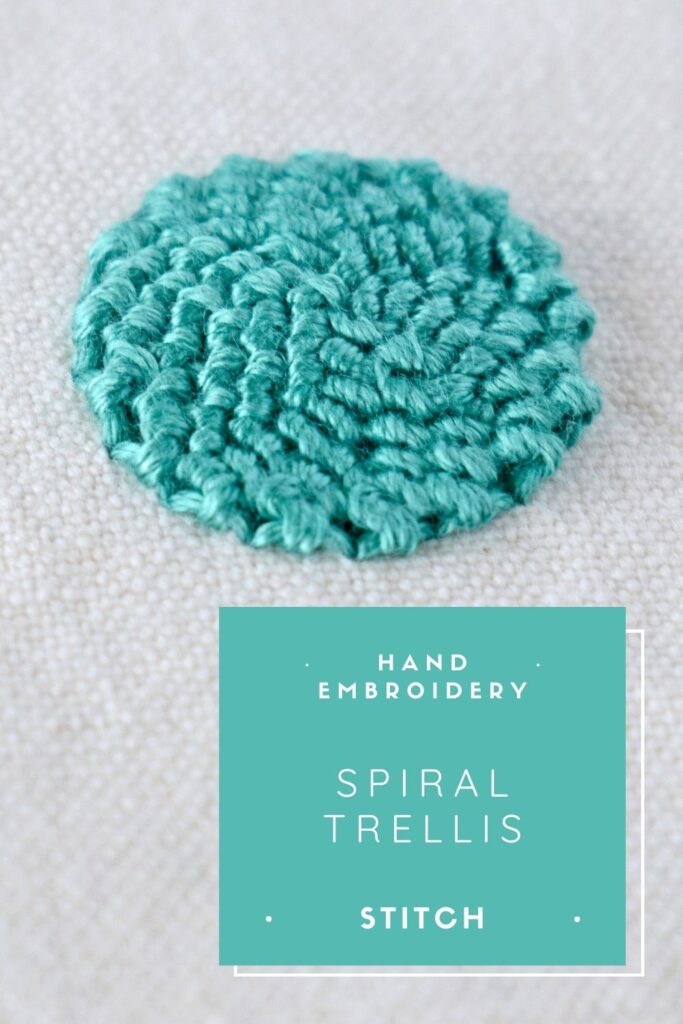
Spiral Trellis Stitch
Spiral Trellis Stitch is one of the variations of the Trellis Stitch from the family of knotted stitches. The embroidery technique is similar to that of Coral Knots. By using a similar knotting technique, this stitch will create a layer of laced fabric that is detached from the fabric (except the outline of the stitch).
On the reverse side of the fabric, only the outline of the shape and anchoring stitches of additional lengths of thread are visible.

Applications of the Spiral Trellis Stitch
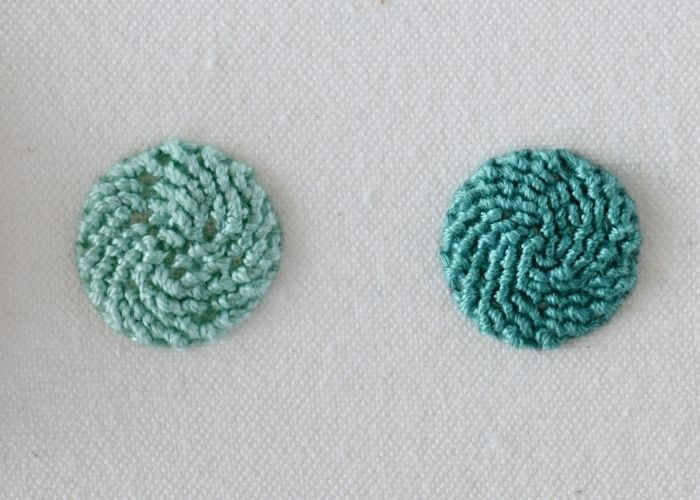
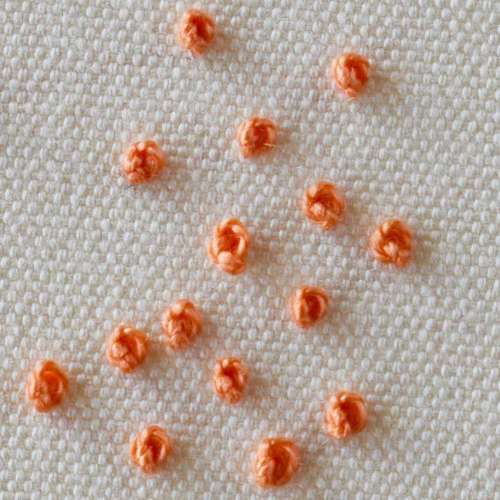
Spiral Trellis Stitch is a highly decorative filling technique for rounded shapes. It is widely used in Stump work embroidery to build 3D shapes and in traditional embroidery styles.
In decorative surface embroidery, this technique is used in botanical designs to embroider flowers, berries, and other rounded objects.
Additionally, you can use this embroidery technique to mend clothes, as the dense filling will cover up stains or holes in the fabric and add a decorative touch to the damaged garment.
More stitches from the knot stitch family
Learn how to embroider Spiral Trellis Stitch
Follow the step-by-step tutorial with detailed photos below, and you will learn the Spiral Trellis Stitch quickly. If you are a visual learner, watch a video lesson in the tutorial or on the Practical Embroidery YouTube channel to learn this hand embroidery stitch faster.

How to embroider Spiral Trellis Stitch
Step-by-step hand embroidery tutorial
1. Outline the circle with a Backstitch. Alternately, you can use a Chain Stitch to form the outline and a base for knotting.

2. Take the thread to the surface between two backstitches and change the needle to a blunt tapestry needle.

3. Slide the needle under the first outline stitch. The needle point should be outside of the circle. Wrap the thread over and under the point of the needle, then slowly pull the needle through.

4. Pull to tighten the loop. Then, slide the needle under the next outline stitch to work the next knot, making a knot for every stitch in the outline.

5. After the first row is worked all the way around, start working into the previous row of stitches. Pass the needle between two knots, wrap the thread over and under the point of the needle. Work the rest of the stitches into the loops between the knots of the previous row.

6. After two rows are done, start decreasing stitches, as otherwise you will end up with a tube, not a circle. To do this, simply skip a stitch. I skipped two stitches in a row (on the opposite sides).

7. Keep working the rows of stitches into the center, decreasing in every row. You’ll find you need to decrease more frequently as the circles get smaller. It also depends on how puffy your circle has to be, the size of the circle you are making, the thread size, and the stitch tension.

8. When you reach the center of your Spiral Trellis Stitch and can’t fit in another stitch, push the needle through the loop between the opposite stitches, down into the center of the circle, and through the fabric. Secure the thread on the back.

Video tutorial
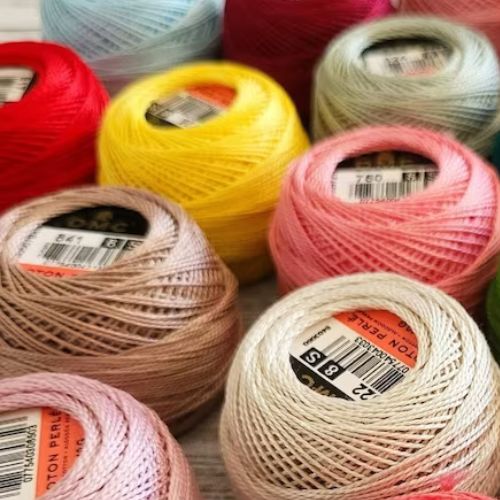
Tools and materials I used for this sampler
Disclaimer. To cover the cost of creating free embroidery patterns and video tutorials for this blog, I do sometimes link to products. Please assume these links are affiliate links. If you choose to buy through my links then THANK YOU – it will make it possible for me to keep doing this.


What’s next?
If you’re in the mood to explore more hand embroidery stitches, check out the Stitches and Techniques page for the list of other fantastic stitches available on my blog. From timeless classics to modern twists, a whole world of stitches is waiting for you to explore and master. So, grab your hoop and needle, and let’s stitch our way to creative bliss!
Don’t miss a thing!
Follow me on YouTube, Instagram, Facebook, Flipboard, and Pinterest. Or why not subscribe to Practical Embroidery newsletter and get embroidery tips straight to your inbox every few weeks?
Need More Guidance?
The top 10 hand embroidery stitches to learn is a free online course created for beginners.