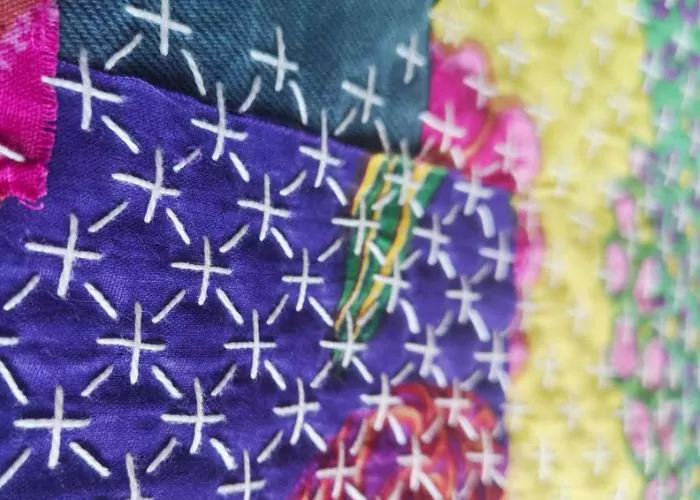
Stepped Running Stitch Hand Embroidery
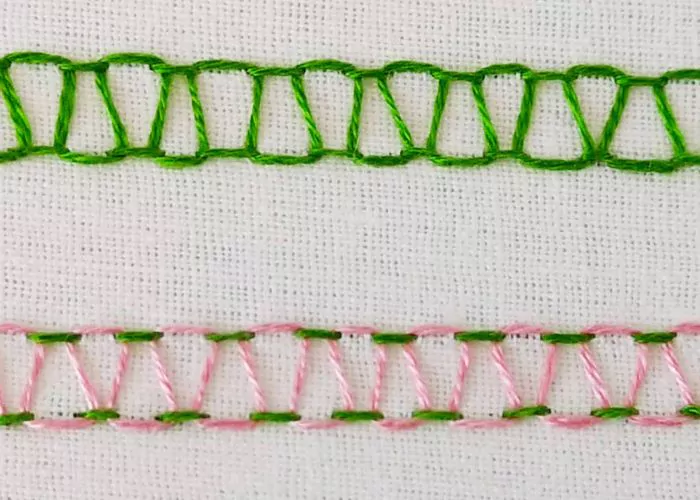
Stepped running Running Stitch Hand Embroidery is a decorative variation of the Running stitch. It combines the foundation stitch (running stitch) and threading.
This simple yet very decorative hand embroidery stitch is excellent for borders, bold outlines, or lettering.
Embroidery Tips
- You can embroider the stepped running stitch in a single color – create a single-color design or choose two contrasting colors to create exciting patterns.
- The distance between two parallel lines of the running stitches and the stitches’ size will define how dense the stitch will be.
- Play with colors and see what beautiful color combinations you can create with this simple stitch!
- Use a blunt needle, like a tapestry needle (or the back of the needle), for threading. Be careful not to snag the running stitches or the fabric under and not to hurt your fingers if you use the eye of a regular embroidery needle.
More Stitches From The Running Stitch Family
You will learn more about various stitches from this stitch group in the article “Running stitch and its variations“.
Learn how to embroider Stepped Running Stitch
Follow the step-by-step tutorial with detailed photos below, and you will learn the Stepped Running Stitch quickly. If you are a visual learner, watch a video lesson in the tutorial or on the Practical Embroidery YouTube channel to learn this hand embroidery stitch faster.

How to embroider Stepped Running Stitch
Step-by-step hand embroidery tutorial
Instructions
- First, embroider the line in a simple running stitch.
- Then, embroider one more parallel line of running stitch. The running stitches must be placed in this order – a stitch in one line – a gap in the second line.
- Now, make threading. Work from right to left. Come up with a needle under the first stitch of the second row. Pass the needle under the first stitch of the first row from down upwards.
- Pass the needle under the second stitch of the first row from the top downwards. Then – under the first stitch of the second row from the top downwards.
- Come under the second stitch of the second row from down upwards. Then, under the second stitch of the first row from down upward.
- Continue threading the stitches this way until all the stitches are threaded.
Video tutorial
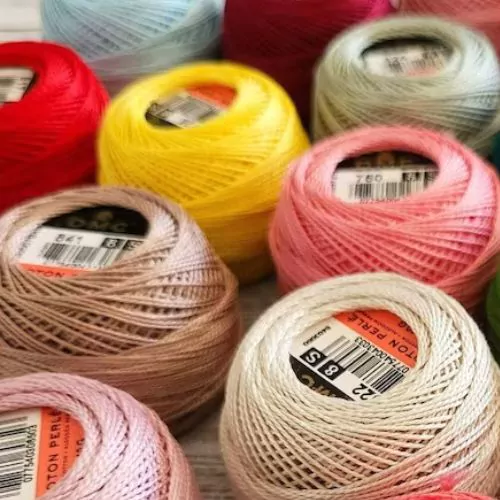
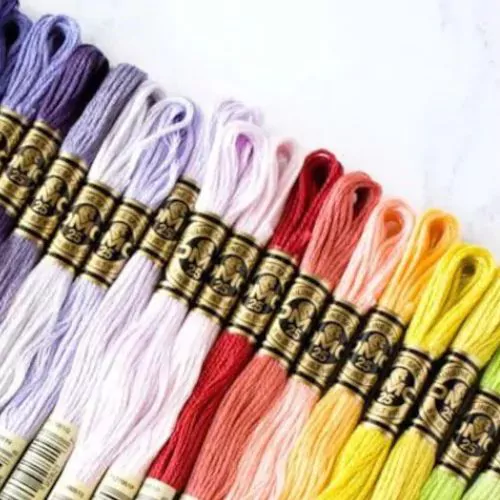
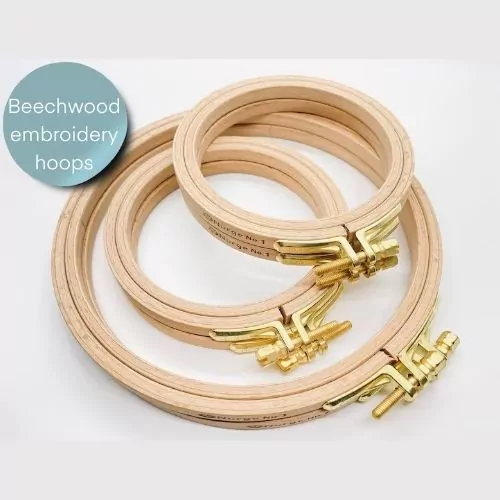
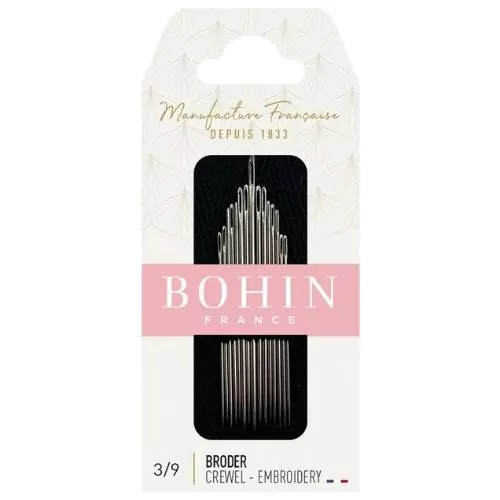
Tools and materials I used for this sampler
Disclaimer. To cover the cost of creating free embroidery patterns and video tutorials for this blog, I do sometimes link to products. Please assume these links are affiliate links. If you choose to buy through my links then THANK YOU – it will make it possible for me to keep doing this.

What’s next?
If you’re in the mood to explore more hand embroidery stitches, check out the Stitches and Techniques page for the list of other fantastic stitches available on my blog. From timeless classics to modern twists, a whole world of stitches is waiting for you to explore and master. Decorative stitches, techniques for filling and outlines, borders or mending – all in one place!
Don’t miss a thing!
Follow me on YouTube, Instagram, Facebook, Flipboard, Telegram, Reddit or Pinterest. On the other hand, you can subscribe to the Practical Embroidery newsletter and get embroidery tips straight to your inbox every week!
Need More Guidance?
The top 10 hand embroidery stitches to learn is a free online course created for beginners.