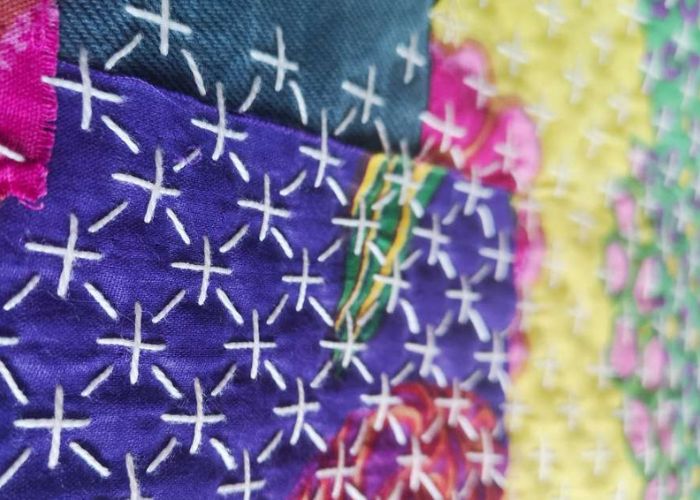
Swiss Darning Stitch
The Swiss Darning Stitch is a mending technique, ideal for creating both invisible and visible mends on plain knitted fabric, called stockinette stitch.
There are two ways to make Swiss Darning: with pins (as I demonstrate in my step-by-step tutorial below) or with vertical foundation strands, which create temporary support for new stitches. Take a look at Donna Wilson’s tutorial for this method
Other names of the stitch
Swiss Darning and Duplicate Stitch are the names that knitters and menders use interchangeably. Actually, it is not totally correct. I use the term ‘Duplicate Stitch‘ when discussing decorating otherwise fine knitwear, and the Swiss Darning Stitch when the knit fabric has holes and you need to recreate missing pieces of the knitwear.
Surely, there is some overlap, as you will need to make Duplicate Stitches around the hole you are mending and recreate the missing stitches with the Swiss Darning technique.

")
Applications of Swiss Darning Stitch
Swiss darning is the ideal embroidery technique for invisibly mending holes in sweaters. It perfectly recreates a stockinette stitch and blends seamlessly with knitwear. Use this technique to invisibly mend fine knits or to mend and decorate woolen clothes with colorful intarsia motives.
More techniques for mending


For more mending stitches and techniques, read these articles:
Learn how to embroider Swiss Darning Stitch
Follow the step-by-step tutorial with detailed photos below, and you will learn the Swiss Darning Stitch quickly. If you are a visual learner, watch a video lesson in the tutorial or on the Practical Embroidery YouTube channel to learn this hand embroidery stitch faster.

How to Make Swiss Darning
Step-by-step hand embroidery tutorial
1. Secure the knitwear of the cork pad or mending sponge. Place a pin in each loose stitch of the knit.

2. Start with a row or two of duplicate stitches. This will reinforce the knit around the hole and make a Swiss darning patch more stable.

3. This row of duplicate stitch is the last row to duplicate. From the next row, we will have to recreate the knit.

4. To recreate the missing stitch, pass the needle inside the stitch on the pin.

5. Take the pin out and place it just above the stitch.

6. Loop the thread around the pin and place it back inside the last stitch.

7. Come up inside the next stitch on the second pin.

8. Repeat the steps to recreate the entire row of stitches. When you reach the edge of the hole, make duplicate stitches to maintain the square shape of the patch. Change the stitching direction and make one more row of Swiss darning. Make as many rows as needed to reconstruct the entire hole.

9. When you reach the last row of missing stitches, connect the stitches on the pins with open stitches at the top of the hole. Remove the pins as you go.

10. After the hole is secured, add a row or two of duplicate stitches.

11. Finally, secure the ends of the threads on the back of the knit to nicely finish Swiss Darning work.

Video tutorial
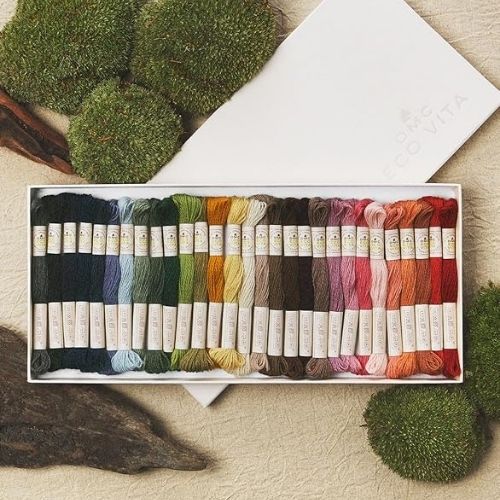
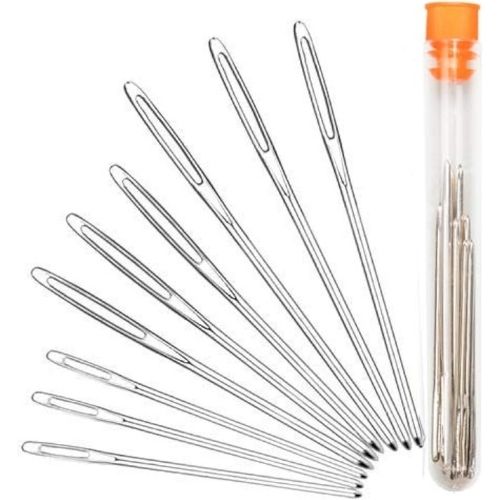
Tools and materials I used for this sampler
Disclaimer. To cover the cost of creating free embroidery patterns and video tutorials for this blog, I do sometimes link to products. Please assume these links are affiliate links. If you choose to buy through my links then THANK YOU – it will make it possible for me to keep doing this.


What’s next?
If you’re in the mood to explore more hand embroidery stitches, check out the Stitches and Techniques page for the list of other fantastic stitches available on my blog. From timeless classics to modern twists, a whole world of stitches is waiting for you to explore and master. So, grab your hoop and needle, and let’s stitch our way to creative bliss!
Don’t miss a thing!
Follow me on YouTube, Instagram, Facebook, Flipboard, and Pinterest. Or why not subscribe to Practical Embroidery newsletter and get embroidery tips straight to your inbox every few weeks?
Need More Guidance?
The top 10 hand embroidery stitches to learn is a free online course created for beginners.