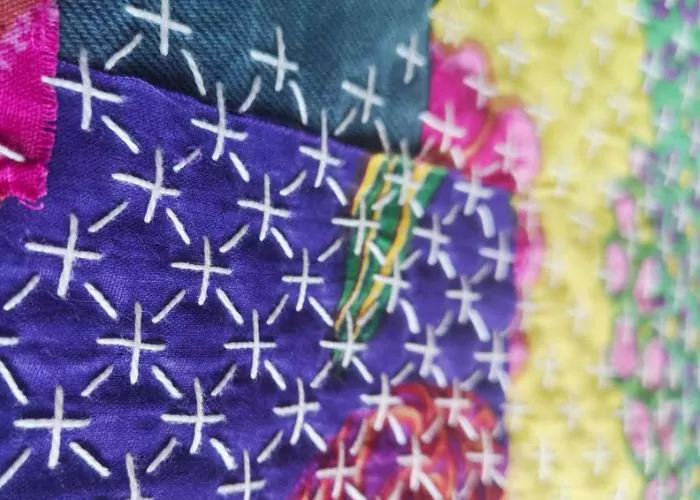

Upright Cross Stitch
Upright Cross Stitch is a simple hand embroidery technique from canvas work that resembles a plus sign. This stitch consists of one horizontal and one vertical stitch of equal length, positioned one above the other. Both horizontal and vertical stitches can be on top, but within the same design, the top stitch should be oriented in the same direction (e.g., vertical stitch on top).
This variation of Cross Stitch comes from canvas work; therefore, to embroider it, you will need to use a counted-thread fabric or mark your grid on the fabric.
Other names of the Upright Cross Stitch
The alternative names of this technique are Straight Cross Stitch and St George Cross Stitch.


Applications of the Stitch
Upright Cross Stitch is a traditional technique for dense filling. The rows of stitches are arranged as interlocking lines, so the stitches fully cover the canvas surface.
In modern surface embroidery, you can use single detached Upright Cross Stitch as decorative motifs; make powdered filling with multiple stitches scattered across the surface at various angles; make geometrical filling with interlocking or parallel lines; or embroider decorative borders with multiple rows of Upright Cross Stitch.
Upright Cross Stitch covers the fabric surface with dense stitching; therefore, you can use this technique to mend and reinforce worn-out fabrics.
Other stitches from the Cross Stitch family


Learn how to embroider Upright Cross Stitch
Follow the step-by-step tutorial with detailed photos below, and you will learn the Upright Cross Stitch quickly. If you are a visual learner, watch a video lesson in the tutorial or on the Practical Embroidery YouTube channel to learn this hand embroidery stitch faster.

How to embroider Upright Cross Stitch
Step-by-step hand embroidery tutorial
1. To embroider Upright Cross Stitch, start by marking a grid. Make the first stitch – a horizontal stitch.

2. Add a vertical stitch on top of the first stitch. The length of the stitch is the same as that of the horizontal stitch and is positioned at the center of the stitch.

3. If you want to make a light geometric filling, position the rows of stitches one above the other.

4. For a dense filling, position the rows of the stitches as interlocking lines.

Video tutorial
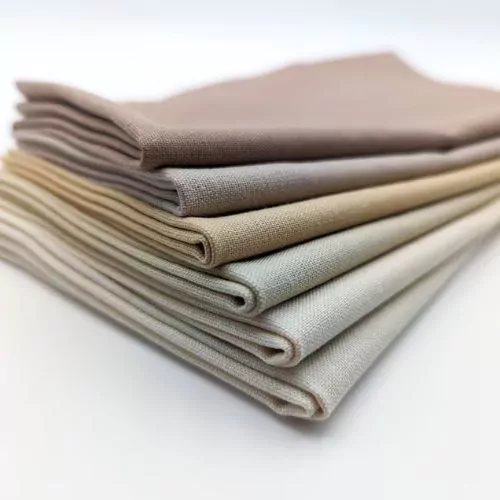
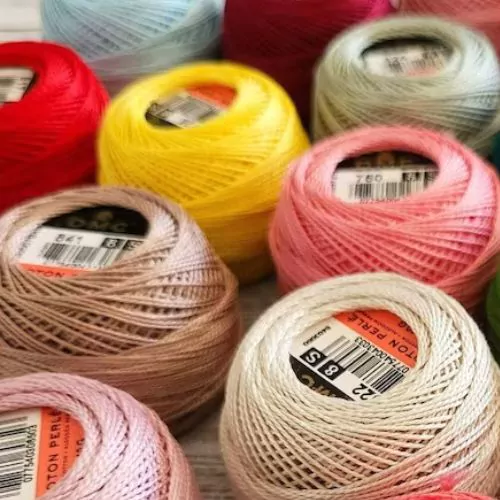
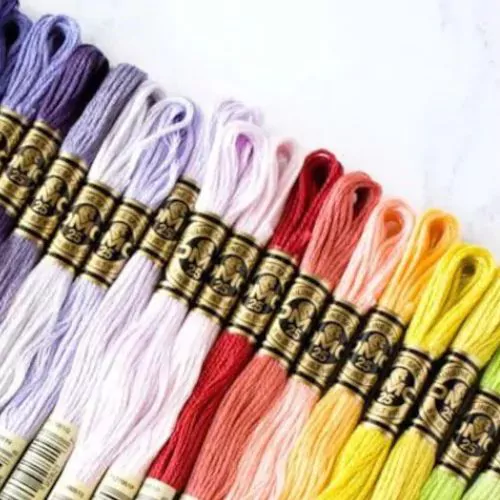
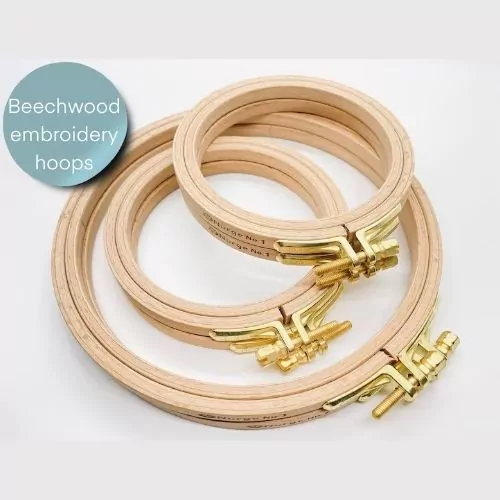
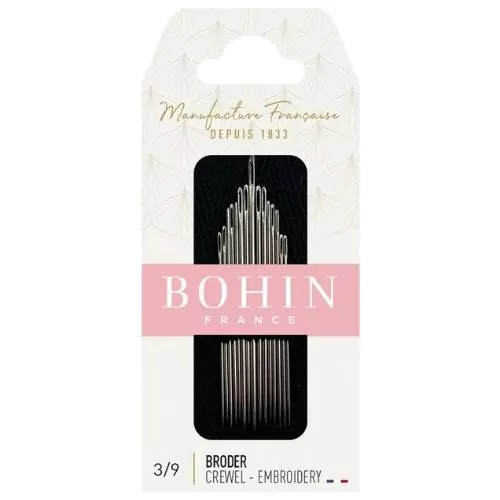
Tools and materials I used for this sampler
Disclaimer. To cover the cost of creating free embroidery patterns and video tutorials for this blog, I do sometimes link to products. Please assume these links are affiliate links. If you choose to buy through my links then THANK YOU – it will make it possible for me to keep doing this.

What’s next?
If you’re in the mood to explore more hand embroidery stitches, check out the Stitches and Techniques page for the list of other fantastic stitches available on my blog. From timeless classics to modern twists, a whole world of stitches is waiting for you to explore and master. Decorative stitches, techniques for filling and outlines, borders or mending – all in one place!


Don’t miss a thing!
Follow me on YouTube, Instagram, Facebook, Flipboard, Telegram, Reddit or Pinterest. On the other hand, you can subscribe to the Practical Embroidery newsletter and get embroidery tips straight to your inbox every week!
Need More Guidance?
The top 10 hand embroidery stitches to learn is a free online course created for beginners.