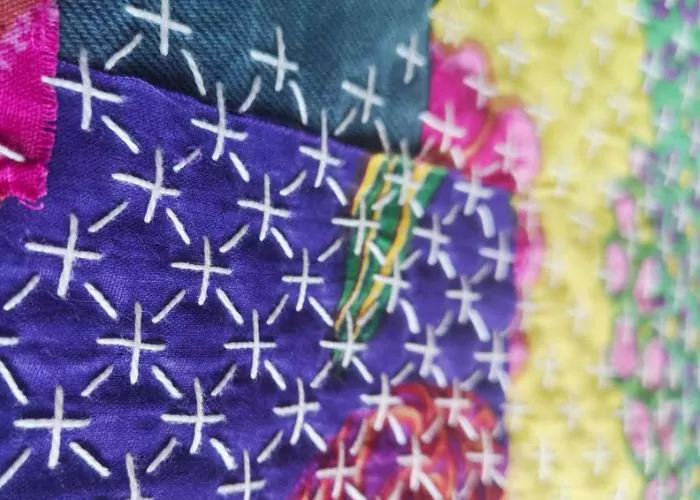
Whipped Chain Stitch
Whipped Chain Stitch is a versatile and elegant embroidery stitch that adds a touch of dimension and texture to your creations. This beautiful variation of the classic Chain Stitch offers a seamless way to elevate your hand embroidery projects.
There are several ways to add whipping stitches to the Chain stitch – single whip, double whip, or half whip. Besides that, you can change the colors of the threads for the Chain stitch and whipping stitches and combine different color combinations to create intriguing patterns.


Applications Of The Whipped Chain Stitch
The versatility of the Whipped chain stitch makes it a valuable addition to your embroidery repertoire. Here are some popular applications for this stitch:
- Outlines. Use the Whipped chain stitch to outline petals, leaves, and stems in floral designs, bringing your embroidered flowers to life with a pop of color and texture.
- Lettering and Monograms. This stitch is excellent for creating elegant letters and monograms, adding a touch of sophistication to personalized projects.
- Borders and Frames. Frame your embroidery artwork with a gracefully whipped chain stitch border, giving your pieces a polished and professional finish. Or add decorative borders to your home textiles and garments.
More Stitches From The Chain Stitch Family
Learn how to embroider Whipped Chain Stitch
Follow the step-by-step tutorial with detailed photos below, and you will learn the Whipped Chain Stitch quickly. If you are a visual learner, watch a video lesson in the tutorial or on the Practical Embroidery YouTube channel to learn this hand embroidery stitch faster.

How to embroider Whipped Chain Stitch
Step-by-step hand embroidery tutorial
Instructions
1. Start with a row of Chain stitches. You can embroider it as a regular Chain Stitch or a Reverse Chain Stitch.

2. Prepare your needle with a thread for whipping stitches. You can use the same color thread or choose a contrasting color.
3. Bring the needle up at the starting point of your chain stitch row. Pass the needle under the first chain stitch without piercing the fabric and whip around each chain stitch in the row.

4. Once you’ve whipped around all the Chain stitches, pass the needle to the back of the embroidery, secure the thread at the back of the fabric, and trim any excess.
5. If you want to make double whipping – whip the Chain stitches again, but now pass the needle in the opposite direction. This will create a decorative cross whipping.

6. For half whipped Chain stitches whip only one side of the Chain stitches.

TIP. For whipping stitches, use a blunt needle or the back of the needle. This way, it is easier not to pierce the fabric and not to snag the Chain Stitches.
Video tutorial

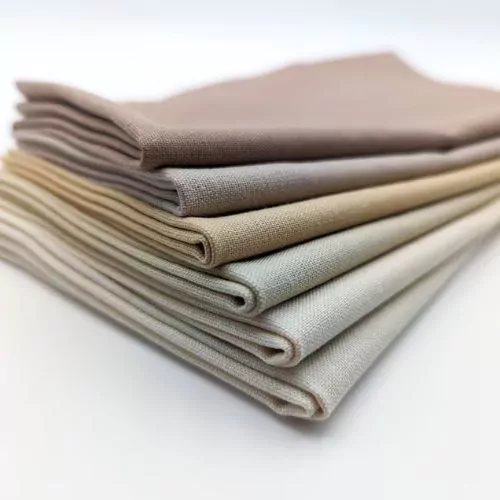
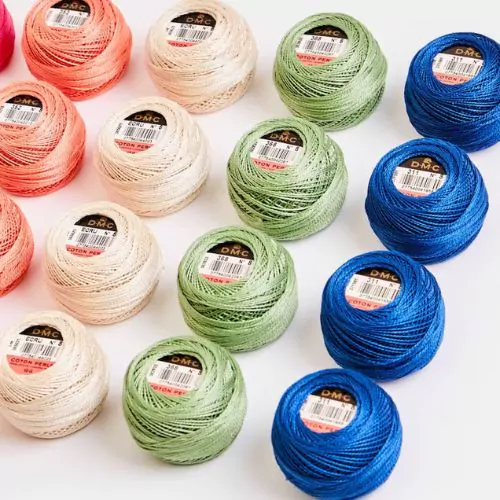
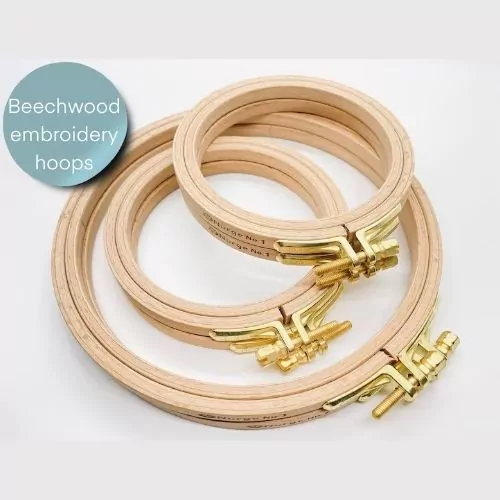
Tools and materials I used for this sampler
Disclaimer. To cover the cost of creating free embroidery patterns and video tutorials for this blog, I do sometimes link to products. Please assume these links are affiliate links. If you choose to buy through my links then THANK YOU – it will make it possible for me to keep doing this.

What’s next?
If you’re in the mood to explore more hand embroidery stitches, check out the Stitches and Techniques page for the list of other fantastic stitches available on my blog. From timeless classics to modern twists, a whole world of stitches is waiting for you to explore and master. So, grab your hoop and needle, and let’s stitch our way to creative bliss!
Don’t miss a thing!
Follow me on YouTube, Instagram, Facebook, and Pinterest. Or why not subscribe to Practical Embroidery newsletter and get embroidery tips straight to your inbox every few weeks?
Need More Guidance?
The top 10 hand embroidery stitches to learn is a free online course created for beginners.