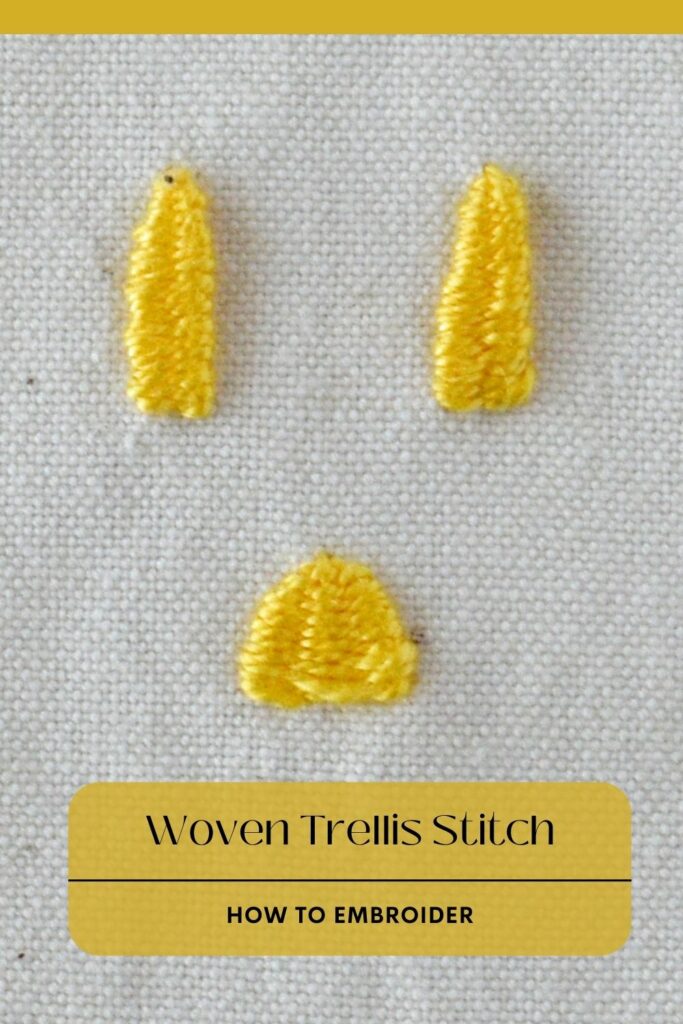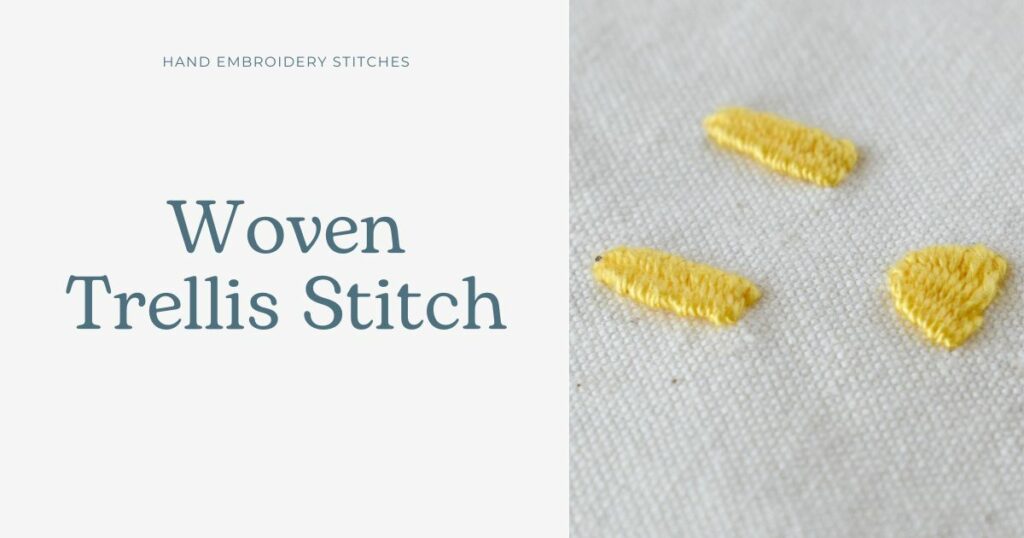
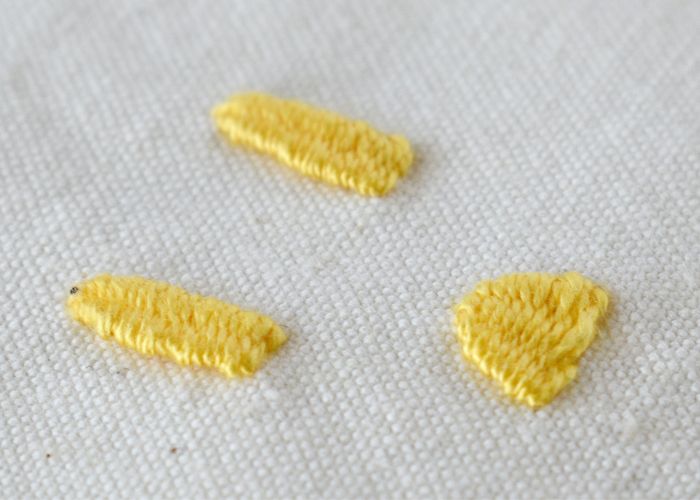
Woven Trellis Stitch
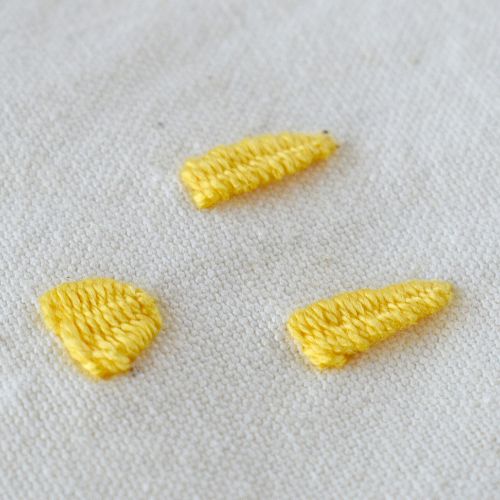
Woven Trellis Stitch is a decorative isolated stitch from the Weave Stitch family. The stitch created with this embroidery technique is slightly raised from the surface and is attached to the fabric in two points – at the top and at the base of the stitch.
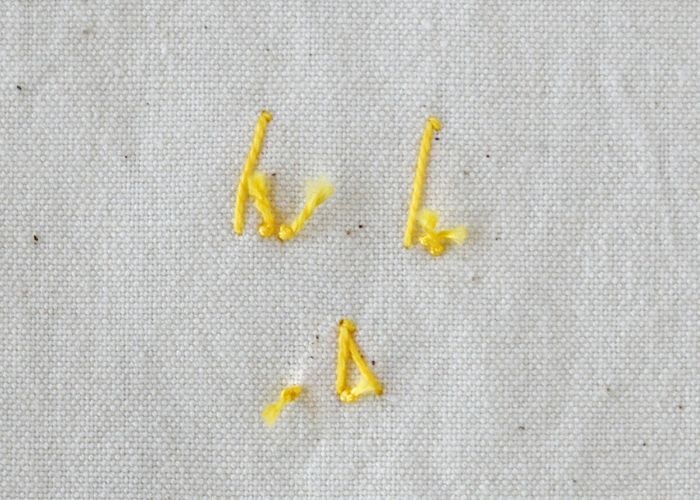
This stitch can take various shapes – it can be long or short, wide or narrow, triangle or square. You can make weaving on two, three, or more prongs – an even or odd number of threads can build the base of the stitch. In my sampler, I made two longer stitches on two prongs, and the wider – on three straight stitches.
All the weaving is done on the front side of the fabric, therefore on the reverse side you will see the starting and finishing threads and one or two straight stitches.
Other names of the Woven Trellis Stitch
This hand embroidery technique is also known as Brazilian weaving and as a Woven Picot.
Applications of the Woven Trellis Stitch
In modern surface embroidery, needlecrafters use this decorative embroidery technique to add dimensional embellishments, that give more texture and depth to the textile art.
Woven Trellis is a traditional technique to make Kamal Kadai embroidery, Brazilian embroidery, and Teneriffe lace. Besides that, Woven Picot Stitch is often used in Stumpwork embroidery.
More stitches from Stitch family
- Weaving Stitch
- Woven Spider Wheel
- Portuguese Border Stitch
Learn how to embroider Woven Trellis Stitch
Follow the step-by-step tutorial with detailed photos below, and you will learn the Woven Trellis Stitch quickly. If you are a visual learner, watch a video lesson in the tutorial or on the Practical Embroidery YouTube channel to learn this hand embroidery stitch faster.
How to embroider Woven Trellis Stitch
Step-by-step hand embroidery tutorial
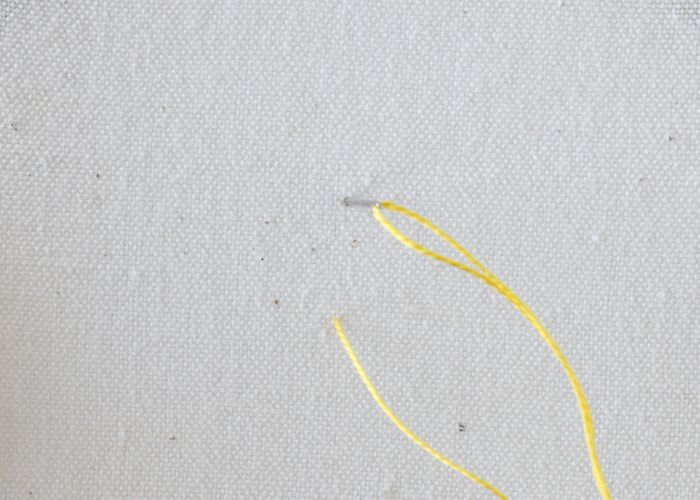
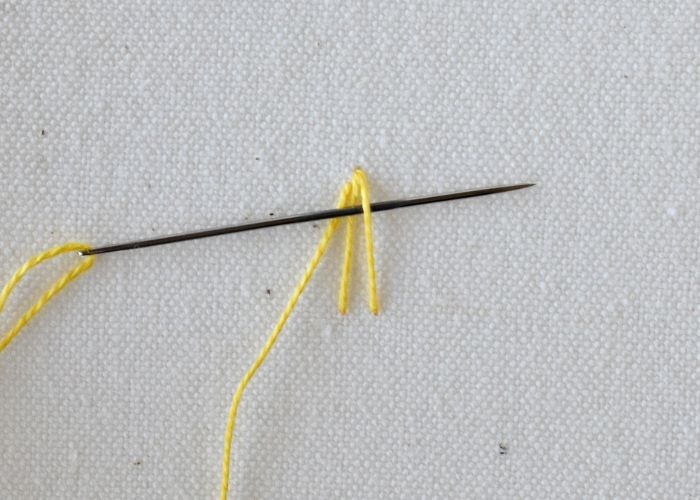
1. I will be making a Woven Trellis stitch on two prongs. Start with one Straight stitch. Its length will define the length of the trellis.
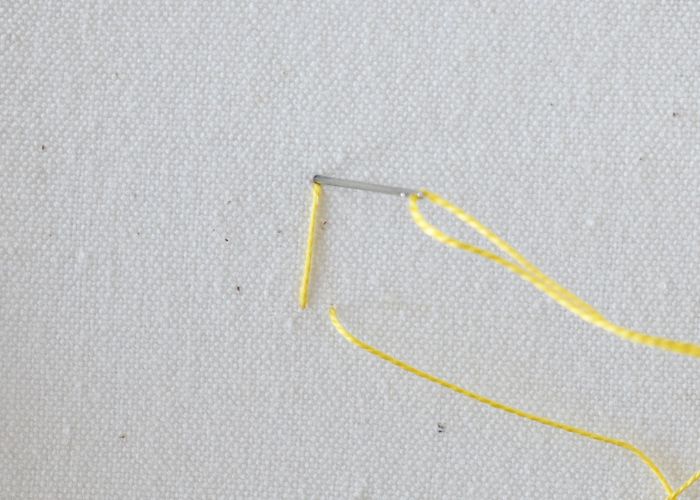
2. Add one more Straight stitch. The distance between the stitches at the base of the stitch will define the width of the trellis.
3. After the base is ready, take the needle up to the surface on the left, close to the tip of the shape. Pass the needle under the right thread from left to right.
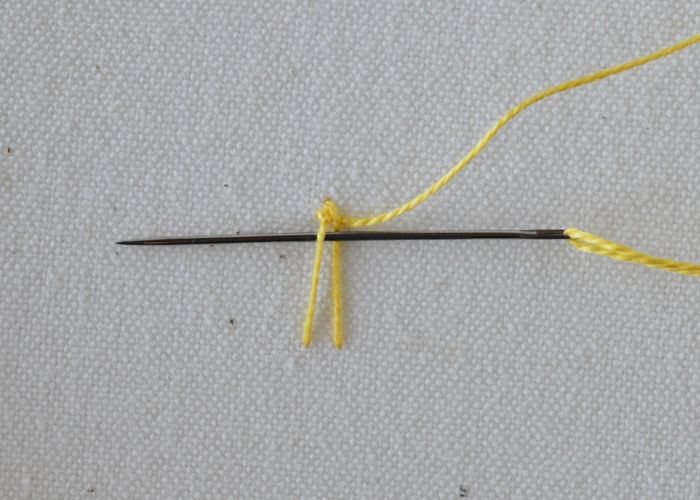
4. Pass the needle under the left thread from right to left. Use a blunt needle or the back of the needle for weaving. This will prevent the fabric and threads from snagging.
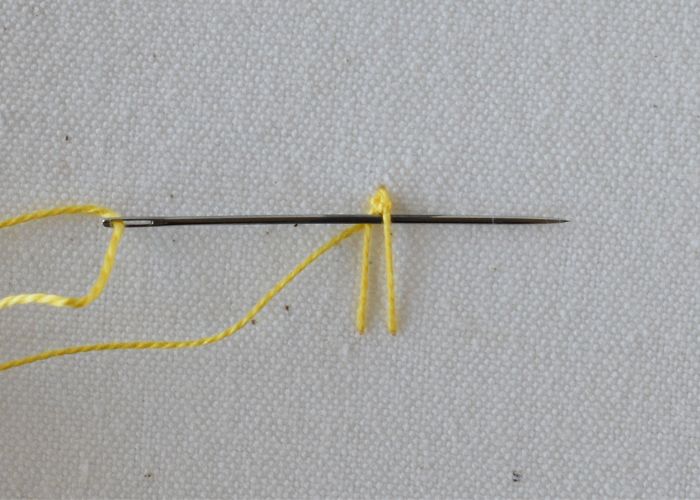
5. Pass the needle under the right thread from left to right.
6. Keep weaving. From time to time, push the woven part of the stitch up with the needle so the filling is smooth and dense.
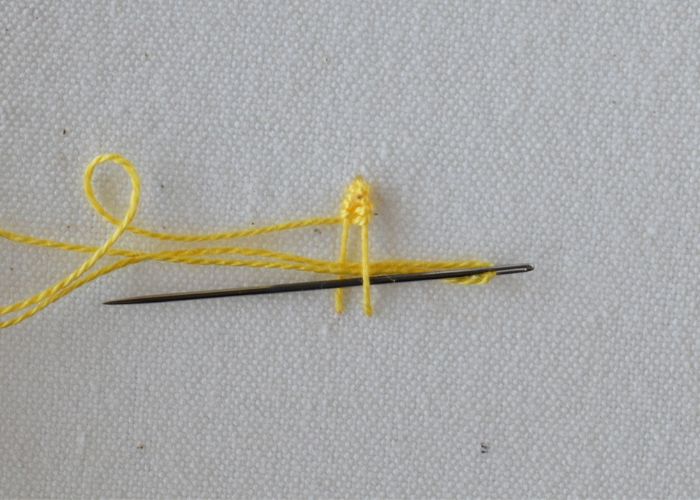
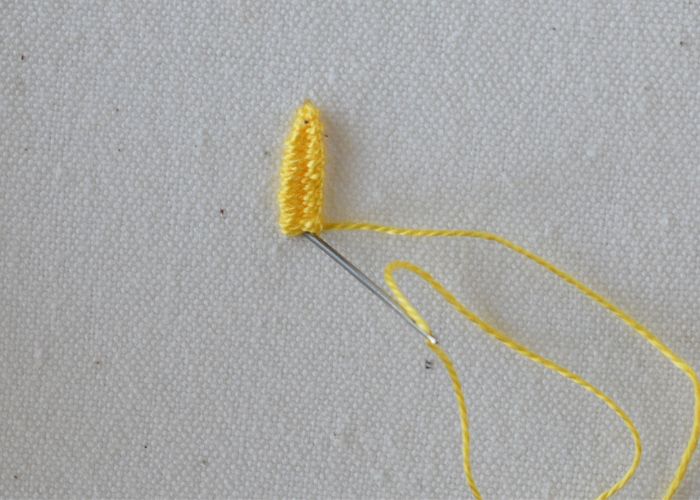
7. Repeat this weaving movement till the entire shape is filled.

8. When the entire shape is filled, push the needle to the back side of the fabric at the base of the stitch and secure the thread on the back.
Video tutorial
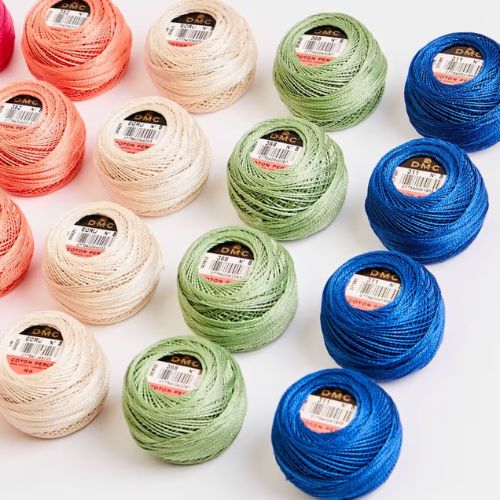
Tools and materials I used for this sampler
Disclaimer. To cover the cost of creating free embroidery patterns and video tutorials for this blog, I do sometimes link to products. Please assume these links are affiliate links. If you choose to buy through my links then THANK YOU – it will make it possible for me to keep doing this.


What’s next?
If you’re in the mood to explore more hand embroidery stitches, check out the Stitches and Techniques page for the list of other fantastic stitches available on my blog. From timeless classics to modern twists, a whole world of stitches is waiting for you to explore and master. So, grab your hoop and needle, and let’s stitch our way to creative bliss!
Don’t miss a thing!
Follow me on YouTube, Instagram, Facebook, and Pinterest. Or why not subscribe to Practical Embroidery newsletter and get embroidery tips straight to your inbox every few weeks?
Need More Guidance?
The top 10 hand embroidery stitches to learn is a free online course created for beginners.