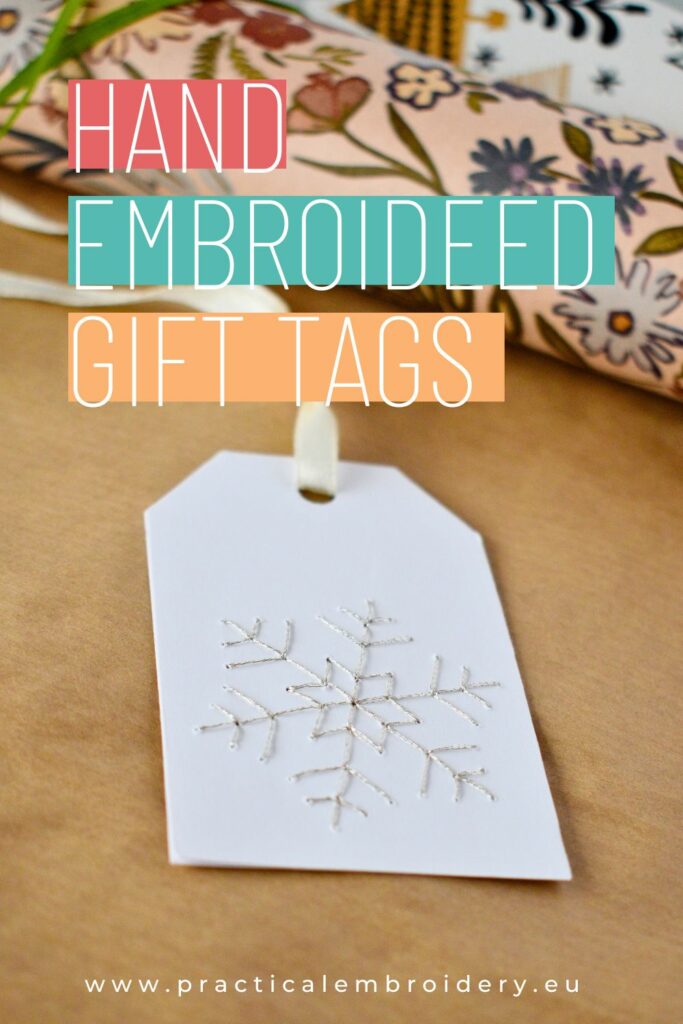
DIY Christmas Gift Tags With Snowflake Embroidery: Step-by-Step Guide + Free PDF Templates
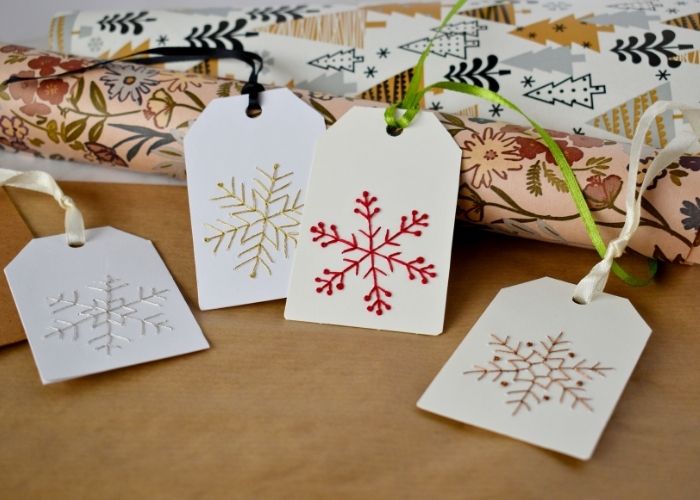
Looking for a heartfelt way to make your Christmas presents stand out this year? These DIY Christmas gift tags, featuring delicate snowflake embroidery, are the perfect touch! If you enjoy stitching and love adding handmade details to your holiday gifts, this project is both fun and relaxing, and surprisingly simple.
In this tutorial, you’ll learn how to create your own embroidered Christmas gift tags step-by-step — complete with a free printable PDF pattern and templates to guide your design. Using just a few basic supplies like paper tags, embroidery thread, and a needle, you can turn ordinary tags into miniature keepsakes that friends and family will treasure long after the wrapping paper is gone.
To make this project even more straightforward, I created a free printable PDF pattern with various snowflake designs and tag shapes. So you can leave all the guesswork and start creating right away!
Let’s get started and add a sprinkle of handmade magic to your Christmas gift wrapping this season!
How to make hand embroidered Christmas tags with snowflakes
Add a touch of handmade magic to your holiday gifts with these DIY Christmas gift tags! Discover how to stitch delicate snowflakes on paper and make your gifts even more special.
This easy and creative project is perfect for anyone who loves combining traditional crafts with modern holiday aesthetics. Using simple materials and a few basic stitches, you’ll create unique gift tags that will make your presents truly unforgettable.
Follow the step-by-step instructions below and download the free Snowflakes & Gift Tags PDF pattern to get started!
DIY Christmas Gift Tags
Embroidery on paper step-by-step
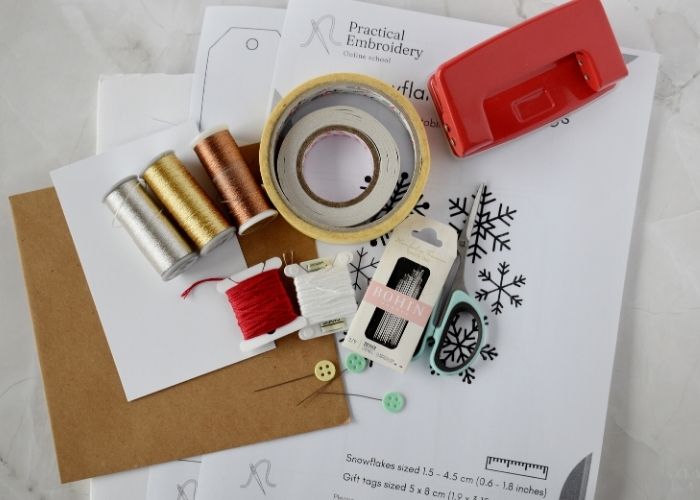
Tools and materials
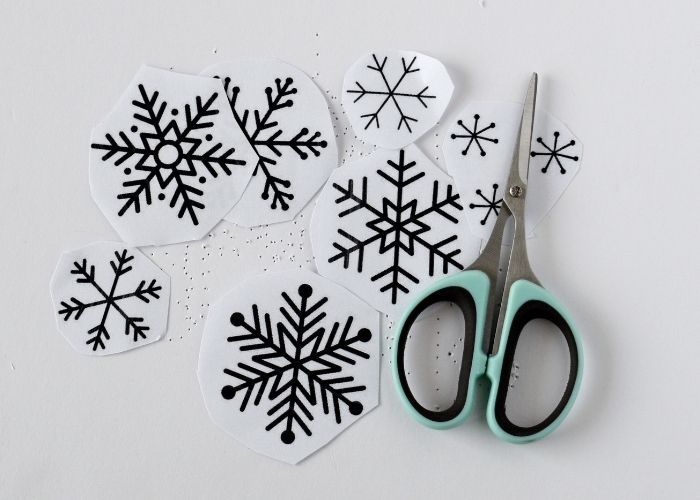
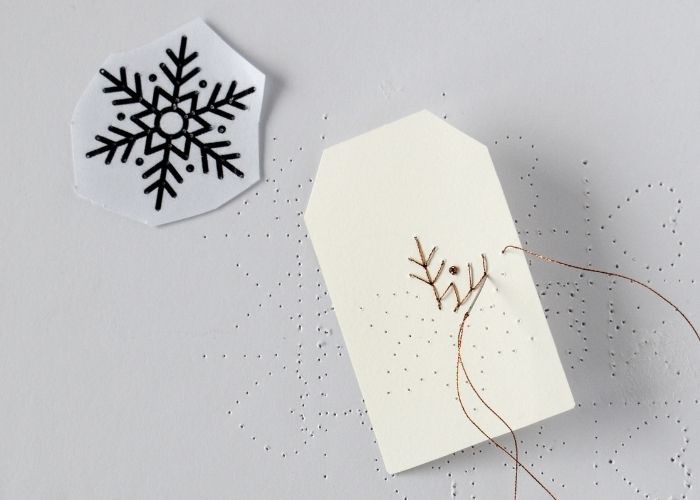
- Snowflake pattern. Download and print my free Snowflakes & Gift Tags PDF pattern. You can choose from various snowflakes of different difficulty and sizes.
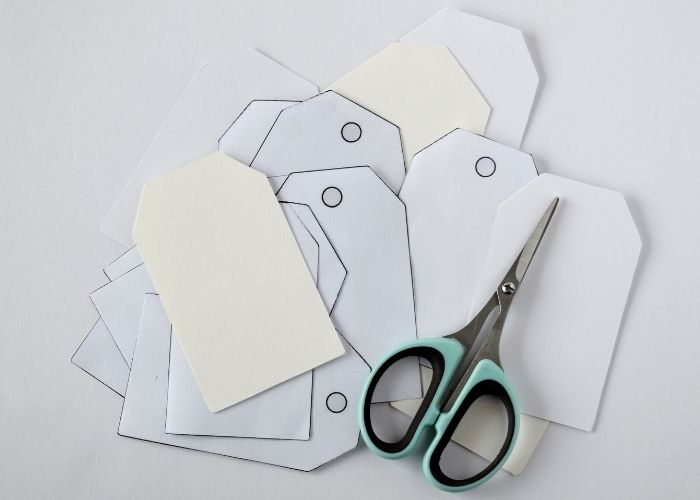
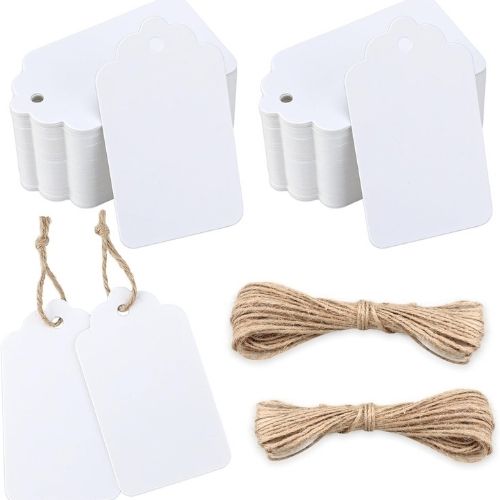
- Gift tags from cardboard. You can use ready-made gift tags or cut your tags from any cardboard paper. You can use the tag pattern from the download I provided.
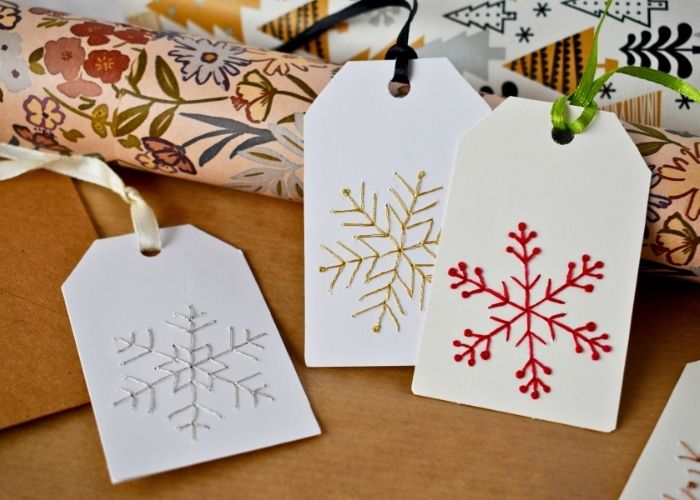
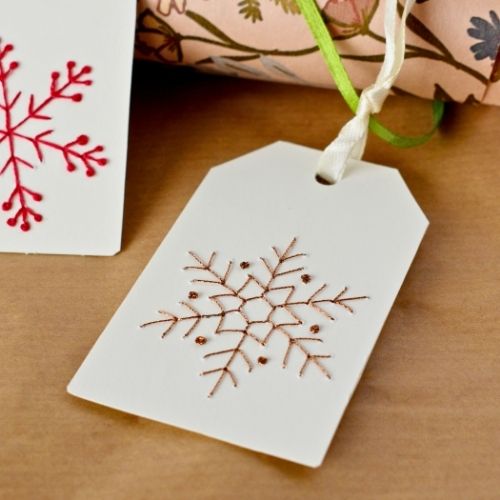
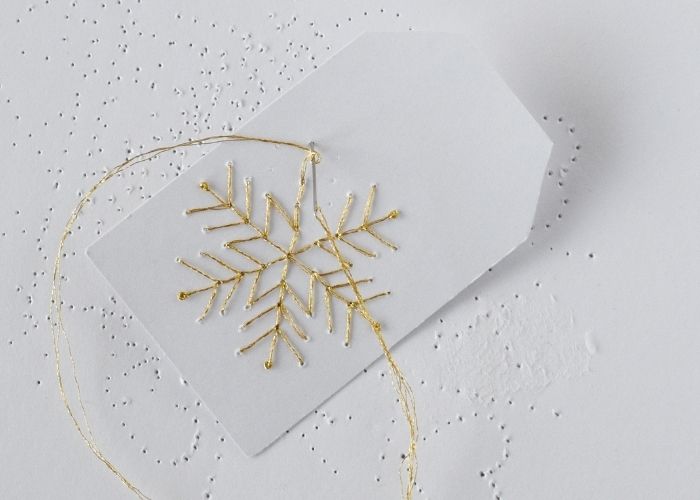
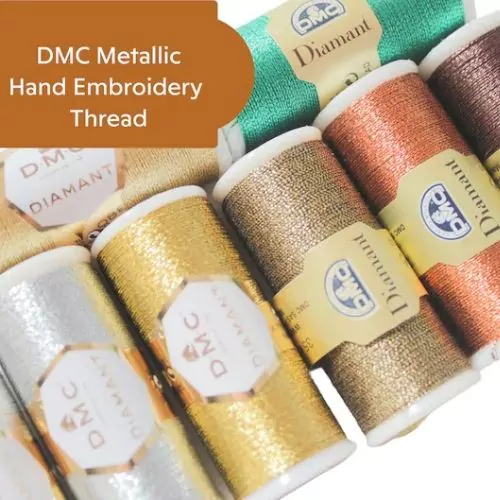
- Embroidery floss. I used red and white hand embroidery floss by DMC (#321 and #BLANC). I also used metallic threads – DMC Diamant – gold (D3821), silver (D168), and cooper (D301).
- Embroidery needle. Use the smallest size you can thread with metallic threads.
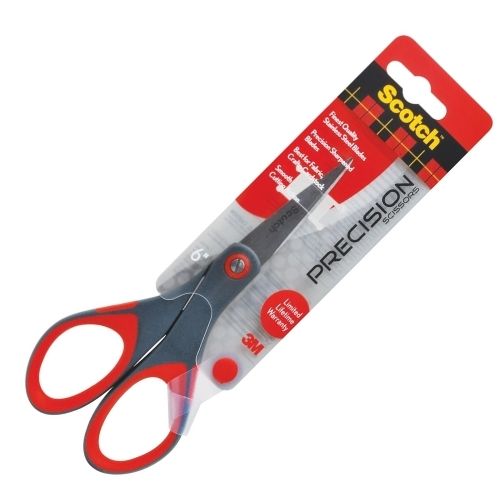
- Craft scissors – for cutting tape, paper, and metallic threads. Do not use your fabric scissors for these tasks.
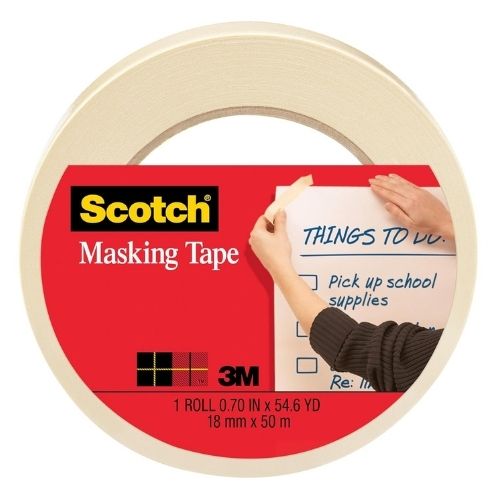
- Masking tape.
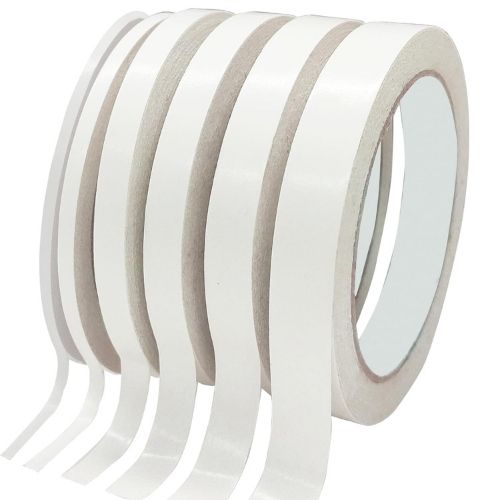
- Double-sided tape and some glue.
- Some pins.
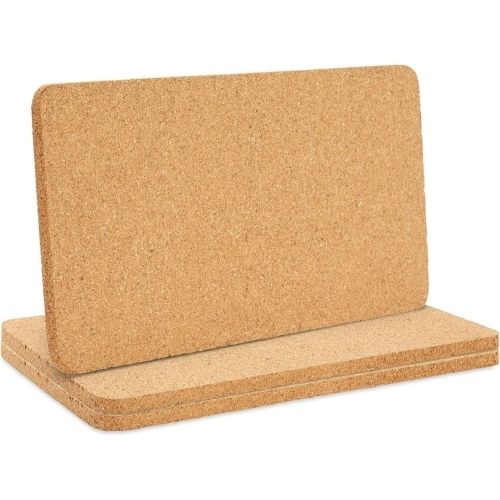
- A piece of foamboard or corkboard to protect the table.
- Hole puncher.
Step-by-step instructions
Preparation
1. Gather tools and materials you will need for the project.
2. Prepare your tags. If you will use ready-made tags, skip this step. Otherwise, use the template from my PDF pattern and cut out the tags. You will need two tags to create one finished embroidered Christmas tag with snowflakes.
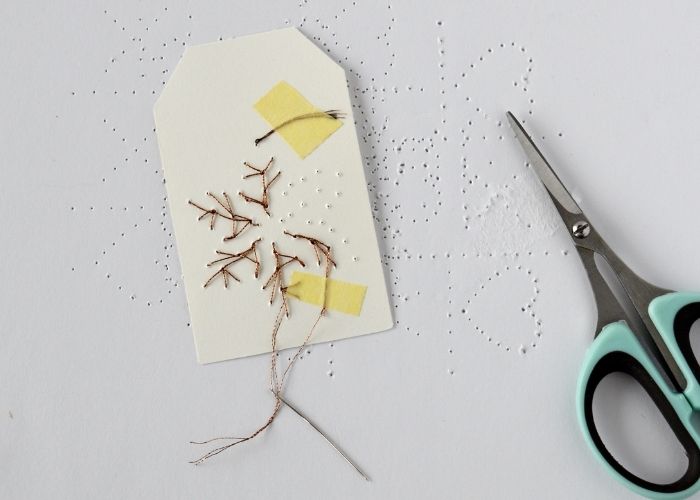
3. Select the snowflake design you would like to embroider on the tag. Cut it out from the page.
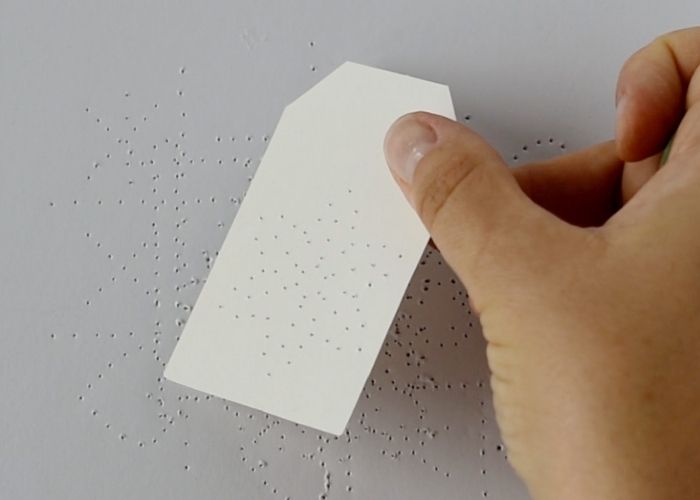
4. Layer the tag with a snowflake design above the foamboard and pin it in place with two pins.
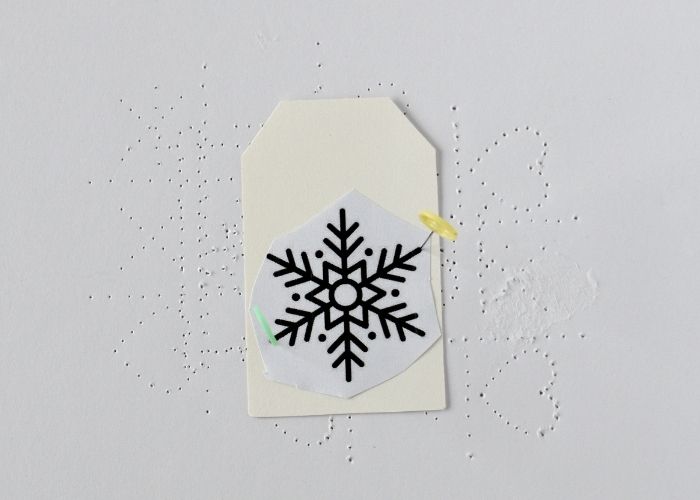
5. Use the pin to poke the holes for stitching. Make a hole at every juncture of the lines of the design. Remove the pins and the pattern.
Embroidery on paper
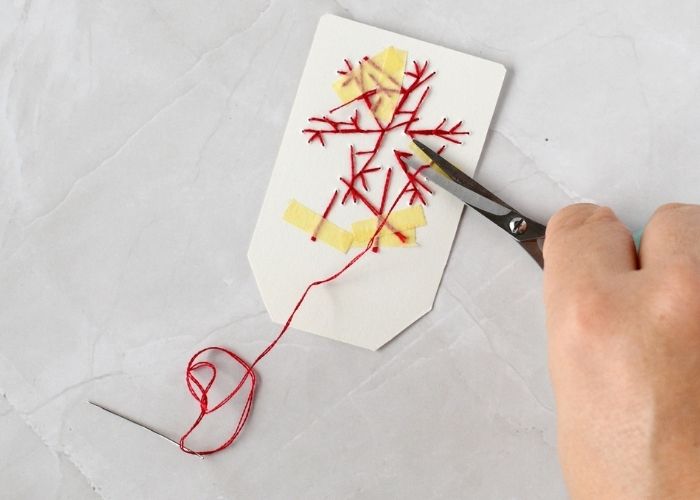
6. Thread your needle. Pass the needle inside one of the holes, from the back towards the front side. To secure the tail of the thread, add a piece of masking tape on the end.
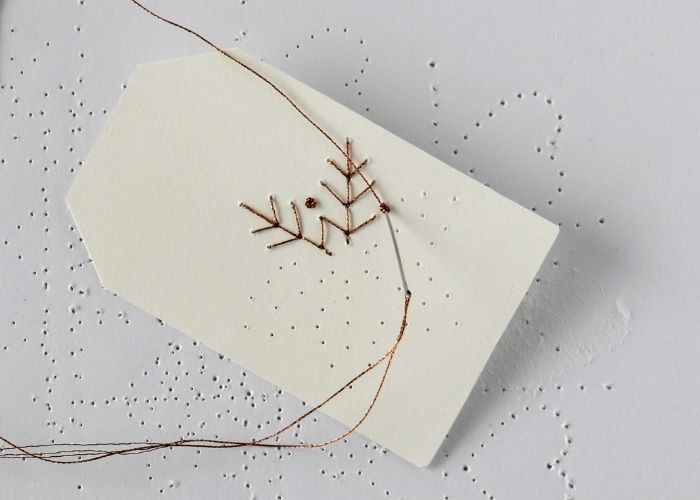
7. Embroider the snowflake design, following the dots you poked with a pin. Use the Backstitch and Straight Stitch for embroidery.
8. To create dotted ends of the lines in the design, use the Pistil Stitch.
9. You can wrap a thread around the needle three times to make a bulkier knot or two wraps to make a smaller knot.
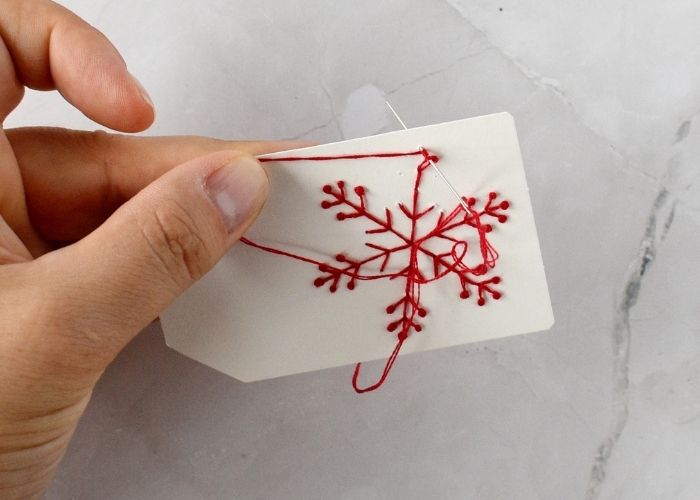
10. If the design requires detached dots, use French Knot Stitch to embroider them. Wrap a thread around the needle three times. This way, the dot will be more prominent and will not pop to the back of the tag when you pull the thread.
11. When you run out of thread, secure the end with masking tape. Use this method for starting and finishing stitching.
Making DIY Christmas gift tags
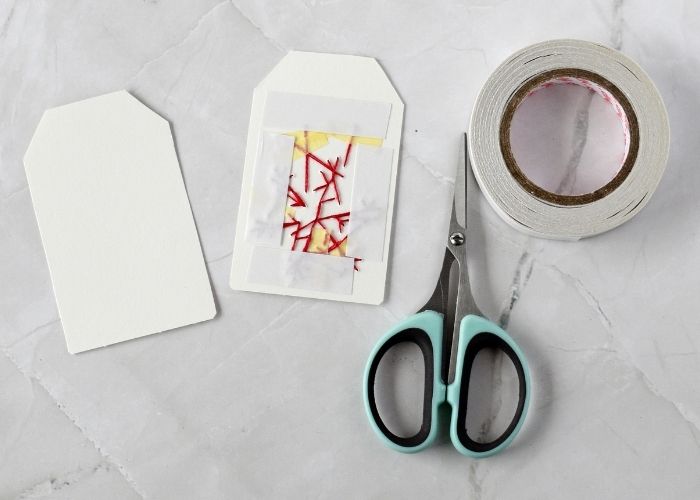
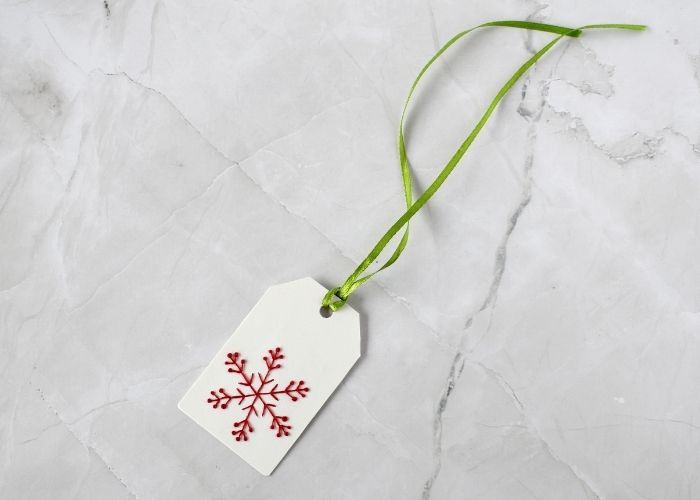
12. Once all the stitching is complete, use double-sided tape to secure the two tags together. This way, you will cover the back of the stitching and will have a clean space to write the name of the gift receiver.
13. Finally, use a hole puncher to add a hole at the top of the paper tag.
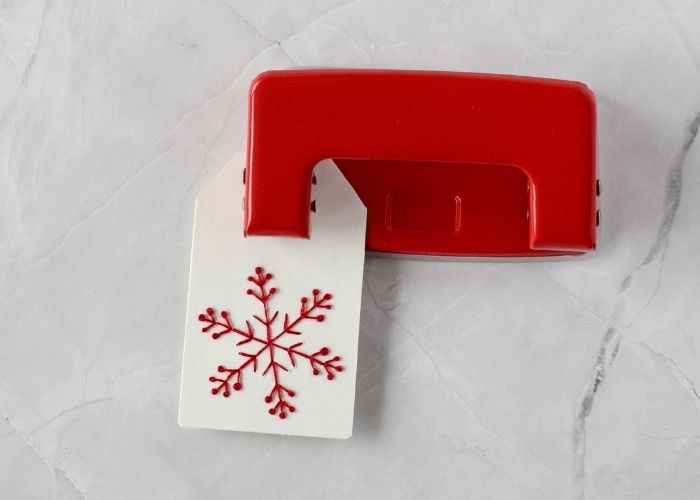
14. Add a ribbon for hanging.
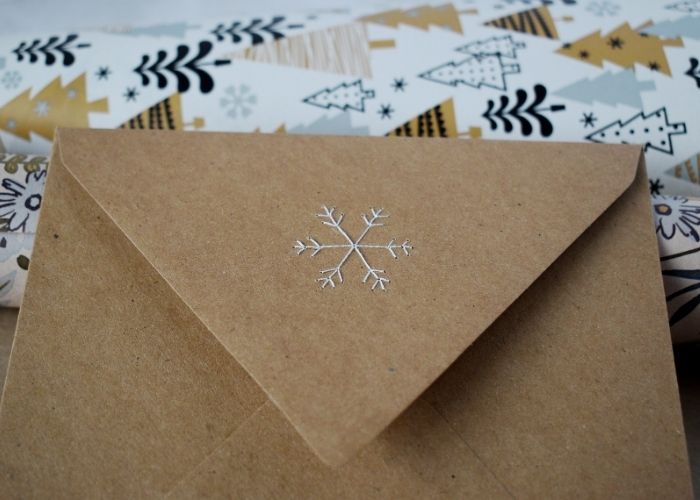
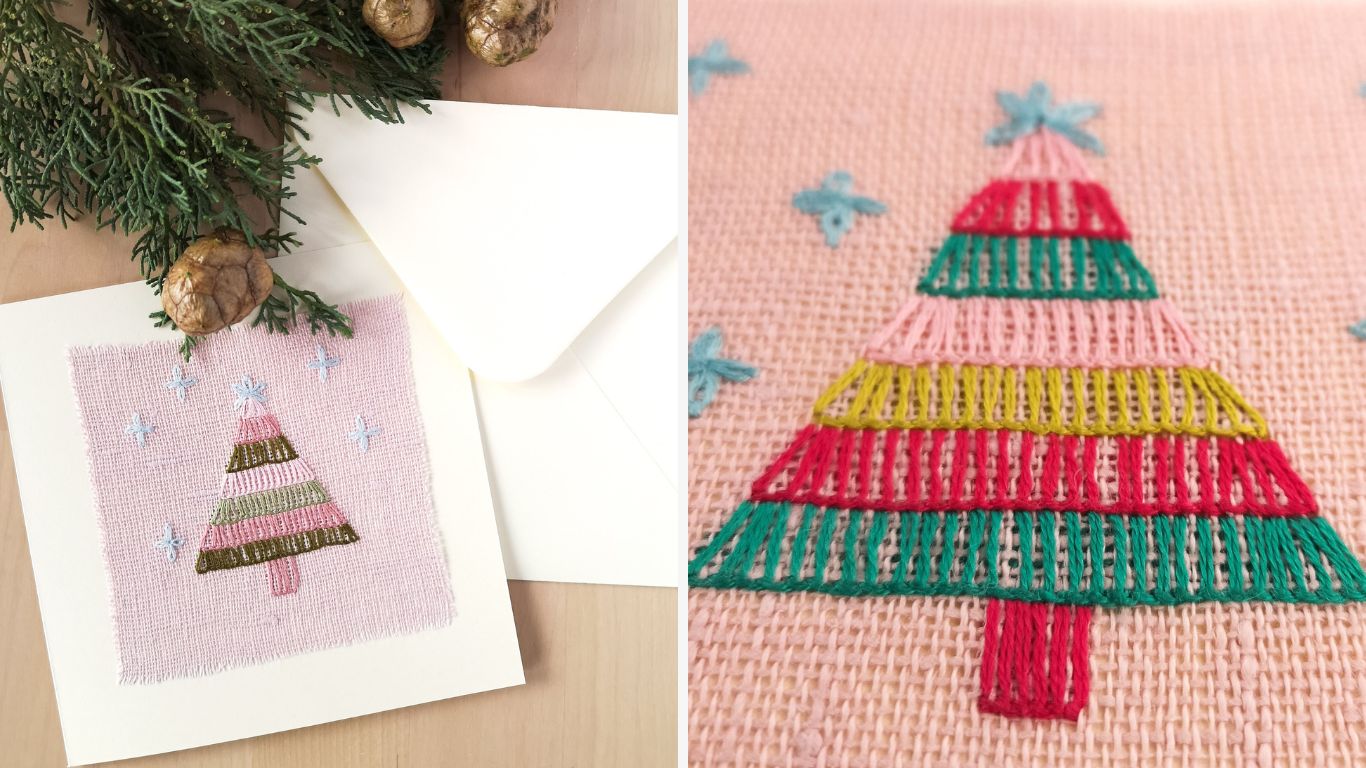
15. You can use the same stitching method and patterns to embroider on envelopes, greeting cards, or other paper goods.
DIY Christmas gift tags – Video Tutorial
Recommended Products
Disclaimer. To cover the cost of creating free embroidery patterns and video tutorials for this blog, I do sometimes link to products. Please assume these links are affiliate links. If you choose to buy through my links then THANK YOU! – it will make it possible for me to keep doing this.


FAQ: DIY Christmas gift tags with snowflake embroidery
1. Can I embroider on paper?
Yes! Embroidery on paper is a fun and beginner-friendly craft. All you need is sturdy paper or light cardboard, a fine embroidery needle and embroidery floss. Just remember to poke the stitching holes in advance to prevent the paper from tearing and bending.


2. What kind of paper should I use for DIY Christmas gift tags?
Use thicker paper such as cardstock, watercolor paper, or light cardboard. These hold up well under stitching and give your embroidered tags a professional look. Additionally, you can use ready-made blank paper tags for faster results.
3. Do I need special embroidery supplies for paper embroidery?
Not really. Regular embroidery floss and needles work great. Select the smallest needle size that can still accommodate your thread, and avoid overly thick threads that could damage the paper.
4. How can I make the back of my embroidered tag look neat?
After you finish stitching, attach a second tag on the back using double-sided tape. This covers the thread ends and jumping threads, providing a clean surface to write your message or the recipient’s name.
5. Can I use the same snowflake patterns for other paper crafts?
Definitely! You can use these patterns to embroider on envelopes, Christmas cards, or even gift boxes. They add a lovely handmade winter touch to any paper craft project.
6. How can I hang or attach my gift tags?
Use a hole puncher to create a hole at the top of the tag, and thread a ribbon, twine, or metallic cord through it. Match the thread color to your embroidery for a cohesive festive look.
7. How can I download and print the free PDF pattern?
Click the link in the post to download the Snowflakes & Gift Tags PDF pattern. Provide your name and email address, and you will receive the PDF directly in your email inbox. Open the attached file and print it on regular A4 paper at 100% scale to ensure your snowflake designs and tag templates remain true to size.
8. Can I personalize these DIY Christmas gift tags?
Absolutely! You can add initials, short messages, or extra decorative stitches. You can experiment with metallic threads, colored paper, or colored threads for a more festive finish.
9. Can I embroider this snowflake design on fabric?
You sure can! These snowflakes will look great stitched on felt ornaments, fabric napkins, mini hoops, or even on garments. Use your imagination and create something original!
Over to you
Creating your own DIY Christmas gift tags with hand-stitched snowflakes is a simple yet meaningful way to elevate your holiday wrapping. Each tiny stitch adds a touch of warmth and personality that store-bought tags just can’t match. Whether you make a few for your loved ones or a whole batch to share, these handmade tags will make every present feel extra special.
Don’t forget to download the free Snowflakes & Gift Tags PDF pattern if you haven’t already — it includes all the templates you need to get started right away.
If you enjoyed this tutorial, be sure to check out my other Christmas DIY projects and embroidery ideas below for more creative inspiration this holiday season.
And if you make your own embroidered gift tags, I’d love to see them! Share your creations on Instagram or Pinterest and tag me so I can admire your beautiful work.
Happy stitching, and may your holidays be filled with creativity, coziness, and handmade magic!
Don’t miss a thing!
Follow me on YouTube, Instagram, Facebook, Flipboard, Telegram and Pinterest. On the other hand, you can subscribe to the Practical Embroidery newsletter and get embroidery tips straight to your inbox every week!
More Christmas DIY projects on this Blog
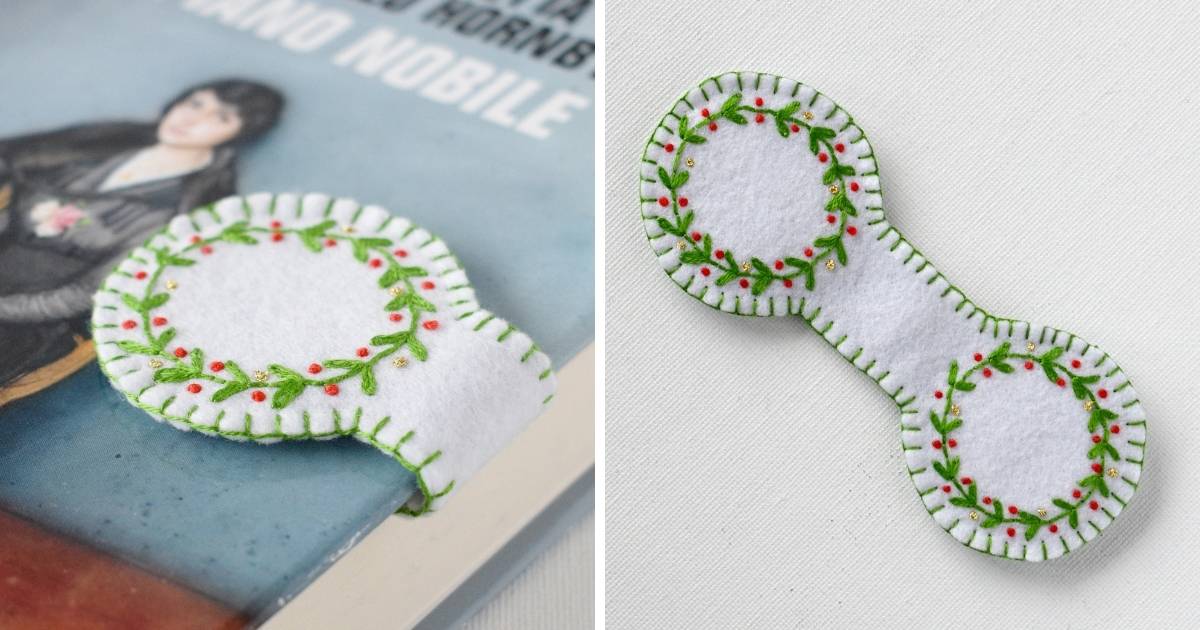
DIY magnetic bookmark tutorial: Create a personalized hand-embroidered page holder
Hand embroidered gifts to make for Christmas – the ultimate handmade holiday gift guide
Christmas Embroidery Ideas for Every Skill Level
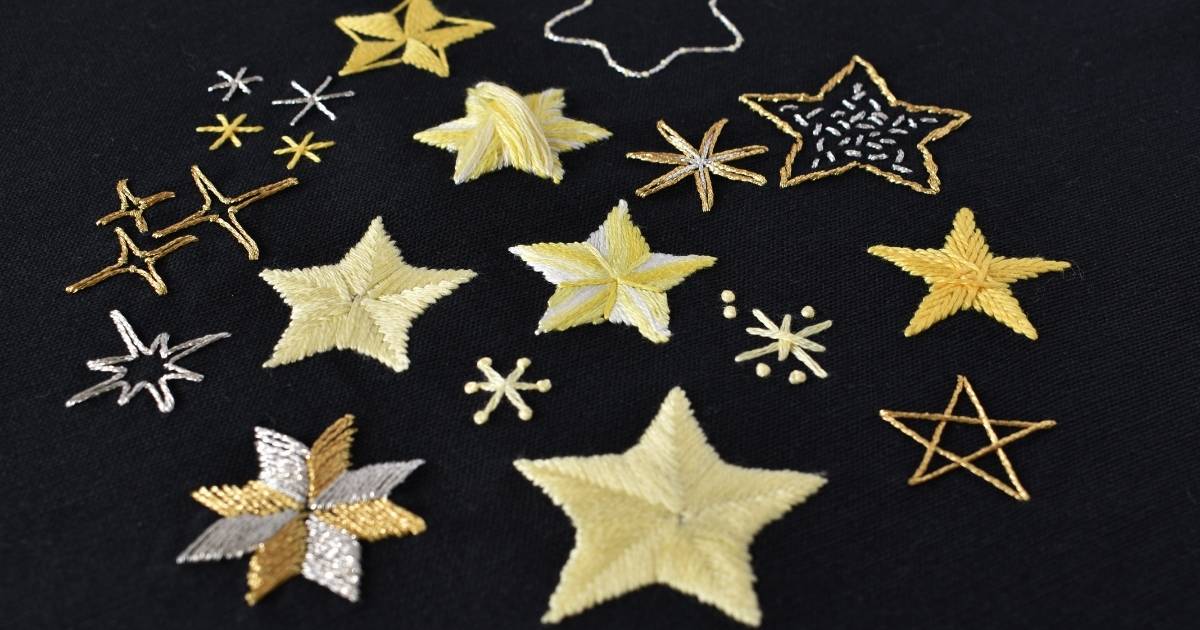
How to Embroider Stars and Sparkles: Hand Embroidery Stitches + Free Sampler Download

Monogrammed Velvet Ribbon Bow DIY: Hand Embroidered Ribbon for Holiday Decor
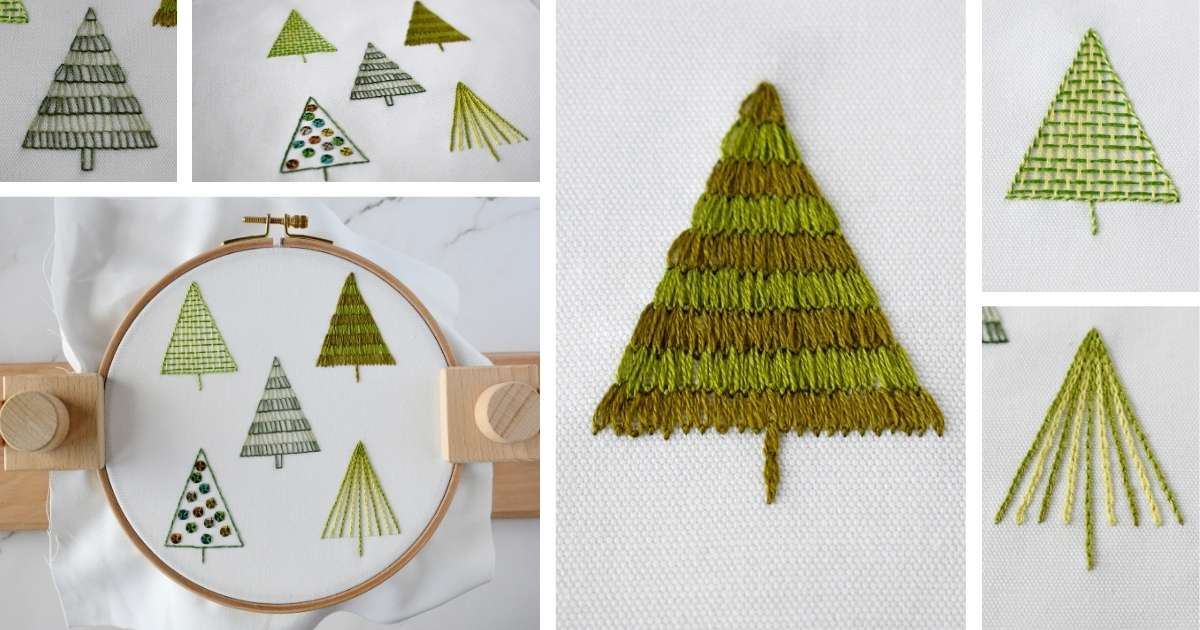
How To Embroider Christmas Tree: 5 Simple Methods + Free PDF Pattern
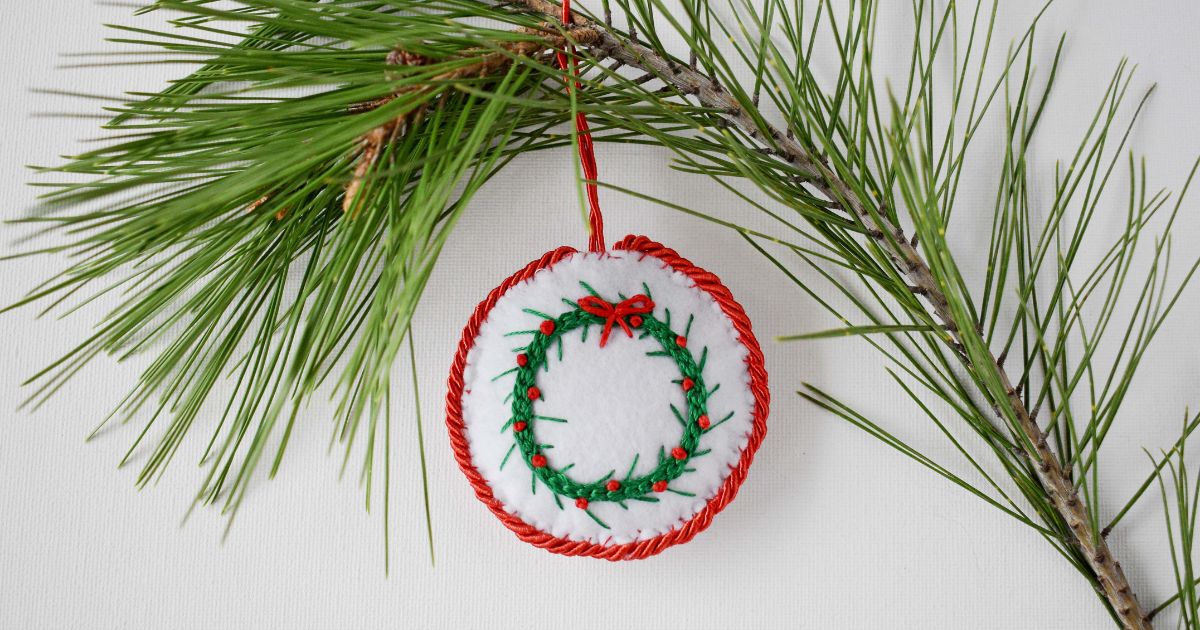
DIY Christmas ornaments with wreath embroidery
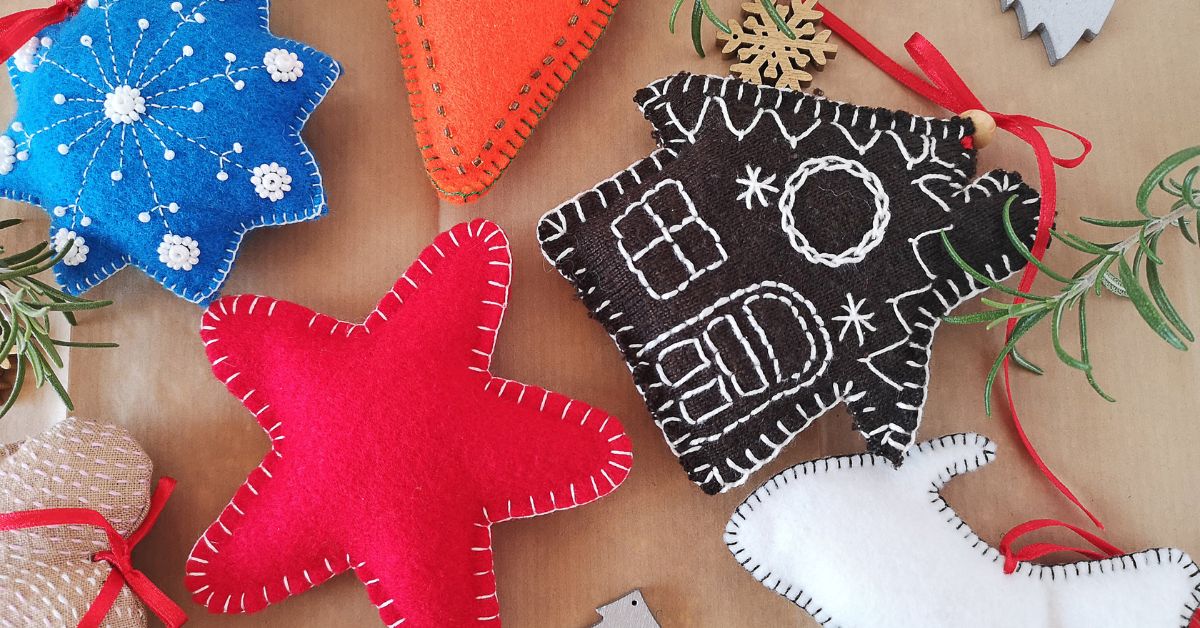
Handmade Christmas decorations. Detailed step-by-step guide and free pdf pattern download
Christmas Card Tutorial. Make a unique greeting card with your hand embroidery