DIY Hand Embroidered Tote Bag for Halloween: Complete Guide with Free PDF pattern
Halloween is the perfect time to get crafty and add a personal touch to your accessories! Whether you want to stand out at a spooky gathering or just want a unique piece to carry your treats, an embroidered tote bag is the ideal project.
Not only is it a fun and creative way to celebrate the season, but a custom design—like a free PDF pattern of a Reading Ghost included in this tutorial—adds a quirky, lighthearted twist to your Halloween ensemble. Plus, a DIY hand embroidered tote bag is both functional and sustainable, making it a stylish way to show off your crafting skills while reducing waste!

Sewn tote bag vs ready-made shopper
For this DIY Halloween tote bag project, you can embroider on the blank tote bag or sew your reusable bag from scratch.
The benefit of sewing your own shoulder bag from scratch is that you can adjust the size of the bag, the length of the straps, and other details to best suit your needs. You can also choose various fabric colors and add pockets or lining.
Ready-made blank shoppers are widely available online and in craft shops. They are usually inexpensive and sturdy enough to embroider on. Look for medium-weight natural fibers like cotton canvas, and you will have a personalized bag that will serve you for years.
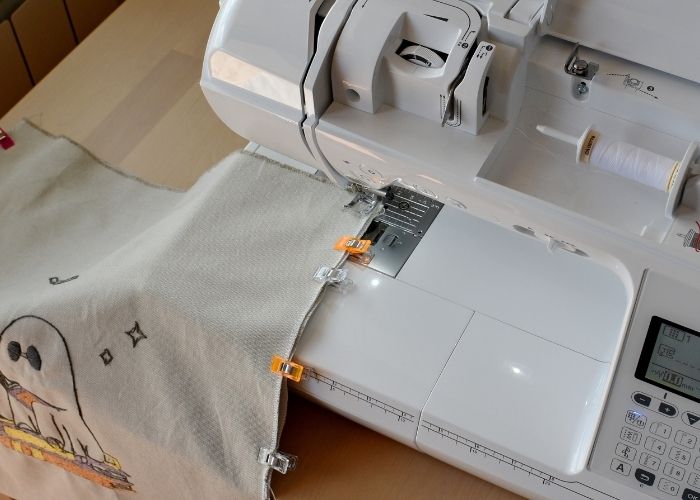
I sewed my simple canvas bag from the piece of leftover fabric, but I do not teach the sewing part in this tutorial. If you need some guidance with sewing, get a detailed pattern with instructions or choose a comprehensive video lesson.
Here are some options for the tote bag:

DIY Hand Embroidered Tote Bag
Complete embroidery guide
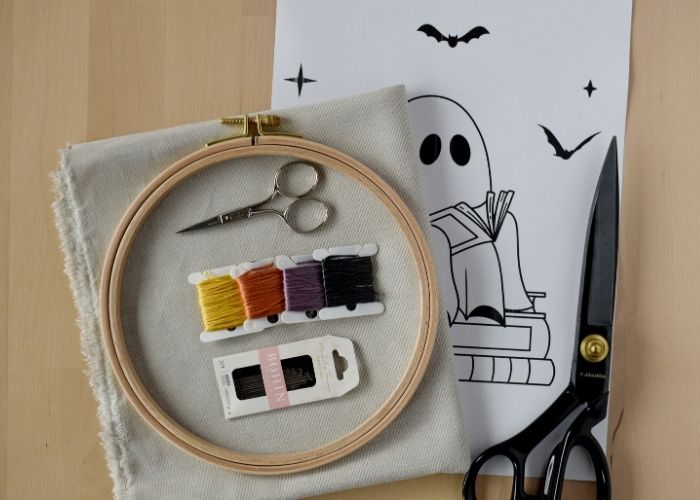
Tools and Materials
Tools:
- Reading Ghost PDF pattern
- Hoop.
- Scissors. Fabric shears and small embroidery scissors.
- Embroidery needles.
- Friction pen or other tracing tool for pattern transfer.
- Sewing machine (optional)
Materials:
- Fabric or a ready-made tote bag.
- Embroidery floss. I used two strands of DMC embroidery floss. Colors: #3799 – Very dark pewter gray, #3041 – Mild antique violet, #3776 – Light mahogany, and #3821 – Straw.
- Water soluble stabilizer (if you want to use it for pattern transfer).
- Sewing threads (optional).
Instructions
1. To start making your DIY hand embroidered tote bag, first, gather all the tools and materials. Download a free Reading Ghost PDF pattern.
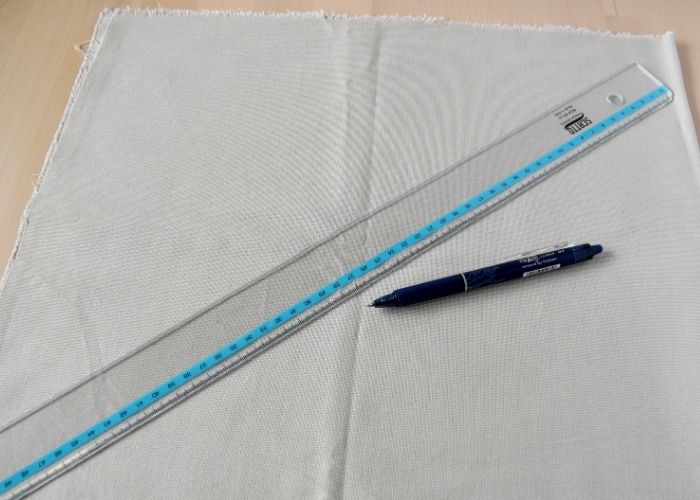
2. If you plan to sew your bag – measure and cut the fabric. Mark the center of the front side of the bag.
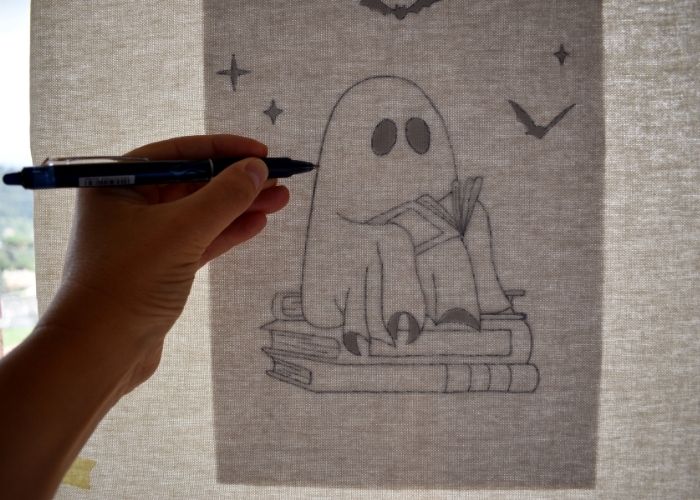
3. Transfer the pattern to the fabric or the bag. I used a lightbox method, but you can use a water-soluble stabilizer, transfer paper, or any of your favorite pattern transfer methods.
4. Stretch the fabric in the hoop. Do not worry if the whole image does not fit. Embroider one part first and then – move the fabric and embroider the rest.
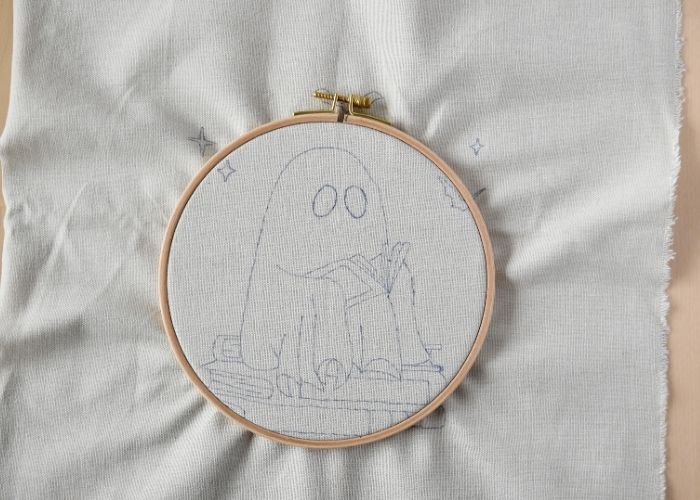
5. For this DIY hand embroidered tote bag project, you must avoid making the knots on the back of your embroidery, as they will be visible on the inner side of the tote. Start stitching with a folded thread method and secure the ends of the stitches well.
6. Start by embroidering all the outlines with a Split Backstitch. Use two strands of dark grey embroidery floss.
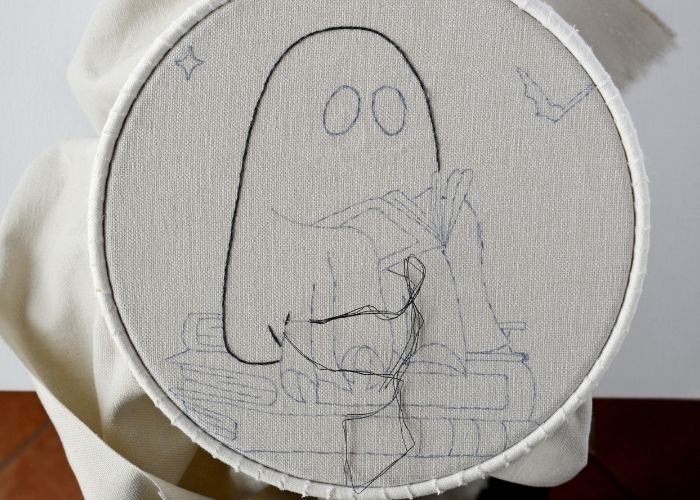
7. Outline all the books, ghost, stars, and bats in the sky.
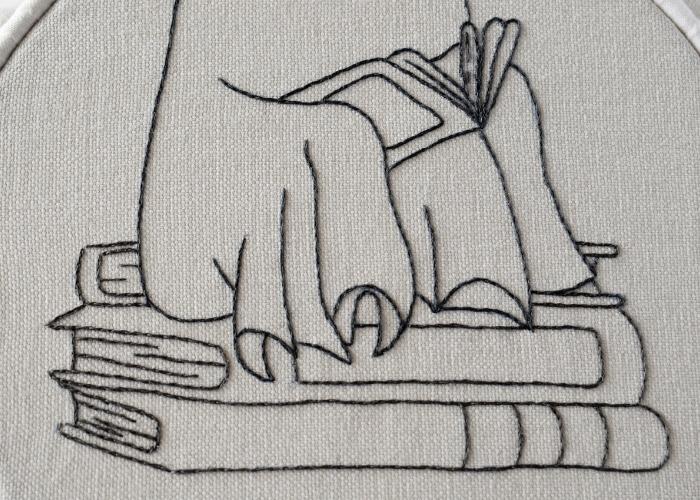
8. Fill the eyes with a Satin stitch. First, mark the guiding lines.
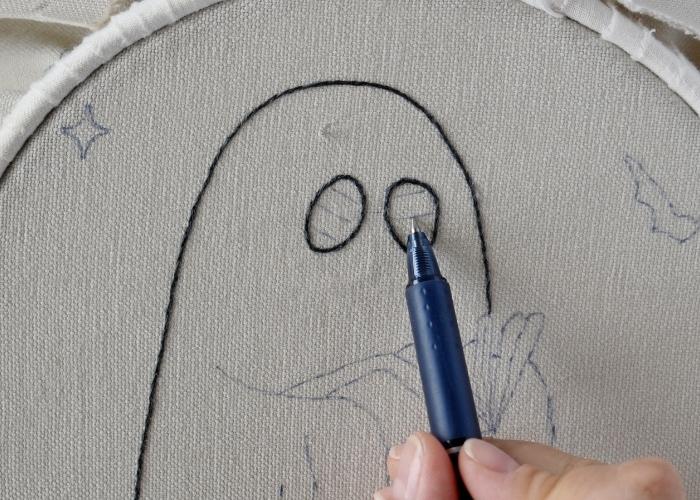
9. Start filling with dense parallel stitches from the center of the shape. Use two strands of dark grey embroidery floss.
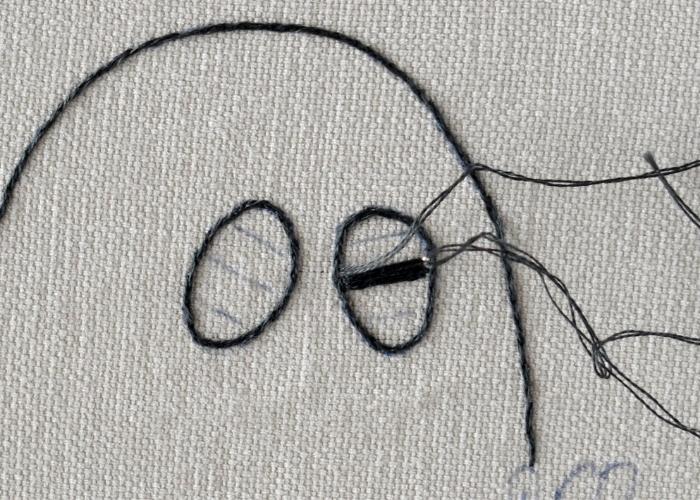
10. After one side is filled, return to the center and fill in the second part.
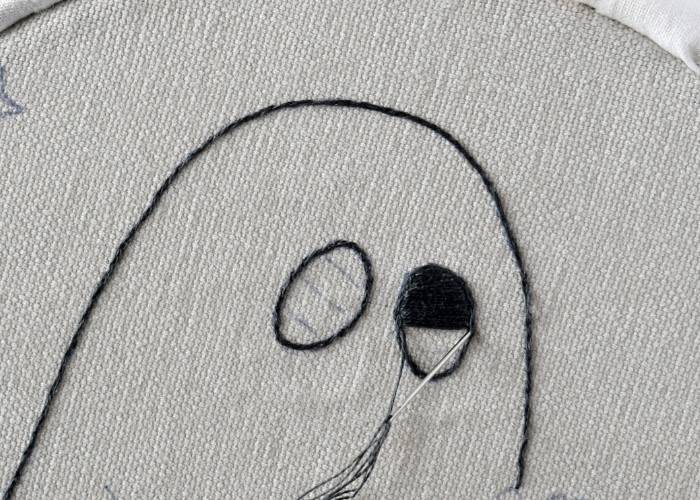
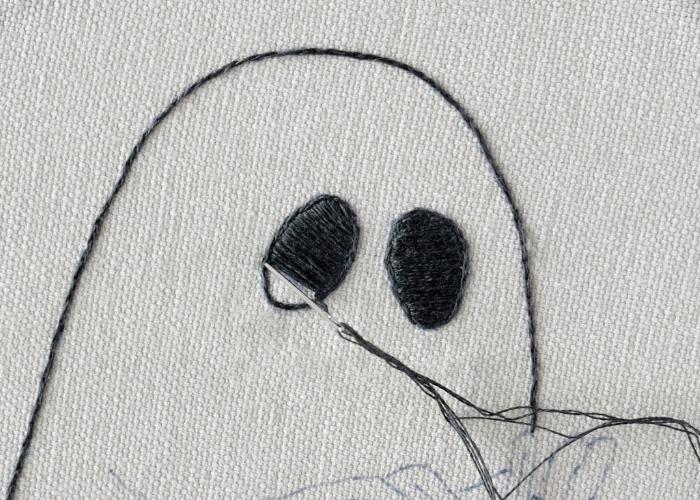
11. Fill both eyes with a Satin Stitch.
12. Fill the outlines of the books with Long and Short stitch. Mark the direction of the stitches and secure the thread. You will cover these holding stitches with your filling. Embroider with two strands of embroidery floss.
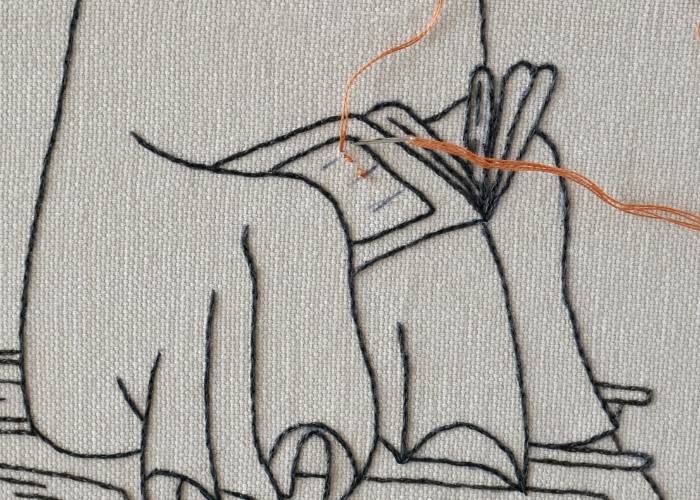
13. Add rows of the Long and Short stitch one after another until the entire shape is filled.
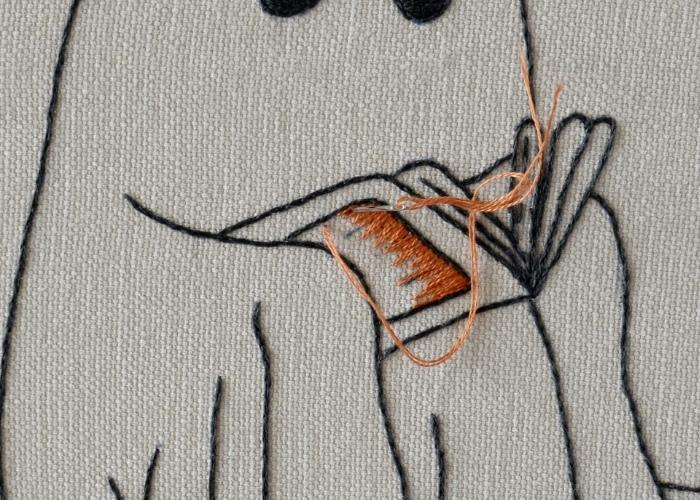
14. Fill all the colored parts of the books in a similar manner.
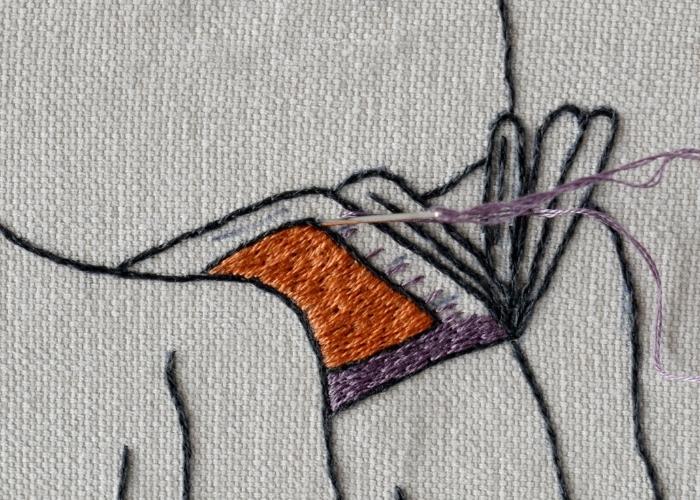
15. For the long and narrow parts of the design, opt for horizontal stitches, not vertical ones.
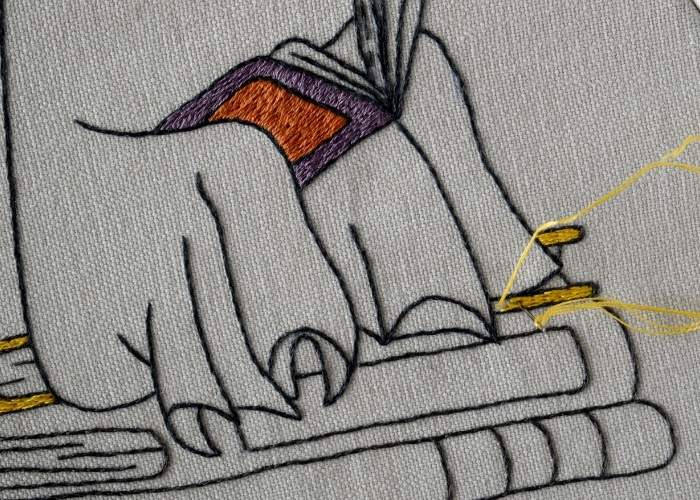
16. After all the shapes are filled, remove the embroidery from the hoop, remove pattern tracing marks, wash it if needed, and iron it.

17. If you choose to sew your bag, follow the instructions of your chosen tutorial and assemble the bag’s parts.
DIY Hand Embroidered Tote Bag Video Tutorial
Recommended Products
Disclaimer. To cover the cost of creating free embroidery patterns and video tutorials for this blog, I do sometimes link to products. Please assume these links are affiliate links. If you choose to buy through my links then THANK YOU! – it will make it possible for me to keep doing this.
Over to you
Hand embroidered tote bag is a perfect way to add a personal and festive touch to your Halloween accessories. Whether you decide to sew a personalized and super functional bag from scratch or use a pre-made blank tote, the creative possibilities are endless. With the free Reading Ghost pattern included or another fun Halloween hand embroidery pattern of your choice, you’ll have a unique, handmade, functional, and stylish piece. This DIY hand embroidered tote bag project allows you to express your creativity, promotes sustainability, and gives you a reusable bag that you can enjoy year after year. So grab your materials, follow the steps, and create something that’s truly your own!
Don’t miss a thing!
Follow me on YouTube, Instagram, Facebook, Flipboard, Telegram and Pinterest. On the other hand, you can subscribe to the Practical Embroidery newsletter and get embroidery tips straight to your inbox every week!


