Hand embroidered needle book tutorial: Free embroidery pattern and easy step-by-step guide
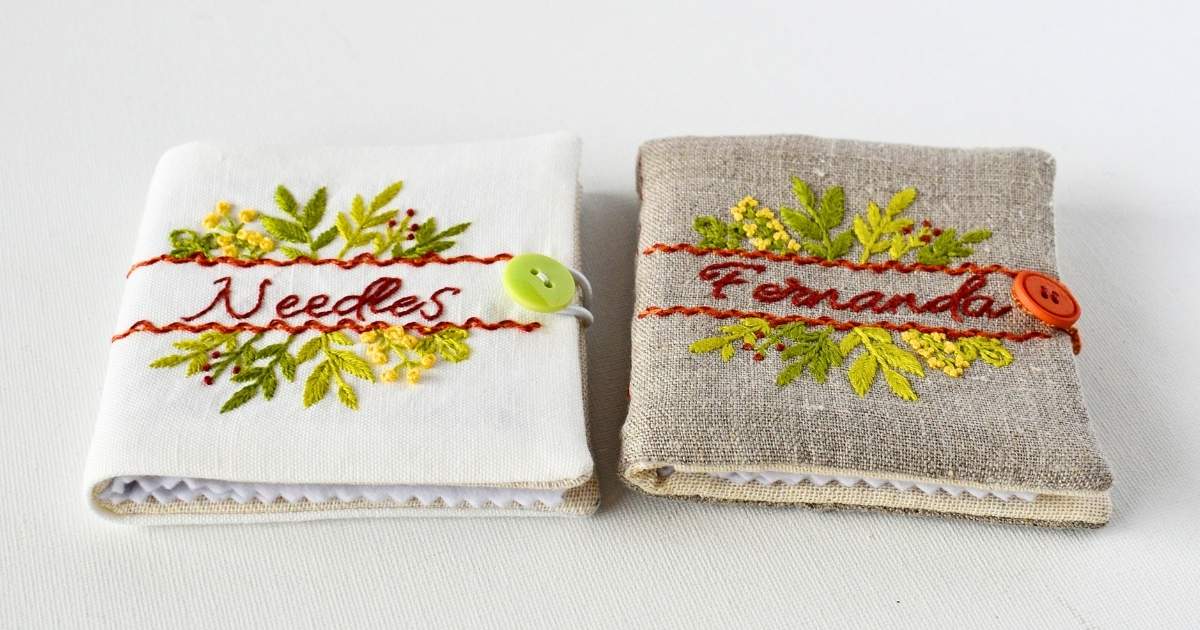
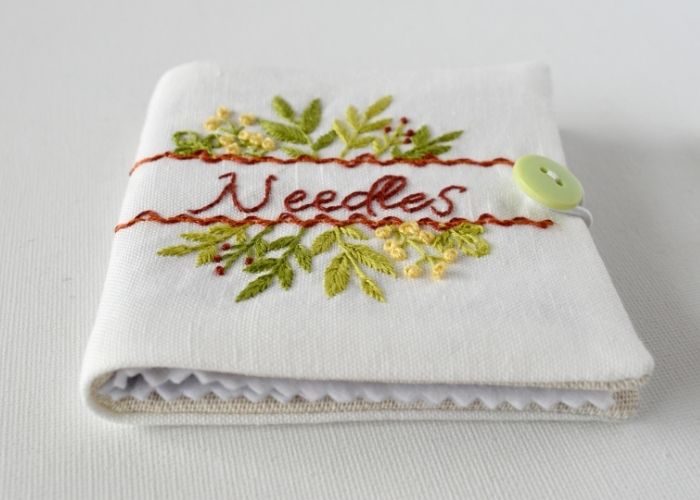
A hand embroidered needle book is a practical and original tool for organizing sewing and embroidery needles. This DIY needlebook project combines creativity with functionality, allowing you to personalize your needle book with a botanical hand-embroidered design and a word of your choice.
In this tutorial, you will learn how to make an embroidered needle book using a free botanical pattern and easy, step-by-step instructions. This guide will help you make an embroidered needle book that is perfect for personal use or as a thoughtful handmade gift.
DIY embroidered needle book: Step-by-step tutorial
Learn how to embroider and sew a lovely needle book that you can personalize with the name, initials, or a meaningful word. This DIY project makes a great gift for anyone who even occasionally uses the needles – from a serial crafter to a stay-at-home mom who mends her kid’s clothes. Download a free PDF embroidery pattern and a stitch guide, and let’s get started!
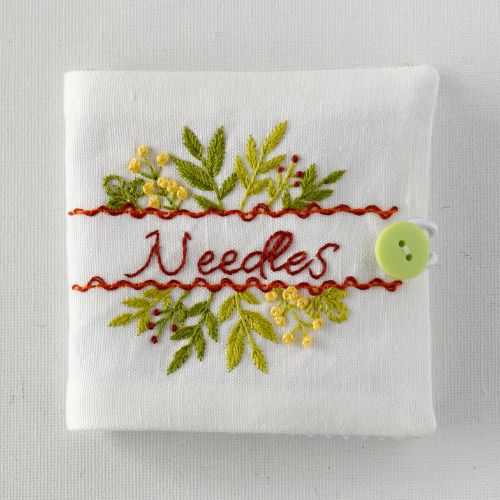
How to sew and embroider a needle book – DIY tutorial
Tolls and materials
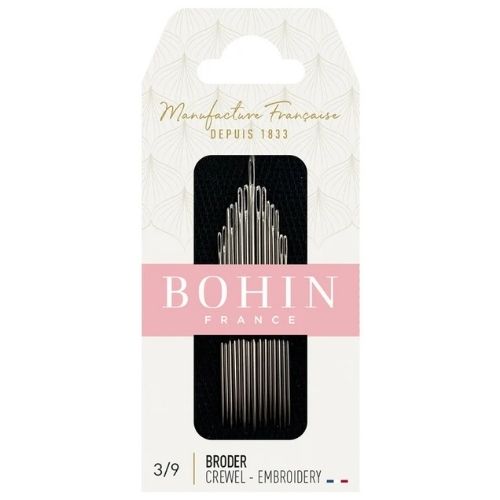
- Embroidery and sewing needles
- Embroidery hoop
- Scissors – embroidery, fabric scissors, and pinking shears
- Ruler
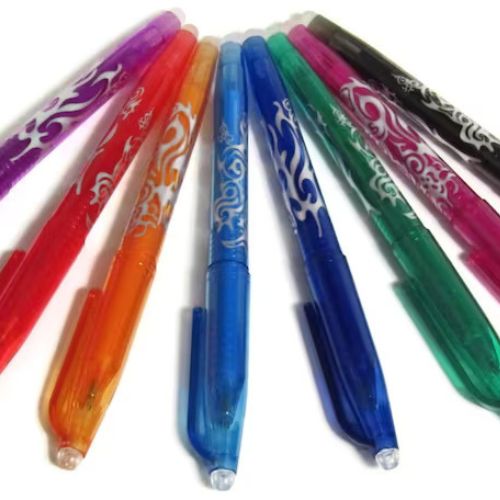
- Tracing tools. Friction pen works great on light-colored fabrics and white fabric markers – on dark materials.
- Some pins
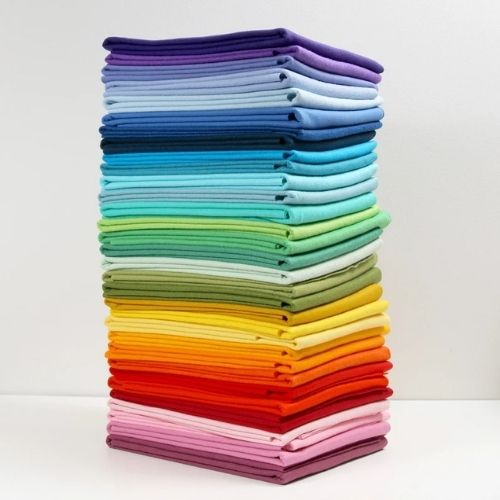
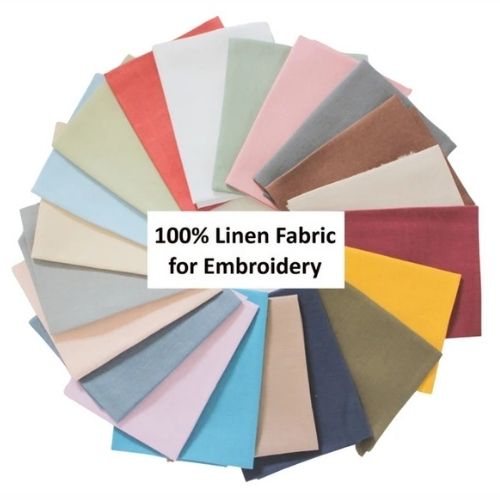
- Outer fabric
- Inner fabric
- If your fabrics are thin and soft and do not keep their shape, you will need an extra piece of felt, fleece, or interfacing.
- Felt fabric or fleece for pages and interfacing.
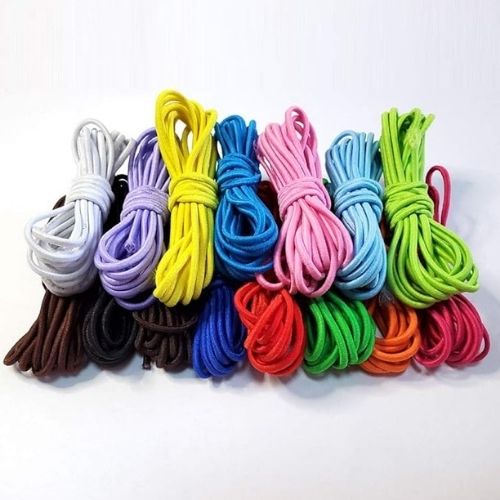
- Elastic for closure. You can use a small hair elastic or an elastic band.
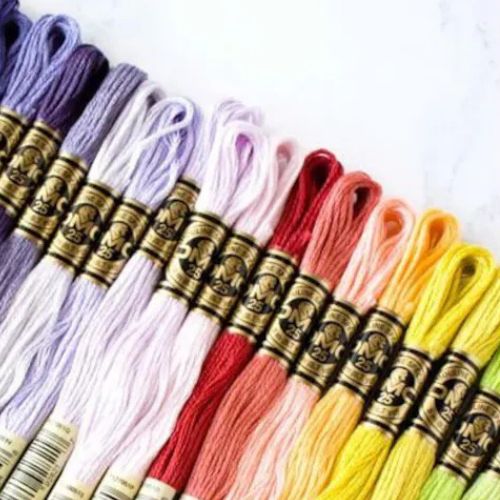
- Embroidery floss. I used DMC embroidery floss in these colors: #355, #720, #3822, #166, #581
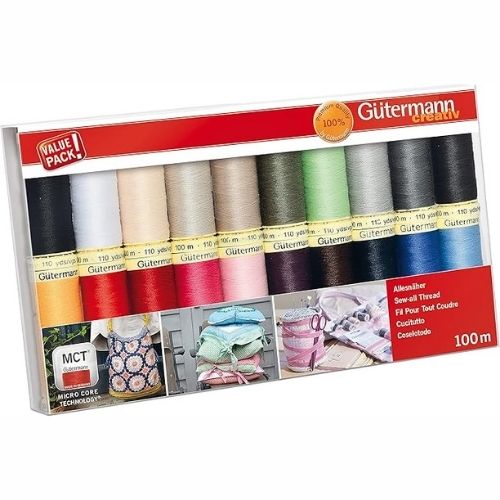
- Sewing thread
- Decorative button
Instructions
DIY embroidered needle book hand embroidery and sewing tutorial
- Gather tools and materials
Choose the fabric and gather all the tools and materials needed for this project.
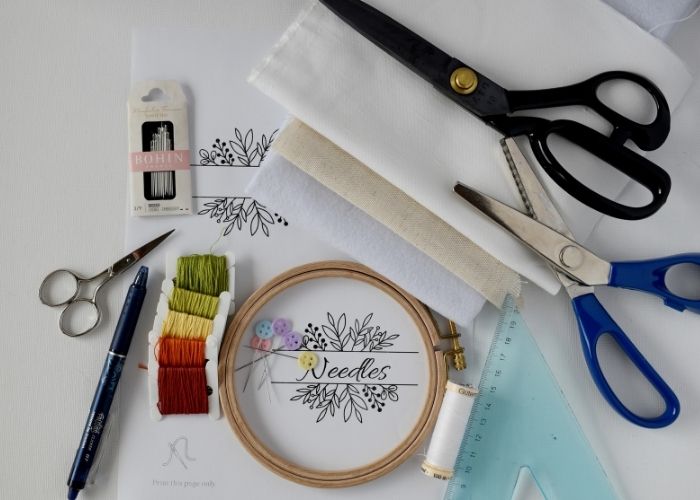
- Prepare the pattern
Download and print the free PDF pattern. Decide if you want to personalize it with a name, monogram, or a special word. If so, write it inside the lines of the blank design.
I personalized one of the needle cases with a name.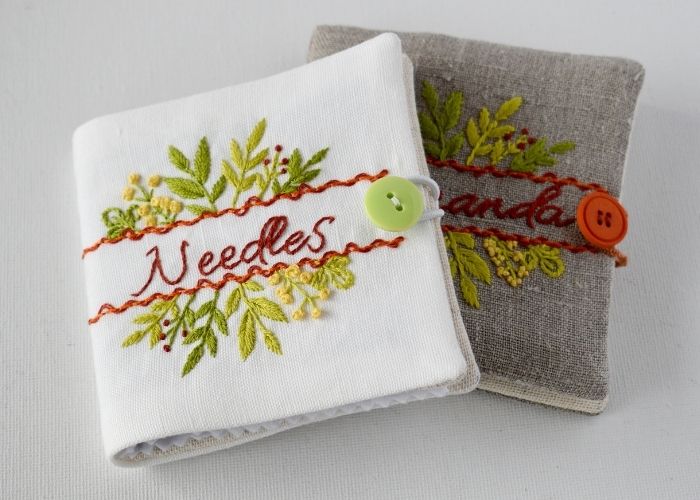
- Measure and mark the cover fabric
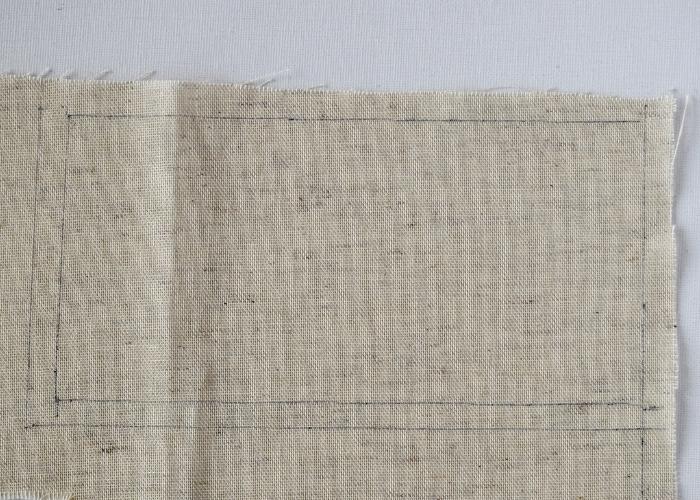
The needlebook’s size is 20 x 10 cm. You will need to add 1 cm for seam allowances on each side. Draw the 20 x 10 cm square and mark the seam allowances. But do not cut the fabric yet—a bigger piece of fabric is easier to frame in the hoop for embroidery. Mark the right side of the shape and the center. You will embroider inside this square.
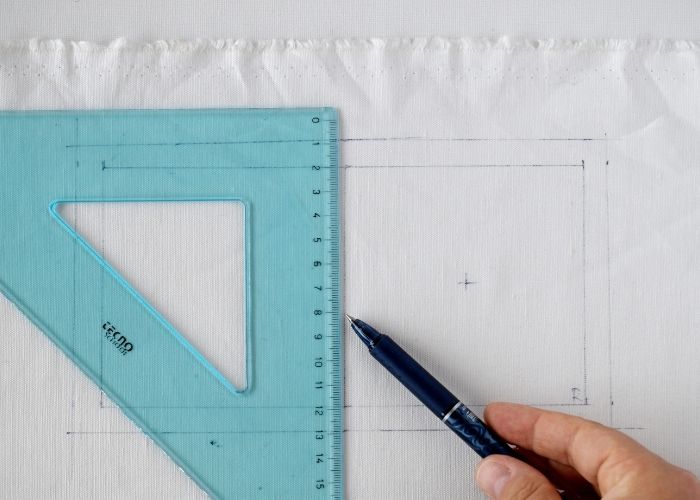
- Prepare the lining fabric
Draw the 20 x 10 cm square, mark the seam allowances, and cut out this square shape. Set it aside.
- Prepare the pages
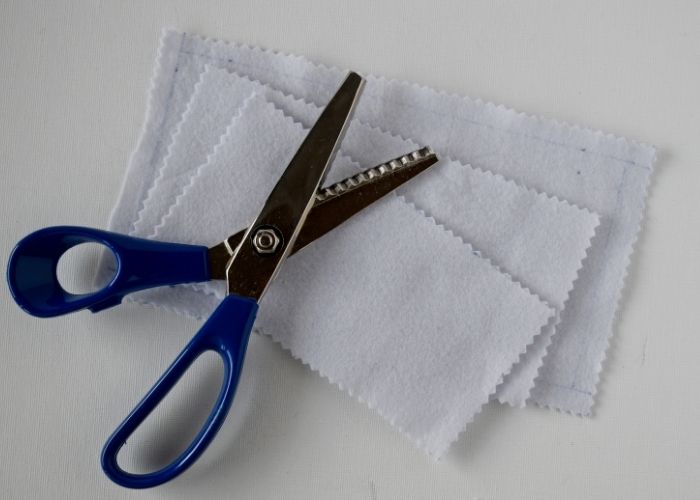
Mark and cut out two squares from felt fabric for the inner pages. One square is 18 x 9 cm, and the second is 16 x 8 cm. Use pinking shears or a rotary cutter with a pinking blade installed to create wavy edges.
- Transfer the pattern
You can use your favorite pattern transfer method that suits your fabric color, density, and the tools you have. Read the article “How To Trace Pattern on Fabric: Five Methods For Fast And Easy Embroidery Pattern Transfer” to help you decide which method suits you best.
For the cover of my needlebook, I used a white linen fabric and transferred the pattern with a lightbox method.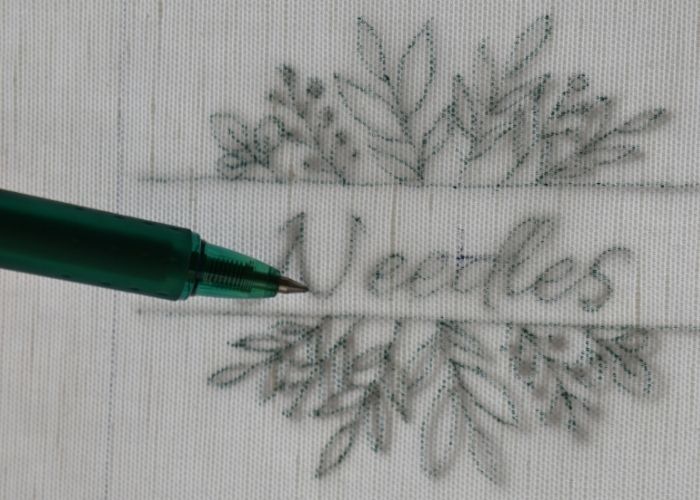
- Prepare the hoop
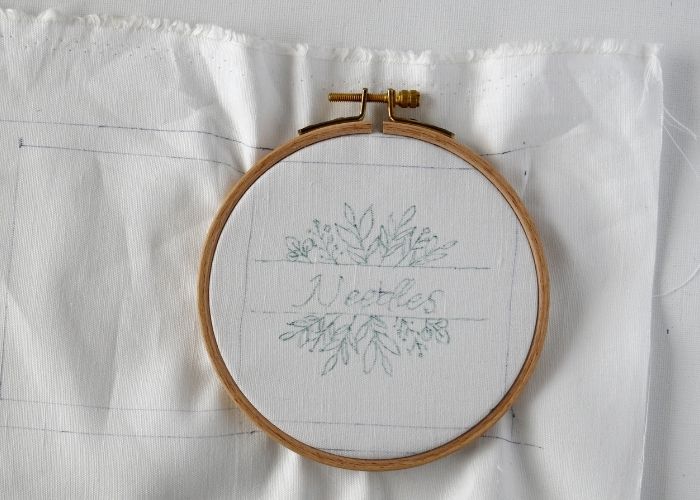
Stretch the fabric in the hoop and tighten the screw.
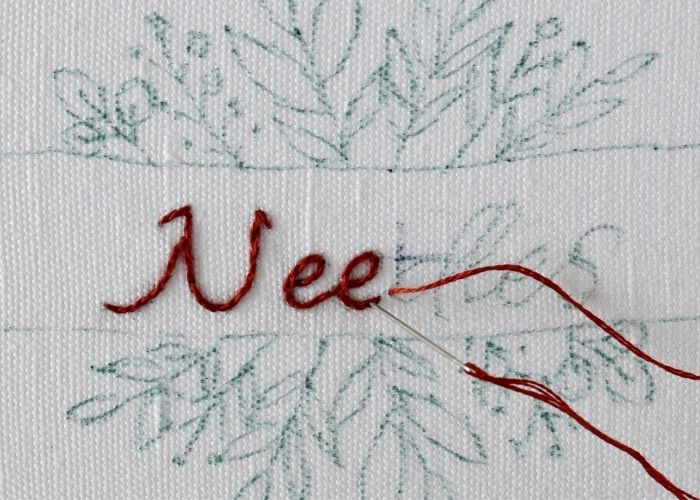
- Embroider the lettering
Use two strands of embroidery floss and embroider with Split Backstitch.
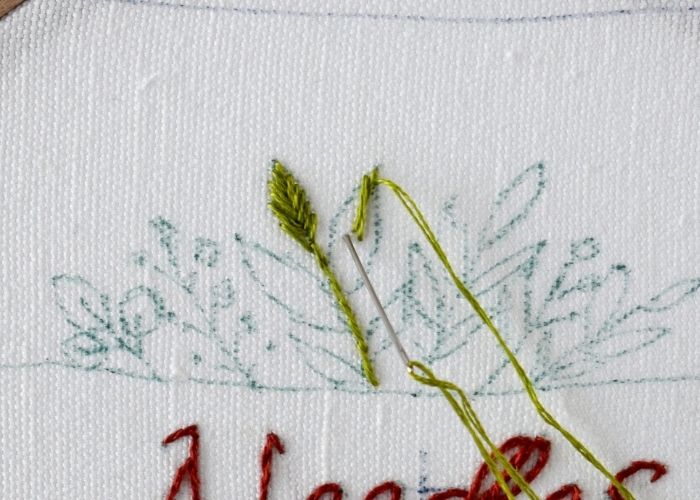
- Embroider the plant with pointy leaves
Use two strands of green embroidery floss and embroider the leaves with Fishbone Stitch. For the stem, use Stem Stitch.
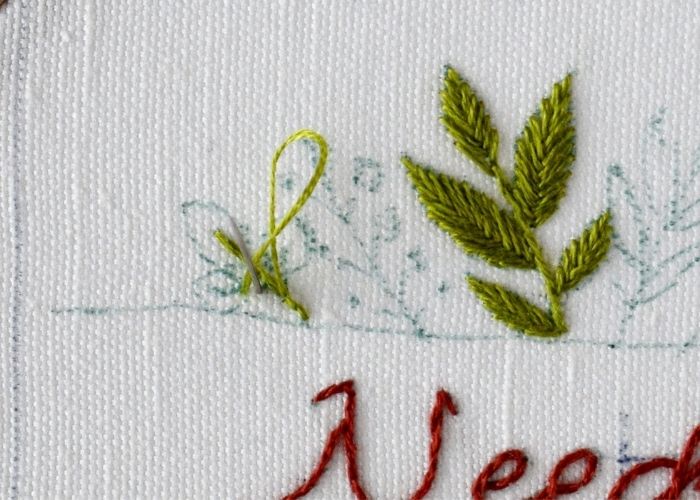
- Embroider the plant with rounded leaves
Use Stem Stitch for the stem. Embroider with two strands of embroidery floss.
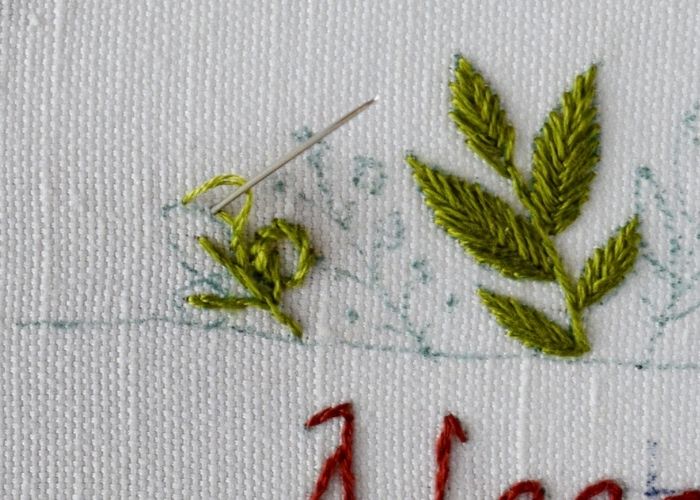
- Add leaves
Use the same Stem Stitch for outlines.
- Embroider the plant
Use Straight Stitch for the stem and the branches.
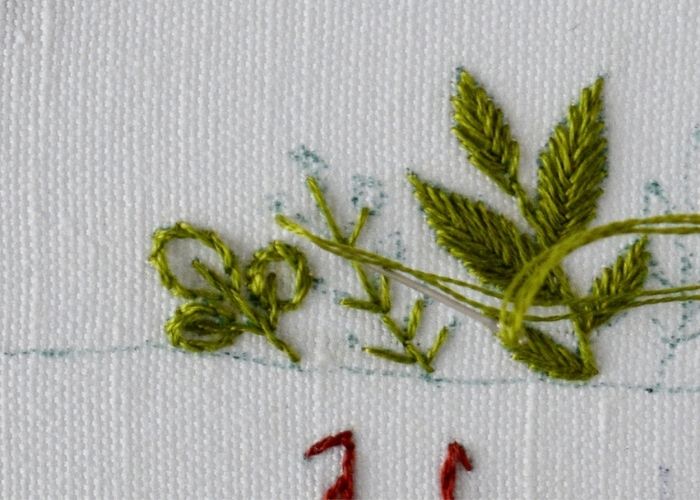
- Add berries
Use six strands of yellow embroidery floss and make French Knots.
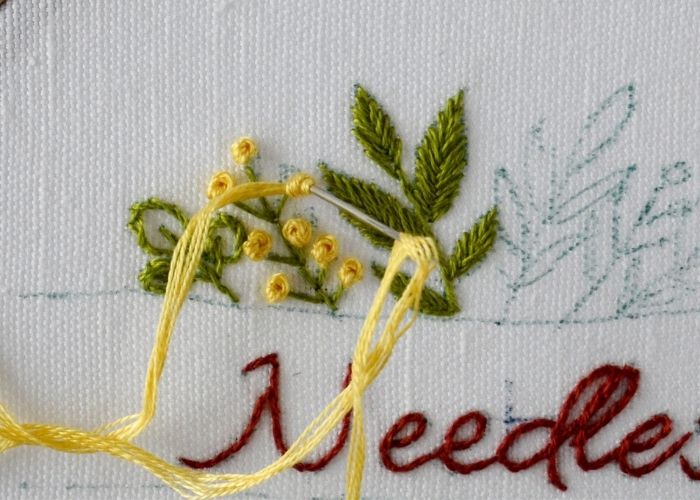
- Embroider the plant with small berries
Use the Stem stitch for the stem.
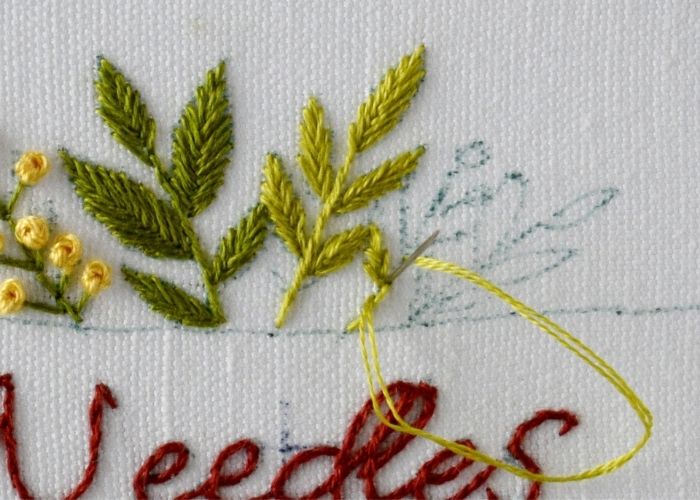
- Add branches
Use Straight Stitch.
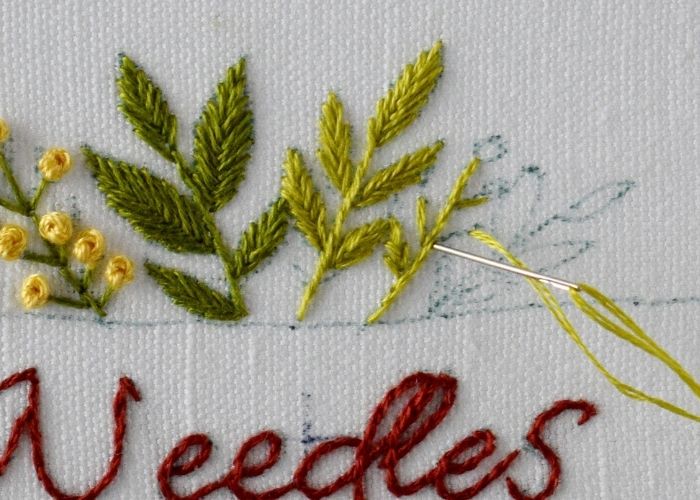
- Add berries
Make French Knots with two strands of floss.
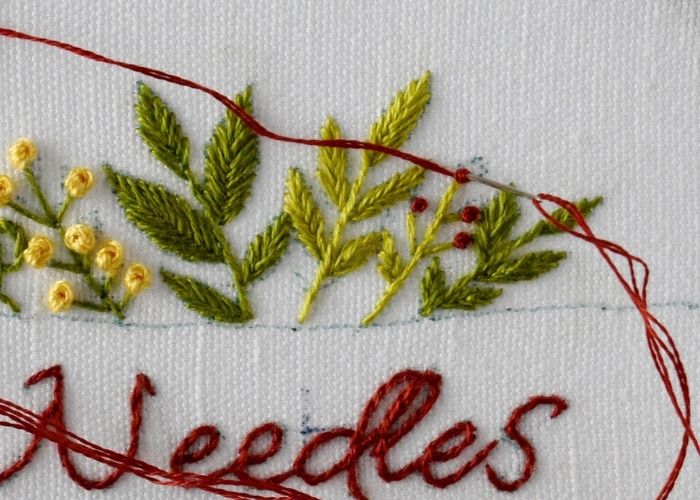
- Embroider the decorative frame
Start with a Backstitch.
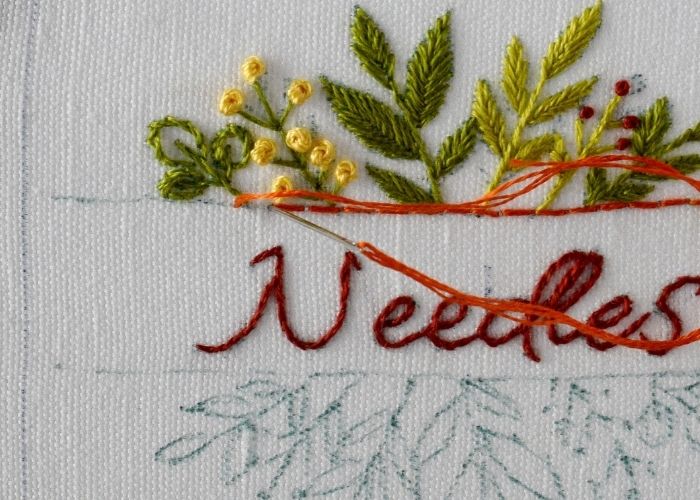
- Add threading
Use a contrasting color and add threading to make a Threaded Backstitch. Use a thimble to protect your fingers when threading.
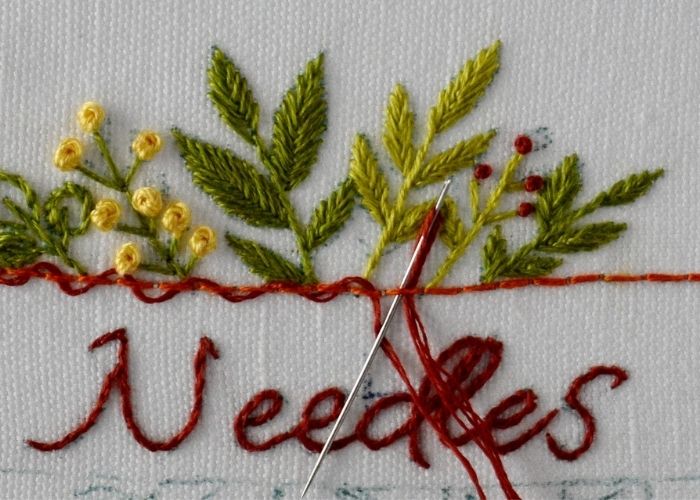
- Repeat all the botanical embroidery under the lettering
Use the same stitches. You can switch up the colors to add some variety.
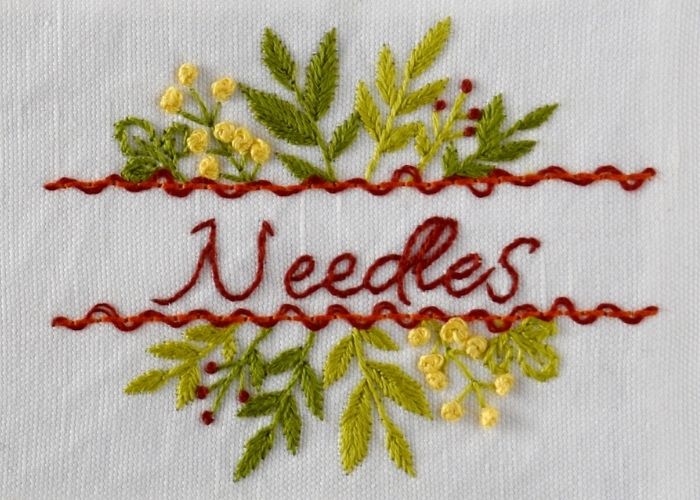
- Prepare the pieces for sewing
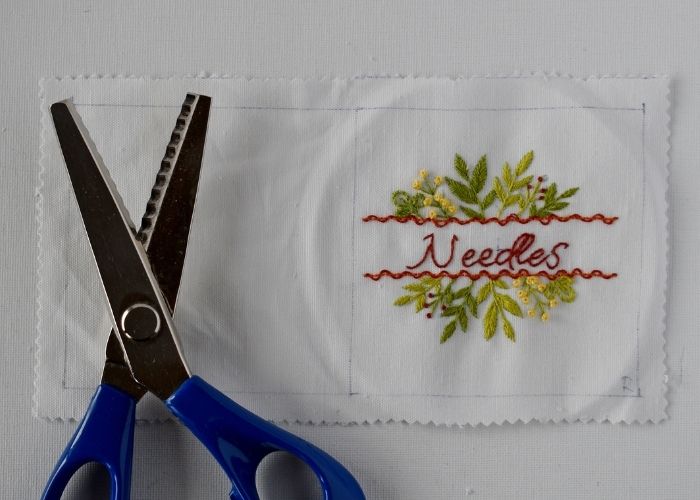
Cut out the embroidered part, leaving 1 cm seam allowances.
- Add elastic closure
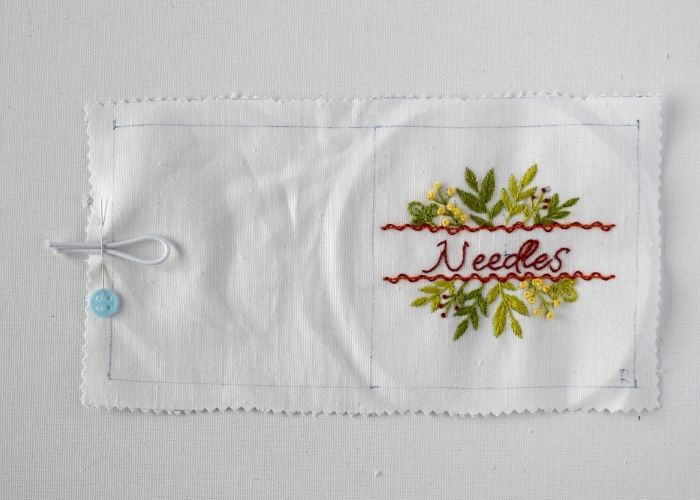
Pin your hair elastic or ribbon to the left side of your exterior cover, centering it on the shorter side with the main loop pointing toward the middle of the cover. The loop should measure approximately 2 cm from the cover’s raw edge to the end of the loop. Baste in place with a 0.7 cm seam allowance and a couple of stitches, then remove the pin.
- Sew the needle book
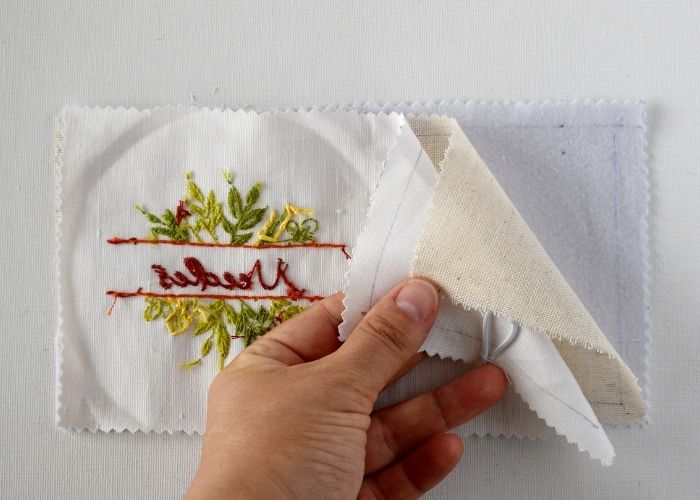
Match the interfacing, cover fabric (with the embroidery), and lining facing the front sides.
- Pin and sew the edges
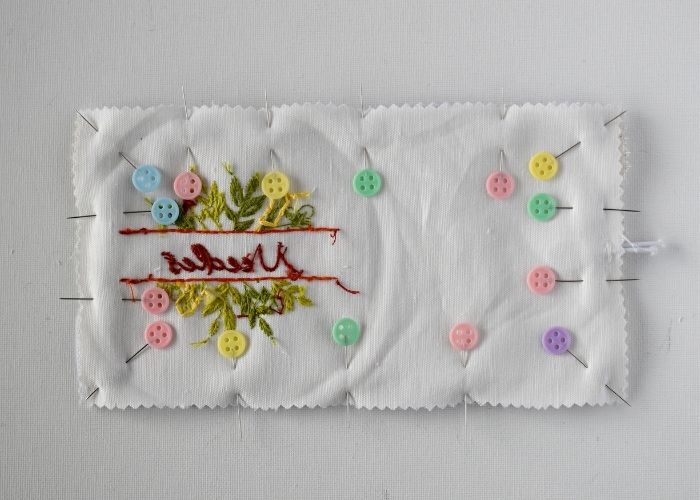
Leave a ~ 5 cm gap for the turn. You can sew with a sewing machine or by hand with a Backstitch.
- Prepare to turn the needle book
Cut away the angles. If needed, reduce the seam allowances with pinking shears.
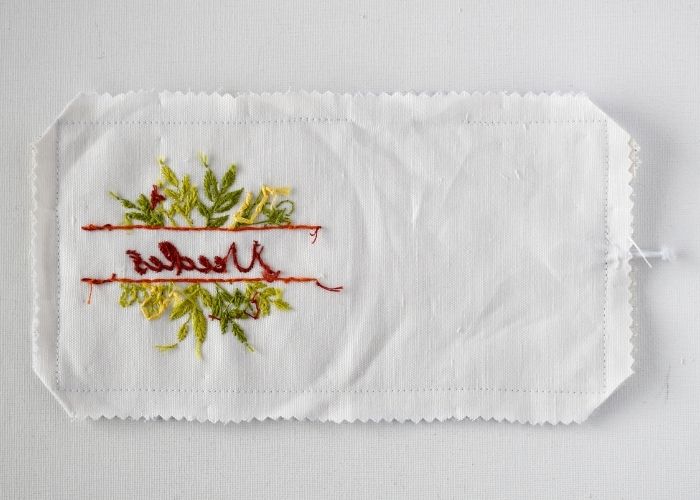
- Turn the piece
Use a knitting needle, chopstick, or other pointy but not sharp tool to push out each of the four corners.
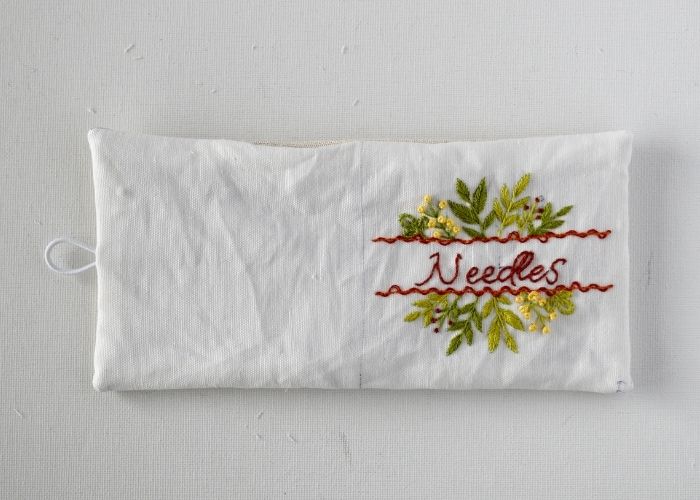
- Iron it
Pin the opening and iron the piece.
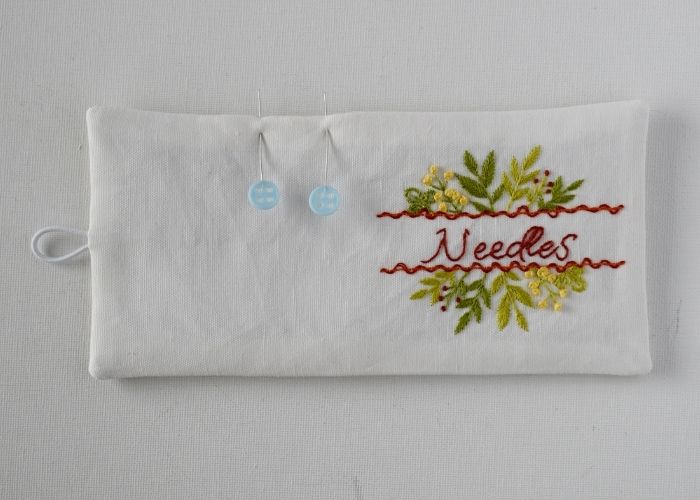
- Close the gap
Sew the turning gap with a ladder stitch.
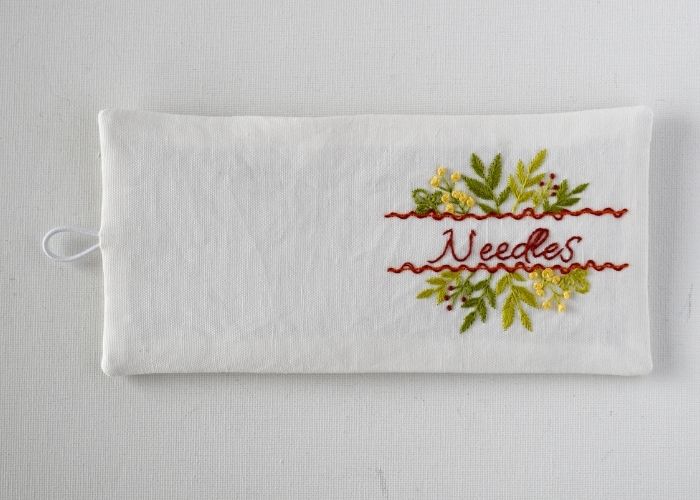
- Add inner pages
Mark the center of the needlebook cover and the pages and pin them together.
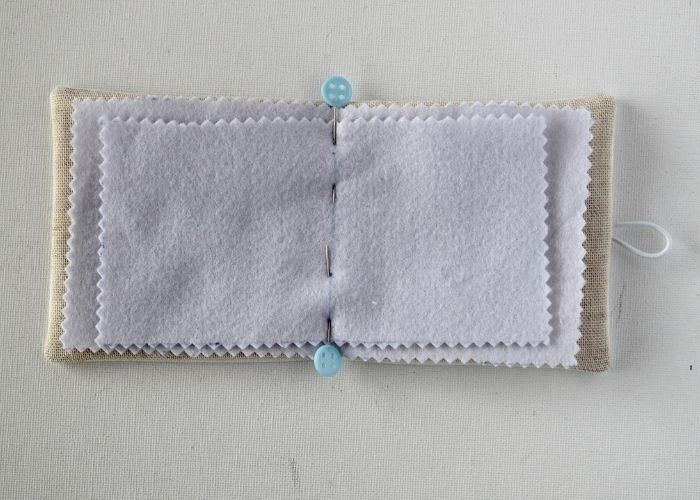
- Sew the pieces together
Sew with a sewing machine or use a Holbein Stitch—this will create nice, even stitches on both sides of the needle book.
I used the sewing machine for the white needle book and Holbein stitch for the linen one.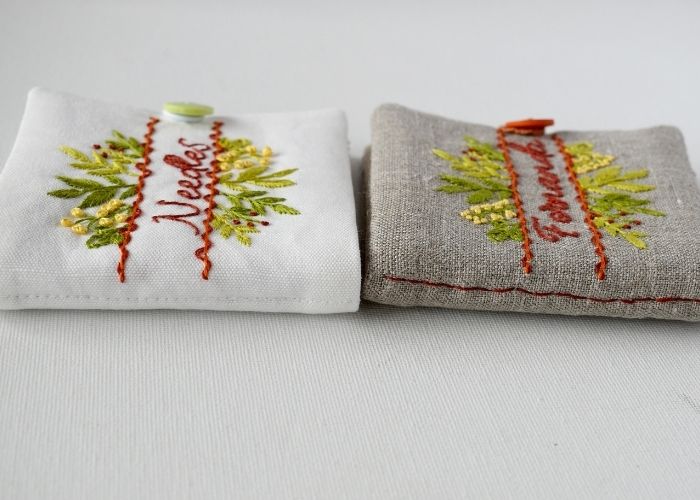
- Sew the button
Use a robust thread for sewing and secure your button well.
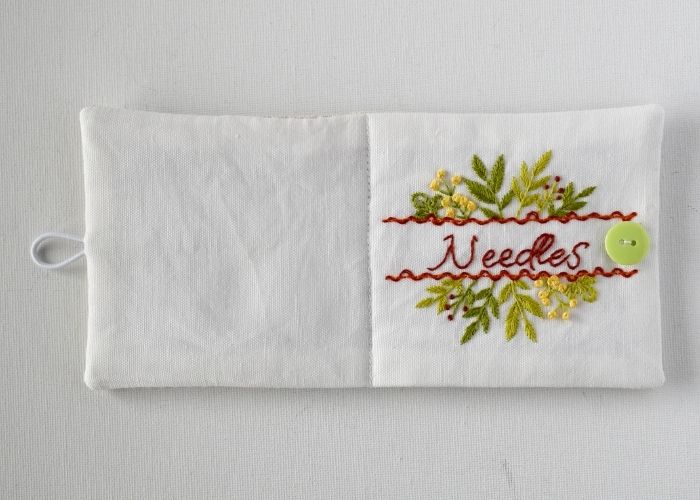
- Your DIY needlebook is ready!
Gather all the needles you have scattered around and keep them safe in the book. You can also pack the needlebook as a gift for your friend.
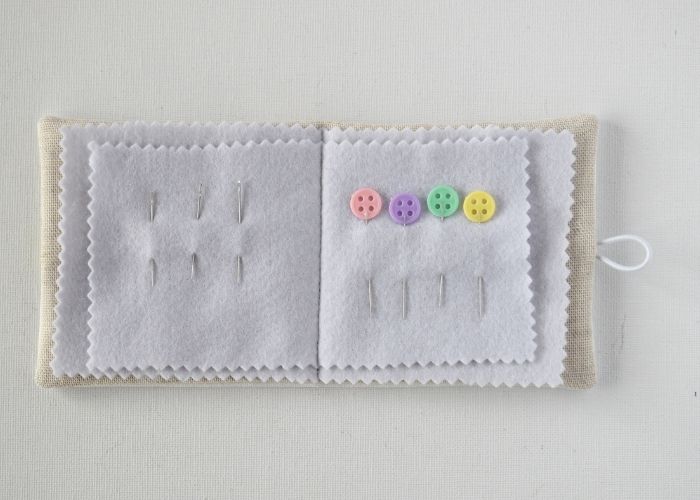
Video tutorial
Recommended Products
Disclaimer. To cover the cost of creating free embroidery patterns and video tutorials for this blog, I do sometimes link to products. Please assume these links are affiliate links. If you choose to buy through my links then THANK YOU! – it will make it possible for me to keep doing this.
Over to you
Creating a DIY embroidered needle book is a fun and practical project that will enhance your sewing and hand embroidery skills. This tutorial demonstrates what materials you will need, how to embroider the botanical design, and how to sew the needle book together. By following these steps, you will create a personalized hand embroidered needle book that keeps your needles organized, safe, and easy to access.
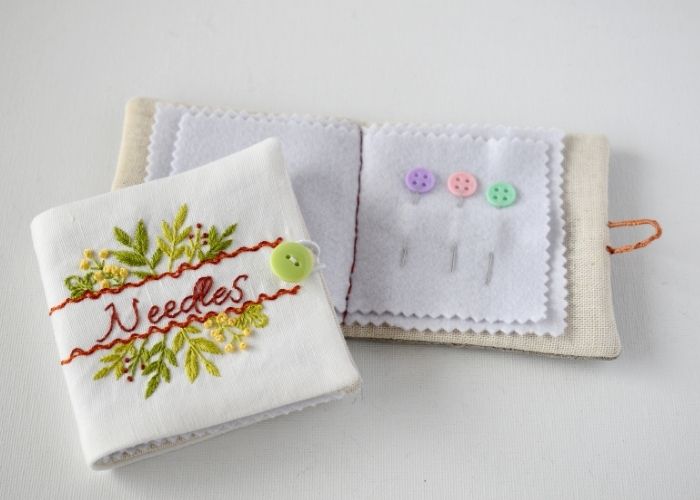
This project not only improves your needle storage but also makes a unique handmade gift. Use this sewing guide and embroidery pattern to create as many hand embroidered needle books as you need, personalize them, and, most importantly, enjoy the stitching process!
Don’t miss a thing!
Follow me on YouTube, Instagram, Facebook, Flipboard, Telegram and Pinterest. On the other hand, you can subscribe to the Practical Embroidery newsletter and get embroidery tips straight to your inbox every week!

