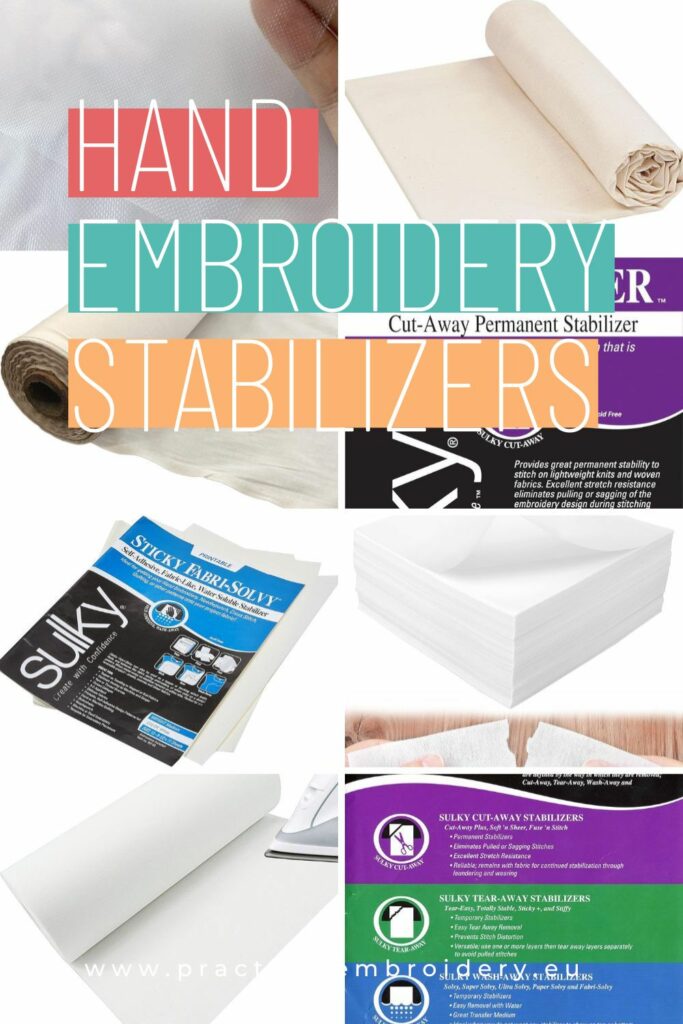
Embroidery Stabilizers: Fabric Stabilizers for Hand Embroidery You Must Know
If you are into hand embroidery, you have probably heard about magic embroidery stickers and water-soluble stabilizers or have seen embroiderers stitching on the cling tape layered on top of their embroidery. All these “magic” materials are nothing but embroidery stabilizers that come in various shapes and forms and are created to make our textile adventures more fun and easy.
Basically, hand embroidery stabilizers can be categorized by these criteria:
- Backside or topside stabilizers
- Permanent or temporary support material
- Sticky or non-sticky stabilizers
- Water-soluble and non-dissolvable stabilizers
In this article, we will explore all the types of fabric stabilizers you can use for hand embroidery, how they differ, and which is best for your next project.
What are embroidery stabilizers?
An embroidery stabilizer is a temporary or permanent material placed on the fabric’s back or front to support stitching. Stabilizers can be made from a variety of materials, including woven or non-woven fabric, plastic-like films, or water-soluble substances. They serve as an extra layer that keeps the fabric tension stable during hand stitching. Some embroidery stabilizers remain as part of the finished piece, while others are removed once the stitching is complete.
How stabilizers work in hand embroidery
When we stitch, we pull the needle and thread through the fabric repeatedly, which can put stress on the material. Stabilizer is that extra layer of reinforcement that reduces strain and ensures that the fabric does not deform or stretch while stitching.
Here’s how fabric stabilizers can enhance the needlework process:
- Prevents fabric distortion. Embroidery stabilizer helps maintain the original shape of the fabric, avoiding puckering or warping.
- Improves stitch quality. Maintaining equal tension and neat stitching is much easier when the fabric is stiff and stable.
- Supports delicate and stretchy fabrics. Embroidery stabilizers provide stability for lightweight, sheer, or knit fabrics that might otherwise be difficult to embroider.
For example, when embroidering on silk or lightweight linen, a stabilizer will keep the fabric from bunching up and will make stitching smoother. Embroidery stabilizer will save you from unequal stitches and holes that may occur due to lightweight fabric and uneven tension.
When embroidery stabilizers are necessary
Not every embroidery project requires a stabilizer; I do not use it for every project I stitch. However, in some cases, it can significantly improve the outcome. Here are common scenarios where embroidery stabilizers are particularly beneficial:
- Delicate fabrics. Sheer fabrics (e.g., chiffon, organza), lightweight cotton or linens and thin silk fabrics. These fabrics are very fragile. Therefore, a stabilizer will provide the necessary reinforcement and make your stitching more enjoyable.
- Stretchy fabrics. Jersey knit, T-shirts and sweatshirts, stretchy woven fabrics. Stretchy materials can shift or expand while stitching, making it difficult to achieve even tension and neat stitches. Fabric stabilizer will provide a firm foundation to keep stitches in place and will make your stitching experience more pleasant.
- Fabrics with textured surfaces – felt fabric, velvet or chunky knits. These types of fabric have a fluffy surface and tend to absorb the stitches, making them less visible and inconsistent. An embroidery stabilizer will help you regulate the stitch tension. Hence, the stitches are loose enough to stay on the fabric’s surface but not too loose to deform the design.
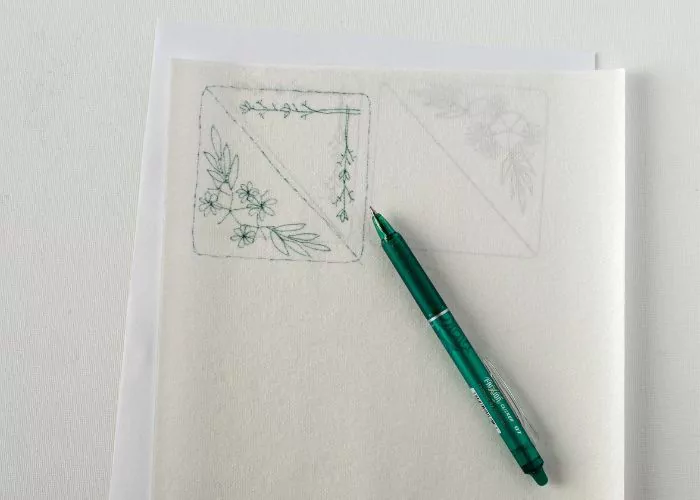
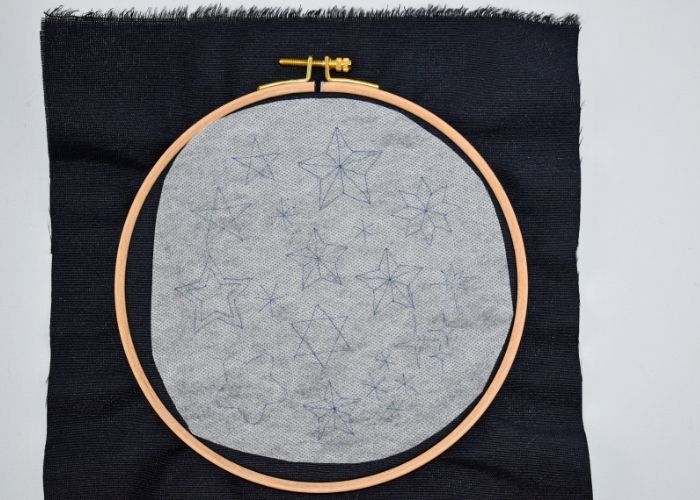
- When pattern transfer is tricky – dark and nontransparent fabrics, leather, fabrics with textured surface. Besides their primary function of giving stability to the fabric, embroidery stabilizers are very handy for pattern transfer purposes, as you can transfer the embroidery design to the stabilizer before layering it above the fabric.
- Intricate or detailed embroidery designs – tiny lettering or monograms, embroidery with precise outlines or freehand embroidery with complex elements. Stabilizers are helpful when your embroidery pattern has small or highly detailed stitches. Without a stabilizer, the fabric may shift slightly, causing design misalignment.
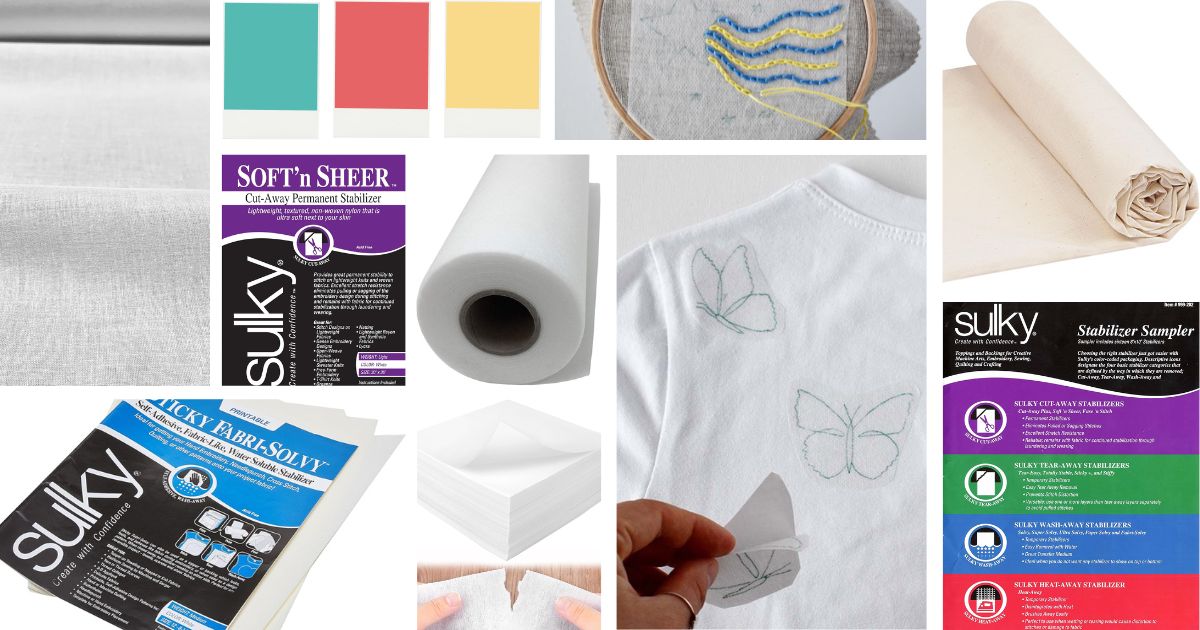
Types of embroidery stabilizers
Embroidery stabilizers come in different shapes and forms. They can serve various purposes based on fabric type and your embroidery design. Stabilizers can be placed behind the fabric or on top of it. It will depend on the fabric type and the purpose of the stabilizer.
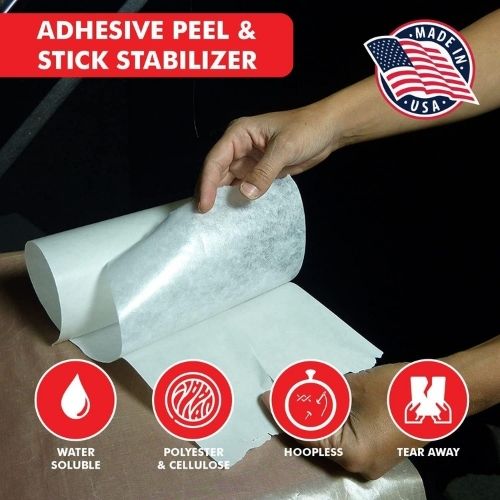
- Backside stabilizers provide foundational support, keeping the fabric stable during stitching. These include tear-away, cut-away, wash-away, fusible, and sticky-back stabilizers.
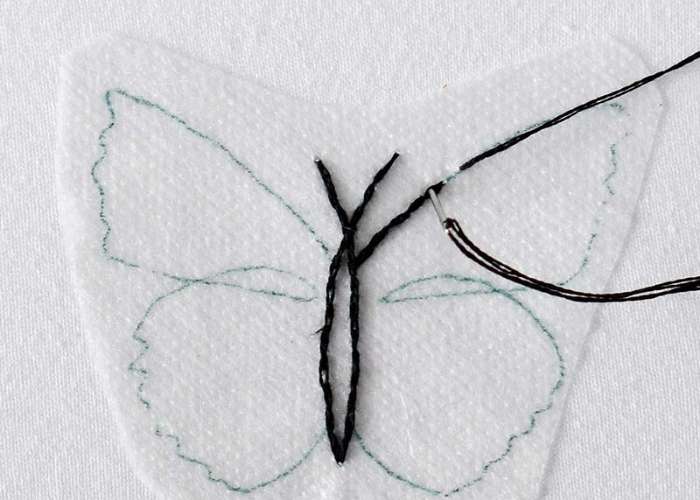
- Topside stabilizers help manage delicate or textured fabrics, preventing stitches from sinking into plush materials like velvet or fleece. Besides that, topside stabilizers are used for pattern transfer purposes. Sticky and non-sticky wash-away stabilizers are often used to layer on top of the material.
Below are the main types of fabric stabilizers used in hand embroidery.
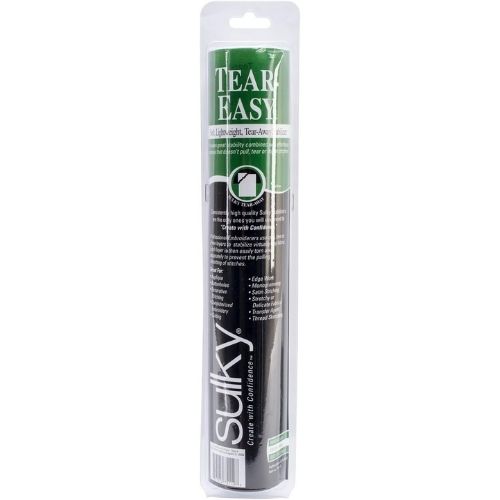
Tear-away stabilizers
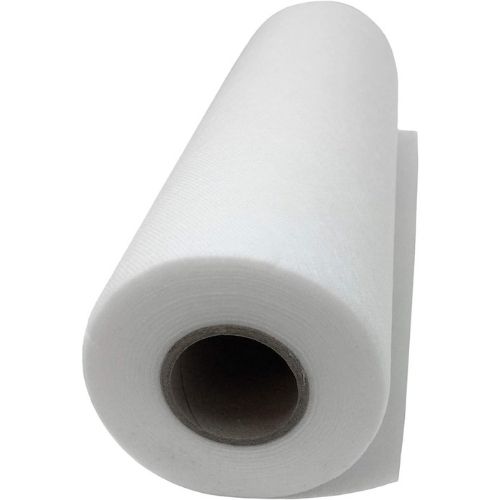
Tear-away stabilizers provide temporary support while stitching and can be removed easily by tearing them away from the stitched design. They are typically made from lightweight, fibrous materials that look like lightweight paper that breaks away cleanly when pulled.
In most cases, you will want to use this stabilizer on the back side of your fabric, as sometimes the edge of the stabilizer may remain visible behind the embroidery. Note that some options are tear-away and water-soluble in one. In these cases, you can use it on top of the fabric, as the residue will dissolve when you wash the embroidery.
These stabilizers come in various weights (from lightweight to heavyweight) and colors (black and white). You can get them in sheets or rolls. Besides that, stick and peel, and iron-on options are available.
Note that you must be extra careful when you tear away the stabilizer. This type of stabilizer is created for machine embroidery, where the stitches are more stable than the ones made by hand. Therefore, you risk snagging the stitches if you pull too hard.
Here are some options:
Cut-away stabilizers
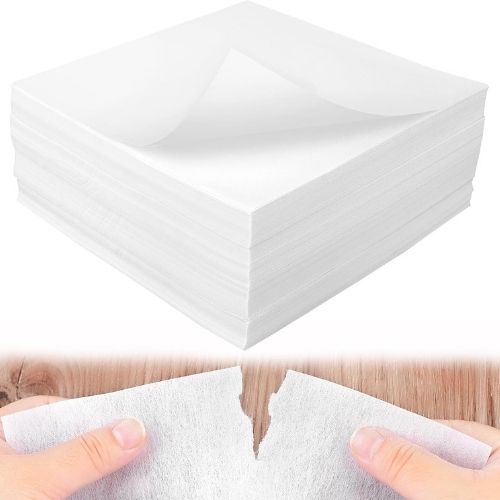
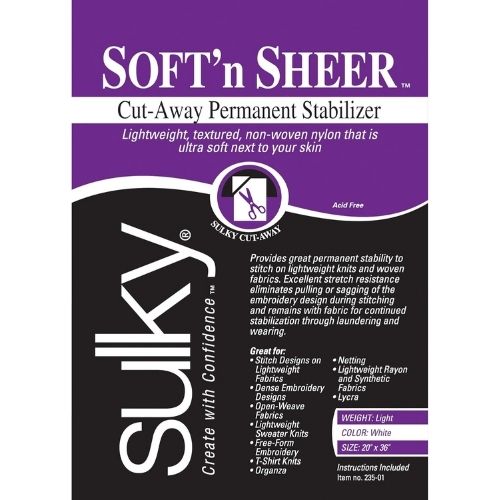
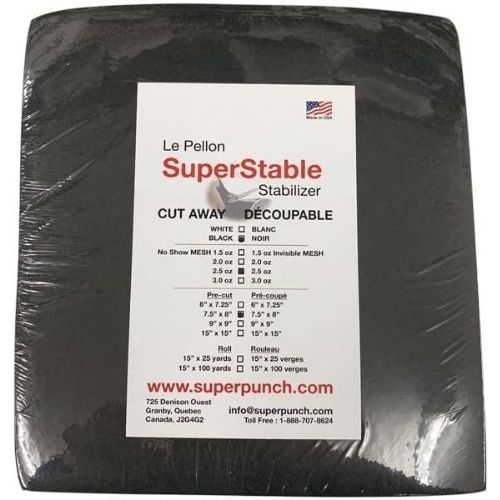
Cut-away stabilizers provide permanent support and remain attached to the fabric even after embroidery is complete. These stabilizers do not break apart like tear-away versions and do not dissolve when washed, making them ideal for permanent stabilizing.
This type of stabilizer is excellent for hand embroidery on stretchy clothes as it will stay on even after you wash the embellished garments and prevent the stitches from breaking when you naturally stretch the garment during wear. Note that the stabilizer might be visible if the garment’s material is lightweight and semi-transparent.
These stabilizers can be layered as a second layer under the fabric when you stitch. Alternatively, you can choose an iron-on option that will fuse with the fabric and stay there while you stitch and after.
As tear-away stabilizers, these cut-away stabilizers come in various shapes, weights, and colors. For lighter fabrics, choose a lightweight stabilizer and heavy ones for heavy jerseys or chunky knits.
Here are some options for cut-away stabilizers:
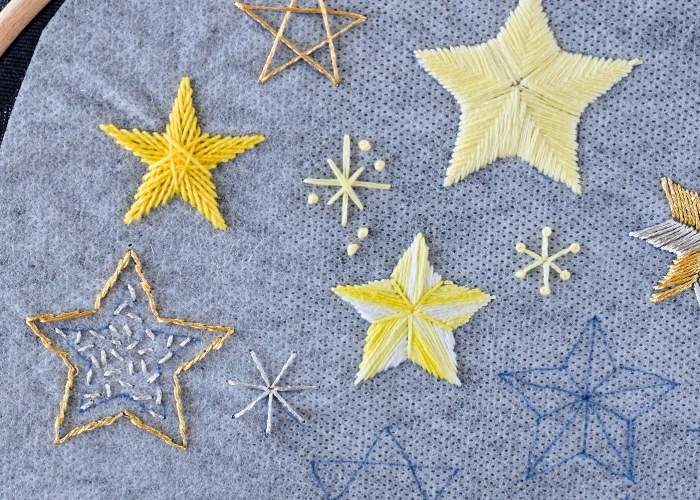
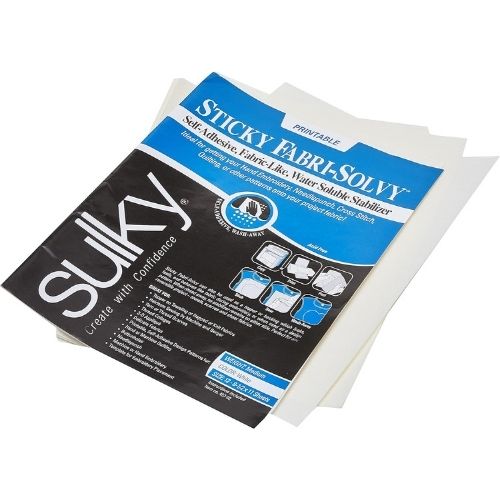
Wash-away (water-soluble) embroidery stabilizers
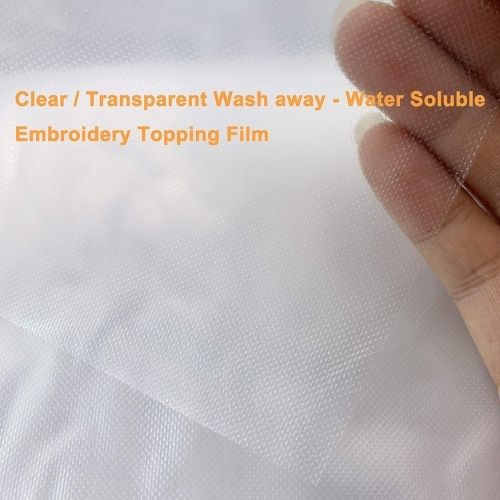
Wash-away hand embroidery stabilizers dissolve entirely in water, leaving no residue behind. These are excellent for embroidery projects where any stabilizer remnants would be visible or interfere with the final design.
It is the most popular type of stabilizer amongst stitchers as it gives the fabric stability we need and, at the same time – serves as a pattern transfer medium.
Water-soluble stabilizers come in all shapes and forms. You can find wash-away embroidery stabilizers as:
- small and big sheets or rolls
- mesh fabric or film
- self-adhesive and non-sticky stabilizer
- printable sheets
I wrote an in-depth guide on how to use water-soluble stabilizers – “The Ultimate Guide to Water Soluble Stabilizers for Hand Embroidery” that will give you more details about these products.
Here are some options for wash-away embroidery stabilizers:
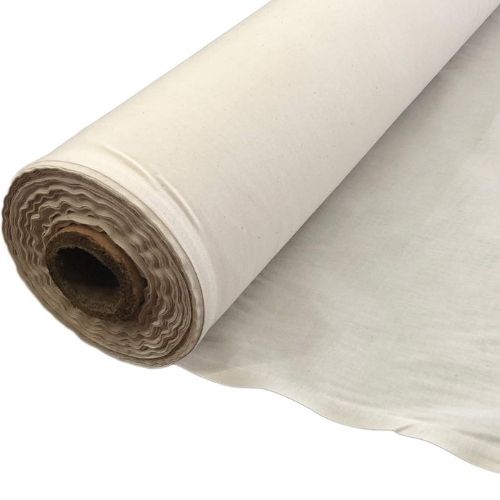
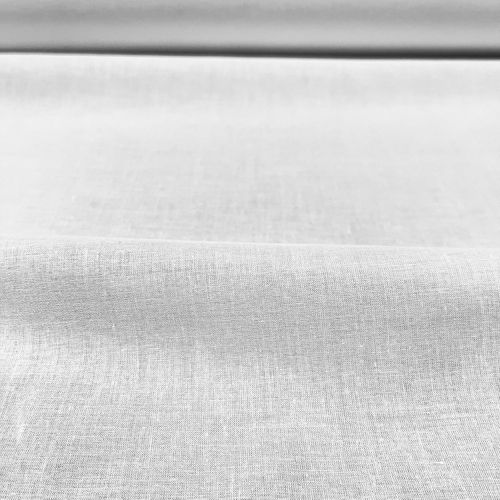
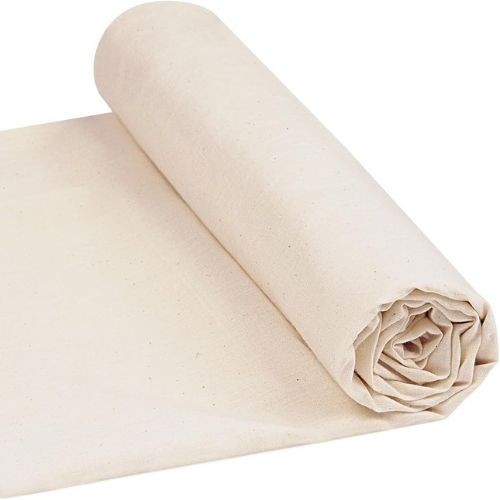
Fabric-based embroidery stabilizers (interfacing & backing fabrics)
In essence, fabric-based stabilizers are another layer of the fabric that we put under the main embroidery fabric and stitch through both layers. You can use simple natural fabrics such as muslin or cotton interfacing to provide a natural backing for your embroidery. This additional layer of fabric will give the material more structure while maintaining a soft, flexible feel.
I often use this method when I create hoop art or home decor textiles like pillowcases and want to use lightweight cotton fabrics. For example, quilting cotton has beautiful prints and colors but is too thin for embroidery. Therefore, we need a stabilizer or a backing fabric to stitch on it. An extra layer of inexpensive muslin makes stitching more stable, and I prefer this stabilizer to synthetic ones.
The best part of this method is that you can use whatever fabric you have at home. Just opt for natural fibers and non-stretchy fabrics, and ensure they do not show through on the surface.
If you do not have any suitable fabric on hand, here are some options:
How to choose the embroidery stabilizer for your project
When you plan your hand embroidery project and are choosing which stabilizer to use (or if you use it at all), ask yourself these questions:
- What kind of fabric will I stitch on? Stretchy and delicate fabrics require a stabilizer.
- Can I wash the piece after stitching? Wash-away stabilizers are great but require washing the piece after finishing the embroidery. If the embroidered object is not washable – consider tear-away stabilizers.
- Should the stabilizer remain, or should it be removed after the work is done? For permanent options, choose the backing with another fabric or cut-away stabilizers.
- Do I need a stabilizer for pattern transfer? If yes, opt for the stabilizers that can be layered above the fabric while you stitch. Consider also the possibility of printing the pattern directly onto the stabilizer.
- How big is the design I want to stitch? If the design fits in the hoop and you do not need to move the fabric, you can layer the fabric and the stabilizer in the hoop, and they will stay firm. For bigger designs – opt for iron-on or peal-and-stick options, where the stabilizer is attached to the fabric even without the hoop. This option is also great for tiny designs, so you do not need to use a lot of stabilizer for tiny embroideries.
Tips for using embroidery stabilizers effectively
Using embroidery stabilizers correctly ensures that your stitches look neat and that the final textile piece holds its shape over time. While selecting the right stabilizer is important, proper preparation, application, and storage are just as essential.
Wash and iron the fabric (if possible)
- Pre-wash fabrics that are prone to shrinking, such as cotton and linen.
- Avoid using fabric softeners, as they can reduce the effectiveness of adhesive stabilizers.
- Press the fabric with an iron to remove wrinkles before applying the stabilizer.
Cut the stabilizer to the correct size and apply it correctly
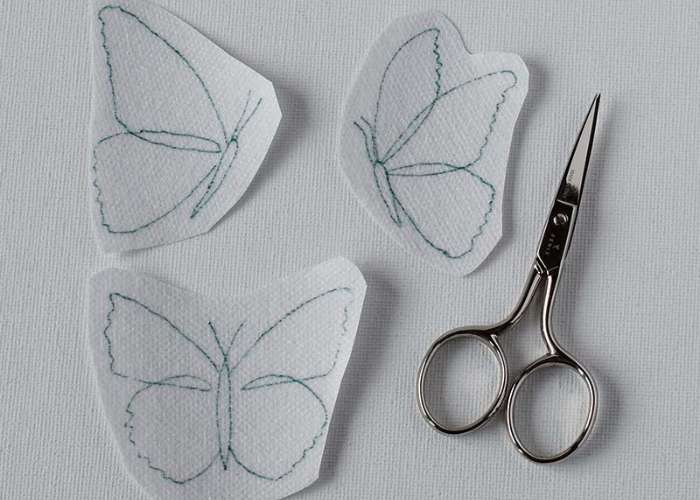
- Cut the stabilizer slightly larger than the embroidery design to provide ample support.
- If using a non-sticky stabilizer, make sure it is bigger than the hoop so you can tighten the layered fabric with the stabilizer in the hoop. You can also use a basting stitch to ensure the stabilizer does not move.
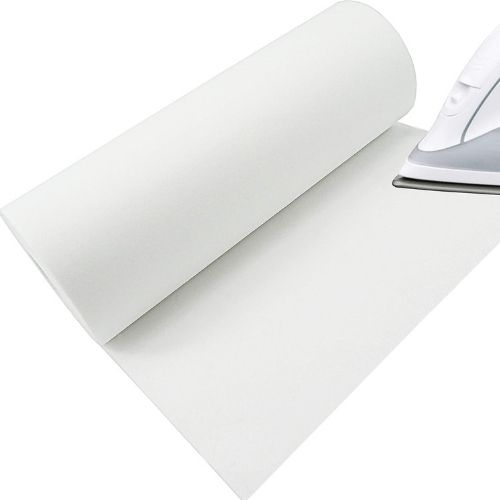
- For fusible stabilizers, use a dry iron on low to medium heat to activate the adhesive, pressing gently without stretching the fabric.
Mind the fabric tension
- Avoid over-tightening the hoop, as this can stretch the fabric and cause distortion when released.
- Ensure the fabric and stabilizer are taut but not overly stretched inside the hoop.
Choose the right stabilizer for the fabric type
- Use lightweight stabilizers for lightweight fabrics and vice versa.
- If you use a cut-away stabilizer, choose the color of the stabilizer that best fits the fabric’s color.
- Choose topside stabilizers for the fabrics with textured surfaces.
Store stabilizers properly to make them last longer
Embroidery stabilizers can degrade over time if not stored correctly. Keep them in good condition by following these storage tips:
- Keep stabilizers in a cool, dry place. Store away from direct sunlight and moisture, as humidity can weaken adhesive stabilizers and make them less effective. Avoid extreme temperatures, which can cause fusible stabilizers to activate unintentionally.
- Keep stabilizers in their original packaging or store them in resealable plastic bags to protect them from dust and moisture. Label each stabilizer type for easy identification.
- Roll instead of folding stabilizers. Folding can create creases that affect the stabilizer’s performance. Instead, roll stabilizers and secure them with rubber bands or clips for easy storage.
- Keep sticky-back stabilizers in their protective backing to prevent them from sticking to other materials.
- Store fusible stabilizers in a flat position to maintain even adhesive distribution.
Over to you
Even if they seem excessive and expensive, embroidery stabilizers can change your hand embroidery workflow and experience. After I tried to use water-soluble stabilizers on felt fabric, I never looked back and used tissue paper to transfer patterns on this tricky fabric. A stabilizer makes the work faster and smoother and is easier to remove.
Similarly, I always use a stabilizer when stitching T-shirts or other stretchy garments. It makes keeping the tension so much easier, and the final results are much neater.
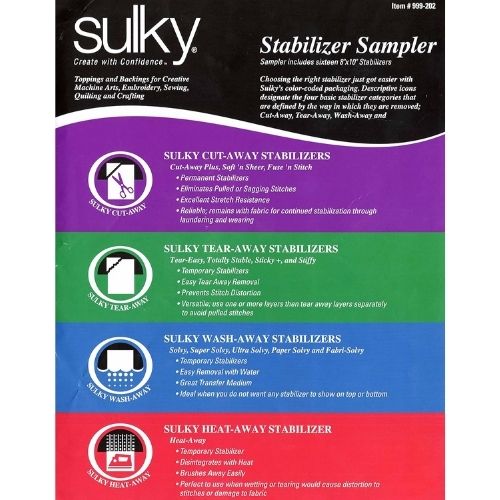
For those new to stabilizers, experimenting with different types is the best way to discover what works best for each fabric and embroidery project. A stabilizer sampler pack like this Sulky America Stabilizer Sampler Pack is a great way to try a variety of stabilizers before committing to a larger roll.
Have a favorite stabilizer or a go-to trick for keeping the fabric stable while stitching? Share your experiences in the comments!
The hand embroidery community is full of creative people, and your insights might inspire someone else’s stitching. Let’s keep exploring, learning, and making embroidery even more fun together!