How to transfer embroidery pattern with tissue paper
A simple way to transfer embroidery patterns to dark or dense fabric
There are many different methods for embroidery pattern transfer – from the lightbox method to carbon paper transfer or “magical methods” with water-soluble transfer stickers. Also, there are many tools we can use to transfer the patterns – from simple pencils to friction pens and water-soluble markers. You can read more about the methods and tools in the article “How to transfer embroidery pattern to the fabric” on this blog.
The problem is that most of these methods and tools work great on plain-weave, light-colored fabrics. But what if I want to embroider on black felt, red velvet, or thick denim?
Fortunately, there are pattern transfer methods for these tricky fabrics too. One of my favorites is the pattern transfer with tissue paper method.
Pattern transfer with tissue paper method
The benefits of the pattern transfer with tissue paper method:
- It’s simple.
- It’s fast.
- It is not expensive.
- Works on any material.
The downsides of this method:
- Not suitable for highly detailed delicate patterns.
- Removing the paper can get tricky on some fabrics.
How to transfer embroidery pattern with tissue paper
For this method, you will need the following:

- Embroidery pattern.
- Tissue paper. I use one layer of a simple paper napkin. Also, tissue paper for gift wrapping works fantastic – it must be thin.
- A pencil or a pen.
1 Transfer the pattern to tissue paper

- Layer tissue paper over the pattern and outline the whole design.
- Use a simple pencil or any pen you have on hand. Avoid felt tip pens as they can bleed on the tissue paper.
2 Position tissue paper on the fabric

- Place the tissue paper over the fabric you want to embroider. Position the design.
- Frame both layers into the hoop.
- If the piece of tissue paper is smaller than the hoop – secure it with the basting stitches.

3 Embroider

- Embroider through both layers – tissue paper and fabric.
- Be careful not to tear the paper before you finish the embroidery.
- If your embroidery has outlines and filling, embroider all the outlines and remove the tissue paper. Add filling stitches after you remove the paper.
- If you use composite stitches (e.g., whipped stitch or threaded stitch), embroider the base stitches, remove the paper, and add any lacing or whipping stitches at the end.
4 Remove the tissue paper
- After the embroidery is complete, remove the tissue paper.
- First, tear away and remove the most extensive parts of the paper, then – smaller ones that remain under or between the stitches.

- Use tweezers to get the smaller details.
- Also, you can use a lint remover to collect the final segments of the paper still left. Note – there are better options than lint remover for felt fabrics, but it works great on jeans and other materials.

That’s it! It really is straightforward and fast. I often use this pattern transfer method when embroidering on felt, which always works great.
P.S. If you need more visual guidance – I have a video tutorial for pattern transfer with tissue paper on my YouTube channel – take a look!
Related projects

dIY projects to practice this technique:
More about hand embroidery tools and materials:
- My favorite hand embroidery supplies, tools, and materials
- Hand embroidery needles
- Embroidery hoops
- Embroidery floss and threads
- Guide to hand embroidery fabrics
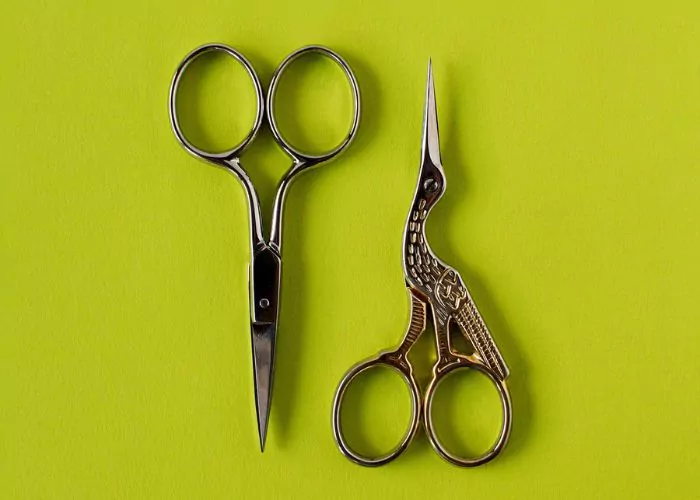
- Scissors for hand embroidery
- Water soluble stabilizers
- Carbon paper for pattern transfer
- Mending tools and materials
- Mini embroidery hoops
- Best hand embroidery books
- Embroidery materials for beginners