Finishing Embroidery hoop with glue. Two ways to frame embroidery in a hoop with adhesive method
Why is finishing the embroidery hoop with glue a good choice?
- First, this method is swift and straightforward to create a home decor piece with your embroidery.
- You can cover the back of the stitches with paper, backing fabric, or felt. Or you can leave the back of your DIY project open so everyone can see how much work you’ve put into your textile art.
- Using this technique to finish the hoop, the back of your work will look neat and beautiful. This finishing allows you to add a personalized message or your branding on the back of the hoop art.
- This method of framing hoop art does not create a bulky fabric on the back, and the hoop lays flush against the wall.

Two ways of finishing embroidery hoop with glue: The adhesive method and the no outer hoop method

Read both step-by-step tutorials and choose the most suitable method for your textile piece. Note that you can combine both methods. For example, change the backing material in the adhesive method or add a ribbon to the frameless technique.
If you are a visual learner, watch the video lessons in the tutorials or on the Practical Embroidery YouTube channel. These video instructions will help you finish your embroidery hoop with glue like a pro in no time.

The Adhesive Method For Finishing The Embroidery Hoop With Glue
Step-by-step guide
Tools and Materials
Tools:
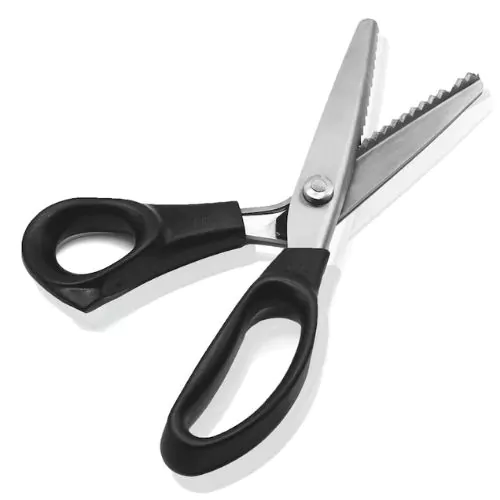
- Pinking shears
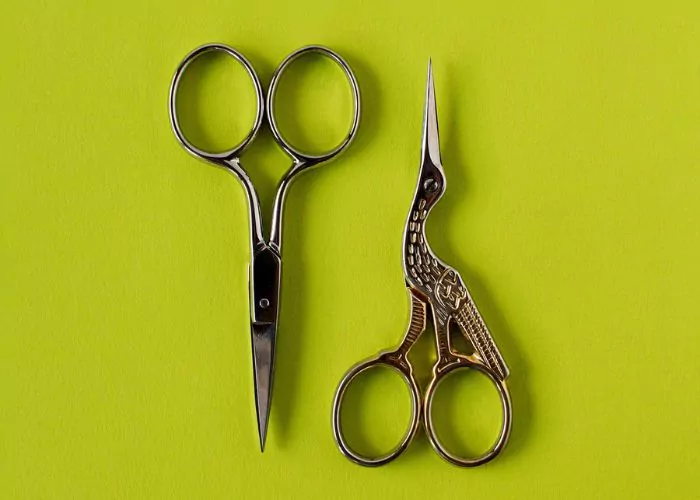
- Small sharp scissors
Materials:
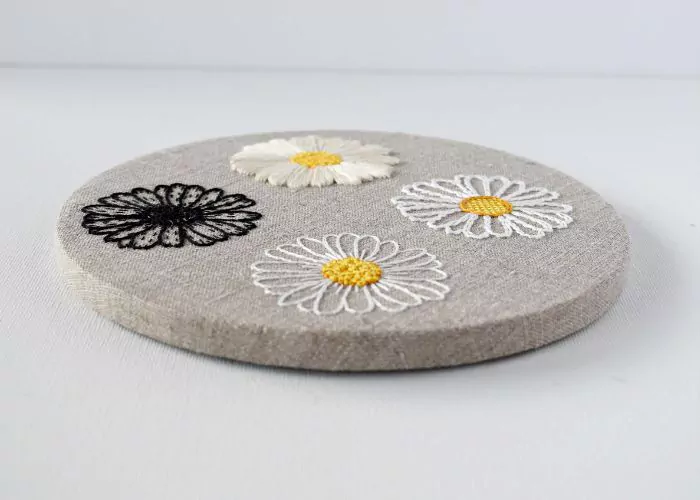
- Your finished embroidery. Wash and iron your work if needed before framing it.
- A hoop. Choose the color and the size of the ring that will suit your work best.
- The glue. Fabric, craft, or hot glue guns work great for this task.
- Backing material – fabric, felt, or paper of your chosen color.
- Some decorative ribbon or rope.
Instructions
- Layer the fabric with the backing material. Do not leave any wrinkles, waves, or folds.

2. Center the embroidery in the hoop and tighten the fabric.

3. Tighten the screw of the hoop to secure the tension.
4. Trim the backing fabric close to the edge of the hoop.

5. Trim the embroidery fabric. Leave the border the same as the height of the hoop + the width of the edge. For example, if your circle is 1 cm high and the edge is 2 mm, leave a 1,2 cm border.

6. Make vertical cuts spaced 1-2 cm apart on the loose fabric border. These will prevent the folds of the fabric from forming when we glue it. If your material is thin and light, you can skip this step.

7. Add some fabric glue on the inner side of the hoop and the edge, and glue the fabric to the border piece by piece. Do not apply the glue on the whole border simultaneously; address it bit by bit.

8. After the glue has dried, add some glue on the inner border of the hoop and attach the ribbon or the decorative cord. It will hide uneven edges of the fabric and decorate the inner side of the ring.

Note. You can change the backing material and use a piece of felt fabric or paper backing. Also, you can leave the back of the stitches visible.
Video Tutorial
Recommended Products
Disclaimer. To cover the cost of creating free embroidery patterns and video tutorials for this blog, I do sometimes link to products. Please assume these links are affiliate links. If you choose to buy through my links then THANK YOU! – it will make it possible for me to keep doing this.


How To Frame The Embroidery Without An Outer Hoop With Glue
Step-by-step tutorial
Tools and Materials
Tools:
- Pinking shears
- Small sharp scissors
- Paper scissors
Materials:
- Your finished embroidery. Wash and iron your work if needed before framing it.
- A hoop. Choose any wooden or bamboo hoop of the correct size for your embroidery.
- The glue. Fabric, craft, or hot glue guns work great for this task.
- Backing material – felt or paper of your chosen color (I used brown craft paper).
Instructions
- Prepare the backing paper. Use the inner hoop to draw a circle and cut the round shape. Put it aside.

2. Center the embroidery in the hoop, stretch the fabric, and tighten the hoop screw to secure the tension.

3. Trim the embroidery fabric. Leave the border the same as the height of the hoop + the width of the edge. For example, if your circle is 1 cm high and the edge is 2 mm, leave a 1,2 cm border.

4. Make vertical cuts spaced 1-2 cm apart on the loose fabric border. These will prevent the folds of the fabric from forming when we glue it. If your material is thin and light, you can skip this step.

5. Place your backing material inside the hoop to cover the back of the stitches.

6. Add some fabric glue on the inner side of the ring and the edge, and glue the fabric to the border piece by piece. Do not apply the glue on the whole border simultaneously; address it bit by bit.

7. When the glue is dry – remove the outer hoop. That’s it. Now, you can hang this circle with the handicraft on the nail on the wall or frame it in shadow box frames.

Note. You can change the backing paper with felt fabric or leave the stitches visible.
Video Tutorial
Recommended Products
Disclaimer. To cover the cost of creating free embroidery patterns and video tutorials for this blog, I do sometimes link to products. Please assume these links are affiliate links. If you choose to buy through my links then THANK YOU! – it will make it possible for me to keep doing this.

Frequently asked questions about framing embroidery hoops with glue
What hoop is best to use for finishing embroidery hoop with glue?
Wooden and bamboo hoops will work best for this method. Plastic rings can be too slippery, and it is harder to glue the fabric to the plastic or metal hoop.
What glue do you use to frame the hoop?
It is essential that the glue you use is acid-free, fast-drying, and stays elastic after it dries. You can choose any of these options:
- Craft glue
- Fabric glue
- E6000
- Hot glue gun
- Double-sided sticky tape
- Quick dry fabric fusion
What are the downsides of finishing embroidery hoops with glue?
- This type of finishing embroidery hoop is permanent. After sealing it, you can not remove the fabric from the frames, wash it, or change it.
- Glue can deteriorate over time. So, the fabric will lose tension, and the framing can fall apart.
- Glue can stain the fabric and ruin the whole needlework project.
Other options how to frame embroidery in a hoop
Finishing the embroidery hoop with glue is a fast and straightforward method to frame your embroidery. It allows you to create a neat finish with personalization in no time, and the hoop stays flush against the wall. You can also remove the outer ring to hide the metal parts and the hoop screw.
Of course, finishing an embroidery hoop with glue is not the only option to display your textile art in a circle frame. You can back the embroidery hoop with the felt or cardboard or finish the embroidery hoop with running stitches. If you would like to explore other options, read a ‘How to Frame embroidery in a Hoop: Six Methods of Finishing the Back of the Hoop’ article on this Blog.
More about hand embroidery tools and materials:
- My favorite hand embroidery supplies, tools, and materials
- Hand embroidery needles
- Embroidery hoops
- Embroidery floss and threads
- Guide to hand embroidery fabrics
- Scissors for hand embroidery
- Water soluble stabilizers
- Carbon paper for pattern transfer
- Mending tools and materials
- Mini embroidery hoops
- Best hand embroidery books
- Embroidery materials for beginners