How to back embroidery hoop with felt or cardboard
Why is backing a hand embroidery hoop a great choice?
- Finishing needlework in a hoop with a cover is the most refined of the methods to frame embroidery in a hoop. It is that extra step to make the overall look of the hoop art stand out.
- Covering the backside gives the possibility to personalize the piece of art. It is an extra space for the gifting message, branding, or elaborate hanging system.
- The cover creates a sense of the polished and professional look of the craft.
- The rear of the hoop can become an additional design element. You can choose various colors of the felt fabric. Also, you can cover the cardboard backing with materials of different designs, colors, or motives.
- You only need widely available craft tools like the hoop, felt fabric, and cardboard.
How to finish Embroidery hoop with felt fabric or Cardboard
Follow the step-by-step tutorials below or watch video tutorials on the Practical Embroidery YouTube channel and create a perfect backing for your textile art.

How To Back Embroidery Hoop With Felt Fabric
Step-by-step tutorial
Tools and Materials
Tools:
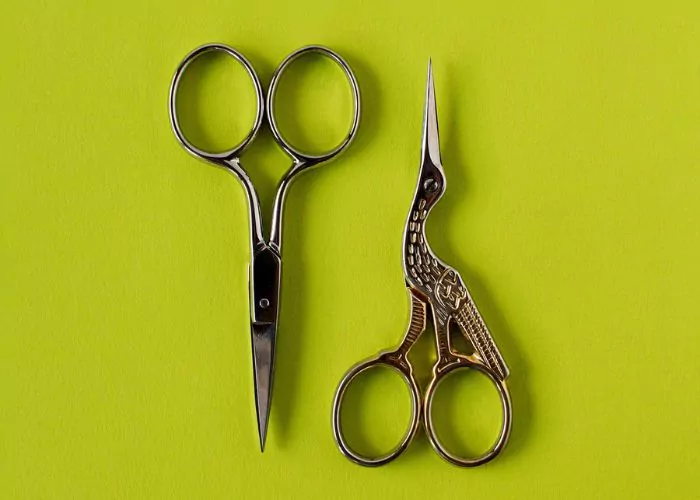
- Scissors. Small sharp scissors, fabric scissors, and pinking shears.
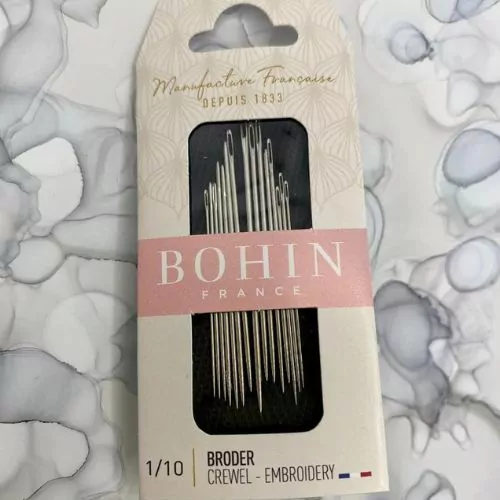
- A needle. Choose a needle of the correct size for the thread.
- Some pins.
Materials:
- Embroidered piece. Wash and iron the embroidery if needed.
- Embroidery hoop. Choose the ring that fits by size and color.
- Piece of felt fabric.
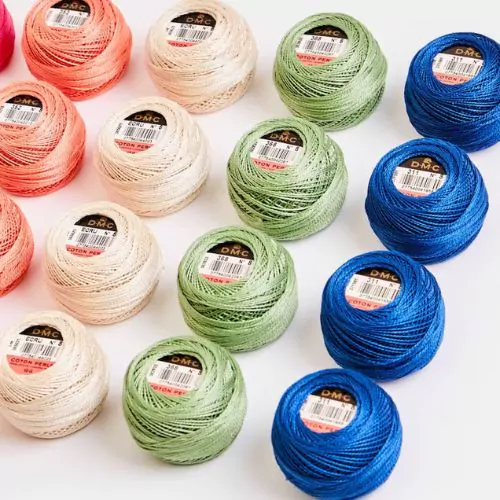
- Thread. Choose a robust thread like pearl cotton.
Instructions
- With the inner ring of the hoop, mark and cut out a round piece of felt fabric.

2. If you want to embroider a name, date, or message on the felt backing, do it in this step. Put the felt backing aside.
3. Frame the fabric with your embroidery centered in a hoop and tighten the screw.

4. Cut the edge of the fabric, leaving an equal border on all sides. Opt for a 2-3 cm border.

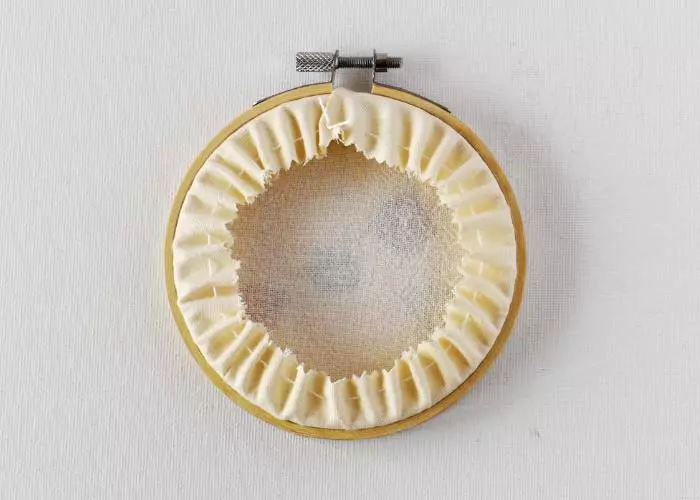
5. Sew the running stitch around the edge of the fabric.

6. Pull the ends of the threads to gather the fabric and tighten the knot to keep the tension.

7. Pin a piece of felt fabric on the back side of the hoop.

8. Sew around the edge of the felt fabric with with the Blanket stitch.

Note. You can use a Blanket stitch, a Whipstitch, a Running stitch, or a Herringbone stitch to secure the felt and the embroidery fabric.
Video Tutorial
Recommended Products
Disclaimer. To cover the cost of creating free embroidery patterns and video tutorials for this blog, I do sometimes link to products. Please assume these links are affiliate links. If you choose to buy through my links then THANK YOU! – it will make it possible for me to keep doing this.


How To Back Embroidery Hoop With A Cardboard Cover
Step-by-step tutorial
Tools and Materials
Tools:
- Scissors for fabric and for paper.
- Needle. Choose a needle of the correct size for the thread.
Materials:
- Embroidered piece. Wash and iron the embroidery if needed.
- Embroidery hoop. Choose the ring that fits by size and color.
- Piece of felt fabric.
- Piece of cardboard.
- Piece of backing fabric to cover the cardboard (optional).
- Thread. Choose a robust thread like pearl cotton.
Instructions
- Prepare a cardboard cover – mark the inner circle of the embroidery ring on the piece of cardboard and cut it out. The cardboard circle should be 1 mm smaller than the diameter of the inner hoop.

2. Frame the embroidery in a hoop to keep the constant fabric tension.
3. Trim the edge of the fabric, leaving an equal border on all sides. Opt for a 2-3 cm border.

4. Gather the fabric on the back of the hoop with a running stitch, but do not tighten it too much, and do not make a knot. The stitches should have some flexibility.

5. Place the cardboard cover inside the inner ring of the hoop and push it inside to cover the back.

6. If the measurements are correct, the cover will stay in place without glue. If the lid is not tight enough, you can secure it with four stitches in the opposite hoop slides.
Notes
You can leave a cardboard cover as it is or cover it with the fabric. To cover the cardboard, follow these steps:
- Cut out a circle of felt fabric – the same size as the cardboard or 1 mm smaller.
- Glue it to the cardboard with a couple of drops of fabric glue or a paper glue stick.
- Cut out a round fabric (2 cm more extensive than the cardboard).
- Embroider or write your message on the material (optional).
- Cover the cardboard with fabric. Embroider a running stitch around it and tighten it around the cardboard cover on the back. Secure and cut the thread.
TIP. If your embroidery fabric is thin or stretchy, place a piece of the felt fabric inside the hoop to layer it between the embroidery and the cardboard cover. This will prevent the cardboard cover from making the front of the embroidery look bulky or bumpy.
If you choose this method but want to make it simpler and faster, do not cover a cardboard lid with fabric but use it as it is. Just push it inside the back of the hoop above the gathered material.
Video Tutorial
Recommended Products
Disclaimer. To cover the cost of creating free embroidery patterns and video tutorials for this blog, I do sometimes link to products. Please assume these links are affiliate links. If you choose to buy through my links then THANK YOU! – it will make it possible for me to keep doing this.
Frequently asked questions about backing the embroidery hoops
If I choose to back my embroidery hoop, can I change the frames later?
Yes. If you change your mind and want to display your stitching art differently, just cut the stitches that hold the felt lining and the embroidery. You can remove the needlecraft from the hoop.
And if you finish your embroidery with a cardboard cover, it is even easier – just remove the lid and take the embroidery out of the hoop.
Can I use triangular or square frames with tension screws for this method?
Yes. Any type, shape, and material embroidery hoop with tension screw, spring, or flexi hoops suits this framing method. Choose what you have in your stash of the embroidery supplies and give it a try!
Other options how to frame embroidery in a hoop

To cover the rear side of an embroidery hoop with felt fabric or cardboard is a sophisticated and beautiful method to frame your embroidery art. It allows you to create a professional finish with personalization. This method has a lot of finishing options, as you can choose different colors for felt fabric or cover the cardboard with various materials.
Of course, finishing an embroidery hoop with backing is not the only option to display your textile art in a round. You can back the embroidery with glue or finish the embroidery hoop with running stitches. If you would like to explore other options, read a ‘How to Frame embroidery in a Hoop: Six Methods of Finishing the Back of the Hoop’ article on this Blog.
More about hand embroidery tools and materials:
- My favorite hand embroidery supplies, tools, and materials
- Hand embroidery needles
- Embroidery hoops
- Embroidery floss and threads
- Guide to hand embroidery fabrics
- Scissors for hand embroidery
- Water soluble stabilizers
- Carbon paper for pattern transfer
- Mending tools and materials
- Mini embroidery hoops
- Best hand embroidery books
- Embroidery materials for beginners