How to Finish Embroidery Hoop for Wall Hanging with Running Stitches
Why finishing embroidery hoop with running stitches is so popular?
- Finishing the hoop with running stitches and framing the embroidery piece with this method is an effortless and straightforward way of binding the embroidery hoop edge.
- The method is fast and requires no additional materials like glue or felt fabric.
- Framing embroidery this way can be a temporary solution before you choose permanent framing.
- Using this finishing method, you can leave the back of the stitches visible or cover them with backing fabric or paper.
- This method works great for all embroidery styles. Use it as a cross stitch hoop finishing, Needlework hoop finishing, or to frame modern surface embroidery.
How to finish embroidery hoop with running stitches: Step-by-step embroidery hoop backing tutorial
Tools and materials you will need

- Embroidery hoop
- Embroidered piece
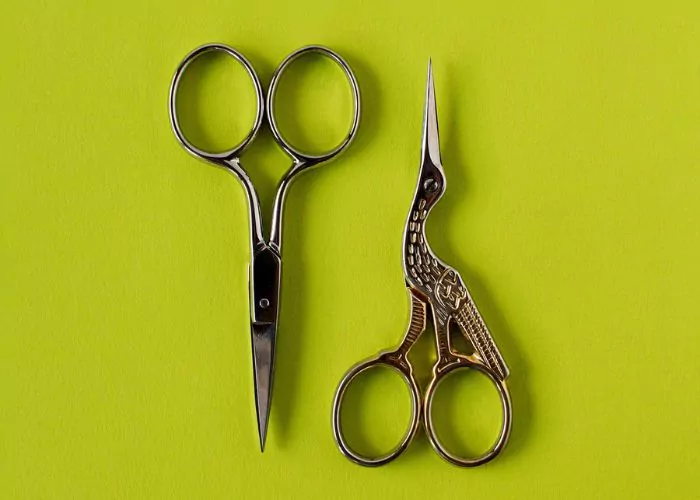
- Scissors
- Needle and thread
- If you want to hide the back of the stitches, use a bit of backing fabric or paper.
Finish the hoop with running stitches and leave the back of the stitches visible

Frame the fabric with your embroidery centered in a hoop and tighten the screw.
Cut the edge of the fabric, leaving an equal border on all sides. Opt for a 3-4 cm border.


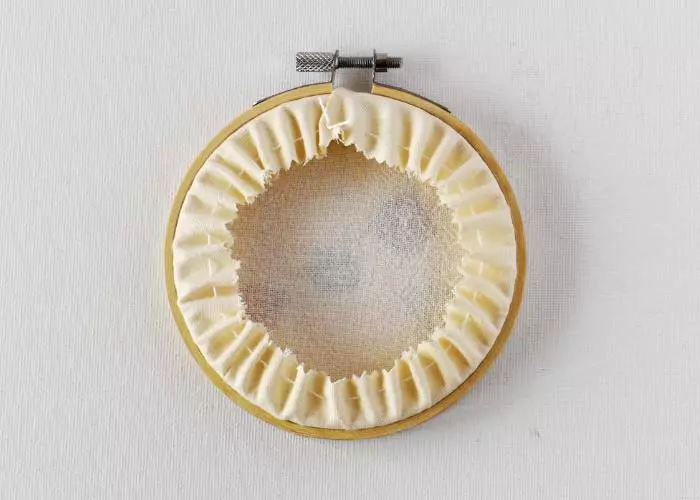
Sew the running stitch around the edge of the fabric.
Pull the ends of the threads to gather the fabric and tighten the knot to keep the tension.
TIP: if you are finishing the hoop with running stitches as a temporary solution – leave as much of the fabric as possible, as you might need wider edges for other framing solutions.

For more visual guidance, watch a video tutorial, “How to finish embroidery hoop with running stitches and leave the back of the stitches visible,” below or on the Practical Embroidery YouTube channel.
Gather with a running stitch and cover the back of the stitches

Layer the embroidery with a backing fabric. The embroidery faces outside, and the backing fabric faces the back of the hoop. It will be visible after you finish the framing.
Center the embroidery and tighten both layers of fabric in a hoop. Do not leave wrinkles or folds.


- Tighten the screw of the hoop.
- Trim the backing fabric close to the border of the hoop.
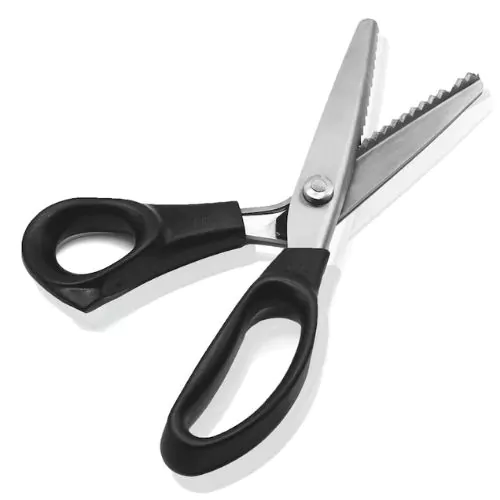
- Trim the excess fabric of the embroidery with pinking shears. Leave a 2-3 cm edge.
- Embroider a running stitch around the edge of the fabric.

- Pull the thread to gather the material on the back side of the hoop.
- Secure the ends of the thread and cut them.
TIP. Instead of using a backing fabric, place a piece of paper inside the hoop before pulling the threads. It will cover the stitches. Besides that, you can write your message or add your brand logo to it.

Frequently asked questions about how to finish embroidery hoop with running stitches
How to end embroidery project the fastest way?
Finish the hoop with running stitches and leave the back of the stitches visible. It is the simplest and fastest way for embroidery hoop art sealing.
What hoop is best to use for this DIY hoop art finishing method?
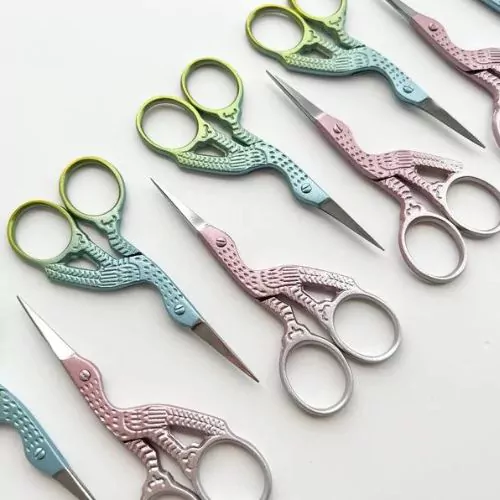
Any hoop you choose will work great for this way of framing embroidery. For framing embroidery in a hoop, select the ring that fits best by size, shape, and color.
Can I change the hoop or the framing method after I finish the hoop with running stitches?
Yes. One of the benefits of this finishing method is that it is effortless to take the embroidery out of the hoop and change the frames or wash the embroidery if needed.
Other embroidery hoop display methods
Finishing stitched hoop art with running stitches is a fast and straightforward method to frame your embroidery. It is simple and does not require additional materials to implement. Besides that, it works great as a temporary solution before you choose a definite framing style and method.
Of course, finishing an embroidery hoop with running stitches is not the only option to display your textile art in a hoop. There are other embroidery hoop finishing techniques, like backing an embroidery hoop with felt or cardboard or finishing the embroidery hoop with glue. If you would like to explore other options, read a ‘How to Frame embroidery in a Hoop: Six Methods of Finishing the Back of the Hoop’ article on this Blog.
More about hand embroidery tools and materials:
- My favorite hand embroidery supplies, tools, and materials
- Hand embroidery needles
- Embroidery hoops
- Embroidery floss and threads
- Guide to hand embroidery fabrics
- Scissors for hand embroidery
- Water soluble stabilizers
- Carbon paper for pattern transfer
- Mending tools and materials
- Mini embroidery hoops
- Best hand embroidery books
- Embroidery materials for beginners