Herringbone stitch
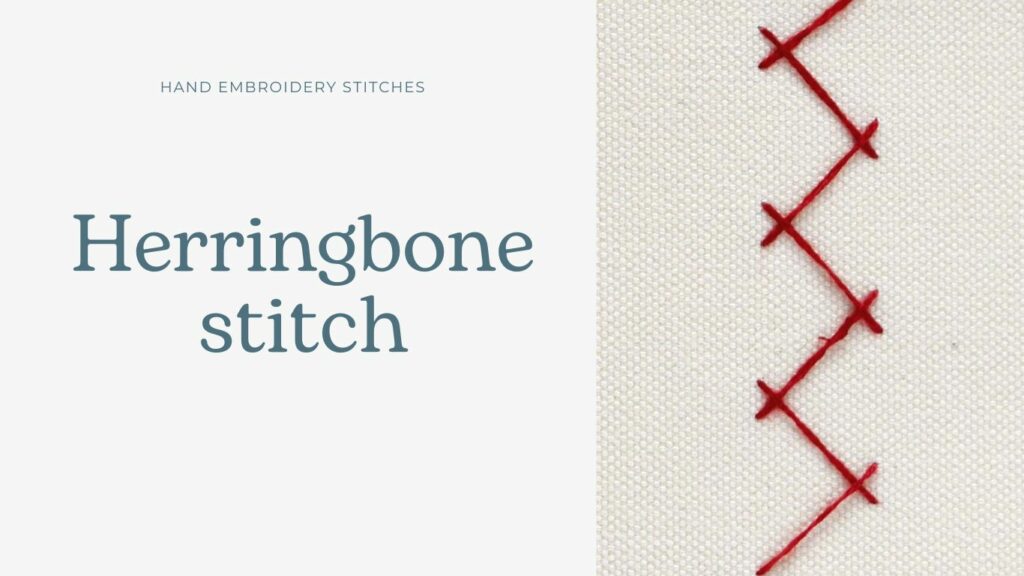
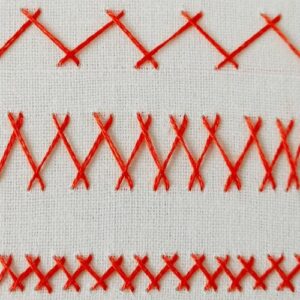
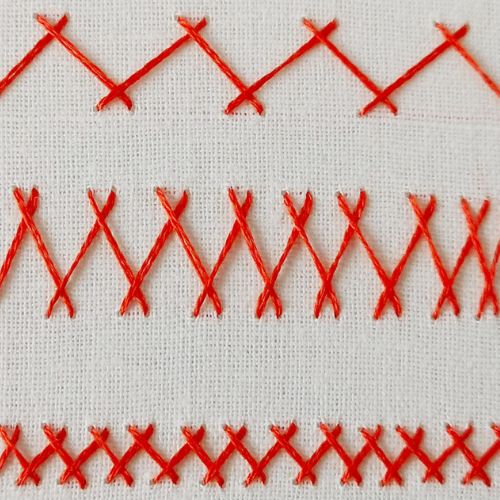
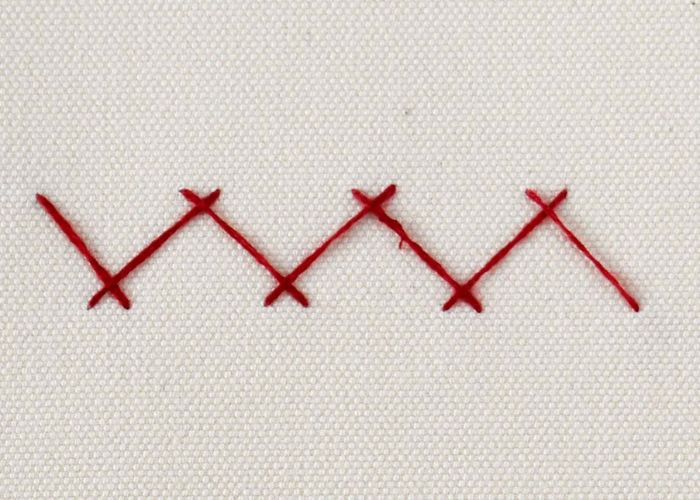
The Herringbone Stitch Hand Embroidery is a decorative and functional embroidery stitch made between two parallel lines. The stitches form a series of parallel diagonal stitches intersecting in the middle to create a herringbone pattern. It’s a foundational stitch, often used for filling areas or as a decorative border.
The reverse of the Herringbone stitch embroidery looks like two parallel rows of Running stitches, which makes this embroidery technique reversible.
Other names of the stitch
The Herringbone stitch has a long history and also lots of names. You can find it by the name of Mossoul stitch, Persian stitch, Russian stitch, Russian cross stitch, Catch stitch, Witch stitch, and even Plaited stitch.
Applications of the Herringbone stitch
This versatile hand embroidery stitch is used in many hand embroidery techniques – Crewelwork, applique, shadowwork, blackwork, and modern surface embroidery.
Herringbone stitch has historical roots tracing back to ancient civilizations, where it was primarily used for embellishing garments and household linens.
In modern hand embroidery, Herringbone stitch is used for borders and to decorate the edges. You can add other stitches, like Lazy daisies or French knots, to the Herringbone stitch embroidery and create beautiful border designs.
In hand sewing, Herringbone stitch is called a Catch stitch and is one of the standard stitches for hemming. It creates a row of X stitches on the back side of the garment and is almost invisible on the front side.
More stitches from the family of Herringbone stitch embroidery
Technically, this hand embroidery stitch should be classified as a variation of the Backstitch. Still, most sources classify Herringbone stitches as a separate stitch family. In my Stitch Library by Technique, you will also find Herringbone stitches as an individual family.
- Double Herringbone Stitch
- Closed Herringbone Stitch
- Tacked Herringbone Stitch
Learn how to embroider Herringbone stitch
Follow the step-by-step tutorial with detailed photos below, and you will learn the Herringbone stitch in no time.
If you are a visual learner, watch a video lesson in the tutorial or Practical Embroidery YouTube channel to learn this hand embroidery technique faster.
How to embroider Herringbone Stitch
Step-by-step hand embroidery tutorial
Instructions
1. Stretch your fabric in the hoop and mark two parallel lines on the fabric.
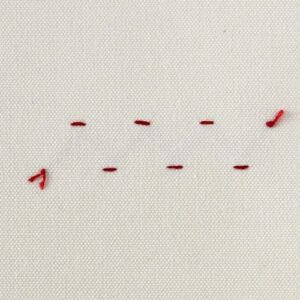
2. Start embroidering from the top left corner. Take a needle up and make a diagonal stitch to the second line. Make a small stitch back and come up with a needle on the mark left to the previous stitch.
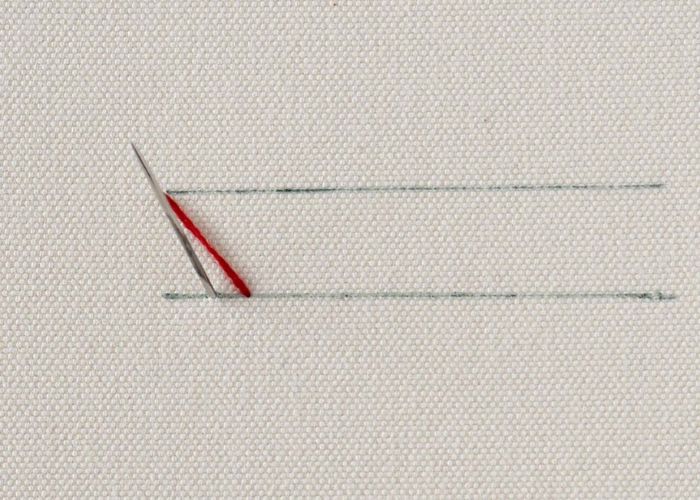
3. Make a diagonal stitch up. A small stitch back and come up on the left.
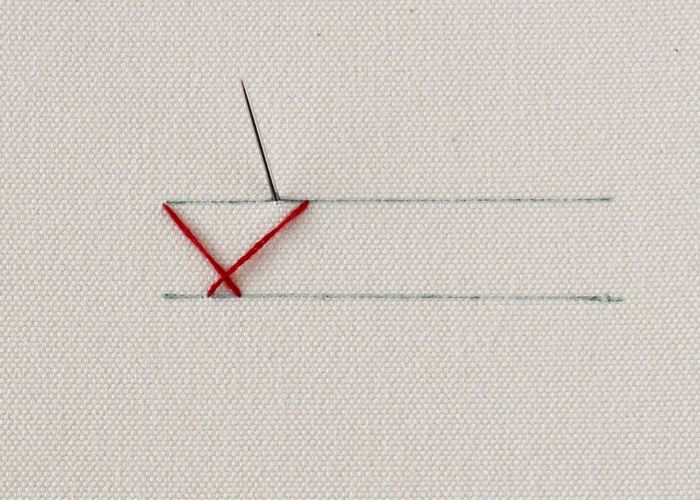
4. Diagonal stitch down and small stitch back and come up on the left.
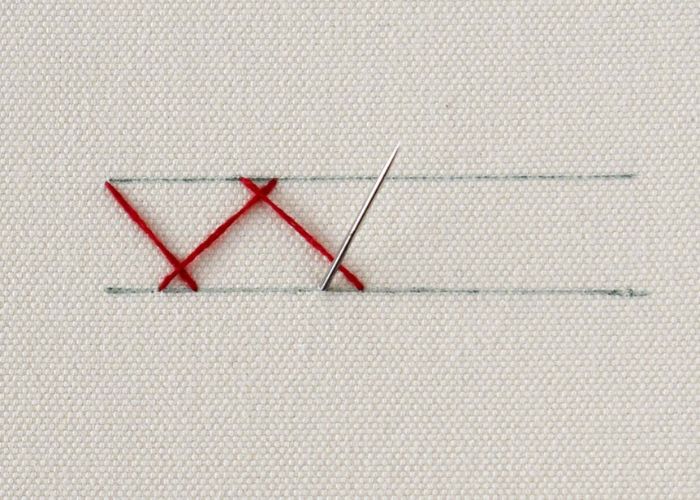
5. Continue with these crossed diagonal stitches until you finish your marked lines.
Notes
You can change the distance between parallel lines and the angle of the diagonal stitches to create the desired pattern and density.
Video tutorial
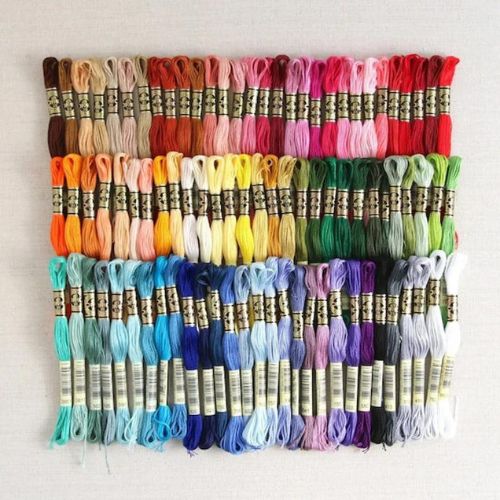
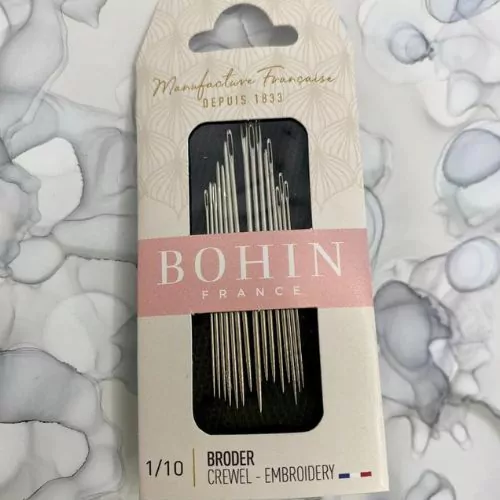
Tools and materials I used for this sampler
Disclaimer. To cover the cost of creating free embroidery patterns and video tutorials for this blog, I do sometimes link to products. Please assume these links are affiliate links. If you choose to buy through my links then THANK YOU – it will make it possible for me to keep doing this.
What’s next?
If you’re in the mood to explore more hand embroidery stitches, check out the Stitches and Techniques page for the list of other fantastic stitches available on my blog. From timeless classics to modern twists, a whole world of stitches is waiting for you to explore and master. So, grab your hoop and needle, and let’s stitch our way to creative bliss!
Don’t miss a thing!
Follow me on YouTube, Instagram, Facebook, and Pinterest. Or why not subscribe to Practical Embroidery newsletter and get embroidery tips straight to your inbox every few weeks?
Need More Guidance?
The top 10 hand embroidery stitches to learn is a free online course created for beginners.
