Honeycomb Filling Stitch
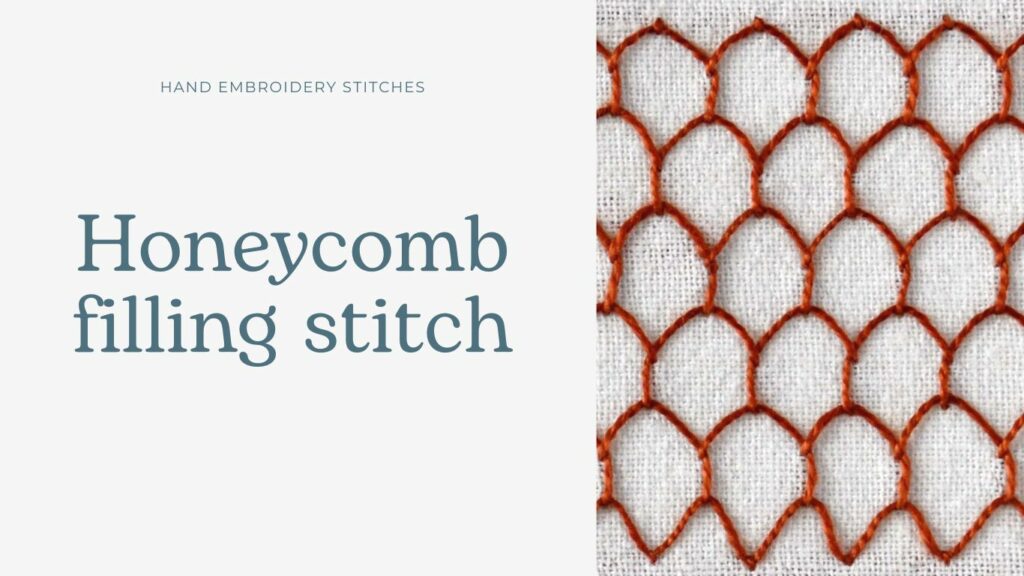
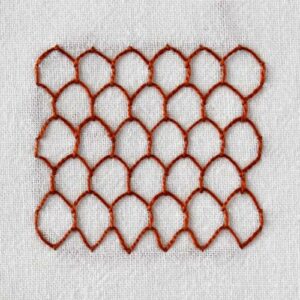
Honeycomb filling is a decorative variation of a Blanket stitch that takes the form of a honeycomb. It has a decorative filling purpose.
Applications Of The Honeycomb Filling Stitch
As the name suggests, this stitch is created for filling purposes. You can fill various decorative shapes with it – from the background to the petals of the flowers. It is very functional and decorative. Besides that, it’s relatively fast to embroider.
Apart from the decorative scope, this stitch can be used in mending projects to reinforce worn-out fabrics or for patching. In addition, this filling stitch is stretchy, so you can mend plain weave and stretchy fabrics like knits or jerseys.
Some tips
- This stitch does not have neat borders, so you must outline the shape after or add additional straight stitches to form a neatly finished shape.
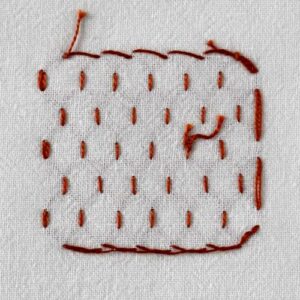
- If you embroider the first row with a simple Blanket stitch, the top line of the shape will have a straight line. If you want it to be formed in hexagons, start stitching with tiny straight stitches and create a row of blanket stitches under it.
- The last row of this filling stitch has opened shapes. You must use the same technique with tiny straight stitches to form a hexagon-shaped border.
How To Embroider Honeycomb Filling Stitch
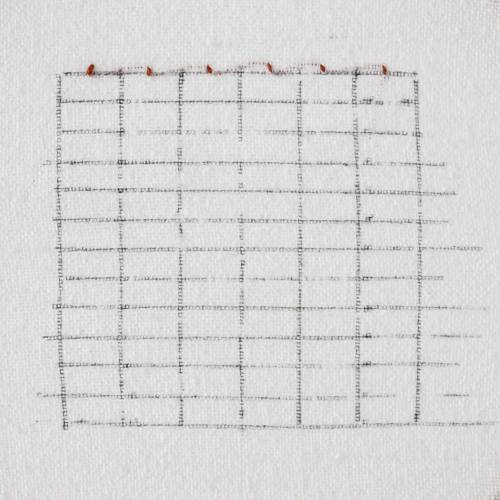
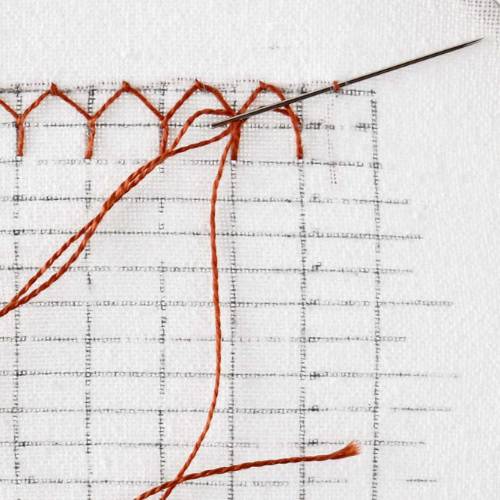
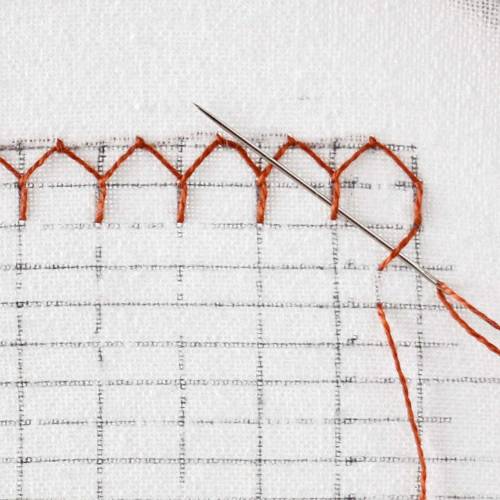
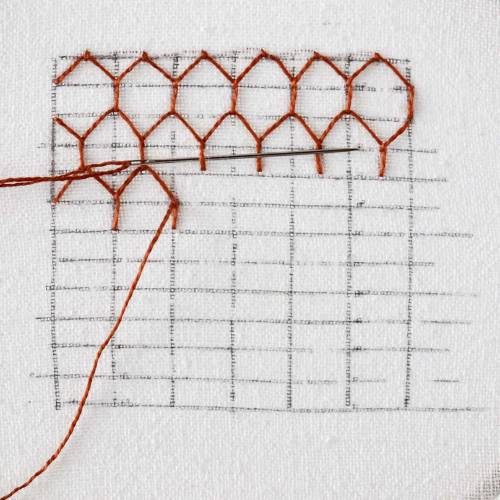
- Mark the grid. My rectangles are 1 cm wide and 0,5 cm in height. You can also mark a grid of squares for more clarity and guidance.
- Start with one row of tiny Straight stitches.
- Make one row of the Blanket stitch, but anchor them under the straight stitches from the previous row.
- Add one more row of the Blanket stitches under the first one. The positioning of the stitches is moved by a half stitch.
- When forming a Blanket stitch, pass the thread under the leg of the stitch in the previous row.
- Keep adding rows of the Blanket stitch under each other to fill the desired area.
- For the last row – make tiny straight stitches. And then – lace the tread under them to form a hexagon-shaped border.
- To have a neat finish to the shape, add missing parts of the honeycomb with straight stitches.
More Filling Stitches From The Blanket Stitch Family
Video tutorial
If you are a visual learner, watch a video tutorial below or on the Practical Embroidery YouTube channel. In this video, you’ll find easy-to-follow, step-by-step instructions that will have you creating the Honeycomb Filling Stitch like a pro in no time.
What’s next?
If you’re in the mood to explore more hand embroidery stitches, check out the Stitches and Techniques page for the list of other fantastic stitches available on my blog. From timeless classics to modern twists, a whole world of stitches is waiting for you to explore and master. So, grab your hoop and needle, and let’s stitch our way to creative bliss!
Need More Guidance?
The top 10 hand embroidery stitches to learn is a free online course created for beginners.
