
Japanese Stitch
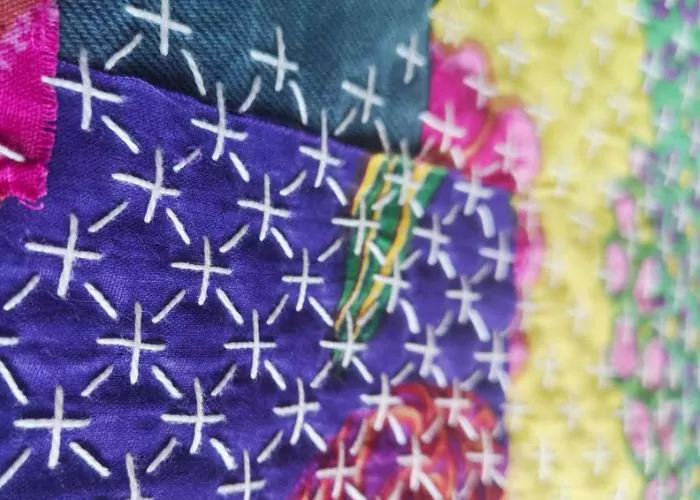
Japanese Stitch is a variation of the Stem Stitch, traditionally used in counted thread Kogin embroidery for outlines and borders. This technique is helpful when you do not want to carry a thread throughout the entire design, but need it only for an outline.
The embroidery technique is like a Stem Stitch, but visually, a Japanese Stitch looks more like a Satin Stitch.
On the back side of the fabric, the stitch looks the same as on the front side, which is very handy in designs where both sides of the fabric will be visible.


Applications of the Japanese Stitch
Japanese Stitch is a technique for outlines, borders, and filling. Textile artists use it in Kogin embroidery, a counted-thread technique for mending and embellishing fabrics.
This technique is handy when you want to embroider a different color outline or border in Kogin design. Japanese Stitch allows you to create stitches that look like Kogin embroidery without leaving long jumping threads on the back.
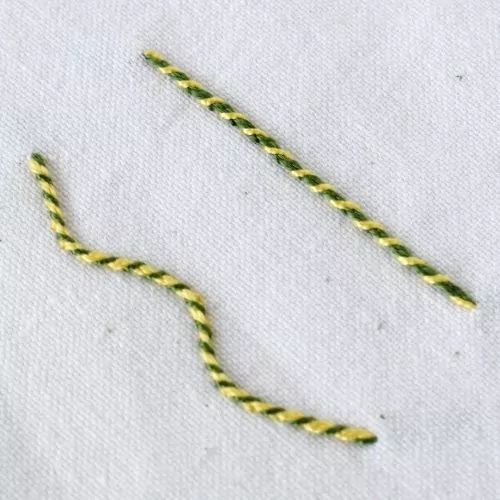
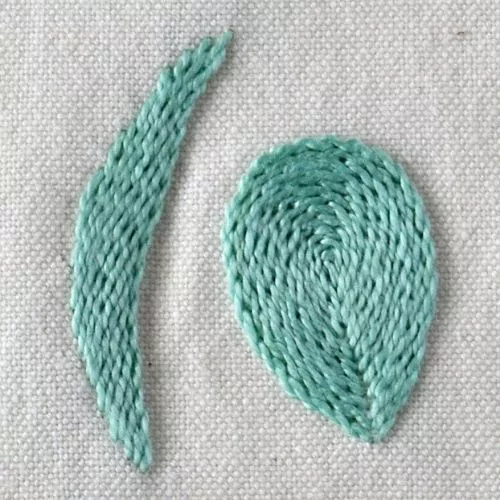
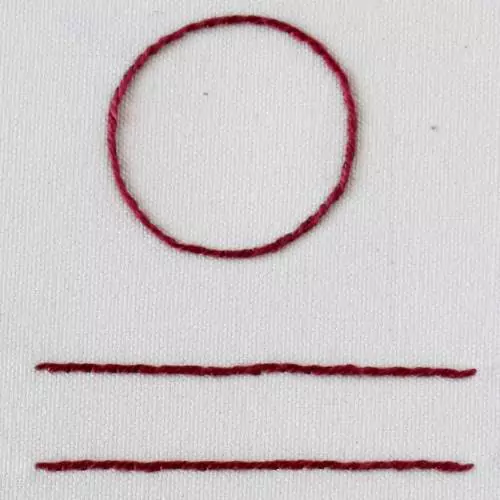
Other stitches from the Stem Stitch family
Learn how to embroider Japanese Stitch
Follow the step-by-step tutorial with detailed photos below, and you will learn the Japanese Stitch quickly. If you are a visual learner, watch a video lesson in the tutorial or on the Practical Embroidery YouTube channel to learn this hand embroidery stitch faster.

How to embroider Japanese Stitch
Step-by-step hand embroidery tutorial
1. Decide on the length of your stitch, then make a straight horizontal stitch of that length. Pull the thread to the back, but leave the loop of the working thread open, as you would for a Stem Stitch.

2. Get the needle back to the surface one thread below the first stitch, slightly to the right. An open loop on your working thread lets you see the fabric weave clearly and make precise stitches.

3. Pull the thread to the surface, close the loop of the first stitch, and make the second stitch parallel to the first one. The stitch length remains the same, but it is slightly shifted to the right. Leave the loop of the working thread open.

4. Get the needle back to the surface, one thread below the previous stitch, slightly shifted to the right.

5. Pull the thread to close the loop and make one more stitch.

6. Repeat the sequence to make the next stitches. Count the threads to maintain the same stitch size. It will be essential if you are stitching a Kogin design, and less important for free-style surface embroidery.

7. After the entire design is stitched, make the last stitch and pull the entire thread to the back. Secure the thread under the previously made stitches.

Video tutorial
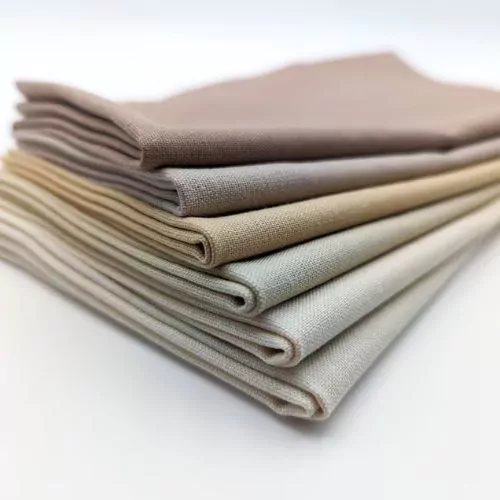
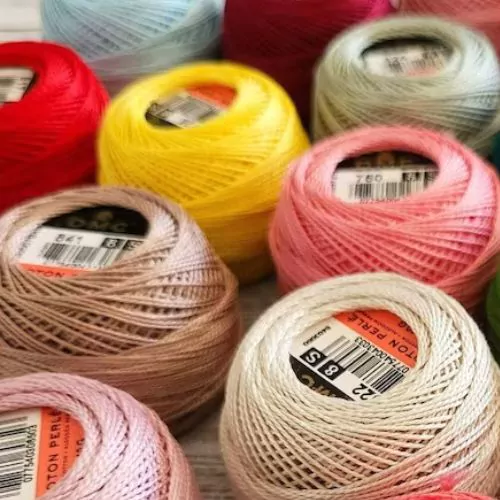
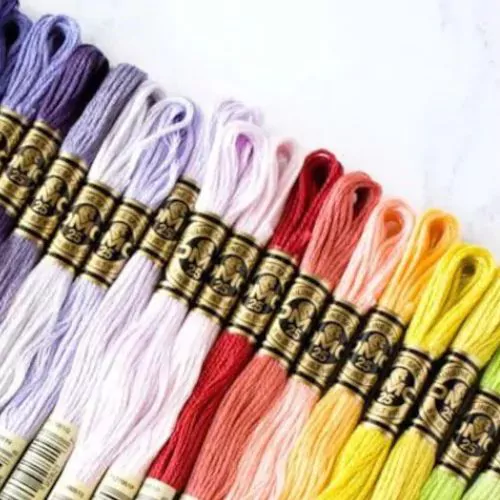
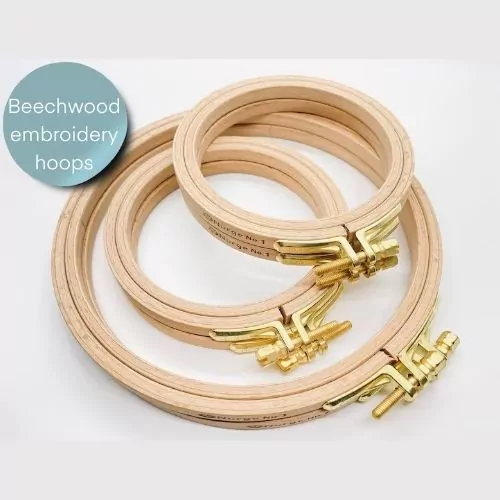
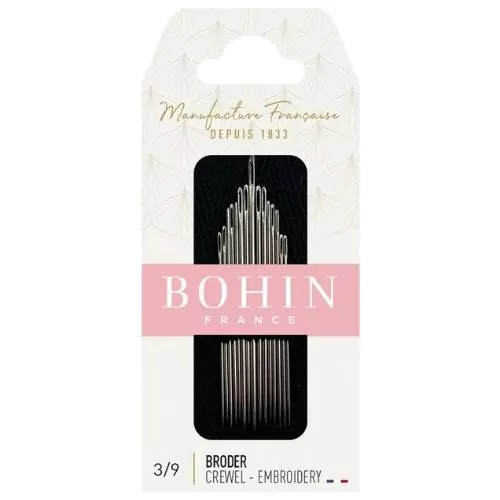
Tools and materials I used for this sampler
Disclaimer. To cover the cost of creating free embroidery patterns and video tutorials for this blog, I do sometimes link to products. Please assume these links are affiliate links. If you choose to buy through my links then THANK YOU – it will make it possible for me to keep doing this.

What’s next?
If you’re in the mood to explore more hand embroidery stitches, check out the Stitches and Techniques page for the list of other fantastic stitches available on my blog. From timeless classics to modern twists, a whole world of stitches is waiting for you to explore and master. Decorative stitches, techniques for filling and outlines, borders or mending – all in one place!


Don’t miss a thing!
Follow me on YouTube, Instagram, Facebook, Flipboard, Telegram, Reddit or Pinterest. On the other hand, you can subscribe to the Practical Embroidery newsletter and get embroidery tips straight to your inbox every week!
Need More Guidance?
The top 10 hand embroidery stitches to learn is a free online course created for beginners.