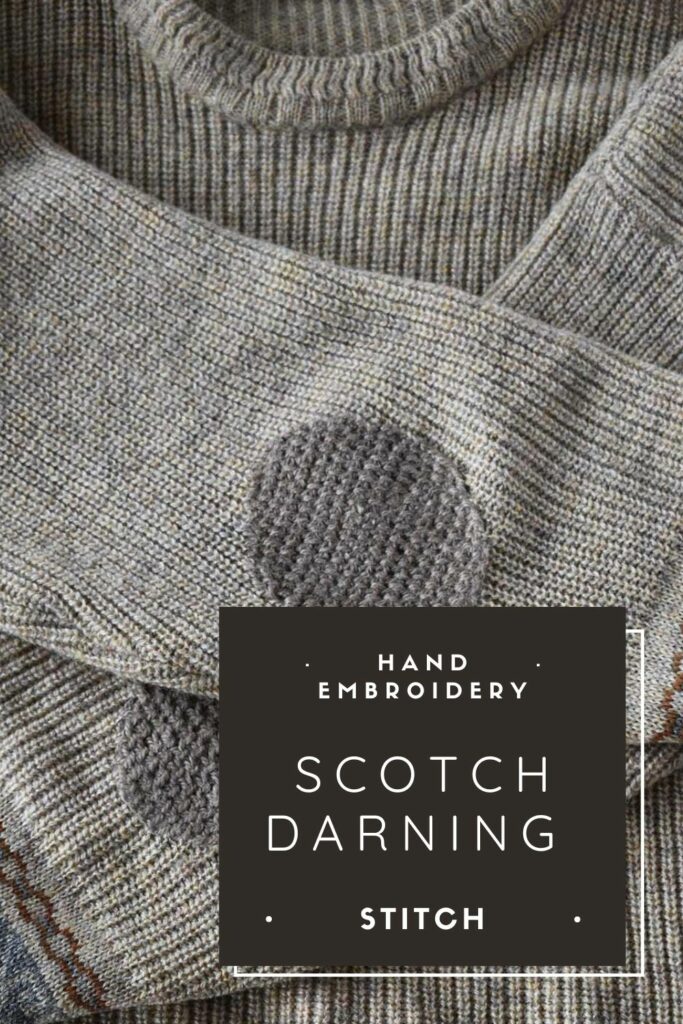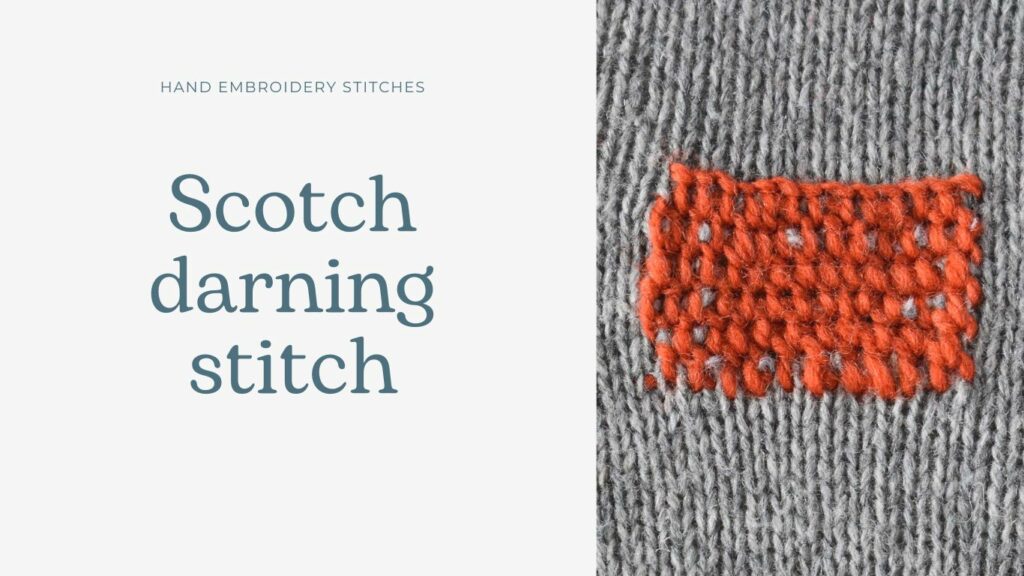
Scotch darning stitch
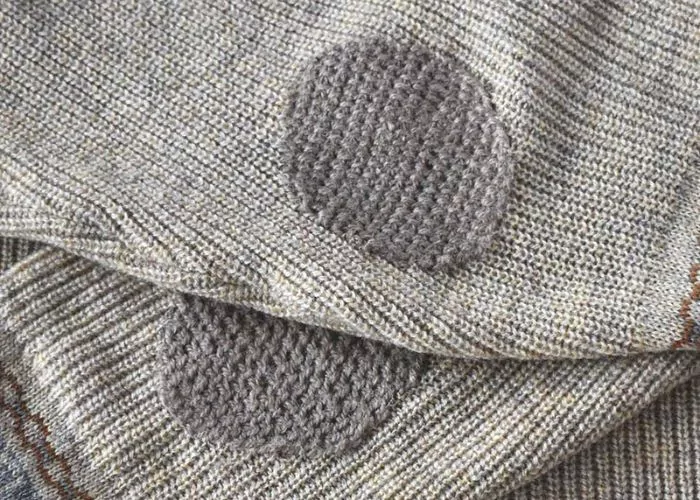
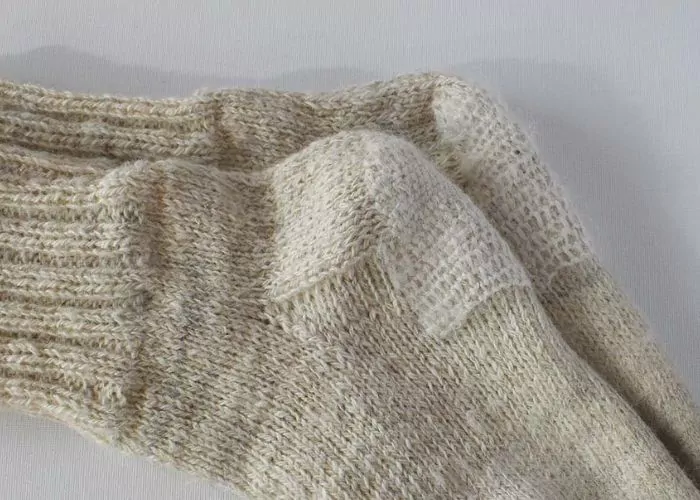
Scotch Darning Stitch is one of the stitches used for darning holes. It is incredibly widely used when darning knitwear. This stitch creates a robust and secure mend and is perfect for mending the heels of socks and the elbows of sweaters – parts that suffer from most wear.
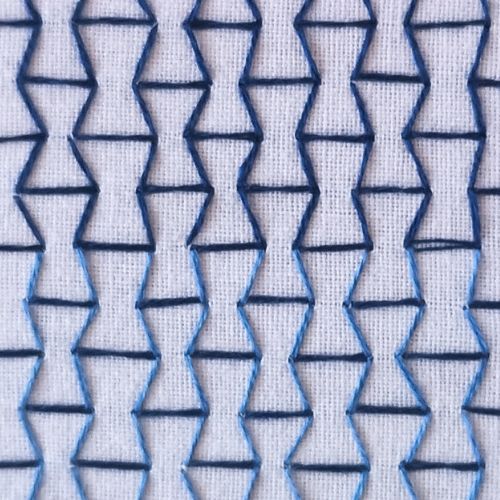
The Scotch darning stitch is a variation of the Blanket stitch, and the embroidery method is very similar. The difference is that we add one row of running stitches (or a straight stitch) under each row of blanket stitches and then embroider blanket stitches above this additional row.
This technique allows recreating a missing part of the worn-out fabric when mending and adds more sturdiness to the mend.
Other names of the stitch
You can come upon this stitch also by the name of the Scotch darning technique, Scotch darning, or Scotch mending. In modern surface embroidery, this stitch is called a Corded detached blanket stitch.
Applications of the Scotch darning stitch
- The most common use of this stitch is the darning of highly worn-out knitwear, especially the areas of the heels and elbows.
- Reinforcing the worn-out or weak parts of the knitwear or other garments.
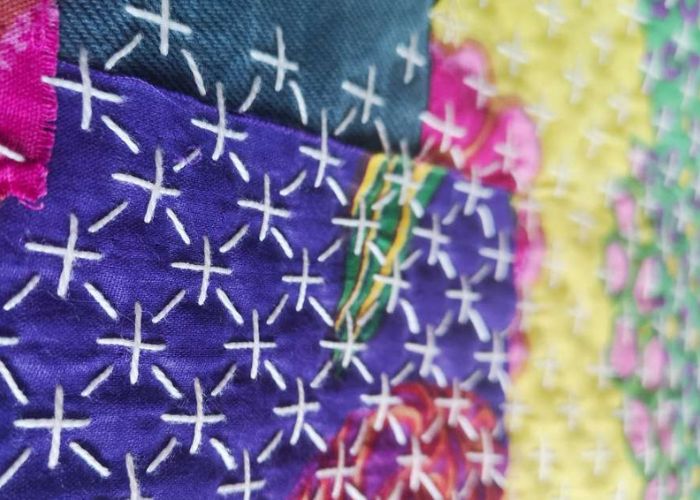
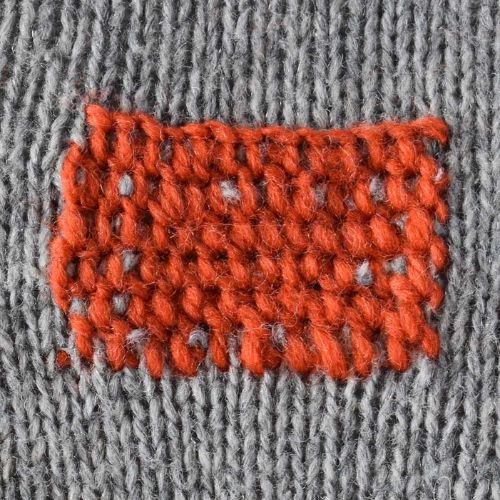
- In surface embroidery, this filling stitch creates a raised, rich surface. It is often used to depict woven baskets, knitted sweaters, and other textural objects.
Some tips
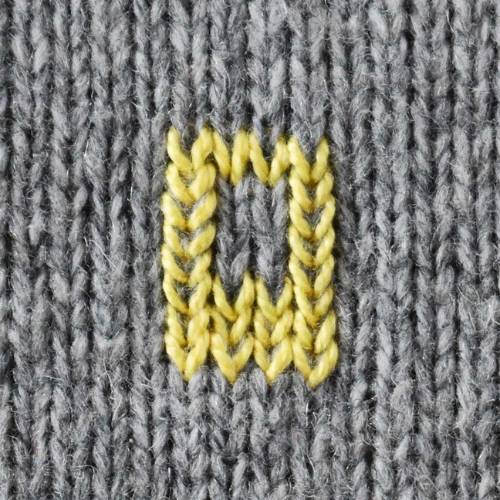
- Scotch Darning can be made in one or more colors. It is a great way to create bold, colorful visible mending blocks. Also, you can make it look almost invisible. Just use the same yarn as knitting, and the mended part will not stand out.
- If you are mending a knitted garment – use darning tools like a darning mushroom or egg instead of the embroidery hoop. This will allow you to work on narrow pieces like elbows or heels.
- Be careful with the tension of the garment you are mending. Too loose or too tight might deform your knitwear.
- In surface embroidery – use more strands of floss to create a more structural and rich pattern.
More stitches for your mending projects:

To learn more about hand embroidery techniques for mending, read these articles:
Scotch darning stitch tutorial
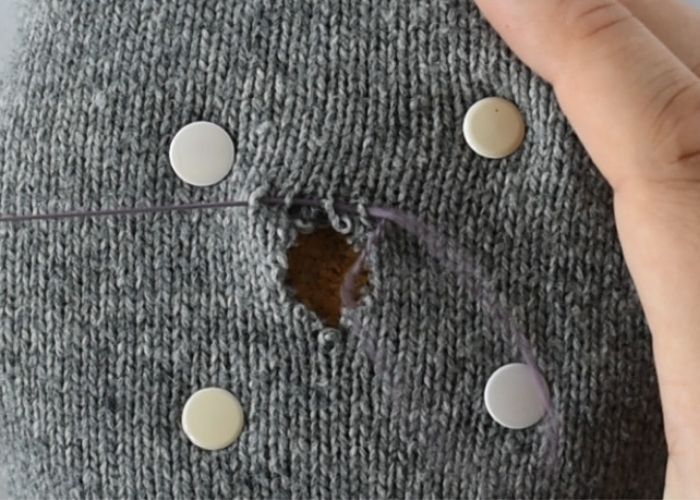
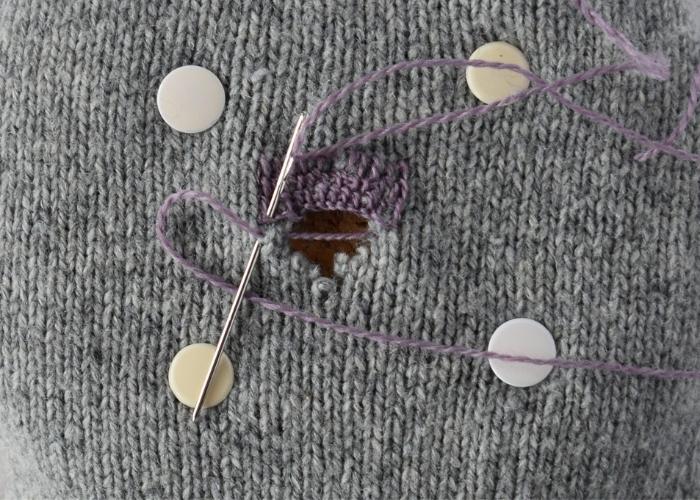
1. Pin your knit to the cork pad or secure it in the hoop. Take your needle with a thread up at the edge of the hole you are mending. Leave the end of the thread parked on the side. Work from right to left and make a running stitch on the edge of the future patch, securing every stitch of the knit.
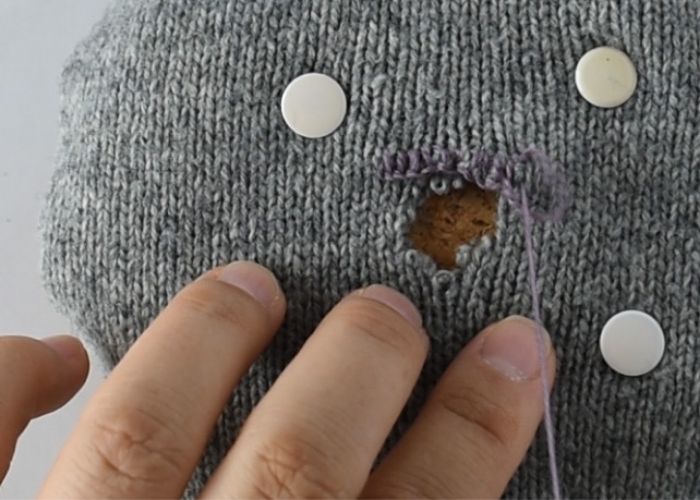
2. Now, work from left to right. On top of the running stitch, make a row of blanket stitches.

3. Secure each broken stitch of the knit that you meet on the way.
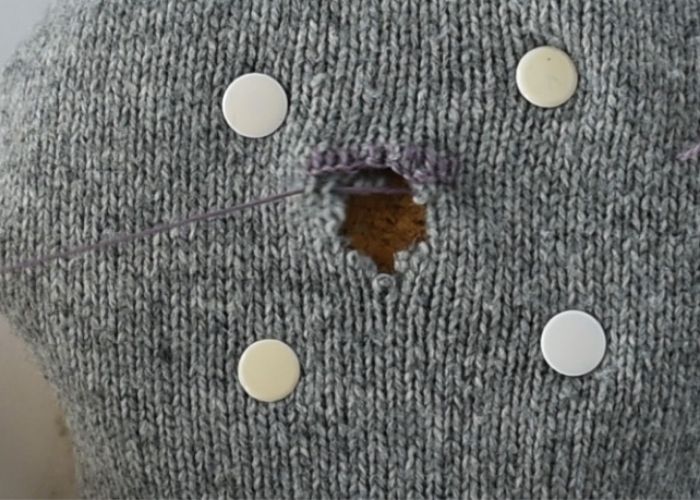
4. Anchor the last blanket stitch and make a new row of running stitch. Leave the hanging thread above the hole.
5. Make one more row of blanket stitch. To cover the hole, make a blanket stitch with a thread inside.
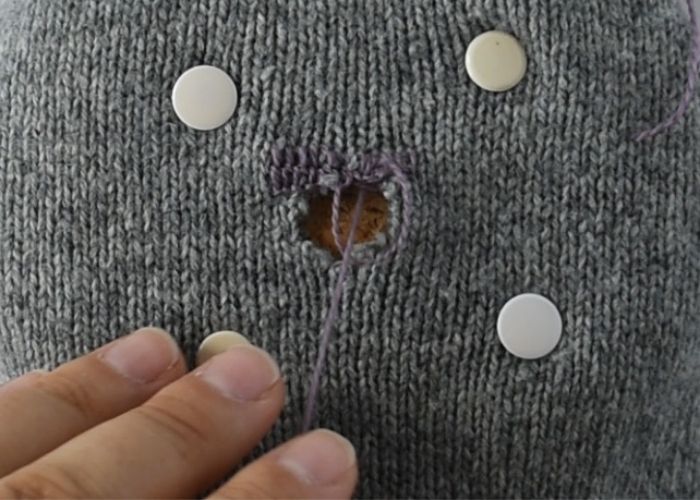
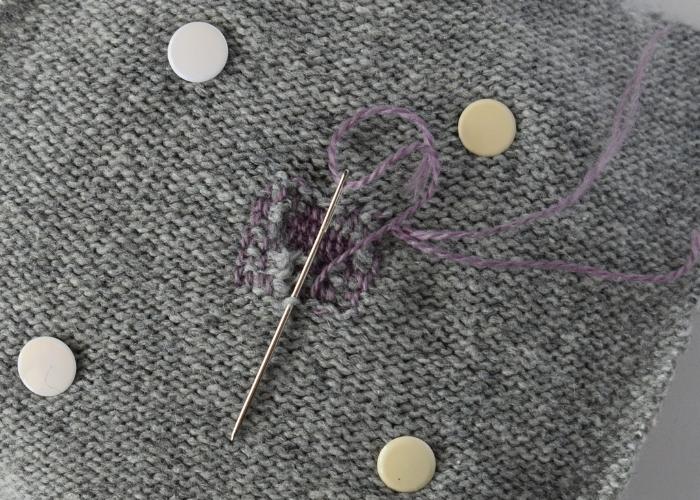
6. Add as many rows of Scotch darning stitch as you need to cover the hole and reinforce the fabric around it.

7. Be sure to catch every loose or broken stitch of the knit as you move with mending.
8. When the mending is complete, weave in the ends of the threads on the back.
Video tutorial
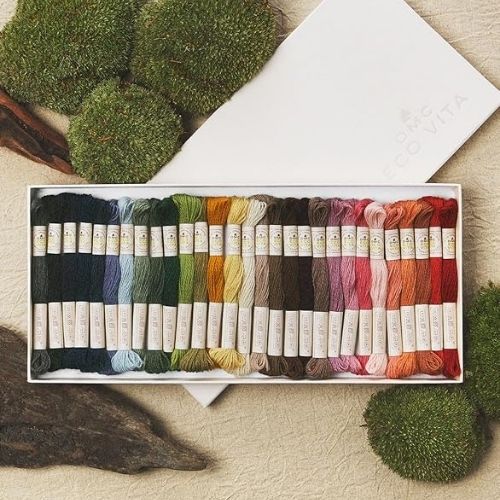
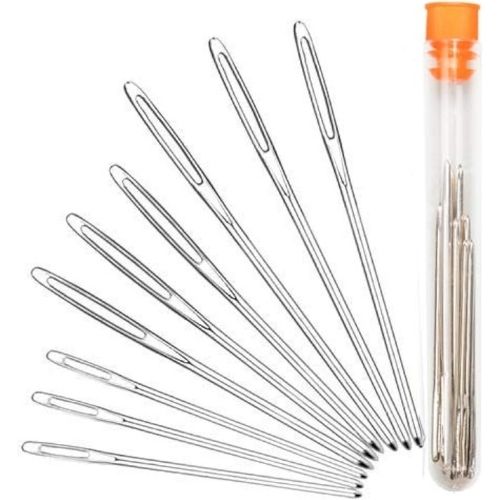
Tools and materials I used for this sampler
Disclaimer. To cover the cost of creating free embroidery patterns and video tutorials for this blog, I do sometimes link to products. Please assume these links are affiliate links. If you choose to buy through my links then THANK YOU – it will make it possible for me to keep doing this.


Don’t miss a thing!
Follow me on YouTube, Instagram, Facebook, Flipboard, Telegram and Pinterest. On the other hand, you can subscribe to the Practical Embroidery newsletter and get embroidery tips straight to your inbox every week!
Need More Guidance?
The top 10 hand embroidery stitches to learn is a free online course created for beginners.