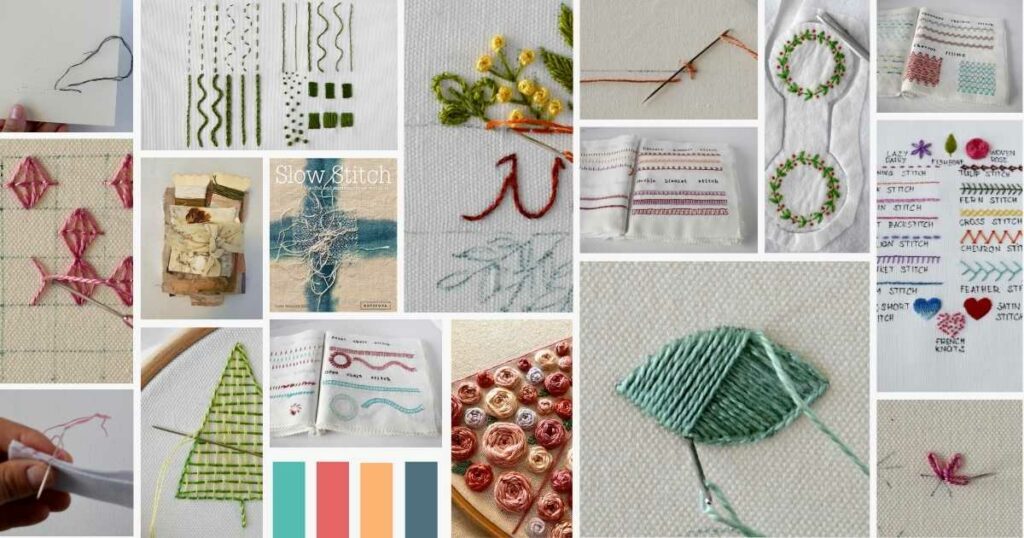
How To Trace Pattern on Fabric
Five Methods For Fast And Easy Embroidery Pattern Transfer
“How do I trace a pattern on fabric?” is a question I am often asked. Crafters, from experienced embroiderers to novice stitchers, have the same doubts.
Since hand embroidery is an antique craft widely spread across various cultures and countries, multiple methods of tracing patterns on fabric have been developed. In this article, I will dive deeper into five methods for embroidery pattern transfer:
- Pattern transfer with water-soluble stabilizer
- Iron-on design transfers
- Pattern tracing (aka lightbox method)
- Pattern transfer with embroidery transfer paper
- Pattern transfer with tissue paper
Which method to trace the patterns on the fabric is the best?
Each method offers a unique way to transfer embroidery patterns onto fabric, catering to different needs and preferences. Whether you prefer the precision of water-soluble stabilizers, the convenience of iron-on transfers, the traditional approach of lightbox tracing, the detail of embroidery transfer paper, or the simplicity of tissue paper, you can find a method that suits your project best.
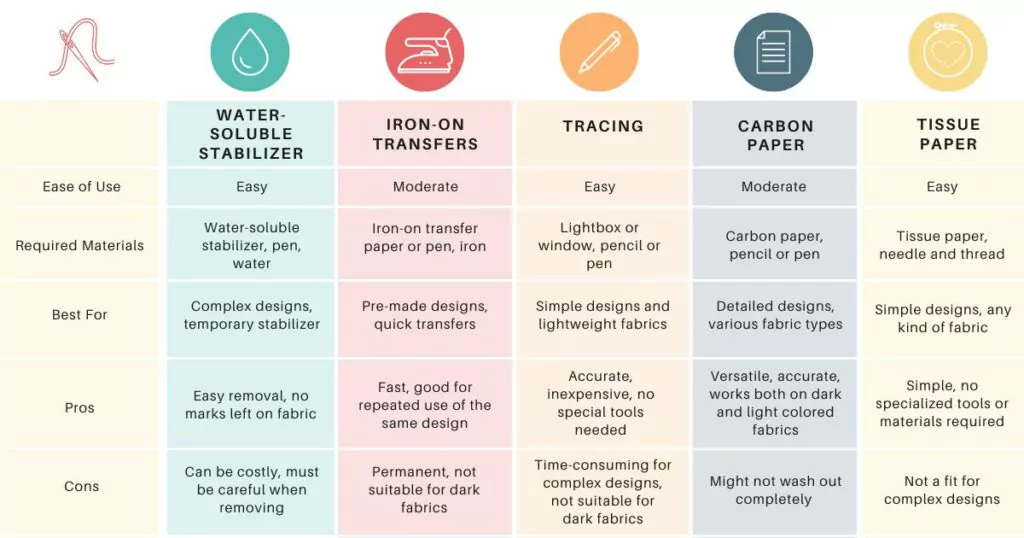
For quick decision-making – take a look at this decision matrix. Or continue reading for more detailed information about each method, its Pros and Cons, and how to use it.
Download this matrix if you wish to save it in a convenient PDF format.
Disclaimer: To cover the cost of creating free embroidery patterns and video tutorials for this blog, I do sometimes link to products. Please assume these links are affiliate links. If you choose to buy through my links then THANK YOU – it will make it possible for me to keep doing this.
Five methods for embroidery pattern transfer
Pattern transfer with water-soluble stabilizer
A water-soluble stabilizer is a wonderful option for intricate designs or fabrics that are difficult to mark. This pattern transfer method is often the only option for dark fabrics, grainy surfaces, or fabrics with texture.
How to use water-soluble stabilizers:
- Print or draw your pattern onto the water-soluble stabilizer.
- Place the stabilizer on top of your fabric and secure it with pins or an embroidery hoop. If you choose a self-adhesive stabilizer, peel it and stick it to the fabric like a sticker.
- Stitch through both the stabilizer and fabric, following your pattern.
- Once you’ve finished, soak the fabric in water to dissolve the stabilizer.
Pros:
- Precision: Allows for efficiently transferring precise and detailed patterns.
- Clean Finish: The stabilizer dissolves completely, leaving no residue.
- Versatile: Suitable for various fabric types, including delicates, darks, and fuzzy ones.
Cons:
- Cost: It can be more expensive than other methods.
- Extra Step: Requires soaking and drying the fabric after stitching.
Read the article “The Ultimate Guide to Water Soluble Stabilizers for Hand Embroidery” for a detailed step-by-step tutorial, video guide, popular brands, and other details.
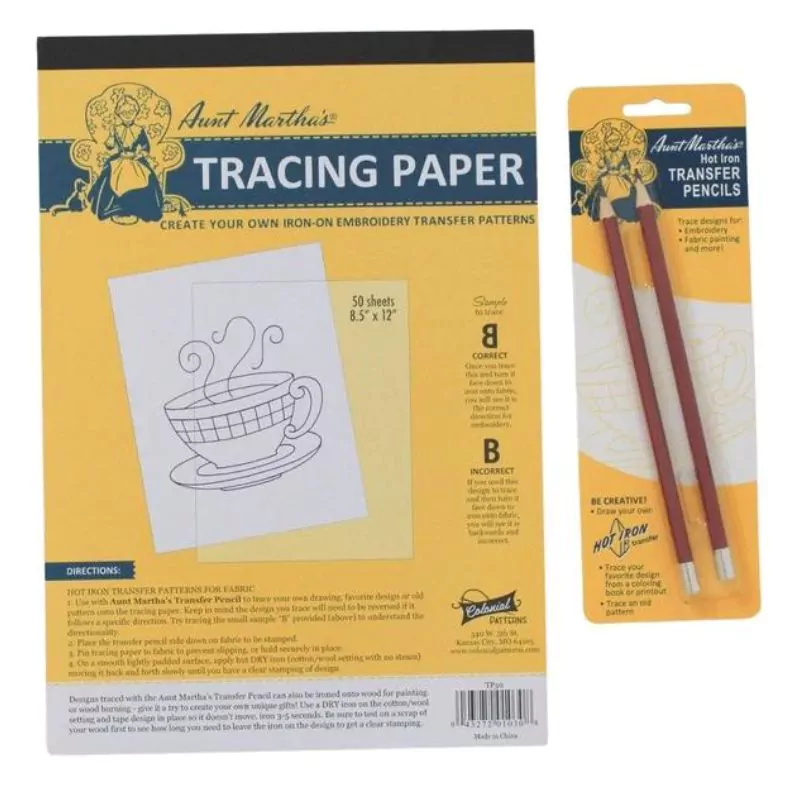
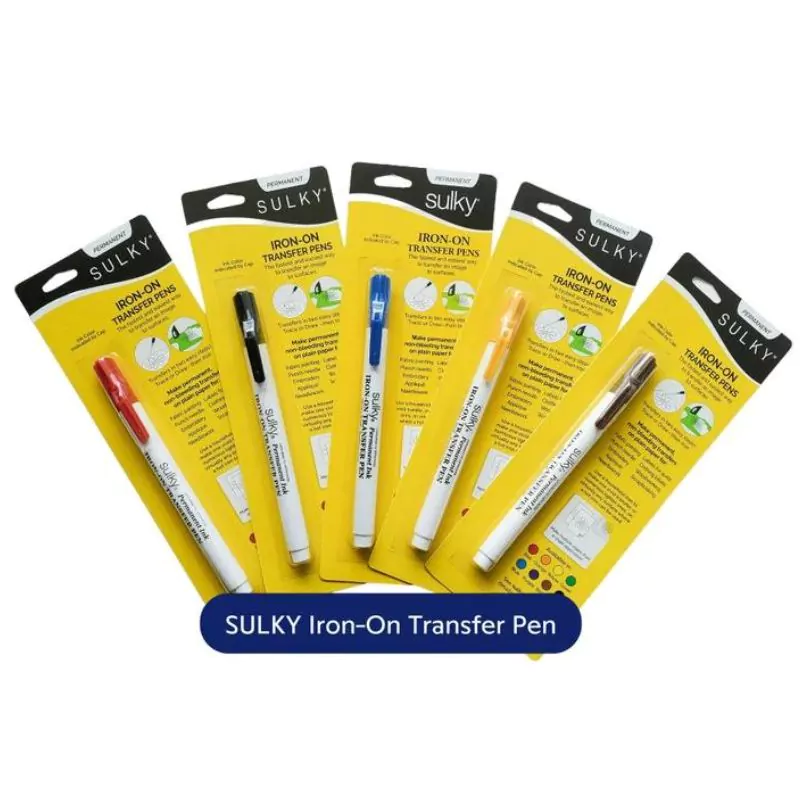
Iron-on design transfers
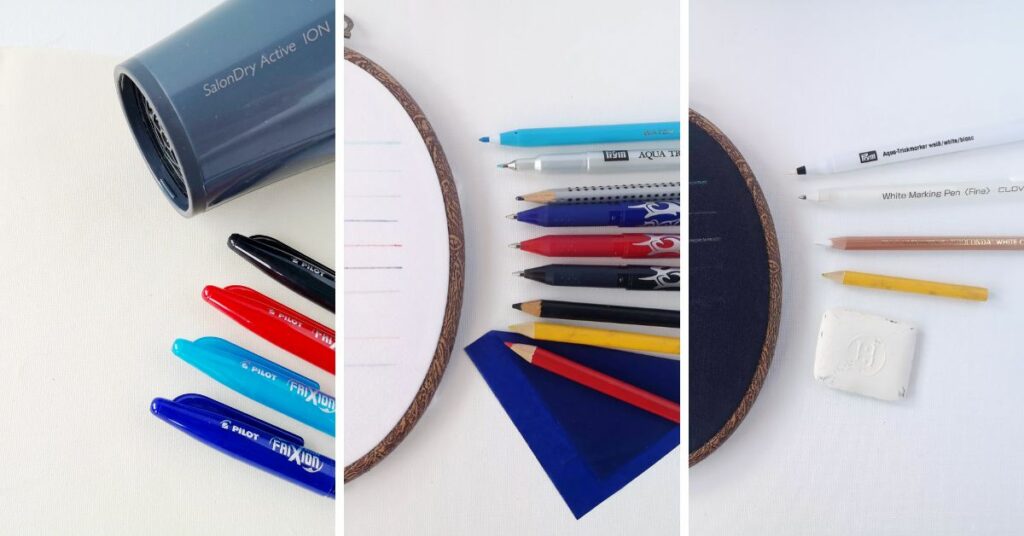
Iron-on transfers are quick and easy ways to transfer patterns directly onto fabric. Various tools are available for this method, from preprinted iron-on designs to pens, pencils, and special paper that allow you to create your own iron-on designs.
How to use the iron-on method for pattern transfer:
- Print or purchase an iron-on transfer pattern. Keep in mind that the design has to be mirrored for this method.
- Position the transfer paper on the fabric with the pattern side down.
- Use an iron to apply heat and transfer the design onto the fabric.
- Carefully peel off the paper to reveal the transferred pattern.
Pros:
- Speed: Fast and straightforward process.
- Clarity: Produces clear, sharp lines.
- No Residue: Leaves no marks or residue around the transferred lines.
Cons:
- Permanent: Transfer lines made with iron-on pens are permanent.
- Heat Sensitive: Not suitable for fabrics that cannot withstand high temperatures.
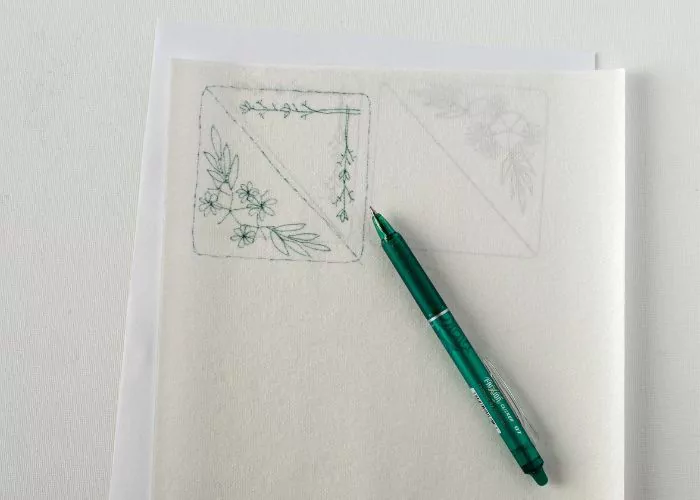
Pattern tracing
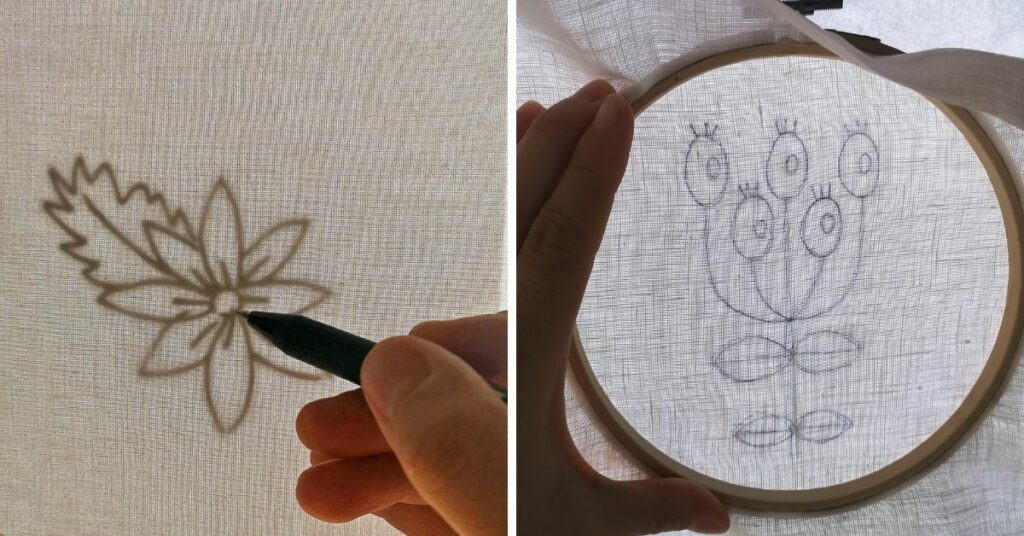
Pattern tracing, done using a lightbox or any light source like a window, is a traditional and effective method for transferring designs. I like this method a lot and use it often.
How to use the pattern tracing method:
- Place your pattern on the lightbox or a well-lit window.
- Secure your fabric over the pattern.
- Trace the design onto the fabric using a fabric marker, friction pen, or pencil.
Pros:
- Cost-Effective: Requires minimal equipment.
- Reusable: Patterns can be used multiple times.
- Control: Allows for adjustments and modifications while tracing.
Cons:
- Visibility: It can be challenging with thicker fabrics.
- Manual Effort: Requires a steady hand for accurate tracing.
Read the article “How to transfer hand embroidery patterns – simple and inexpensive Lightbox method” for detailed step-by-step tutorial, video lesson and more tips on using this pattern tracing method.
Pattern transfer with embroidery transfer paper
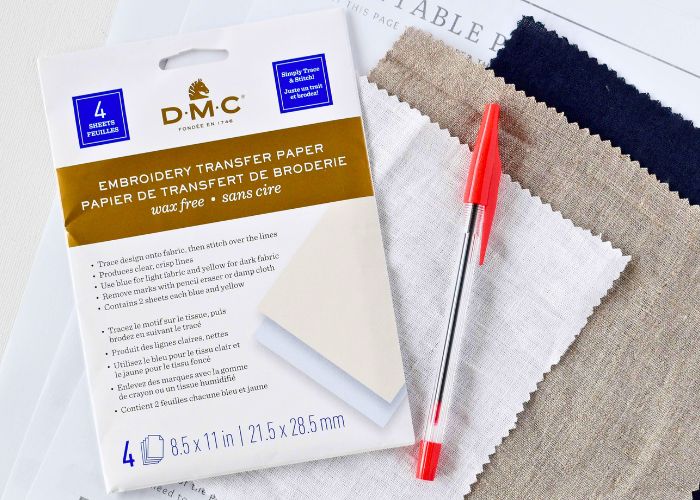
Embroidery transfer paper is a convenient method that works similarly to carbon paper. This pattern tracing method is simple and fast and works on both light-colored and dark-colored fabrics.
How to use embroidery transfer paper:
- Place the transfer paper, carbon side down, on your fabric.
- Position the pattern on top of the transfer paper.
- Use a stylus or a ball pen to trace over the pattern, transferring the design onto the fabric.
Pros:
- Detail: Captures intricate elements well.
- Versatile: Can be used on various fabric types.
- Reusable: The transfer paper can be used multiple times.
Cons:
- Smudging: Carbon can sometimes smudge on lighter fabrics. You will need extra effort to remove it.
- Limited Visibility: Transfer lines can be faint on some fabrics, especially if the fabric is grainy or of a medium color (not dark or light).
Read the article “How to use carbon paper to transfer embroidery patterns onto dark and light-colored fabrics” for detailed instructions, tips, video tutorial, and frequently asked questions about pattern transfer paper.
Pattern transfer with tissue paper
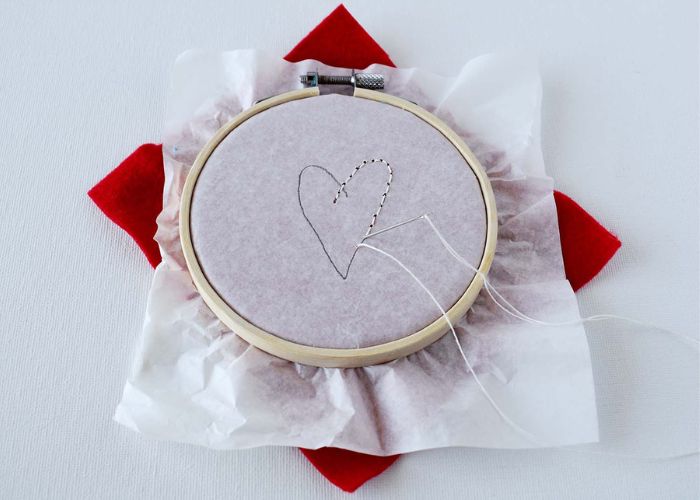
Using tissue paper is an accessible and straightforward method, especially for beginners. This medium works amazingly for transferring patterns like lettering or outlines.
How to Use:
- Trace your pattern onto tissue paper.
- Pin or baste the tissue paper onto your fabric.
- Stitch through the tissue paper and fabric, following the pattern.
- Tear away the tissue paper carefully once you’ve finished stitching.
Pros:
- Inexpensive: Cost-effective and readily available.
- Simple: Easy to use, even for beginners.
- Versatile: Works with a variety of fabrics.
Cons:
- Tearing: Tissue paper can tear easily, requiring careful handling.
- Removal: Removing the tissue paper can be tedious and may leave small bits behind.
Read the article “How to transfer embroidery pattern with tissue paper” for more details and a step-by-step tutorial.
Which way to trace pattern to fabric is the best?
There are more than these five methods for tracing patterns to fabric. You can also opt for basting or pouncing, use stencils, or print directly on fabric. These five are the most simple and affordable ways to transfer your design to the fabric and start stitching immediately.
The best technique does not exist, but all these tools, materials, and methods offer a design transfer technique for any type of fabric, experience level, and budget. Experimenting with different approaches can help you discover the most effective and enjoyable way to transfer your embroidery patterns.
Don’t miss a thing!
Follow me on YouTube, Instagram, Facebook, Flipboard, Telegram and Pinterest. On the other hand, you can subscribe to the Practical Embroidery newsletter and get embroidery tips straight to your inbox every week!
More about learning hand embroidery on this Blog
How to Improve Your Hand Embroidery Skills: Tips and Exercises
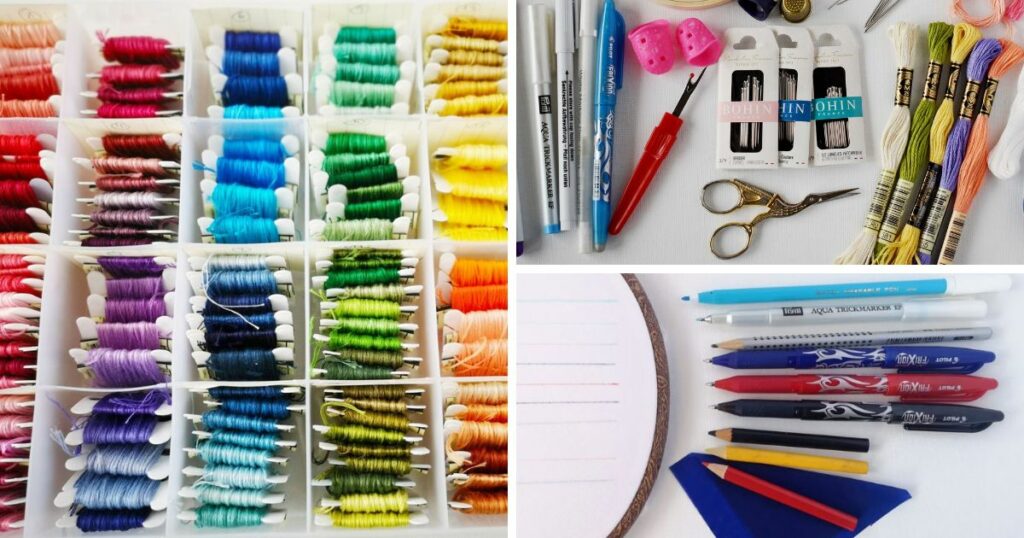
Embroidery materials for beginners. All you need to start learning hand embroidery