
Catch Stitch
The Catch Stitch is a hand sewing technique worked in a characteristic zigzag pattern, alternating diagonal stitches between two parallel lines – one along the hem fold and one just above it on the main fabric.
The needle always travels in the opposite direction to the overall movement across the hem: right-handed sewers work from left to right across the fabric while pointing the needle right to left for each individual stitch. This counterintuitive motion is what creates the stitch’s distinctive crossed herringbone appearance on the wrong side of the hem. On the right side of the fabric, the result is tiny, nearly invisible stitches, while the inside of the garment displays a neat, overlapping diagonal pattern.
To keep the stitch as discreet as possible on the right side, pick up no more than one to three threads of the main fabric with each stitch above the fold. You can catch more threads at the hem fold, since that side will not be visible.
Other names of the Catch Stitch
Catch Stitch is known by several names in the sewing and needlework world, which can cause some confusion across tutorials and references. It is sometimes called the Herringbone Stitch because the stitching technique is similar to embroidering a Herringbone Stitch. It is also occasionally referred to as the cross stitch in a dressmaking context – distinct from the counted cross stitch of embroidery – since each pair of stitches forms an X shape on the wrong side of the fabric. In some tailoring traditions, the term “tailor’s hem stitch” is used to describe this same technique.


Applications of the Catch Stitch
One of the defining qualities of a Catch Stitch is its built-in flexibility. The zigzag structure allows for movement and flexibility, making it well-suited even for thicker fabrics, such as knit or jersey. Because the stitch is difficult to pull too tight, it is also less likely to cause puckering along the hem — one of the reasons it is a preferred technique in couture dressmaking, where hems are finished entirely by hand.
Catch Stitch is most commonly used on garment hems, but it can also serve to tack two layers of fabric together wherever a flexible, low-profile join is needed. It works particularly well for hemming trousers and skirts, and is a reliable choice across all types of hems. It is equally effective on both single-fold hems with a finished edge and double-fold hems, making it a versatile option for a wide range of fabrics and garment types.
Other hand sewing techniques for edges and hems


Learn how to sew a Catch Stitch
Follow the step-by-step tutorial with detailed photos below, and you will learn the Catch Stitch quickly. If you are a visual learner, watch a video lesson in the tutorial or on the Practical Embroidery YouTube channel to learn this hand embroidery stitch faster.

How to sew a Catch Stitch
Step-by-step hand embroidery tutorial
1. Fold the fabric edge for the hem and press it. You can baste it or pin the edge if the fabric does not keep its shape well.

2. We will work from left to right. Thread your needle and make a knot. If you want to make your Catch Stitch barely visible, use a thin thread of the same color as the fabric and a small needle. Pass the needle through the folded hem so that the knot stays inside the fold.

3. Make a tiny stitch on the main fabric – catch just a thread or two. The movement of this stitch is from right to left.

4. Now, move to the right and make a tiny stitch on the fold. The stitch direction is from right to left.

5. After this, move to the right and make one more tiny stitch on the main fabric.

6. And then – one more on the fold. The stitches will cross as you move to the right.

7. Follow this stitching sequence to create a crossed pattern on the back side of the hem, while on the front side, the Catch Stitch will remain almost invisible.

Video tutorial
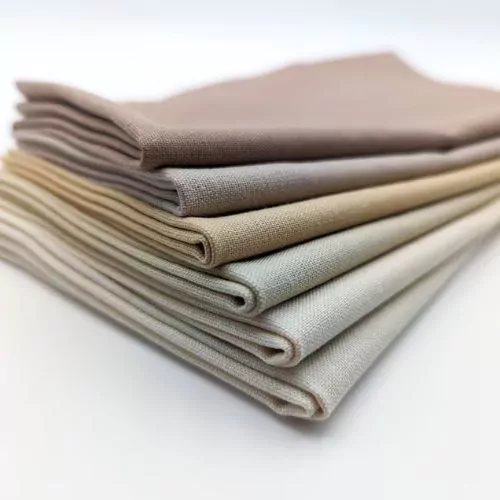
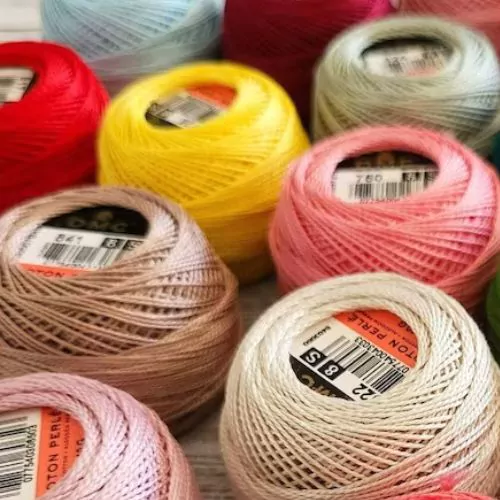
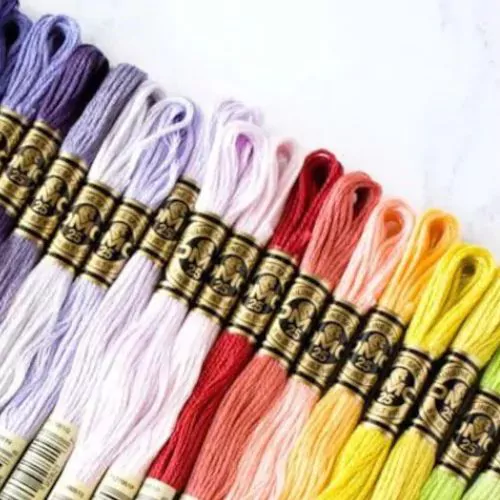
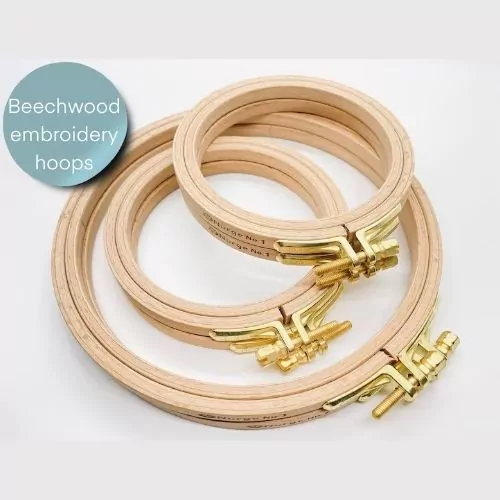
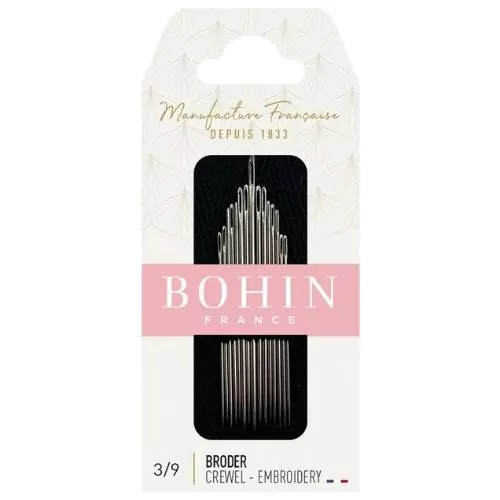
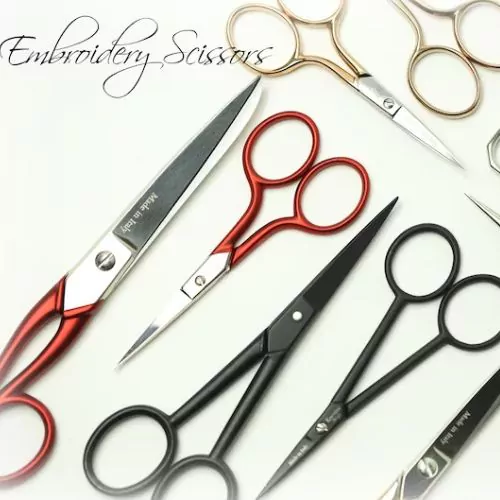
Tools and materials I used for this sampler
Disclaimer. To cover the cost of creating free embroidery patterns and video tutorials for this blog, I do sometimes link to products. Please assume these links are affiliate links. If you choose to buy through my links then THANK YOU – it will make it possible for me to keep doing this.
What’s next?
If you’re in the mood to explore more hand embroidery stitches, check out the Stitches and Techniques page for the list of other fantastic stitches available on my blog. From basic embroidery stitches to complex and playful variations of classical techniques, a whole world of stitches is waiting for you to explore and master. So, grab your hoop and needle, and let’s stitch together!
Don’t miss a thing!
Follow me on YouTube, Instagram, Facebook, Flipboard, and Pinterest. On the other hand, you can subscribe to the Practical Embroidery newsletter and get embroidery tips straight to your inbox every week!
Need More Guidance?
The top 10 hand embroidery stitches to learn is a free online course created for beginners.