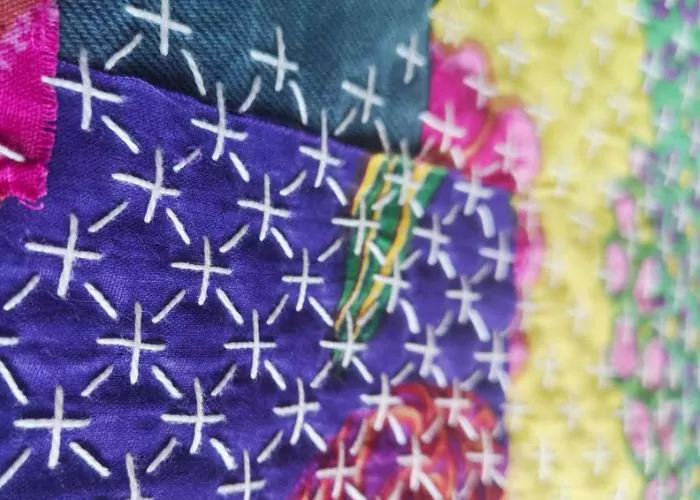

Slip Stitch
The Slip Stitch is a hand-sewing technique for securing and finishing folded hems. The main feature of this technique is that it creates a secure, yet invisible, hem.
Sewing with Slip Stitch requires some experience and patience, but if you use this technique with a thread color similar to the fabric color, the hemming will be truly invisible, neat, yet durable and secure. Slip Stitch is a traditional way of finishing garments that has been used for centuries and is still used by modern seamstresses to elevate garments and add artisan finishing.
For the best results, use a small-sized needle and a fine thread of the same color as the fabric. I used a blue thread on white linen to make it easy to follow the tutorial.


Applications of the Slip Stitch
Slip stitch is used in hand sewing for hemming garments, attaching binding inside an armhole, finishing bias bindings, or enclosing seams, such as on collars and waistbands.
Besides being useful and practical for garment sewing, this technique is also handy for other textile crafters. You can use this technique to hem napkins, tea towels, and other embroidered home textiles.
More hand sewing techniques for edges


Learn how to Make Slip Stitch
Follow the step-by-step tutorial with detailed photos below, and you will learn the Slip Stitch quickly. If you are a visual learner, watch a video lesson in the tutorial or on the Practical Embroidery YouTube channel to learn this hand embroidery stitch faster.

How to Make Slip Stitch
Step-by-step hand sewing tutorial
1. Fold the fabric’s edge twice to create a double-folded edge. You can pin or baste the edge, especially if it’s long and the fabric doesn’t hold the fold well.

2. Knot your thread and start stitching by hiding the knot inside the edge fold.

3. Make a tiny stitch into the main fabric. Pass the needle under 1-2 threads. Pull the thread through.

4. Now make a long stitch inside the folded edge. The size of this stitch is about 1 cm (~0.4 inches).

5. Pull the thread through and make one more tiny stitch on the main fabric.

6. After that, follow up with a long stitch inside the fold.

7. Continue stitching, alternating tiny stitches inside the fabric and long stitches inside the fold. Pay attention to maintain the constant tension. Remember that if you pull too much, the edge will pucker, but if the tension is too loose, the edge will loosen over time.

8. After the entire edge is stitched, secure the end of the thread and hide it inside the fold.

Video tutorial
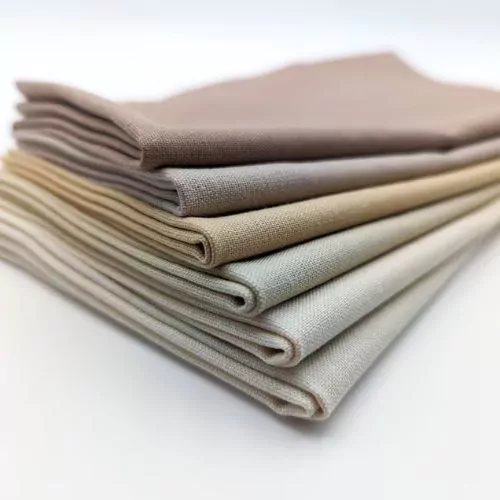
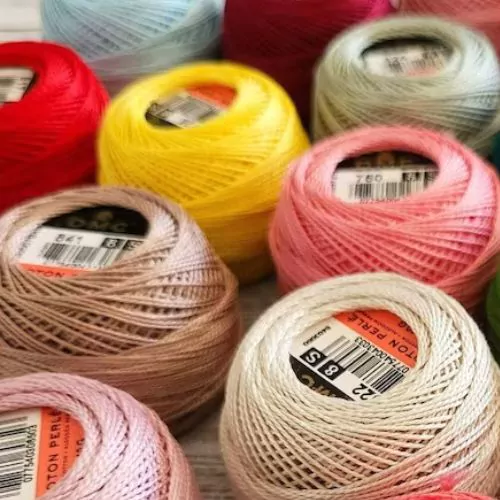
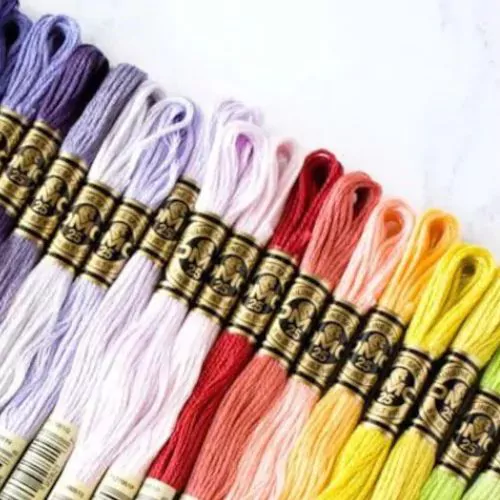
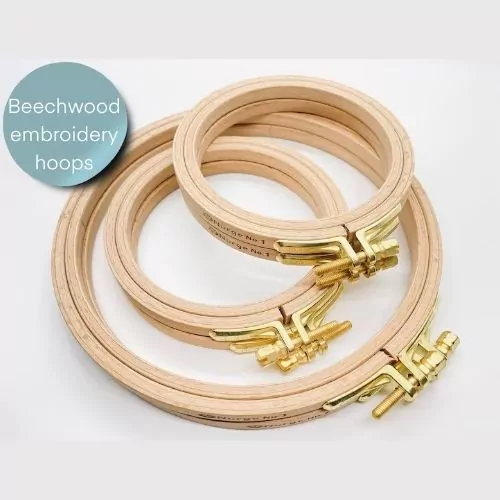
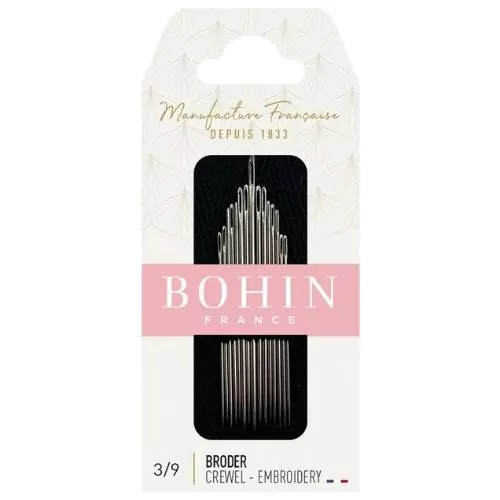
Tools and materials I used for this sampler
Disclaimer. To cover the cost of creating free embroidery patterns and video tutorials for this blog, I do sometimes link to products. Please assume these links are affiliate links. If you choose to buy through my links then THANK YOU – it will make it possible for me to keep doing this.

What’s next?
If you’re in the mood to explore more hand embroidery stitches, check out the Stitches and Techniques page for the list of other fantastic stitches available on my blog. From basic embroidery stitches to complex and playful variations of classical techniques, a whole world of stitches is waiting for you to explore and master. So, grab your hoop and needle, and let’s stitch together!
Don’t miss a thing!
Follow me on YouTube, Instagram, Facebook, Flipboard, and Pinterest. On the other hand, you can subscribe to the Practical Embroidery newsletter and get embroidery tips straight to your inbox every week!
Need More Guidance?
The top 10 hand embroidery stitches to learn is a free online course created for beginners.