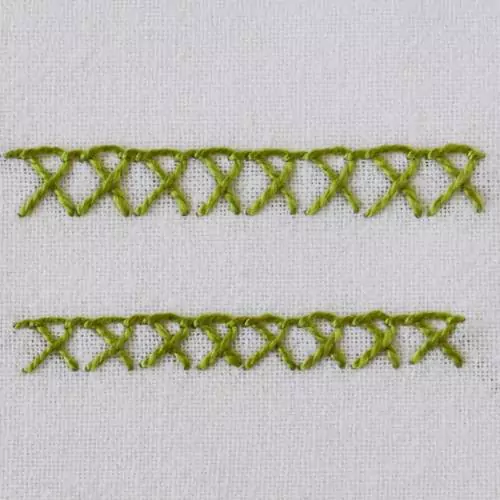
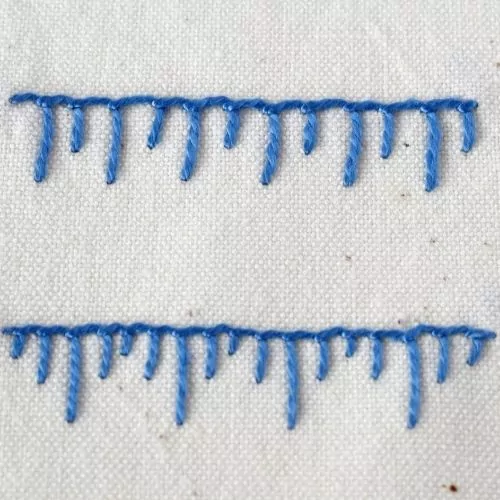
Blanket Stitch for Sewing
Blanket stitch has many applications, including sewing. It is fast, secures the edges well, and creates a decorative edge.
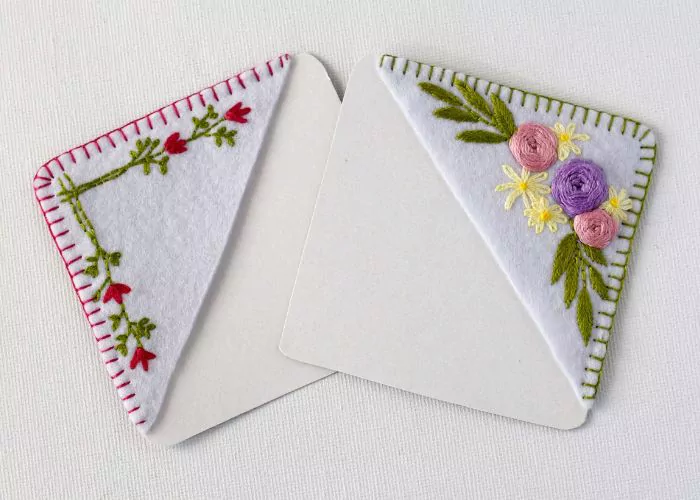
Blanket stitch is flexible and takes well corners, angles, and curves, which makes this technique an excellent option for sewing decorations and ornaments of irregular shapes.

Applications of the Blanket Stitch Sewing
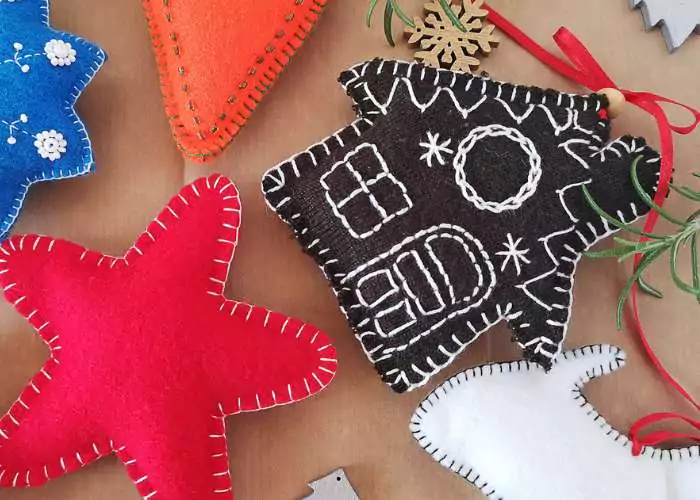
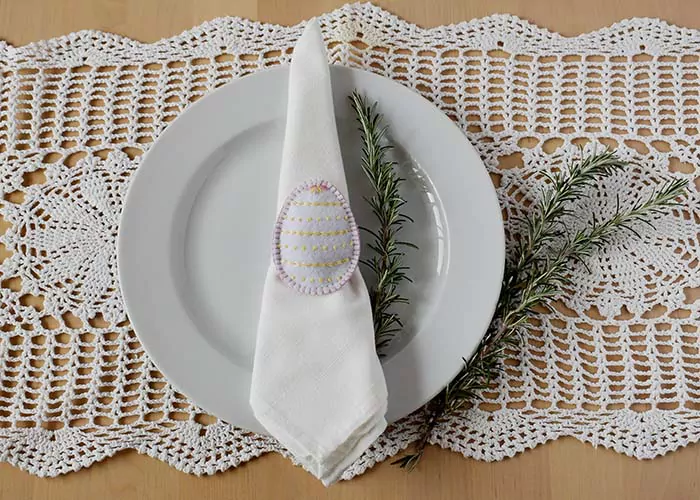
Blanket Stitch for Sewing is one of the variations of the Blanket Stitch that we use for sewing felt decorations and ornaments, attaching applique pieces, and securing the edges of home textiles.

More stitches for hand sewing and edging

You can learn more about the Blanket Stitch family in the article “Blanket stitch and its variations.” Also, you will find a full list of Blanket stitch variations for edging in the article “Blanket Stitch Edging: 19 Decorative Embroidery Techniques For Securing and Decorating Edges“.
Learn how to sew with Blanket Stitch
Follow the step-by-step tutorial with detailed photos below, and you will learn how to sew with Blanket Stitch in no time. If you are a visual learner, watch a video lesson in the tutorial or on the Practical Embroidery YouTube channel to learn this hand embroidery technique faster.

How to sew with Blanket Stitch
Step-by-step tutorial
Instructions
1. Cut out the shape of the ornament you want to sew with Blanket Stitch. Match the edges and pin the pieces together.

2. To start stitching, hide the knot between the layers of the fabric. Take the needle up on the edge of the fabric. Make the first Blanket Stitch.

3. Continue sewing with Blanket Stitches. Try to keep all the stitches of the same size. This will make your edge look professional and decorative.

4. Plan your stitches ahead to address irregular shapes, corners, and curves. Sometimes, you will need to adjust the spacing between the stitches at the top or at the bottom of the line or make them at a slightly slanted angle.

5. If you finish the thread in the middle of the shape, secure the stitch with an anchoring stitch.

6. Hide the resting thread between the layers of the fabric.

7. To restart stitching, secure the knot between the layers of the fabric and insert the needle inside the loop of the last stitch. This will make the connection invisible.

8. When you finish stitching, secure the thread with an anchoring stitch.

9. Hide the end of the thread between the layers of the fabric.

Video tutorial
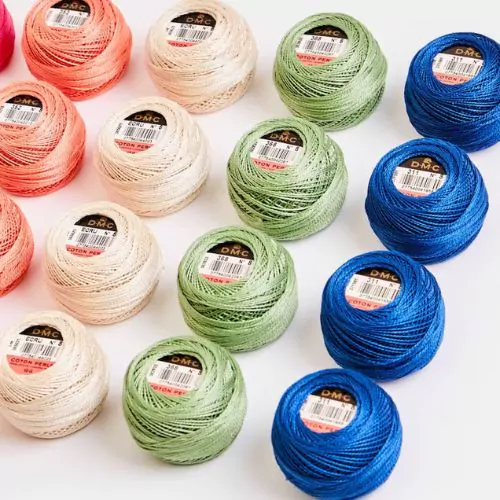
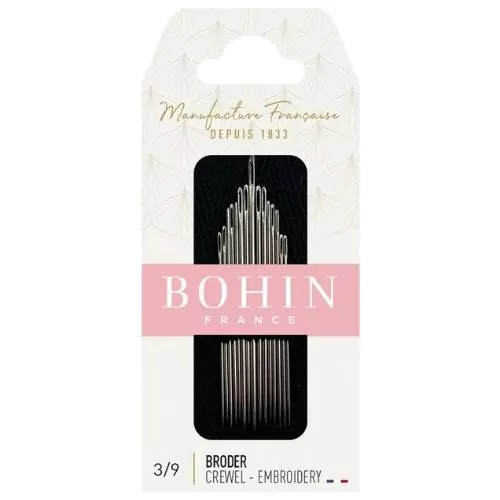
Tools and materials I used for this sampler
Disclaimer. To cover the cost of creating free embroidery patterns and video tutorials for this blog, I do sometimes link to products. Please assume these links are affiliate links. If you choose to buy through my links then THANK YOU – it will make it possible for me to keep doing this.


What’s next?
If you’re in the mood to explore more hand embroidery stitches, check out the Stitches and Techniques page for the list of other fantastic stitches available on my blog. From timeless classics to modern twists, a whole world of stitches is waiting for you to explore and master. So, grab your hoop and needle, and let’s stitch our way to creative bliss!
Don’t miss a thing!
Follow me on YouTube, Instagram, Facebook, Flipboard, Telegram, Reddit or Pinterest. On the other hand, you can subscribe to the Practical Embroidery newsletter and get embroidery tips straight to your inbox every week!
DIY projects with Blanket Stitch sewing