

French Knot Embroidery Sampler: Detailed Step-By-Step Hand Embroidery Tutorial
I love embroidering with the French Knot technique, but this tiny knot has a reputation for being a “difficult stitch.” Some say their French knots have strange loops and tails sticking out. Others lament that they never achieve an even, nice-looking filling. People say they struggle with tension, sizing, and spacing… I believe that all these “problems” are solvable with a good technique and targeted practice. Therefore, I created this French Knot embroidery sampler for you to download and practice with me.

To join me and get better at your French Knots, download the free sampler pattern and follow the step-by-step instructions below. You can even stitch along while watching my video tutorial, linked below the step-by-step guide.
French Knot Embroidery Sampler
Tools and materials
- French Knot embroidery sampler PDF pattern.
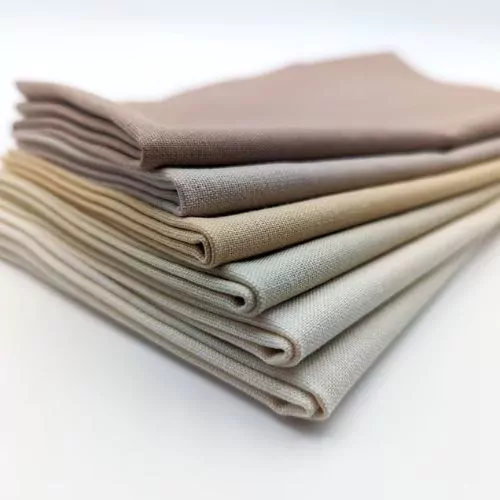
- Fabric. I used a piece of white linen-cotton blend, 25×25 cm (10×10 inches).
- Embroidery hoop. I used a square 14.5 cm (5.6 inches) Nurge hoop.
- Needles. Get yourself a pack of sharp sewing needles or Milliner needles.
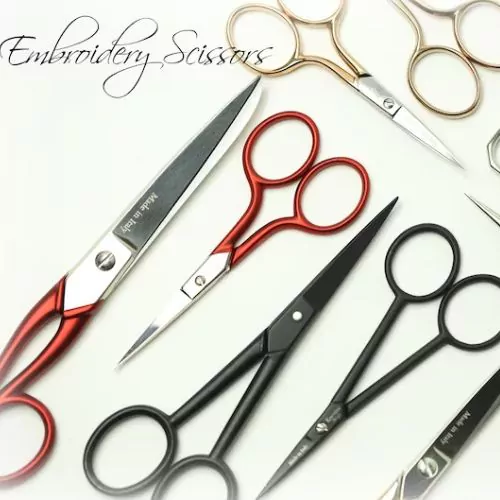
- Sharp embroidery scissors.
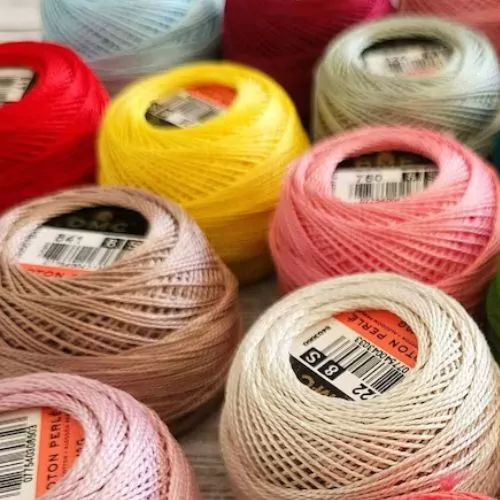
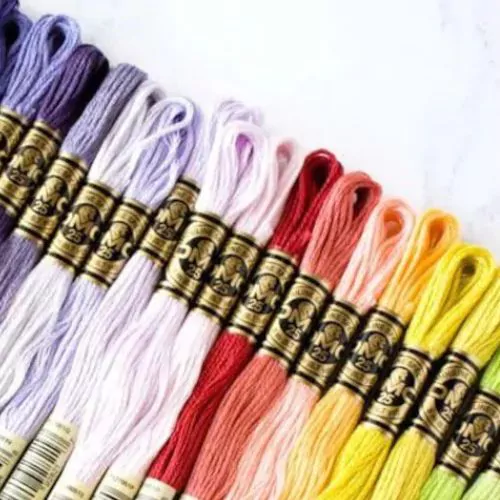
- Embroidery floss and pearl cotton thread. I used DMC embroidery floss (color codes: #3822, #155, #3354, and #907) and DMC pearl cotton No. 8 (color codes: #937, #321, #552, and #726).
- Friction pen for pattern transfer.
- Some sequins and seed beads.
- Hoop stand.
Step-By-Step embroidery tutorial
Preparation
1. Gather tools and materials. Download the pattern and print it, or have it ready on your lightbox.

2. Transfer the pattern to the fabric. Use your favorite transfer method. I used a light window and a friction pen to trace the pattern.

3. Stretch the fabric in the hoop so it’s tight, and the design isn’t distorted.

4. Place the hoop in the hoop stand. Having both hands free for stitching is essential for French Knots! Alternatively, you can use a lap stand or spring clamps to secure your hoop to the table.

French Knots of different sizes
It is important to learn how to make French Knots in different sizes with different numbers of strands. While stitching, note which thread size suits you best. Also, try different ways to start stitching and securing the thread on the back.
Additional techniques:
- Basic French Knot embroidery tutorial
- Isolated French Knots: Start, Finish, and Trailing Between the Stitches
- French Knot Embroidery Stitch: Complete Tutorial, Tips & Troubleshooting Guide
1. First, embroider a line of French Knots with a single strand of embroidery floss. Use a small straw needle and space the stitches evenly along the line.

2. For the second line, use two strands of embroidery floss. Use a folded-thread method to start stitching when embroidering with an even number of strands.

3. Embroider the third line with three strands of embroidery floss. Remember to separate strands one by one from the skein and pass each thread between your fingers to unwind it. This way, you will prevent tangles in the thread.

4. Use four strands of embroidery floss for this line. You can use two strands folded in half and start stitching with the folded-thread method.

5. Embroider this line with five strands of embroidery floss.

6. Finally, use all six strands of floss to embroider this final line. Even if you use all six strands, separate them one by one and join them into a single thread.

French Knots for securing the sequins
Use this section of the sampler to practice sewing sequins to the fabric with French Knots.
1. First, try a standard method with a seed bead in the center.

2. Secure the sequin with three strands of embroidery floss (in my experience, that’s the minimum you will need to keep the sequin in place).

3. Also, make bigger knots in the center of sequins. I used five strands of floss for some sequins in this sampler.

Outlines with French Knot
Outlines, made with the French Knot technique, look sharp and create a neat, raised line. It can be a nice stand-out feature of your embroidery design. White stitching this part of the sampler, notice what gap between the knots works best for you and when the lines get too crowded and distort.
1. Work French Knots around the shape. I used three strands of embroidery floss to outline this flower shape.

2. If you are working in a round, distribute the last stitches so the connection between the starting and finishing point is not visible.

Filling with French Knots
Filling with French Knots of the same size looks neat and clean and is a great way to fill patterns with textured color.
1. To start filling, outline the shape first.

2. Then, add one more row of French Knots inside the shape, close to the outline row.

3. Keep adding rows inward until the entire figure is filled.

Micro flowers with French Knot technique
You can add a tiny flower to your design with only six stitches. Make these cute micro flowers as detached decorative elements, or line them up in a row for a decorative border.
1. Start with the center of the flower. Make a French Knot in the middle of the floral shape you are making. If you are making a border, park the needle with thread on the side while making petals in a different color.

2. Add five more French Knots around the center. Change the color for a more realistic effect. After you finish the first flower, you can add more flowers to create a border or secure the threads to finish with one flower.

3. To make your flowers slightly bigger, use more strands of embroidery floss or double your thread. I used a single and a double pearl cotton thread for this sampler.

Changing the size of French Knots
This snowflake design is a great exercise for using French Knots of different sizes in the same design. Note: Don’t add more wraps to make your stitches bigger; use more strands of embroidery floss to make the knots with two wraps.
1. Start with the central dot and make a French Knot with two strands of embroidery floss.

2. Then, embroider the circles around with a growing number of strands. Use 3, 4, 5 strands.

3. Finally, finish with the round of French Knots made with six strands of embroidery floss.

Lettering with French Knot Stitch
Using knots to embroider letters is another great way to use this versatile embroidery technique in your designs. This technique works well for simple letters with a consistent width.
1. Embroider French Knots on the design lines. Avoid long jumping threads on the back; pass the needle under the stitches you made to reach the new starting point.

2. I used DMC pearl cotton No. 8 for these letters, but you can practice with the thread you use the most for your designs. Or try different threads for each letter.

3. Getting used to spacing your knots evenly when making lines takes patience and practice. As you can see in my “n” letter embroidery, lines can get distorted if the knots are too close together.

Multicolored filling with French Knots
After these exercises, you will be left with a bunch of embroidery floss in different sizes and lengths. Use the leftover threads to embroider French Knots and fill the circle in this French Knot embroidery sampler with color and texture.
1. First, use up the bulkiest threads. Make knots with six or five strands of floss.

2. Try to distribute the colors evenly.

3. Also, note the minimum thread length you need to make a French Knot. This exercise lets you test your ability to make knots with the shortest possible thread ends.

4. Knots made with different thread thicknesses will create a bumpy, uneven surface that looks natural and botanical. Use this technique for your flower centers.

5. Leave the fewest strands for last.

6. Finally, close the remaining gaps with micro dots stitched with a single strand of embroidery floss.

French Knot Embroidery Sampler stitch along video tutorial
Tools and materials I used for this sampler
Disclaimer. To cover the cost of creating free embroidery patterns and video tutorials for this blog, I do sometimes link to products. Please assume these links are affiliate links. If you choose to buy through my links then THANK YOU – it will make it possible for me to keep doing this.




Over to you
The goal of this French Knot embroidery sampler is to provide guided practice. This sampler follows the natural ways we use French Knots in hand embroidery designs, from filling and outlines to lettering and decorative borders. Each exercise in the sampler has a practical use in surface hand embroidery and helps you better understand the stitch mechanics.
I hope you will enjoy stitching this French Knot sampler with me!
Which exercise is the most challenging for you? Share in the comments!
More samplers with French Knots

Beginner Embroidery Stitches + Free Cactus Hand Embroidery Sampler To Learn Basics

Five Simple Border Embroidery Designs For Absolute Beginners: Basic Stitches For Decorative Borders

Basic embroidery stitches for beginners: 18 basic hand embroidery stitches to start stitching like a pro
