

Isolated French Knots: Start, Finish, and Trailing Between the Stitches
French Knot is an isolated stitch that you can work in groups or as single dots. It’s easy to hide the starting stitch and secure the thread end when the filling is dense, and there are plenty of tiny stitches on the back to use as anchors. But some hand embroidery designs will require one single isolated French Knot. Others will place French Knots far apart, creating very long jumping threads on the back.
In some cases, long trailing between the isolated stitches will not create problems, and you can leave these long jumping threads on the back. If your fabric is dense, dark, and sturdy, and the trailing doesn’t show from the front, it’s fine to leave them.

In other cases, the trailing will show on the front, creating unwanted lines connecting the dots. Also, long jumping threads on the back can get in the way if you leave them on garments or home textiles where the back side is visible or comes into contact when used. In these cases, the risk of the stitches getting pulled and distorted is very high.

How to start and finish these lonely stitches?
The first idea that comes to mind is to start with a knot. But a knot on the back isn’t ideal for French Knots. When you wrap the thread around the needle and push it back into the fabric near the starting point, the knot on the back gets in the way. If your needle catches that starting knot, you risk pulling it and distorting a stitch you just made. It also doesn’t solve the problem of securing a finished thread.
I mostly use two options for starting and finishing isolated French Knots. Here are the tutorials:

Starting French Knots with a waste knot: Step-by-step tutorial
With this method, you start embroidering your isolated French Knot Stitch with a waste knot, and when the stitch is done, you tie both ends in one knot on the back of the fabric. This method works with any thread and any number of strands.
1. To start, tie a knot at the end of the thread.

2. Push the needle into the fabric (front side) a couple of cm away from where you plan the French Knot. This is a waste knot.

3. Embroider an isolated French Knot Stitch.

4. Cut away the waste knot and turn the fabric.

5. On the back side, you will have two thread ends: the working thread and the thread from the waste knot.

6. Tie these ends together, making a double or even triple knot.

7. Trim the ends near the knot.


Isolated French Knots with a folded thread: Step-by-step tutorial
This method works well with embroidery floss that comes in pairs of threads (2, 4, or 6 strands) or any doubled thread. Start stitching with a folded thread loop, and finish by anchoring the thread to the small stitch on the back side.
1. Thread your needle with the cut ends of the folded thread.

2. Get the needle up to the surface at the spot where the French knot will land. Do not pull the thread through; leave a small loop on the back of the fabric. Make a tiny stitch, then bring the needle back to the reverse side of the fabric.

3. On the back side, pass the needle through the loop you left open and tighten it. The thread is now secure, and you have a tiny chain stitch on the back.

4. Make the French knot above the tiny holding stitch you made.

5. On the back side, pass the needle under the chain stitch.

6. Then, anchor the end of the thread under it.

7. Make a couple of anchoring stitches and cut the thread.

How to start and finish isolated French Knots: Video Tutorial
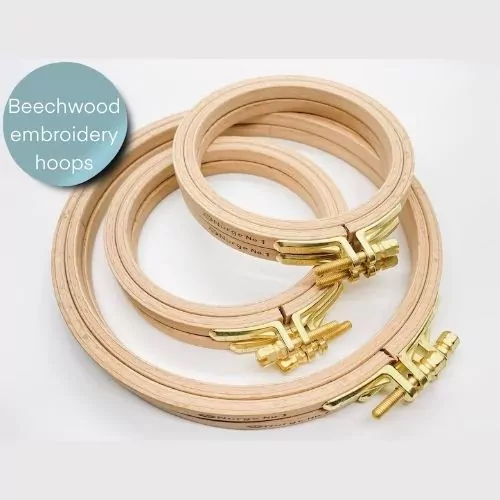
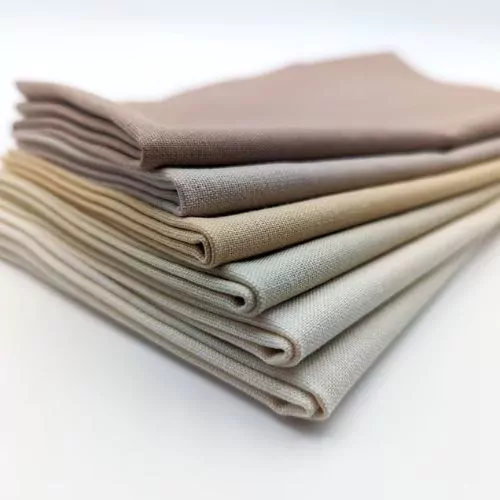
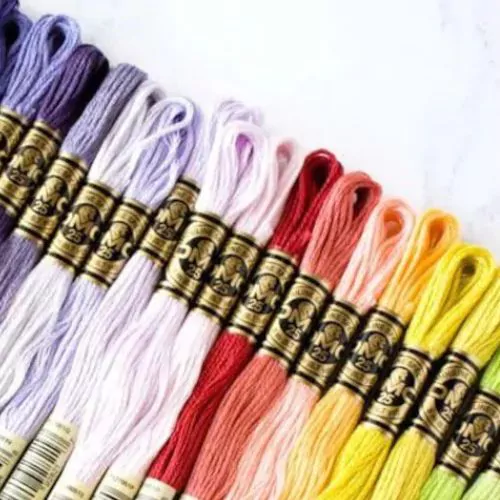
Materials I used for this sampler
Disclaimer. To cover the cost of creating free embroidery patterns and video tutorials for this blog, I do sometimes link to products. Please assume these links are affiliate links. If you choose to buy through my links then THANK YOU! – it will make it possible for me to keep doing this.



Over to you
Both methods demonstrated in this tutorial for starting and finishing isolated French knots are great, valid options for any hand embroidery design. Both methods keep the knot secure, with no threads trailing on the back.
My choice of method mostly depends on the thread I use. I’ll use the folded-thread method for hand embroidery floss if I choose to use two, four, or all six strands at a time, and the waste-away knot method for all other threads and odd numbers of strands.
Now that you’ve learned two methods for starting and finishing isolated French Knots, which one will you try first?
Embroidery patterns with isolated French Knots

Young Sun
Hand embroidery PDF pattern and instructions, simple embroidery design for beginners

North Star
PDF pattern for hand embroidery

Solar System
Hand embroidery PDF pattern and instructions
Don’t miss a thing!
Follow me on YouTube, Instagram, Facebook, Flipboard, Telegram, Reddit or Pinterest. On the other hand, you can subscribe to the Practical Embroidery newsletter and get embroidery tips straight to your inbox every week!
More about French Knots on this Blog

French and Colonial Knots Explained: Hand Embroidery Beginner’s Guide
Colonial and French Knots Explained: Hand Embroidery Beginner’s Guide
