How to mend holes in jeans by hand. A simple method with running stitch embroidery
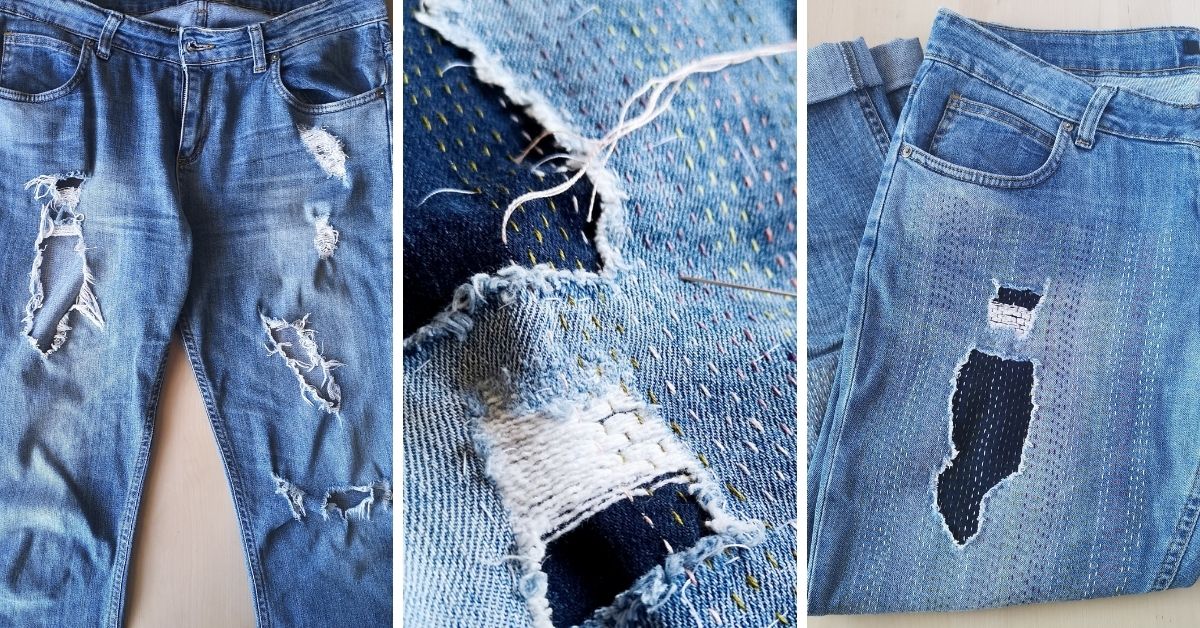
A pair of good jeans are a wardrobe staple for many of us. Unfortunately, rips, holes, and worn-out fabric are common problems of heavily worn clothes, and your favorite jeans are no exception. But, holes or rips shouldn’t ruin otherwise wearable pairs of jeans. In fact, when patching up holes, you can even breathe new life into old jeans by using simple hand embroidery stitches or colorful patches.
In the tutorial below, I share a simple method for mending jeans by hand. But first, let me explain why I do it.
Why I choose to repair my denim
Denim is like wine and cheese; it gets better with age
Denimhunters
And I could not agree more. But, of course, you need to take good care of your denim and repair it in case of rips or holes.
Mended jeans are original and one of a kind. If you know how to mend jeans, you can choose visible mending methods and personalize your denim while fixing it.
Mending will save you money. Even if you pay someone to fix your ripped jeans, it will cost you less than buying a new pair. But what about doing it yourself? How much can you save if you know how to mend your jeans?
Repairing clothes instead of purchasing a new garment reduces the environmental impact of our clothing. In the article by TRAID, ‘Measuring the impact of repair,’ it is stated that ‘extending the life of a garment by an extra 9 months reduces its environmental impact by 20-30%’.
You can use your repaired denim as a self-expression medium or a declaration against fast fashion.
Mending process can become a meditation:). Read the article “Embroidery As Therapy: 8 Ways Hand Embroidery Can Boost Your Mental Health And Emotional Wellbeing” to learn more about the impact of hand embroidery on our minds.
Hand embroidery has even more benefits. Learn them all in the article “Benefits Of Hand Embroidery: 10 Reasons To Learn Hand Embroidery Today“.
How to mend jeans
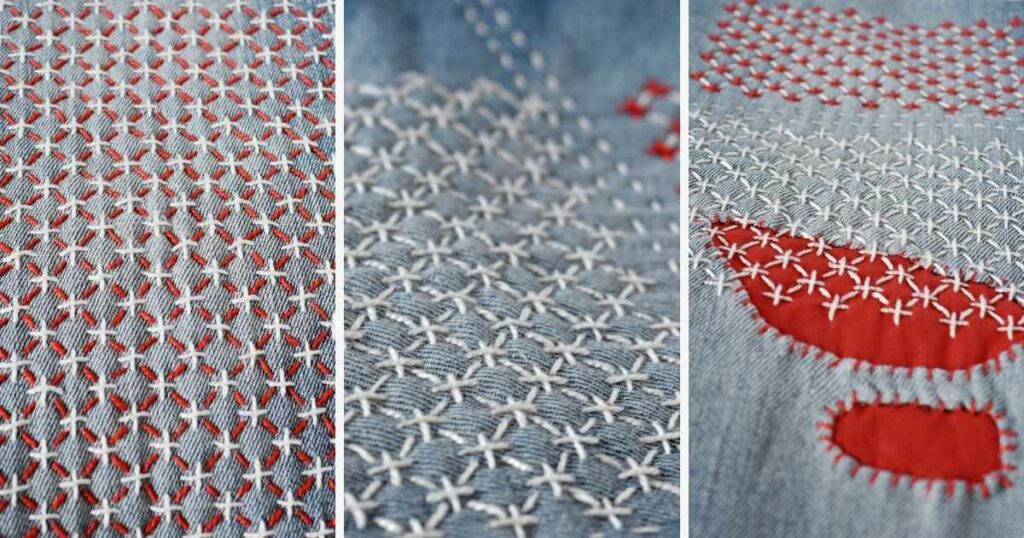
There are many methods how to mend jeans – from professional tailor to specialty denim repair service, from invisible mending to patches, from iron-on appliques to embellishments with sequins or sashiko style mending, and so on.
In this tutorial, I share my favorite way of mending jeans by hand – visible mending with running stitch embroidery.
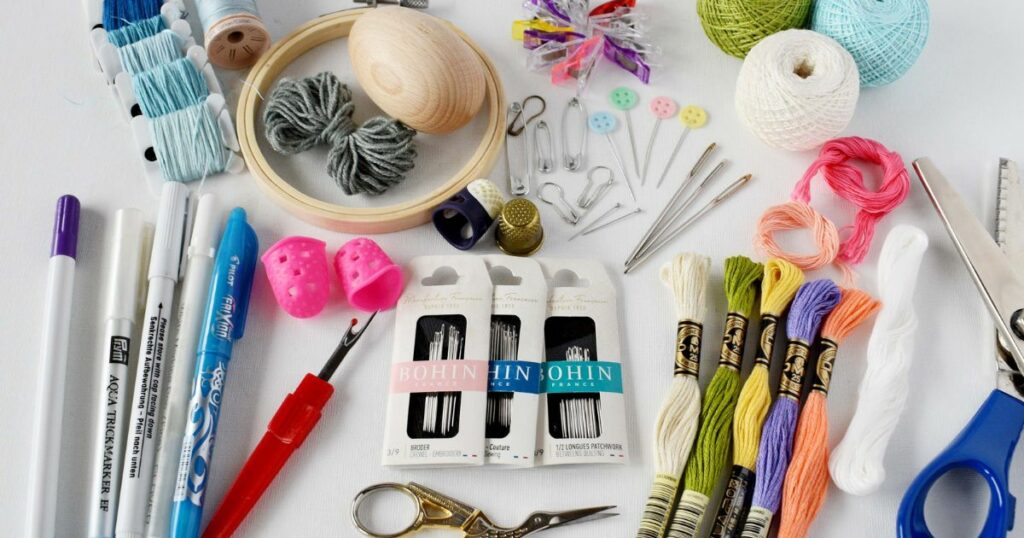
Materials you will need:
- Your ripped jeans. Wash them before mending;
- Pieces of denim fabric for patches. I used scraps of different colors from old jeans. You can choose colors of patches depending on the effect you want to attain;
- Scissors;
- Some pins;
- Sewing thread for basting;
- Embroidery needle;
- Embroidery thread for the running stitch. You can use cotton floss or pearl cotton. Any kind of cotton thread of your chosen color will do.
Step 1. Prepare the patches
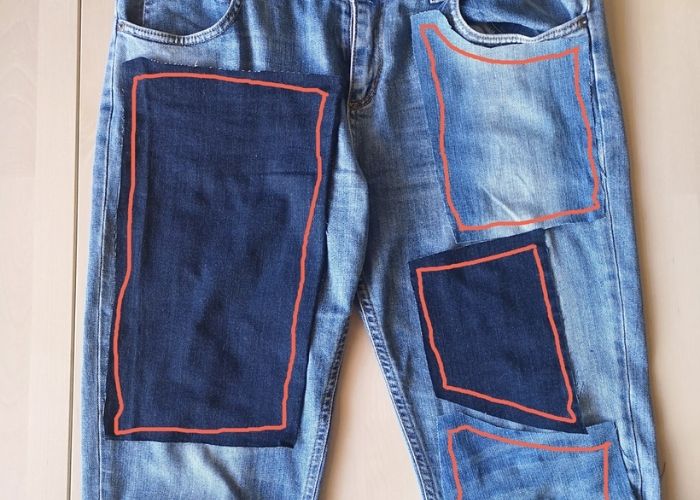
Cut the pieces of the fabric that you will use as the patches.
They should generously cover the hole you want to mend and some worn-out material around it. Make sure to cut out the shapes that will fit and keep the pockets or embellishments in mind.
Step 2. Pin the patches and baste them
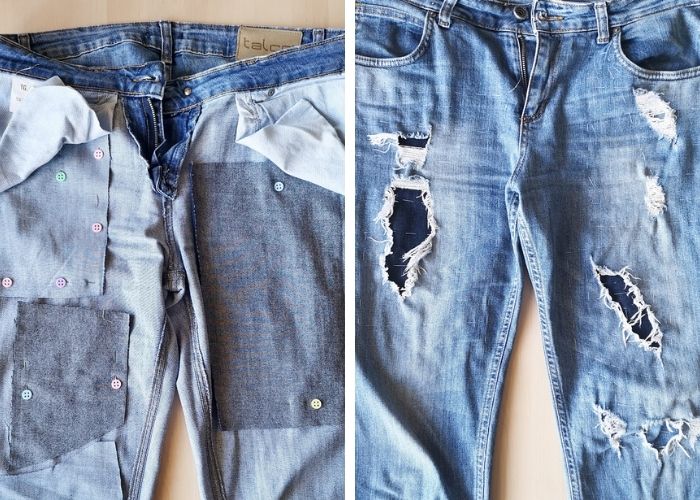
The patches will be applied from under the hole. Turn the jeans inside out and pin the patches. Baste with large running stitches around the edge of the patch.
TIP: put a piece of cardboard inside the jeans’ leg when you pin and baste the patch. It will give you more fabric stability and save you from pinning an extra layer of fabric together.
Turn the jeans right side out. Now baste around the hole and tidy it up – cut out the projecting thread from the rip.
You will be stitching from the face of the jeans.
Step 3. Choose the color of your threads
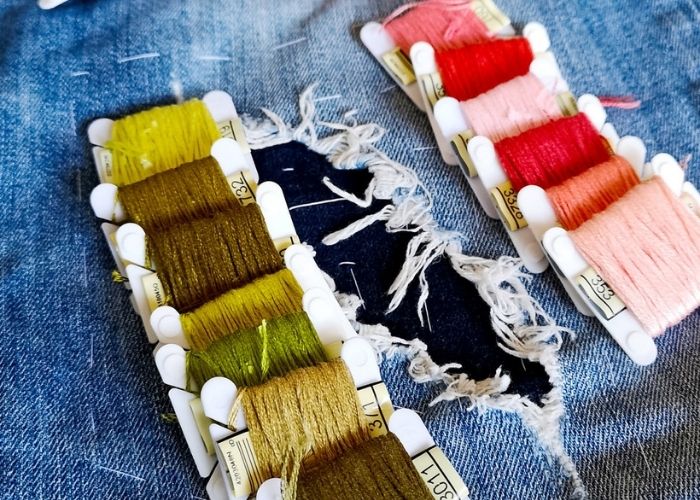
The type and color of the thread you choose for this mending project will define your jeans’ final look.
I wanted mine to be colorful, so I used many different cotton embroidery floss colors. I used 2 strands of floss. If you want the stitches to be bold – you can use up to all 6 strands or choose pearl cotton thread.
You can learn more about the embroidery floss and threads in an in-depth guide to hand embroidery threads, floss, and other types of yarn you can use to embroider.
Step 4. Embroider
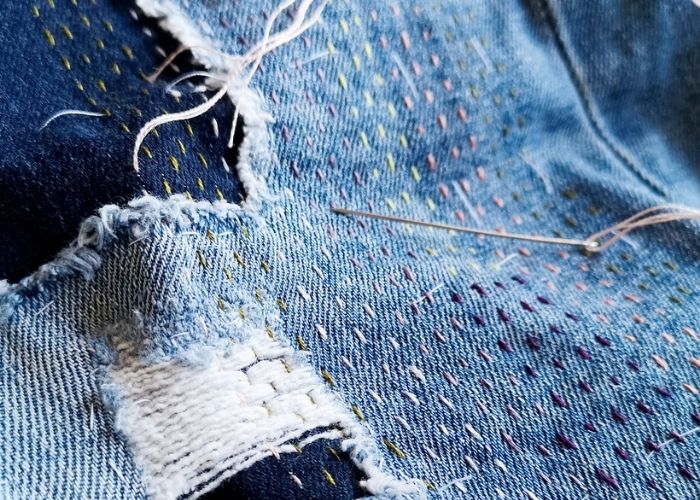
I chose to make vertical lines of Running Stitch in different colors. Still, you can make the lines horizontal or diagonal if you wish.
If you want your lines to be perfectly aligned, use a marking tool and a ruler to draw some guiding lines for your stitches.
In the article ‘How to transfer embroidery pattern to the fabric,’ you will find information about the marking tools you can use.
And if you are not familiar with hand embroidery – watch a video lesson on a running stitch.
Step 5. Wash it
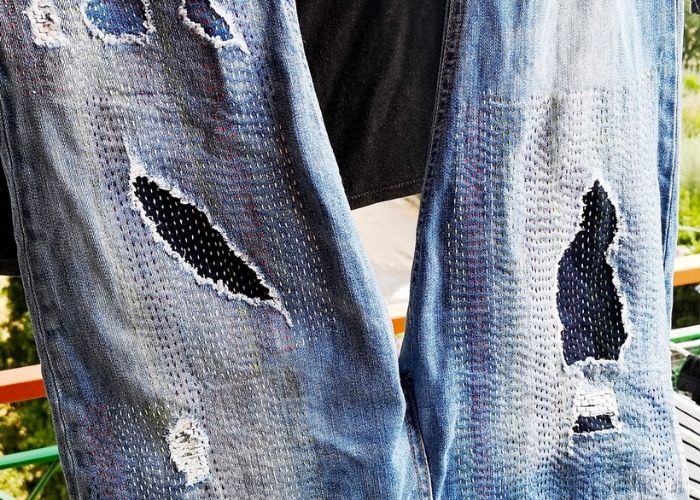
Did you finish the embroidery? Now both layers of fabric – original jeans fabric and the patch are securely attached by the running stitch embroidery. Next, you can take out all the basting stitches and clean pattern tracing marks.
Cotton threads for hand embroidery do not bleed the color and are washable in a washing machine, so don’t be afraid to wash your jeans as you did it before.
Be sure to turn them inside out before washing and do not tumble dry, but let them dry naturally.
Wear your mended denim and be proud!
Now, when you know how to mend jeans, I’m sure that you will repair your denim and love your fixed pair of jeans even more than before. At least I do.
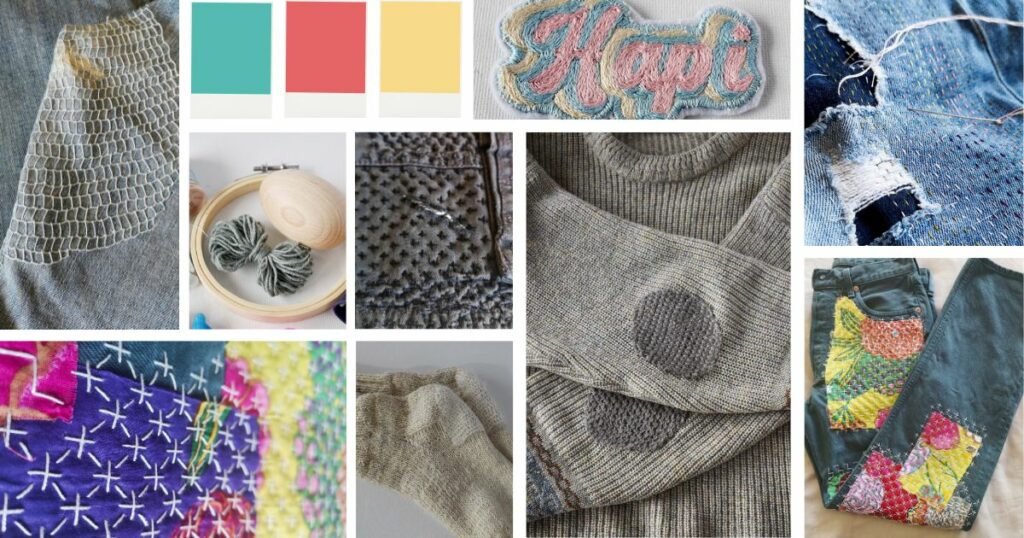
And remember that you can use visible mending not only for mending jeans by hand but also for repairing other pieces of clothing that need some fixing.
More about mending on this Blog


