Blanket Stitch Edging: 19 Decorative Embroidery Techniques For Securing and Decorating Edges
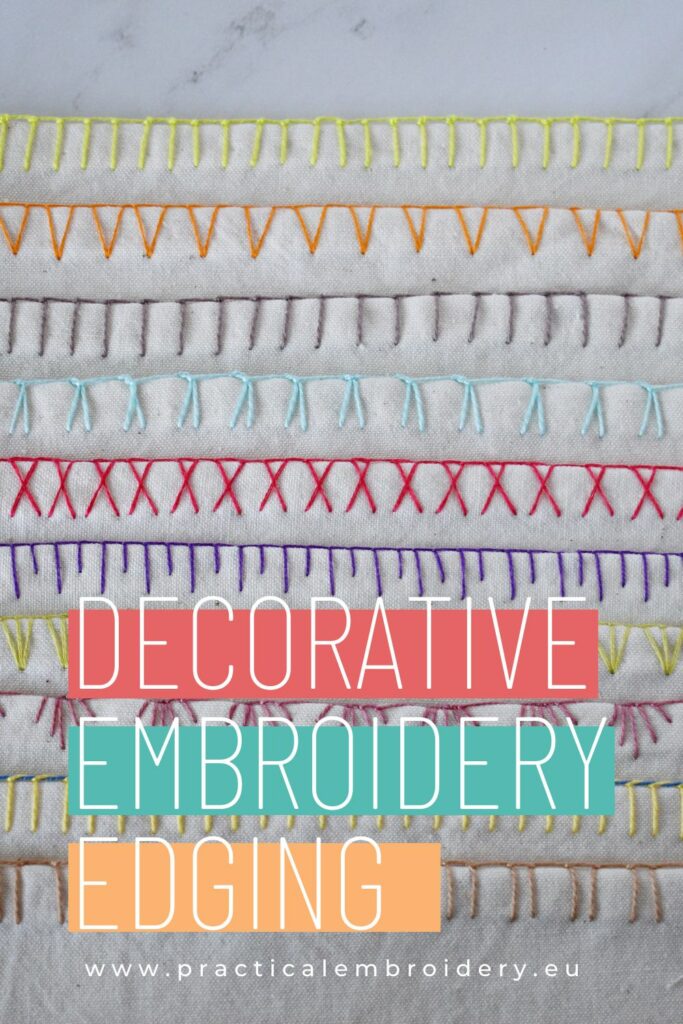
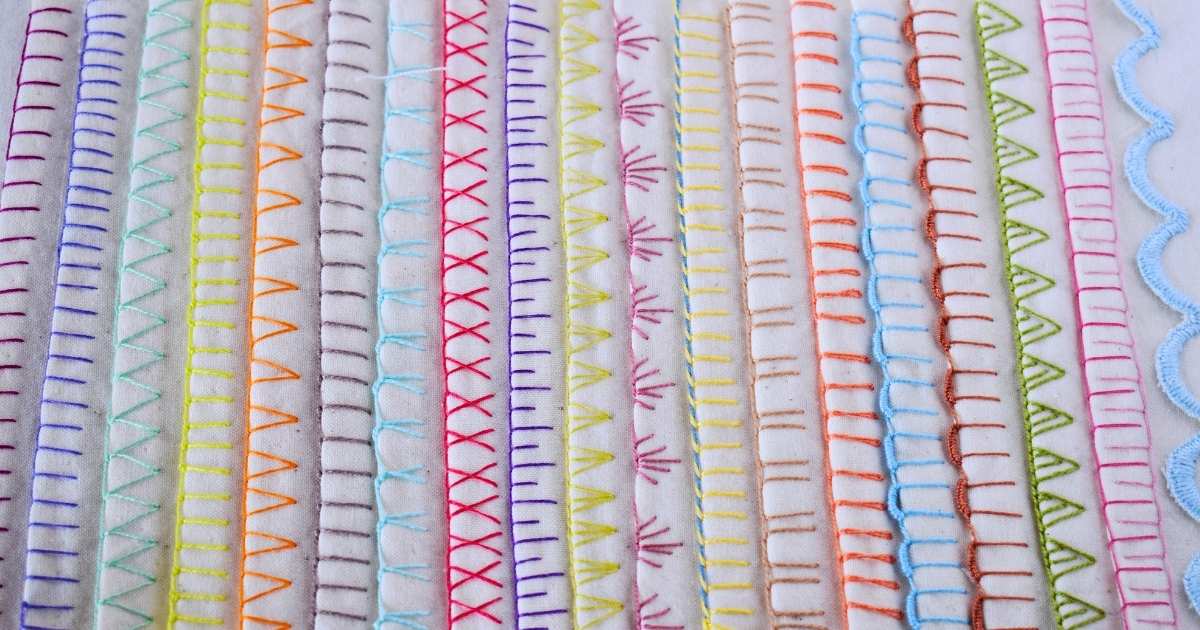
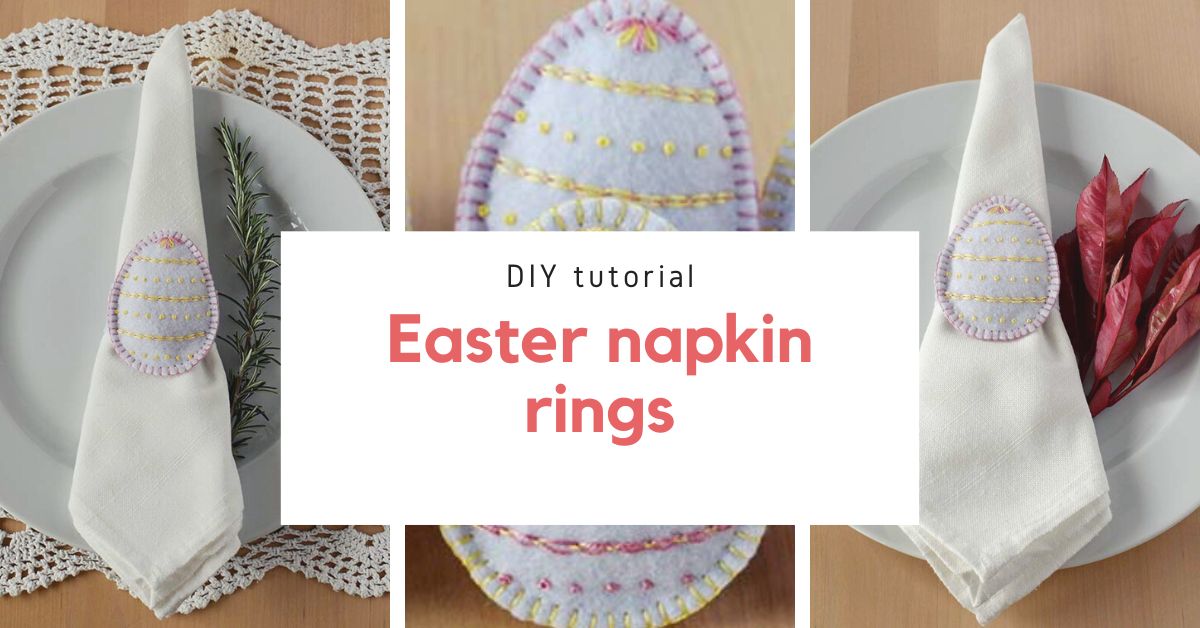
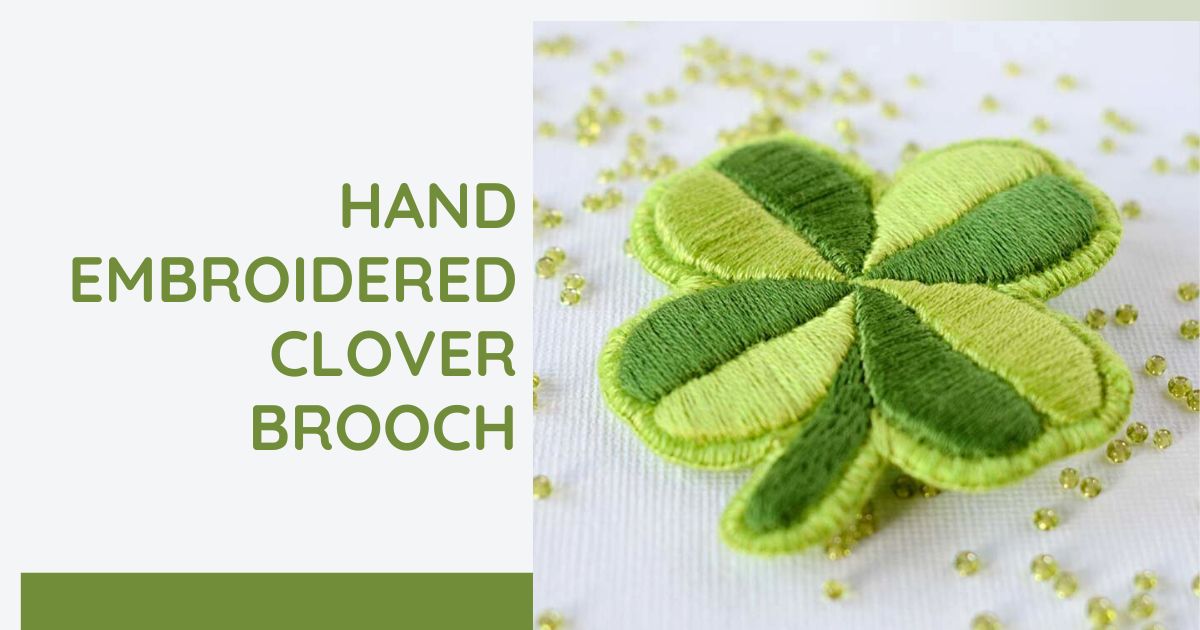
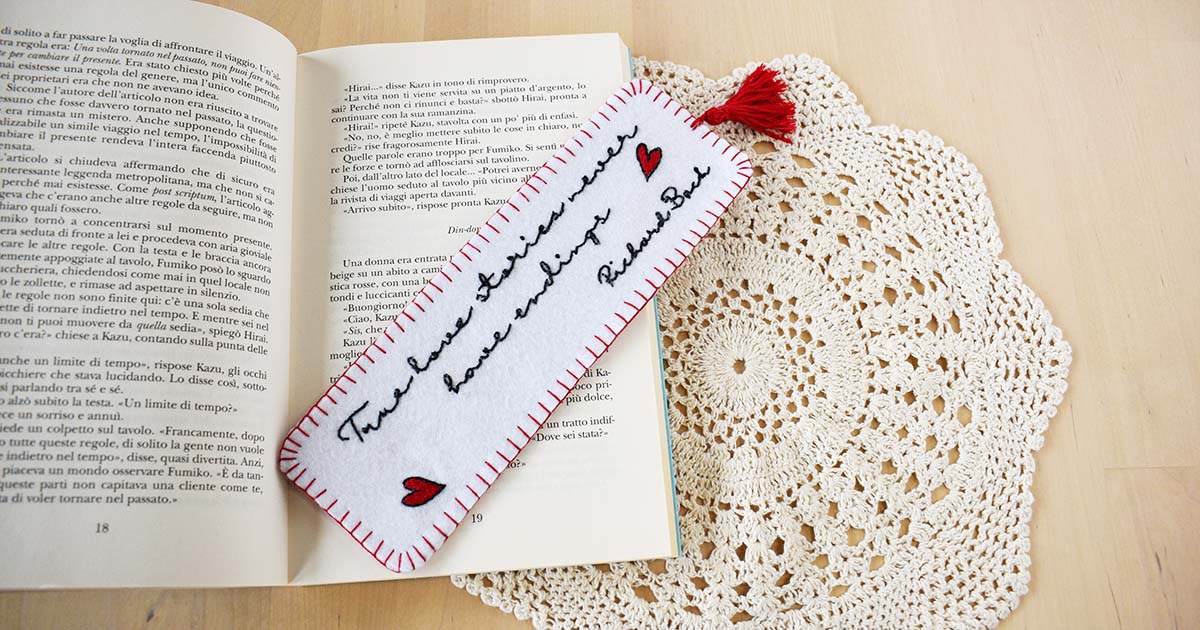
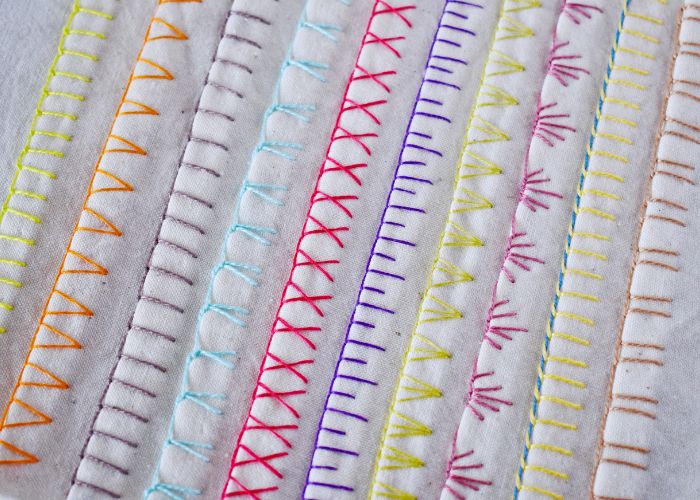
Blanket Stitch edging is the simplest and most common hand sewing and embroidery technique we can use to secure the edges of garments or household textiles. However, it doesn’t have to be boring or basic. There are numerous decorative variations of the Blanket Stitch for edging that you can learn and use in your hand sewing or hand embroidery practice.
I’ve divided the Blanket Stitch variations for edging into three groups:
- Core Blanket Stitch variations for sewing. The most basic ones – learn them first to add flair and decor later.
- Functional versions of Blanket Stitch for decorative edging. These stitches are still straightforward, yet more decorative and playful.
- Decorative variations of Blanket Stitch edges. The most complex and decorative options for edges.
Note that this grouping is subjective, and all these variations of the Blanket Stitch are functional and valid for edging.
Core Blanket Stitch variations for sewing
Blanket Stitch
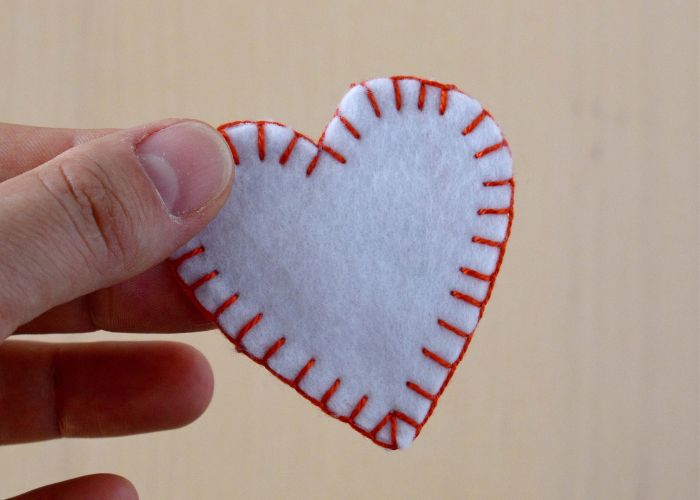
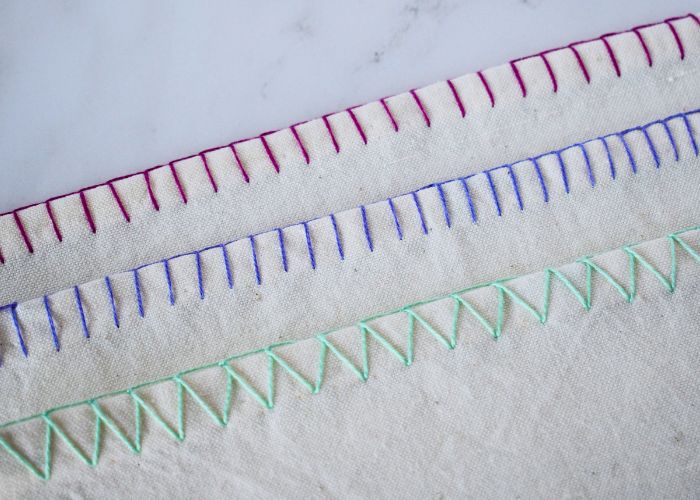
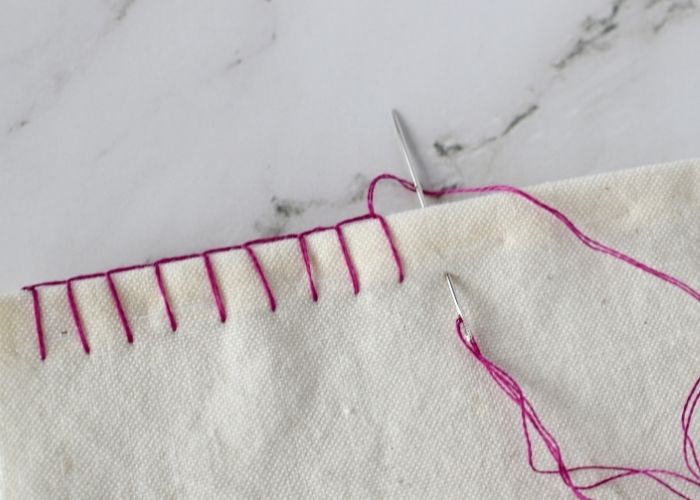
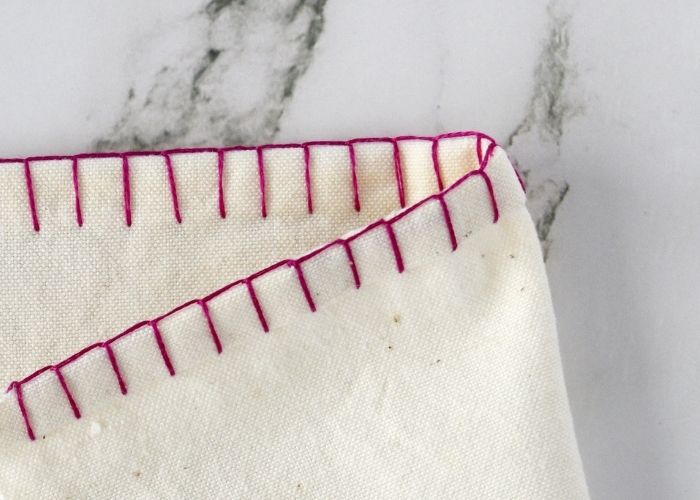
The Blanket Stitch is an essential hand sewing and embroidery technique used to finish the edges of blankets and other household textiles, such as tea towels and pillowcases.
This hand embroidery stitch is straightforward, yet it has many visual possibilities. You can make stitches long or short, dense or distanced. Additionally, you can experiment with different rhythms in the embroidery patterns. For example, you can adjust the density or length of the stitches to create a playful design. Otherwise, maintain the same height and density and keep a clear, repetitive visual pattern.
Buttonhole Stitch
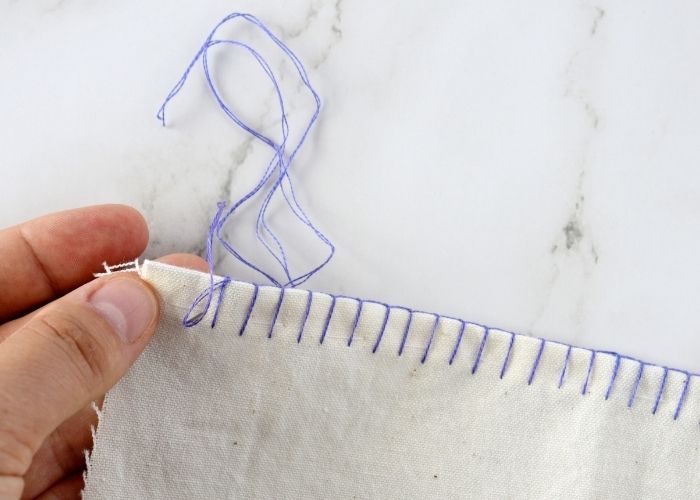
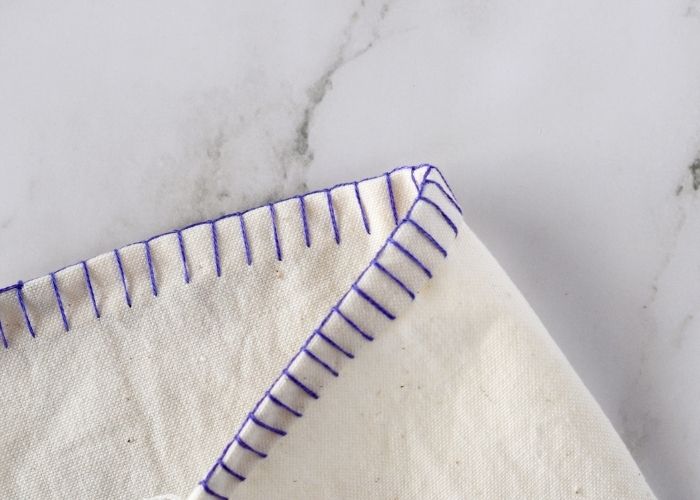
Buttonhole Stitch is a variation of the Blanket stitch. This embroidery stitch creates a more robust edge, which is excellent for areas with a lot of friction (like buttonholes).
The most common application of the Buttonhole stitch is to fasten the edges of buttonholes. Still, you can apply it for any edging project.
Overlock Stitch
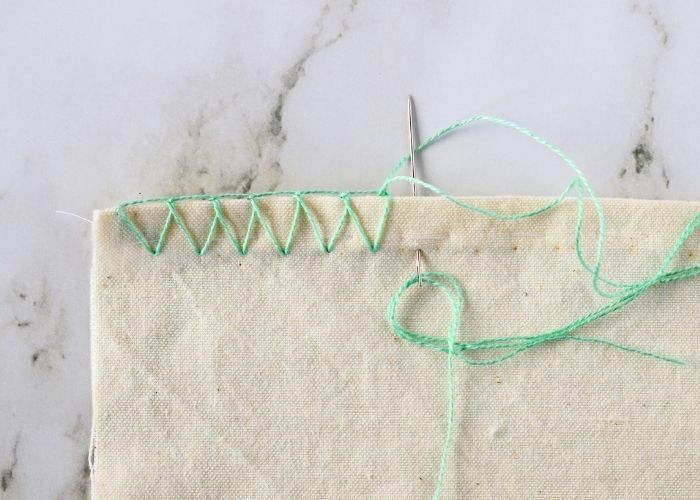
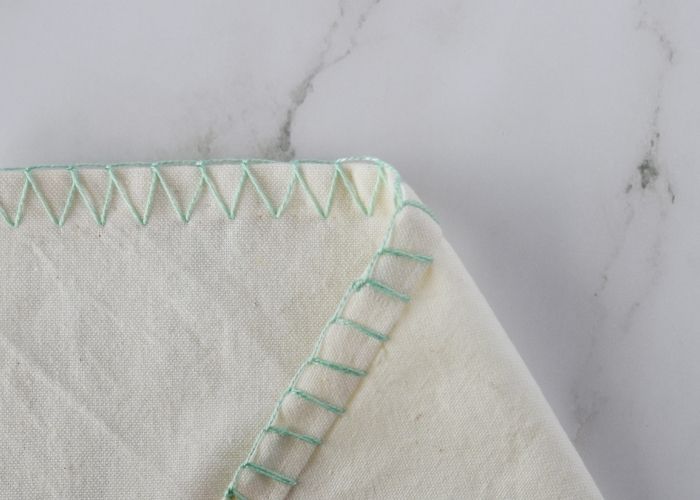
Overlock Stitch hand sewing is a variation of the Blanket stitch. The name of this technique comes from its similarity to the stitch made with an overlock sewing machine tailors use for finishing the edges of garments.
Overlock stitch hand sewing is a decorative and secure method for finishing the edges of blankets, garments, or home textiles.
Blanket Stitch for decorative edging
Antwerp Edging
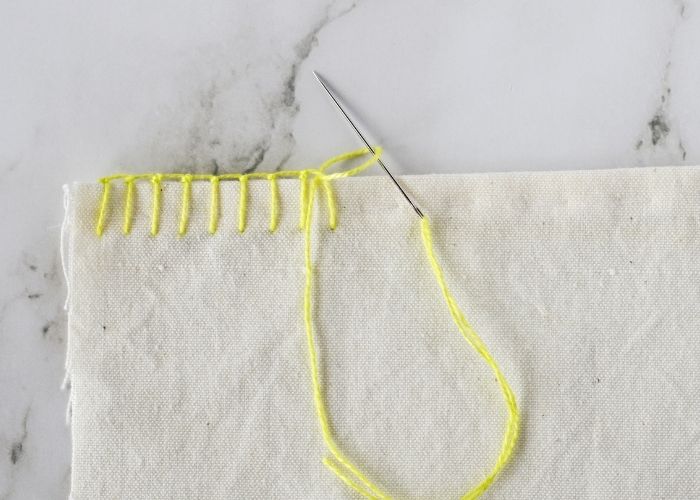
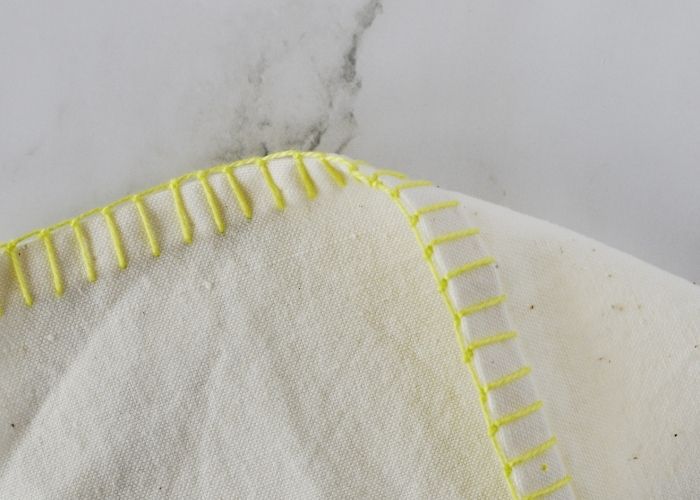
Antwerp Edging is a decorative variation of the Blanket Stitch. The horizontal edge of the Blanket stitch is decorated with tiny knots to make it more durable and decorative.
Hardanger embroidery technique uses this edging stitch often.
Closed Blanket Stitch
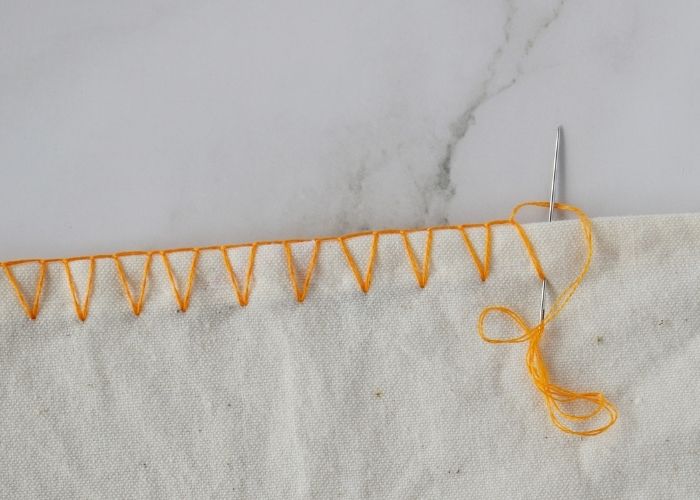
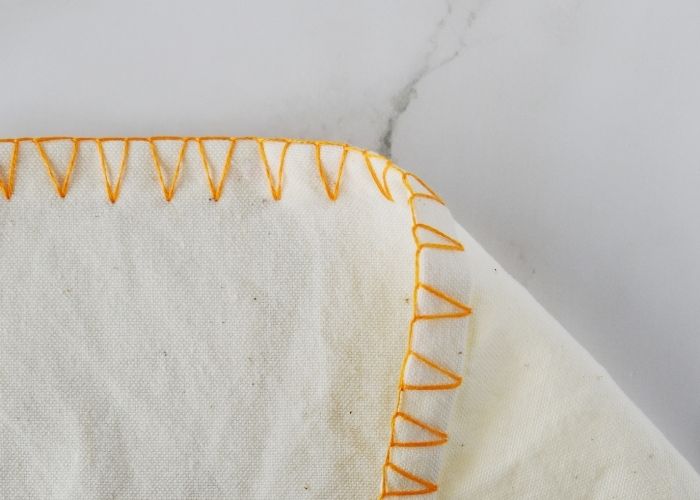
The Closed Blanket Stitch transforms the basic stitch into a row of triangles connected by a shared line.
This stitch gives a very clean finish to the edges. Because Blanket Stitch creates a thread outline along the edges of your piece, it can mask uneven edges and wonky cutting.
Berwick Stitch
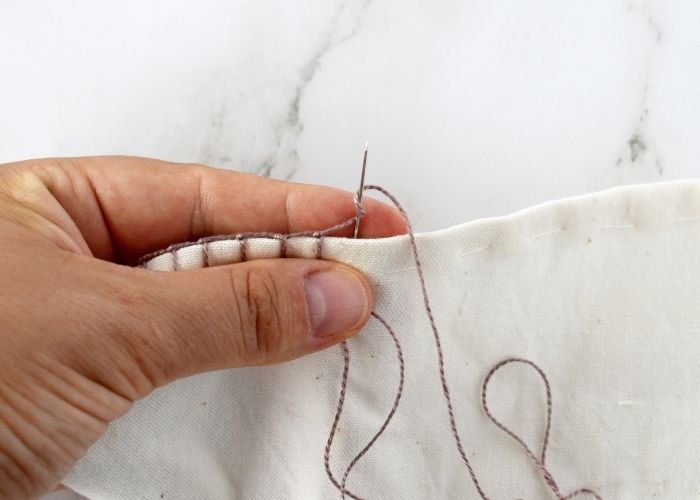
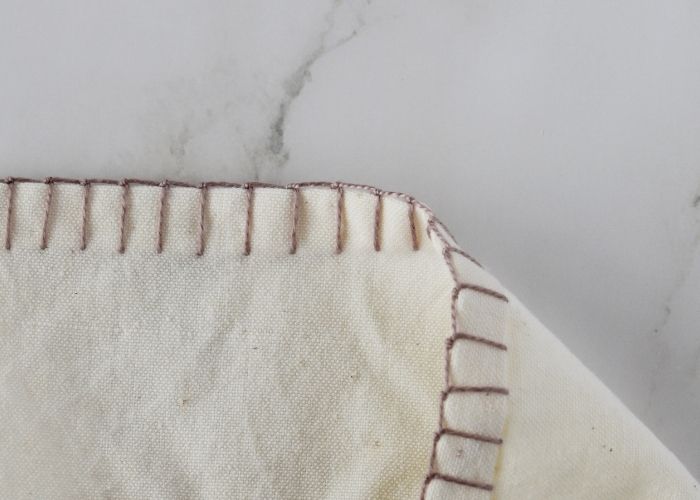
The Berwick Stitch is one of the many variations of the Blanket Stitch, used for edging. The tiny knot at the lower edge of the stitch secures the loop of the blanket stitch in place firmly. This embroidery technique is also known as the Tailored blanket stitch.
German Knotted Blanket Stitch
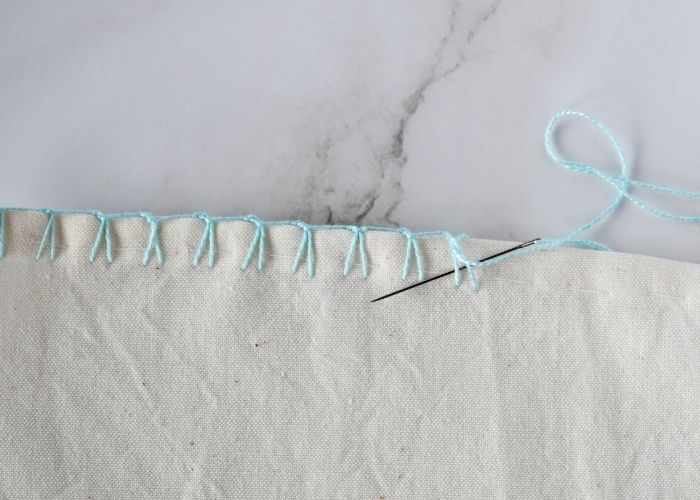
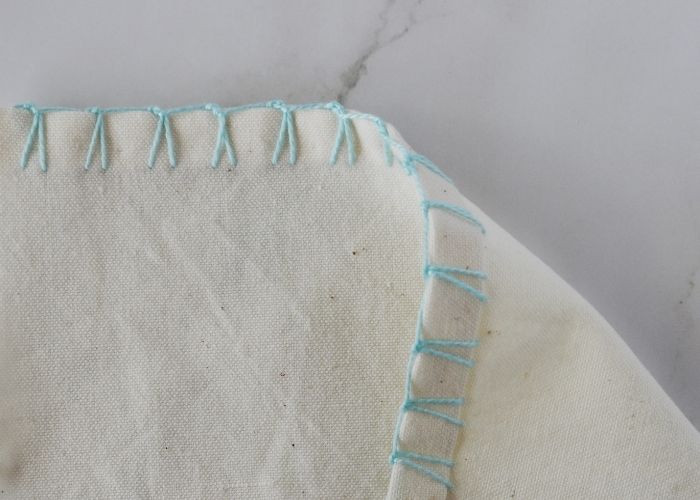
The German Knotted Blanket stitch is another decorative variation of the Blanket stitch, suitable for edging.
This simple yet very decorative stitch looks excellent in border designs. You can achieve different visual effects by changing the gaps between the Blanket stitches looped together or by changing the height of the stitch.
Crossed Blanket Stitch
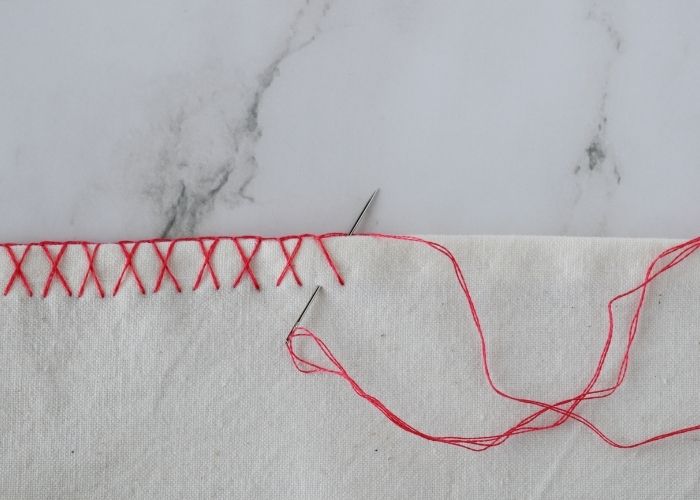
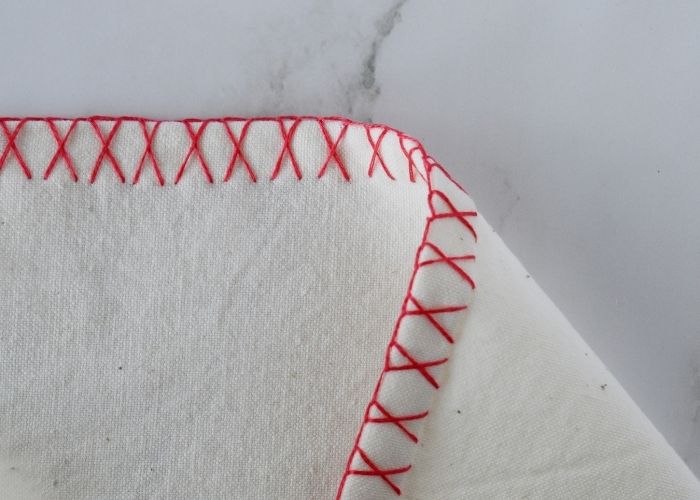
This decorative variant of the Blanket stitch edging features a border of the Blanket Stitch, with the legs of the stitches crossed.
Crossed Blanket Stitch technique is excellent for borders, edges, crazy quilting, or decorative embroidery.
Long and Short Blanket Stitch
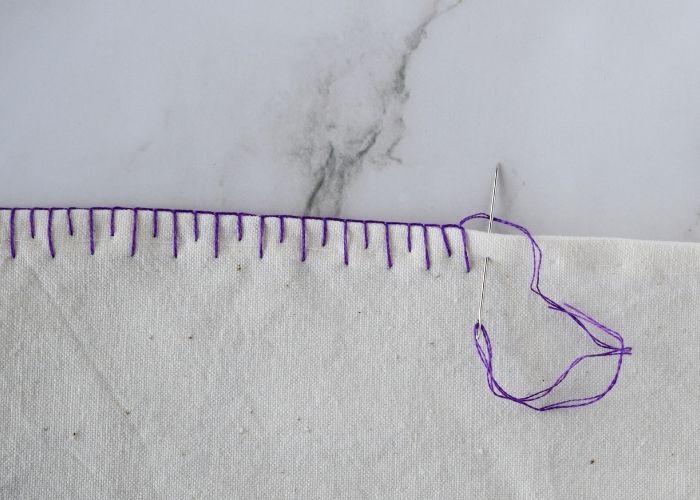
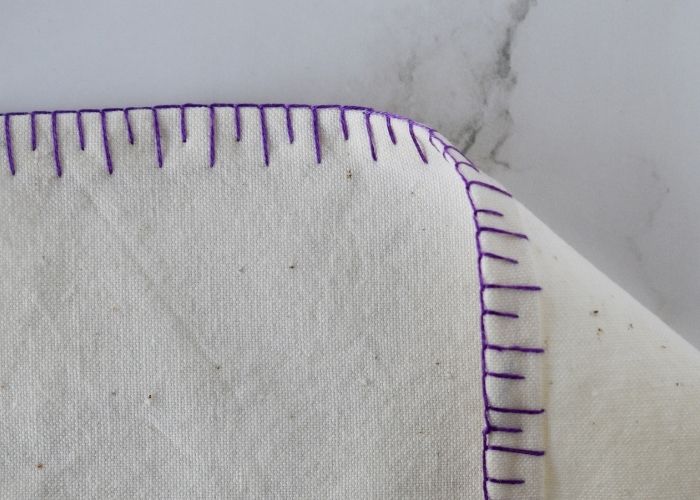
The Long and Short Blanket Stitch is a straightforward edging technique: embroider Blanket stitches, with legs of varying lengths, between two parallel lines to secure the edge and decorate it at the same time. Usually, the long and short legs are alternated, but you can also make them of three lengths and decide on how you alternate the lengths.
Just like basic Blanket stitch, the long & short version is handy for edging the fabrics – securing and decorating the edges at the same time.
Triple Blanket Stitch
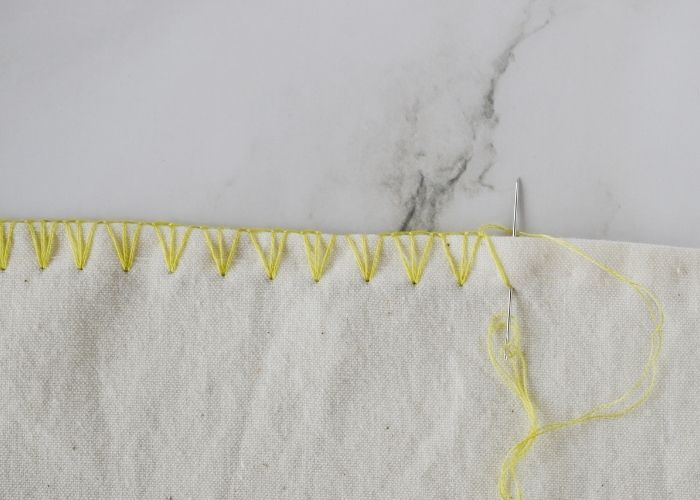
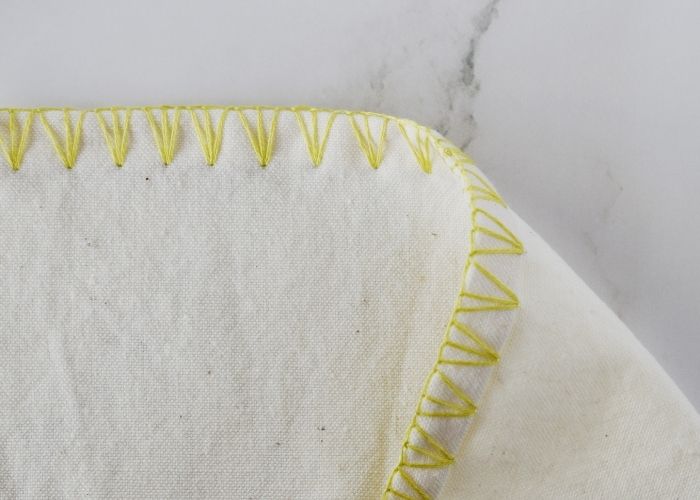
The Triple Blanket Stitch is another functional variation of the Blanket Stitch. To create this stitch, you will need to group blanket stitches in sets of three, where the central stitch is straight and the side stitches are slanted. This embroidery technique yields a decorative band with one side featuring a continuous line and the other a dented edge of triangles.
This decorative hand embroidery method not only looks good, but is also a functional stitch that can hold the hems of blankets, napkins, or other home textiles and garments. Triple Blanket Stitch will ensure the edge is secured and decorated at the same time.
Rosette of Thorns
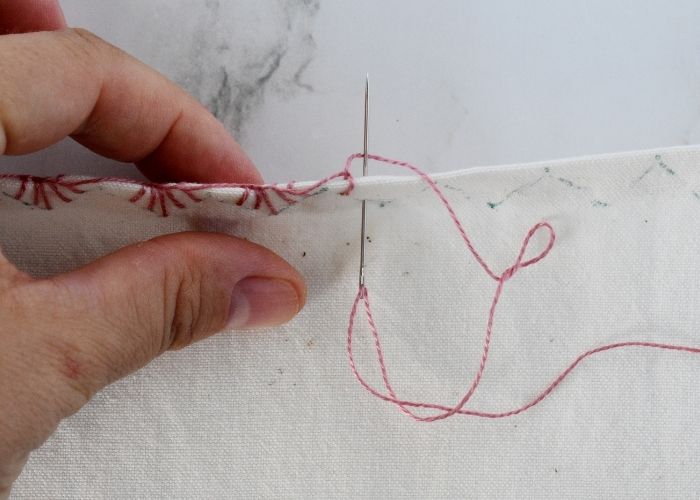
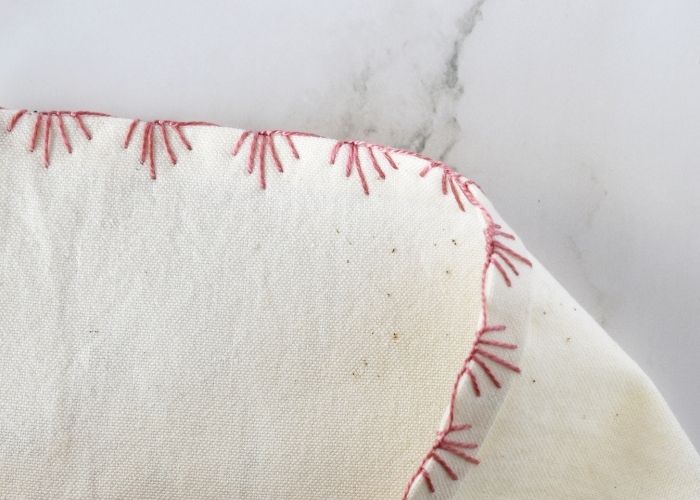
The Rosette of Thorns is another variation of the Blanket stitch, used for embellished edges. Blanket stitches are grouped into sets of five stitches. Depending on the design, they can create a wavy or triangular line. This grouping creates an exciting and decorative motive.
Whipped Blanket Stitch
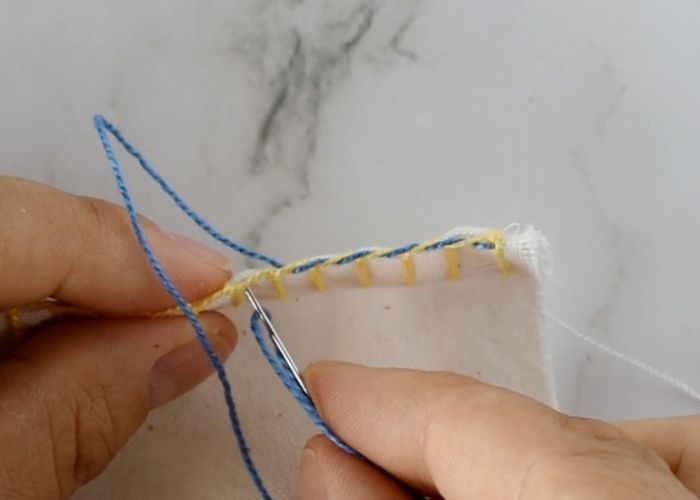
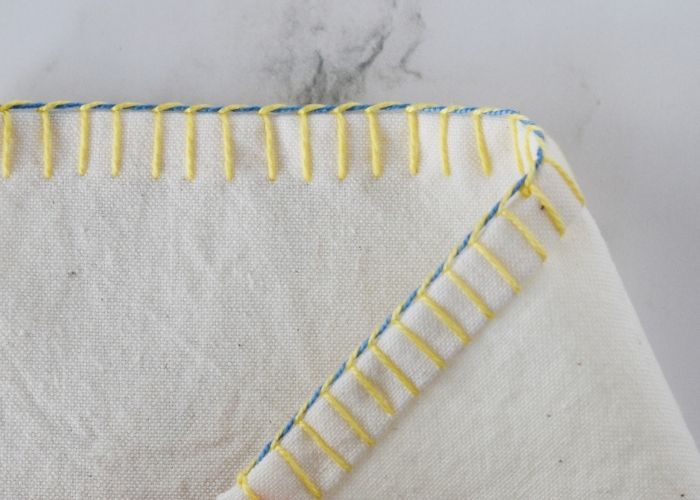
Whipped Blanket Stitch hand embroidery technique is a simple, yet decorative version of the Blanket stitch for edging.
First, we embroider a Blanket stitch. Then, whipping stitches are added to the continuous horizontal line of the stitch.
This stitch is simple, functional, yet elegant and decorative.
Mirrored Blanket Stitch
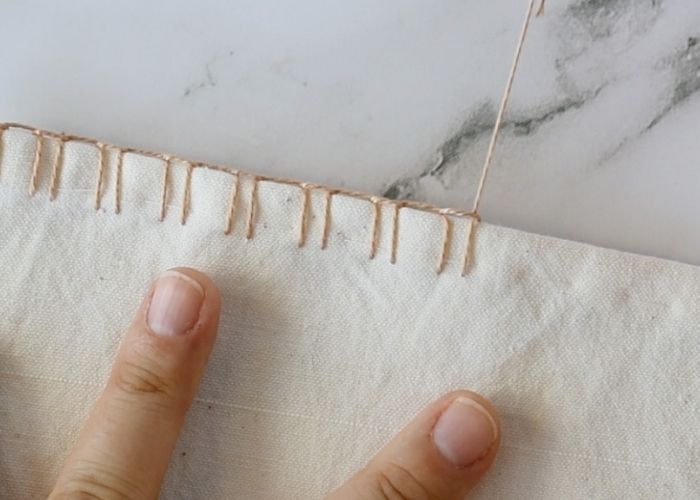
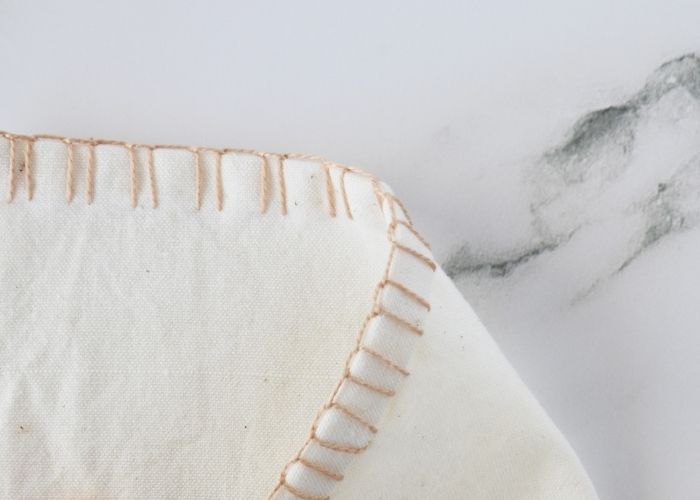
The Mirrored Blanket Stitch, also known as the Up and Down Blanket Stitch, is another decorative version of the Blanket Stitch for edging. The stitches are alternately narrow and widely spaced. This creates a beautiful repetitive pattern.
Elaborate variations of Blanket Stitch for edges
Basque Stitch
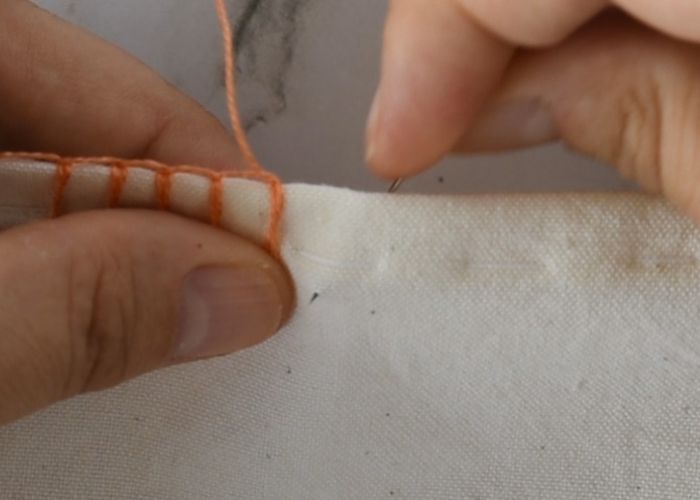
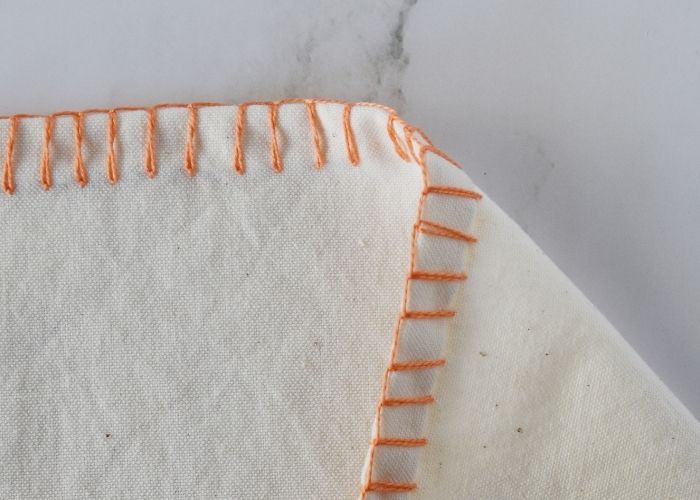
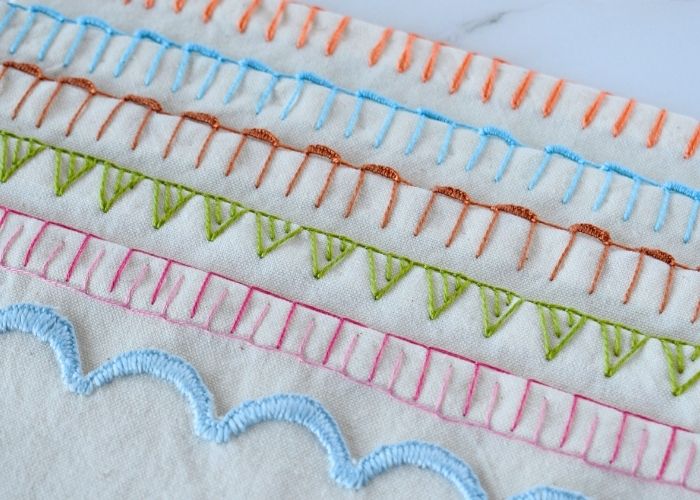
Basque Stitch hand embroidery is a decorative technique that combines the Chain Stitch with a Blanket Stitch. Vertical chain stitches twisted in an S shape are held together by a horizontal line of Blanket Stitches.
Basque Stitch is a beautiful option for decorative borders, outlines, and embellishments.
Bullion Picot Buttonhole edging
This decorative edging technique combines a voluminous Bullion Knot with a Blanket stitch, resulting in an elaborate edge embellishment.
Bullion Picot Buttonhole edging stitch is elegant and will enhance any garment with a touch of luxury. At the same time, it is a functional technique that will hold the rolled edge together, just like the basic Blanket stitch would.
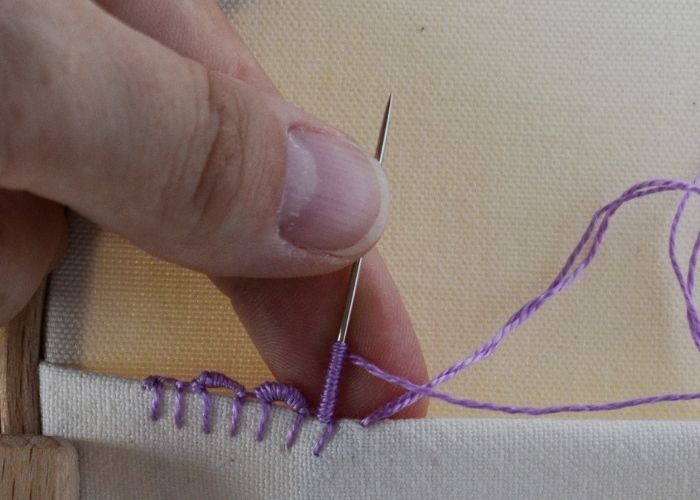
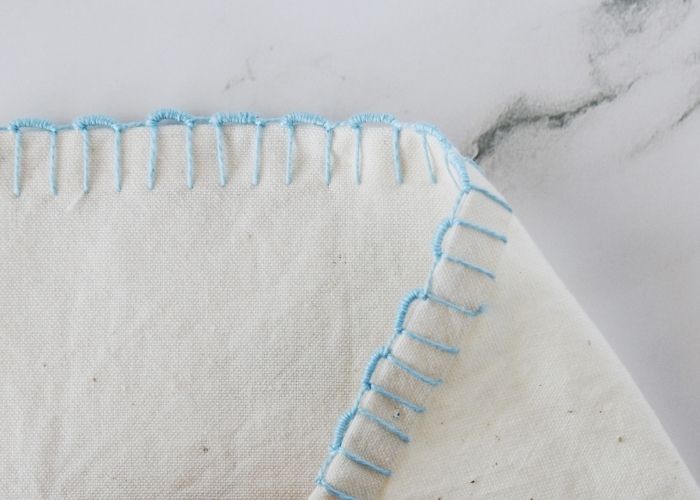
Buttonhole Bar Picots
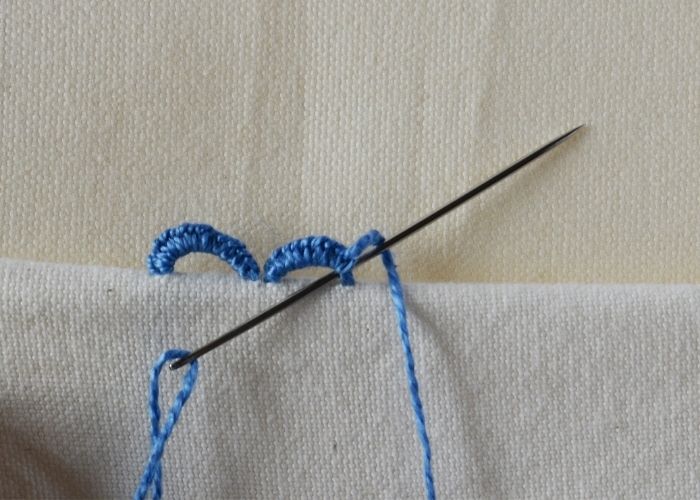
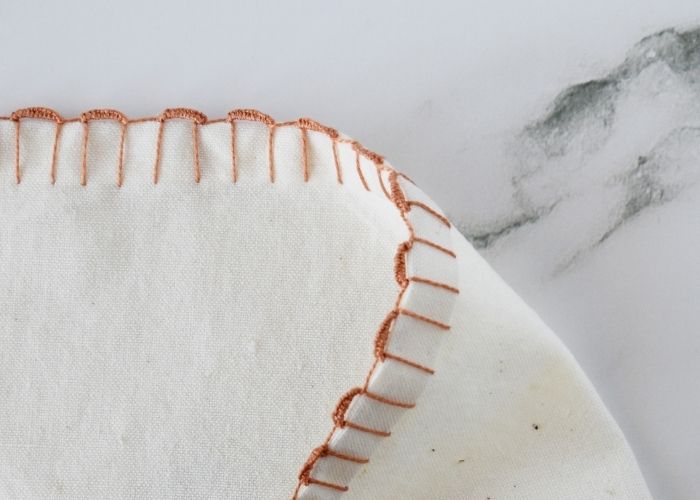
Buttonhole Bar Picots create a bold, textural edging. The method of this technique is simple – position equally spaced Buttonhole Bars along the edge of the fabric to decorate it.
This hand embroidery technique is primarily used to decorate the edges of garments and household textiles, such as tablecloths, fabric napkins, or towels.
Using the thread of the same color as the fabric will give an elegant textural edging. Colorful threads, on the other hand, will result in bold, playful edging.
To create various designs, you can combine Buttonhole Bar Picots with Blanket stitch edging, change the distance between the loops, or make them overlap. You can also make the loops of various colors.
Blanket Stitch Triangles
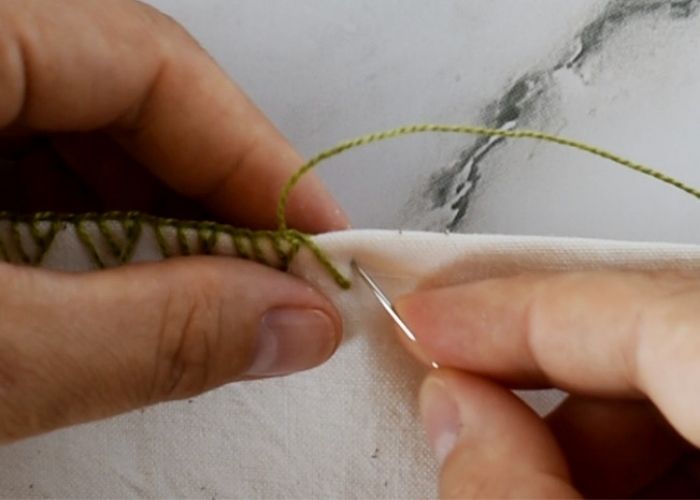
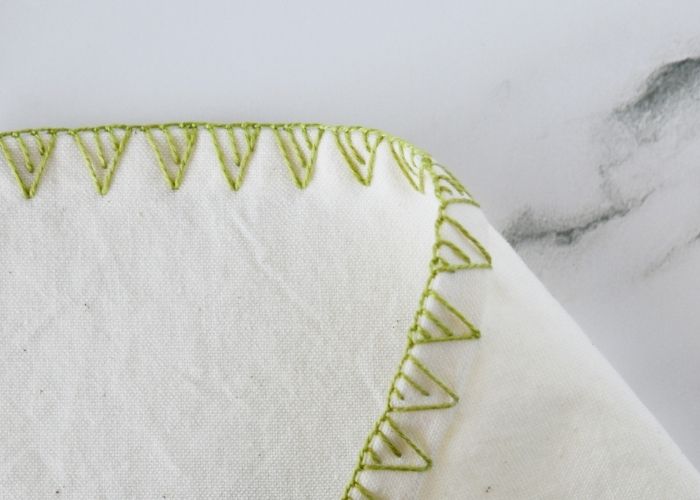
Blanket Stitch Triangles is a decorative technique for edging, embellishments, and surface embroidery.
The method of the stitch is straightforward – four Blanket Stitches are positioned to create a triangle, filled with two parallel diagonal stitches that partially fill the space.
Blanket Stitch Triangles look great on the edges of the garments and household textiles. You can secure the seams and decorate them simultaneously with this needlework technique.
Double Blanket Stitch
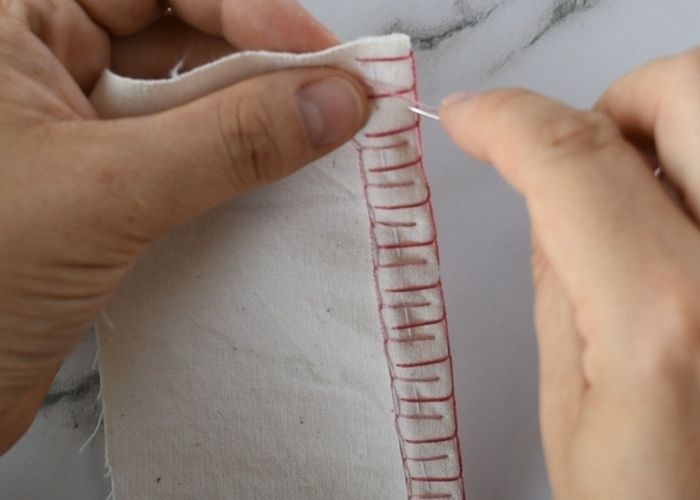
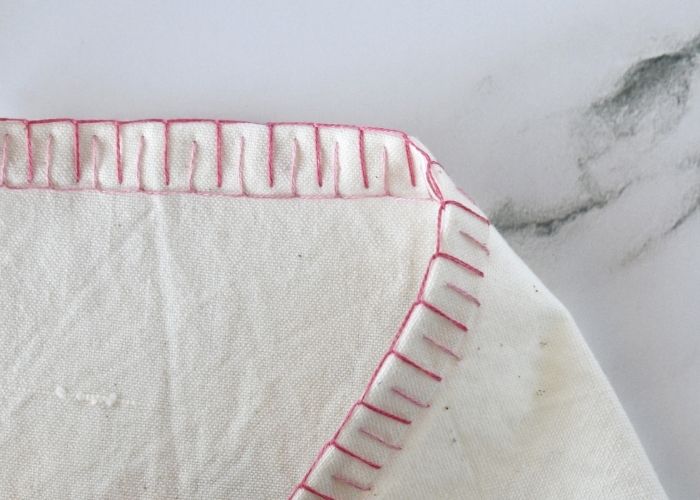
To embroider a Double Blanket Stitch, make two rows of blanket stitches, one in front of the other. The first one will secure the edge, and the second one will add fun and embellishment to the edging.
You can play with colors, the density of the stitches, and the mode where two rows of stitches interfere. Different placements of the stitches and colors will create visually different patterns.
Scallop Stitch
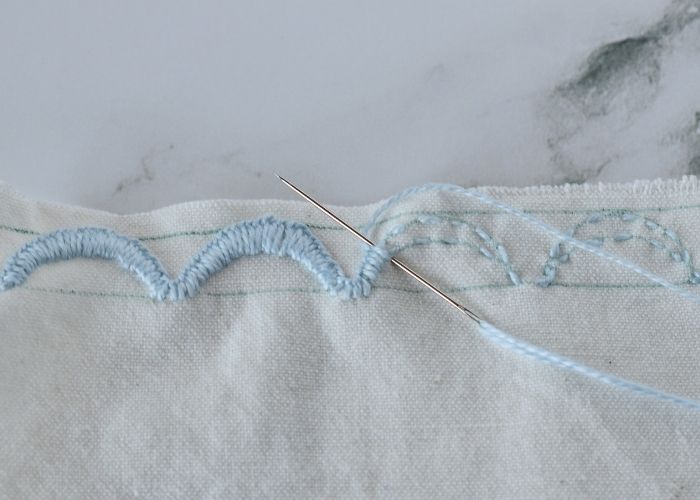
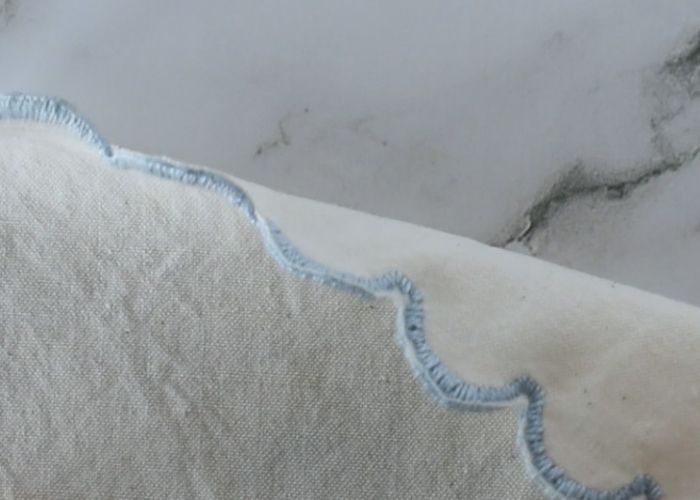
The Scallop Stitch combines the Running stitch and dense Blanket Stitch to create a decorative and functional edge for raw-cut fabric. First, we embroider a base with a Running stitch and then cover it with a Blanket stitch. The excess fabric is cut away after the stitches are applied when used for edging. This combination of stitches gives the edge stability and creates a slightly raised stitch.
This technique is primarily used for decorative edging – you can apply it to tablecloths, fabric napkins, or the edges of garments.
Blanket Stitch edging video tutorial
Want to see how to embroider all these beautiful stitches? Watch a video tutorial where I demonstrate Blanket Stitch edging techniques step-by-step.
Tips for neat Blanket Stitch edging
A neat and smooth Blanket Stitch edging takes a little practice. Still, with the right approach, you can achieve clean, even edges that look both professional and decorative. Here are some practical tips to keep in mind:
Prepare the edge of the fabric before embellishing it
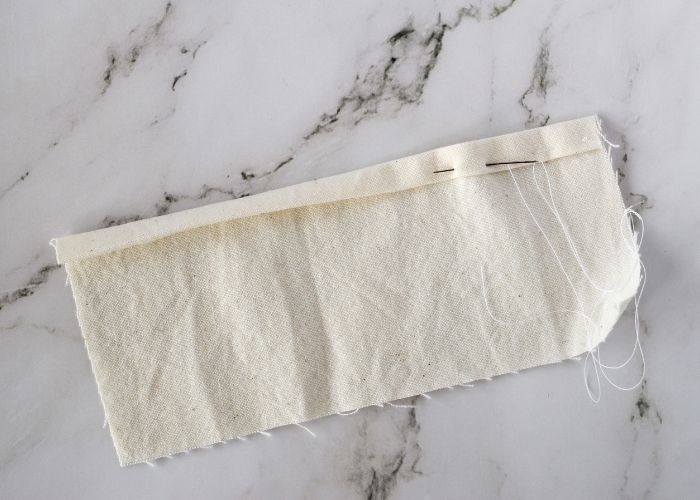
If you are working on a raw edge, cut away all the frayed threads, fold the edge of the fabric twice, and baste it with a running stitch. You can remove the basting after the Blanket Stitch edging is complete, as it will hold the rolled hem in place. In cases where you cannot roll the edge of the fabric, cut frayed threads to clean the edge and choose a denser variation of the Blanket Stitch so it will hold the edge and hide frayed threads at the same time.
Choose the right thread
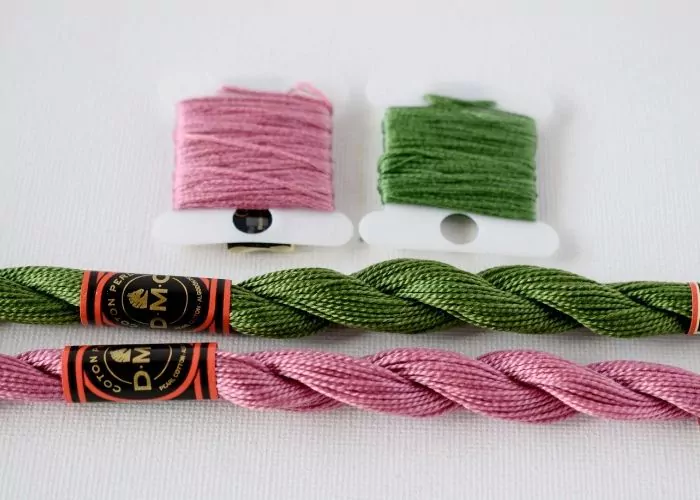
The thread size and type will depend on the fabric you are edging. For light and delicate fabrics – opt for two or three strands of embroidery floss. For more robust fabrics or edges that will endure a lot of friction, embroider with pearl cotton thread.
Read the “Embroidery floss and threads. An in-depth guide to hand embroidery threads, floss, and other types of yarn you can use to embroider” to learn more about the options.
Spacing and tension
Maintain even spacing between the stitches. It will guarantee a beautiful and harmonious look for the decorative edge. At the same time, uneven spacing can make the edge appear wobbly.
Keep a steady tension. The balanced tension will ensure the edge is secured well, but not strangled or deformed. Don’t pull the thread too tight—this can cause puckering. Aim for a gentle snugness so the stitches lie flat against the fabric.
Tip: Mark the guidelines for consistency. Lightly mark the edge of your fabric with a friction pen, chalk pencil, or water-soluble marker. Draw small dots or dashes evenly spaced along the edge where each stitch will land.
Plan ahead for the corners, curves, and joints
Each variation will have its nuances, but the main goal is to make it in such a way that the corner is completely outlined in floss. The corners should look symmetrical, nice, and sharp.
Keep your work neat and clean. Blanket Stitch edging is often a decorative and visible part of the textile; therefore, you should pay extra attention to the knots, finishing of the stitches, and connecting the stitches when the edging goes around. Start your stitches by securing the thread inside the folded edge, and also hide the end of the secured thread between the layers of the fabric.
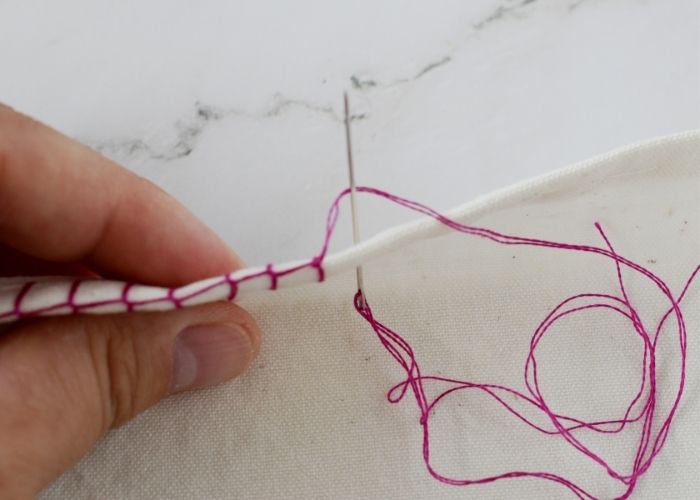
If you are working in a circle, connect the first stitch with the last one neatly. Plan ahead to maintain a consistent stitch size when working around the shape.
Make a sampler
Before you start edging a garment or a household textile item, work a few test stitches on scrap fabric to get a feel for the rhythm.
Define the best length of the leg for your stitches. If the stitches are too short, they will not secure the edge and hold it well throughout wear and washing.
Also, experiment and define the most harmonious-looking spacing between the stitches. The edge may seem bearable if you place the stitches too far apart or too heavy if the stitches are too dense.
Over to you
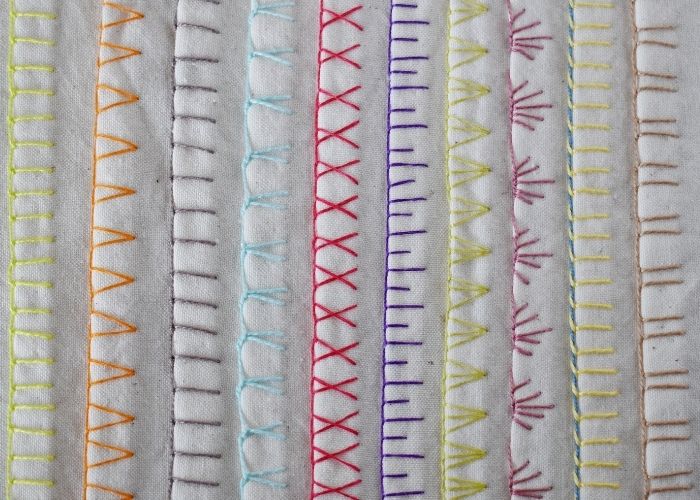
Blanket Stitch edging is more than just a way to secure raw fabric edges—it’s a versatile embroidery technique that can transform simple textiles into beautifully finished pieces. From the most basic Blanket Stitch to intricate decorative variations, the possibilities are nearly endless.
Now that you’ve explored 19 different stitches, it’s your turn to experiment. Start with a few simple stitches to build confidence, then branch out into the more decorative versions when you’re ready to add extra flair. Whether you’re working on garments, quilts, or household items, Blanket Stitch edging will give your projects both strength and style.
So, over to you—pick up your needle and thread, try out a variation or two, and see how Blanket Stitch edging can bring new flavor to your sewing and embroidery projects!
Don’t miss a thing!
Follow me on YouTube, Instagram, Facebook, Flipboard, Telegram and Pinterest. On the other hand, you can subscribe to the Practical Embroidery newsletter and get embroidery tips straight to your inbox every week!
