Backstitch and its variations
Hand embroidery stitches from the Backstitch family
In the article “Hand embroidery stitches, stitch groups and families,” I mentioned, that one of the ways to group embroidery stitches is by the stitch family. Let’s take a closer look at one of the families of hand embroidery stitches – Backstitch.
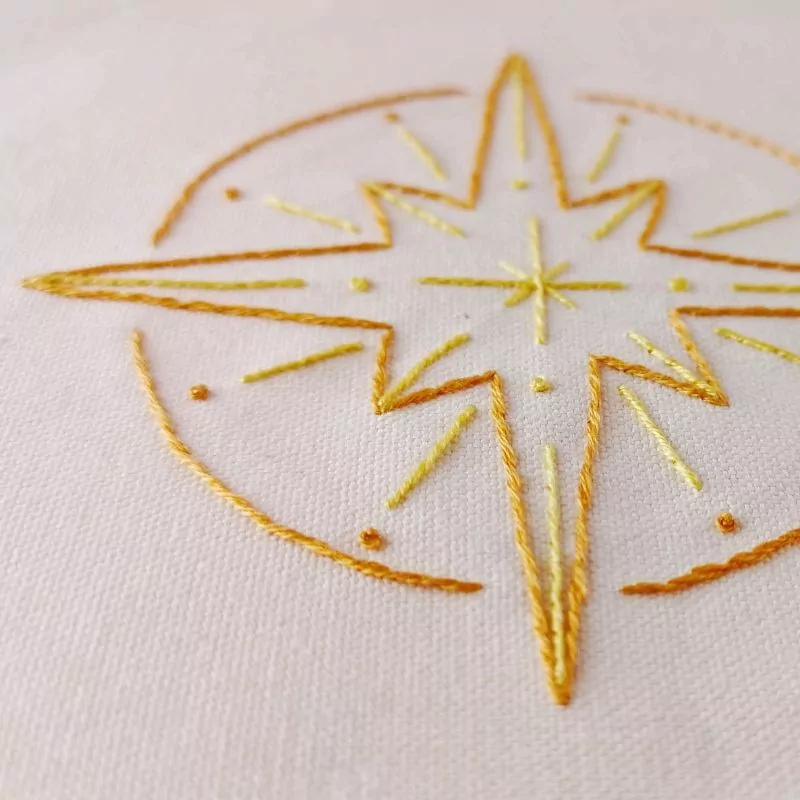
Backstitch is one of the basic hand embroidery stitches everyone should know. It is great for outlines, lettering, borders, and tiny details. In modern hand embroidery, we use this basic stitch a lot.
There are many variations of the backstitch. Also, the backstitch is often a base stitch of the composite stitches.
You will find a list of backstitch variations below. In addition, every stitch description has a link to a page where you can find more detailed information about the stitch and watch a video tutorial on how to embroider that stitch.
Simple backstitch

The Backstitch is made backward to the general direction of sewing. In hand embroidery, this stitch forms the lines and is most often used to outline shapes and add fine detail to an embroidered picture. You can also use it to embroider lettering. This stitch looks great both straight and curved. You can make even the most minor and most detailed curves by adjusting the lengths of the stitch.
Read more about this stitch and watch a video tutorial of the Backstitch HERE.
Threaded backstitch

A Threaded Backstitch (sometimes called laced backstitch) is a hand embroidery stitch made by combining the foundation stitch (Backstitch) and threading.
First, embroider the backstitch. Then, lace the second thread through the backstitch without entering the fabric or crossing the backstitch.
Read more about this stitch and watch a video tutorial of the Threaded Backstitch HERE.
Double threaded backstitch

A double-threaded backstitch is a hand embroidery stitch that combines the foundation stitch (backstitch) and threading.
After embroidering the backstitch, lace the second thread through the stitches without entering the fabric or crossing the backstitch. We make lacing two times to form a chain-like pattern.
You can embroider the threaded backstitch in a single color, create a single-color wavy line, or choose two contrasting colors to create exciting patterns.
Play with colors and see what beautiful color combinations you can create with this simple stitch!
Read more about this stitch and watch a video tutorial of the double-threaded backstitch HERE.
Whipped backstitch

A whipped backstitch is an embroidery stitch made in two steps. First, we embroider a simple backstitch and then whip it with another thread. You can use the same color thread to make a straight raised line or two contrasting colors to create a rope-like line.
Read more about this variation of the backstitch and watch a video tutorial of the whipped backstitch HERE.
Split backstitch

A split backstitch is a variation of the backstitch and looks very similar to a split stitch. Often, people call both stitches a split stitch, but a split stitch and split backstitch are different.
A split backstitch is an excellent stitch for outlines and lettering. It is easy to embroider straight lines and curves with this stitch.
Read more about this stitch and watch a video tutorial of the Split backstitch HERE.
Also, you can read about the difference between a Split stitch and a Split backstitch: ‘What is the difference between a Split stitch and a Split Backstitch?’
Pekinese stitch

Pekinese stitch has a lot of different names – Pekinese backstitch, Chinese stitch, blind knot, interlaced backstitch, and even forbidden stitch.
This decorative stitch comprises two combined stitches – the backstitch and decorative looping.
First, embroider the backstitch and then lace it, forming the loops. Next, make the loops passing the thread under the backstitches.
You can embroider this stitch in one color or two different colors. That will create diverse decorative effects.
You can also change up the size of the loops – make them small or big, and the size of the backstitch. If the backstitches are small – the looping will be dense and opposite – a bigger backstitch will create wider gaps between the loops.
Read more about this stitch and watch a video tutorial of the Pekinese HERE.
Open backstitch

An open backstitch is a variation of the backstitch and looks very similar to a running stitch. Visually, the open backstitch and the running stitch look the same from the front side of the embroidery. Still, you will see the difference on the backside of the fabric.
An open backstitch is an excellent stitch for sewing. It offers a look of a running stitch but the strength of the backstitch. It is easy to embroider straight lines and curves with this stitch.
Read more about this stitch and watch a video tutorial of the Open backstitch HERE.
Herringbone ladder

A herringbone ladder stitch is a hand embroidery stitch made combining the foundation stitch (backstitch stitch) and threading.
After embroidering two parallel backstitch lines, loop the thread through the backstitches without entering the fabric or crossing the backstitch. This threading, made in precise order, creates a decorative stitch perfect for decorative borders.
You can embroider the herringbone ladder stitch in a single color and create a single-color design or choose two contrasting colors to create exciting patterns.
The distance between two parallel lines of the backstitches and the stitches’ size will define how dense the stitch will be.
Play with colors and sizes and see what beautiful color combinations you can create with this simple stitch!
Read more about this stitch and watch a video tutorial of the Herringbone ladder HERE.
Brick stitch

A brick stitch is a variation of a backstitch for filling. You can use it to fill spaces in your hand embroidery design.
The method of embroidering a brick stitch is simple. First, embroider the first line of an area you want to fill with a brick stitch with a backstitch. Then, embroider the second row of the backstitch close to the first one, but make the stitches offset from the first line. Adding rows of backstitches, one above the other, will create the visual effect of a brick wall.
The brick stitch will work best on regular square shapes or straight lines. If you want to use it for round or oval shapes, you will need to adjust the length of the backstitches to maintain the brick pattern all over the form you are filling.
Read more about this stitch and watch a video tutorial of the Brick stitch HERE.
What’s next?
Looking for some other stitch? Head to the Stitches and Techniques part of this blog and choose the stitch you want to learn!
Looking for more Video tutorials? Head to the Video lessons part of this blog and choose the Video tutorial to watch! Subscribe to my YouTube channel and get a notification when I publish a new video tutorial!
N.B. Some of the links may take you to the EasyToMake designs blog. This is my older hand embroidery blog. While I’m dedicating all of my energy to the Practical Embroidery blog, the previous version still has a lot of great content!
Related projects