Blanket stitch
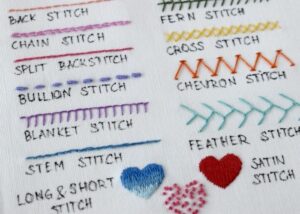
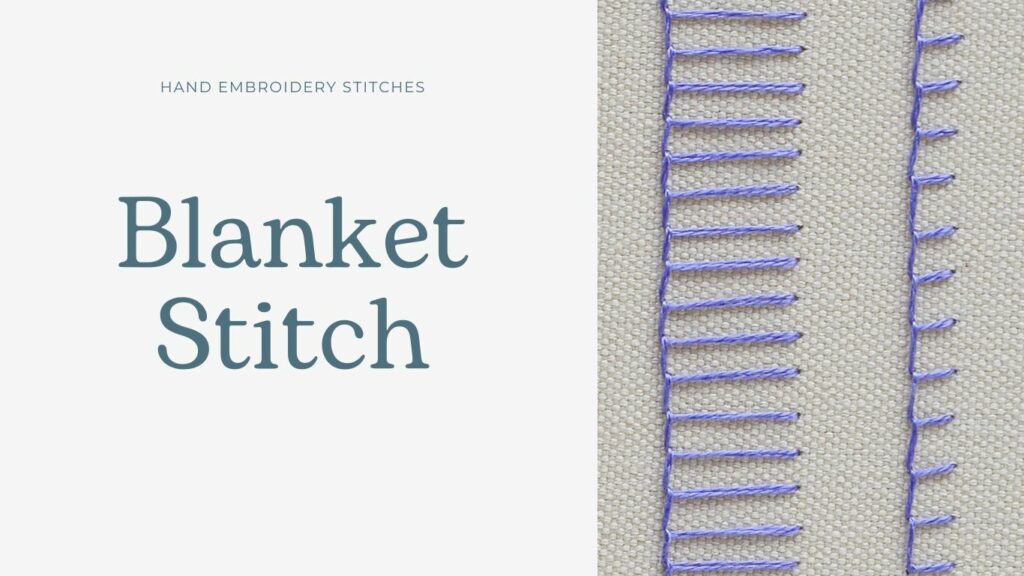
This basic Blanket stitch is an essential stitch on the list of the best embroidery stitches. It was used to finish the edges of blankets and other household textiles like tea towels and pillowcases.
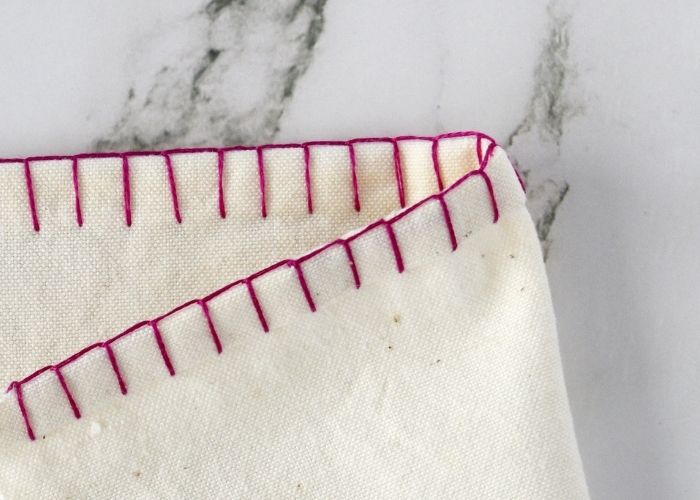
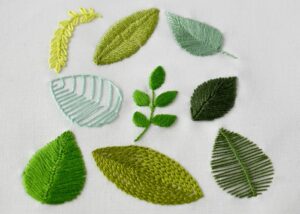
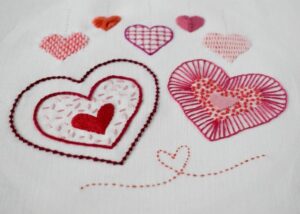
Now we use a this stitch to finish an edge of the garment, attach an appliqué, for sewing felt ornaments, or as a decorative stitch all on its own. There are many ways to use this stitch as a decorative stitch – from flowers and leaves to filling and outlining.
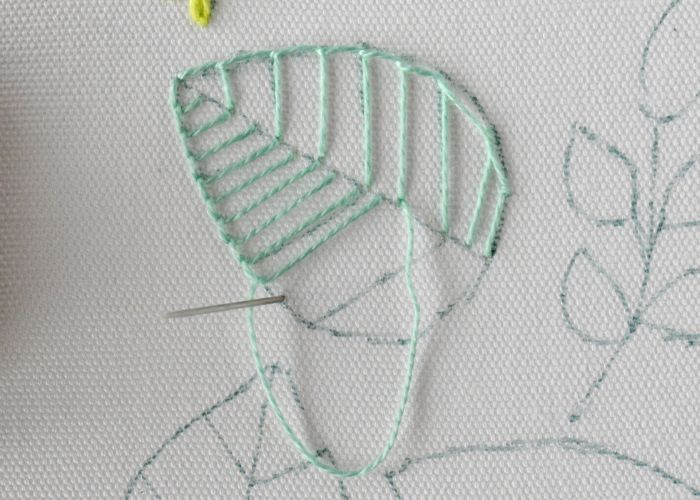
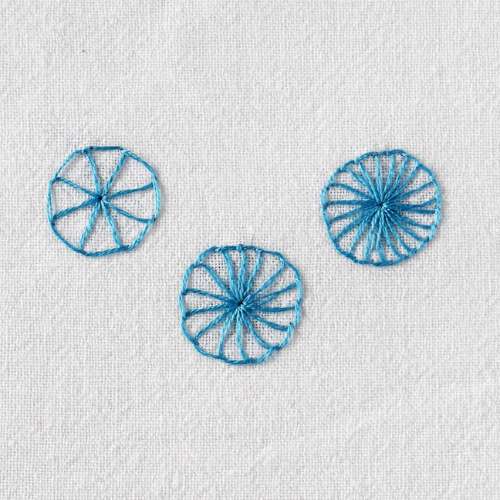
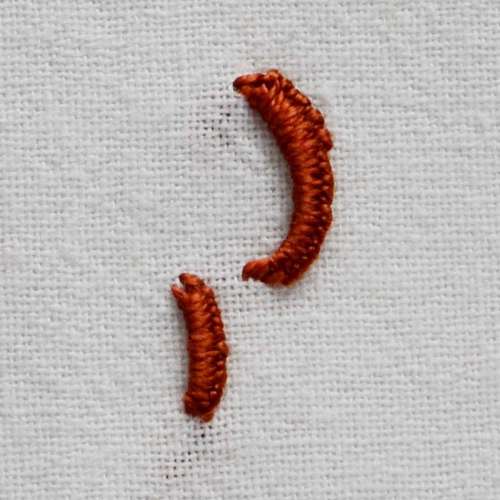
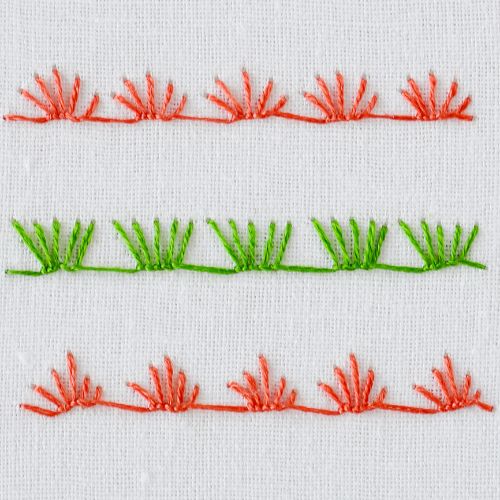
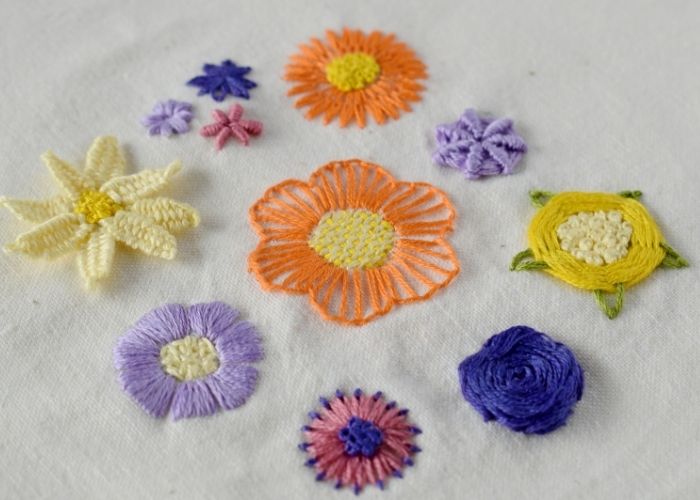
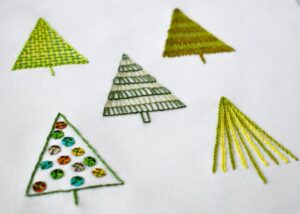
Blanket stitch looks excellent as a border design stitch, especially combined with other stitches or made as a interlocking buttonhole stitch. Also, it has great applications as a filling stitch because you can apply it in lines or in circles – as your design requires.
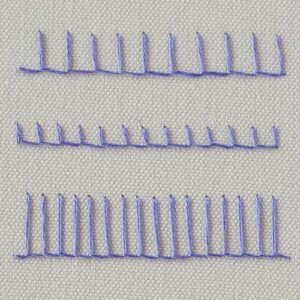
This hand embroidery stitch is very simple, yet – it has many visual possibilities. You can make stitches long or short, dense or distanced. Also, you can play with different rhythms of the embroidery patterns. For example, you can change up the density or the length of the stitches and create a playful design. Otherwise – keep the same height and density and maintain a clear repetitive visual pattern.
Other Names Of The Stitch
It is also called a Buttonhole stitch, but you should know the difference between them. You can learn more about “Difference between Blanket and Buttonhole stitches” on the Blog.
Also, you can find it by the names of Blanket edge or Open Buttonhole stitch. A Blanket stitch may also be called a Cable stitch or a Crochet stitch in sewing.
Applications Of The Stitch
This stitch is versatile and has many ways of application:
- Use it to finish a raw fabric edge – reinforce the material and decorate it
- It is excellent for sewing ornaments from felt fabric
- One of the best ways to attach an appliqué
- Great for mending clothes and textiles
- Beautiful decorative stitch all on its own
- Combine the blanket stitch with other decorative stitches and embroider decorative borders
- Buttonhole edging stitch is widely used in cutwork embroidery
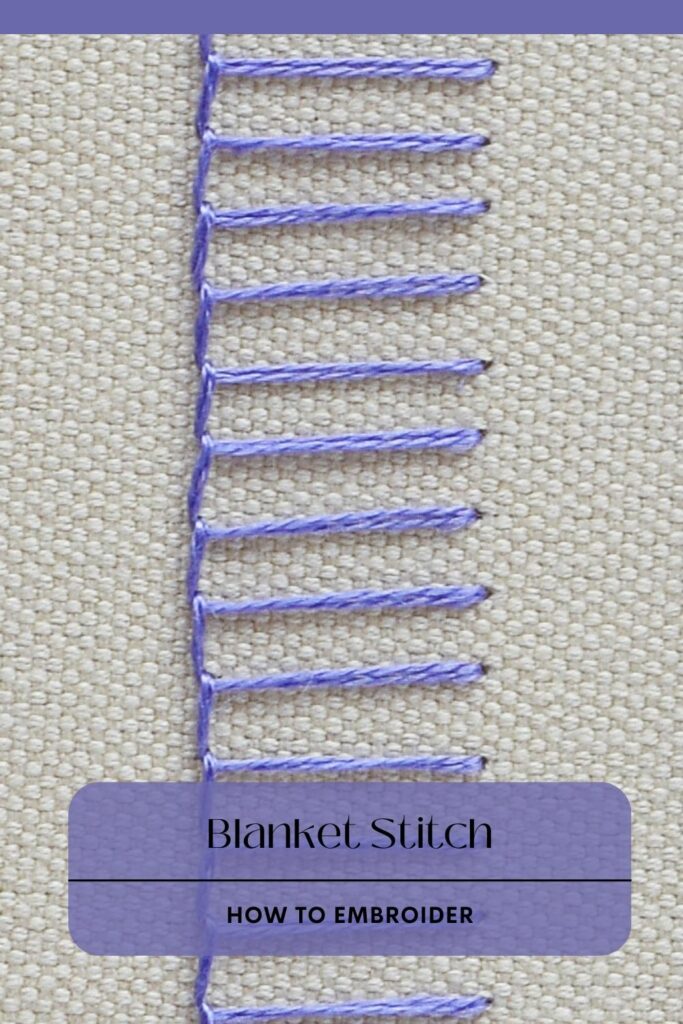
How to embroider Blanket stitch
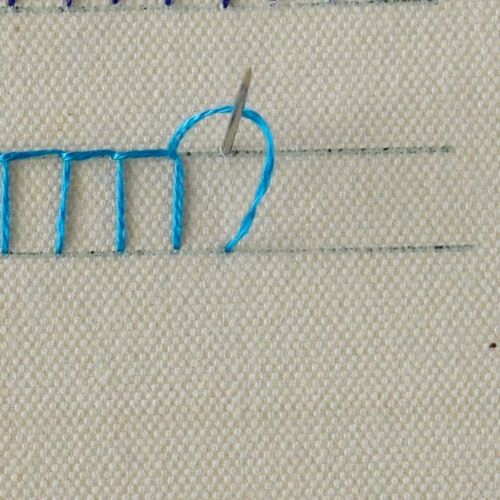
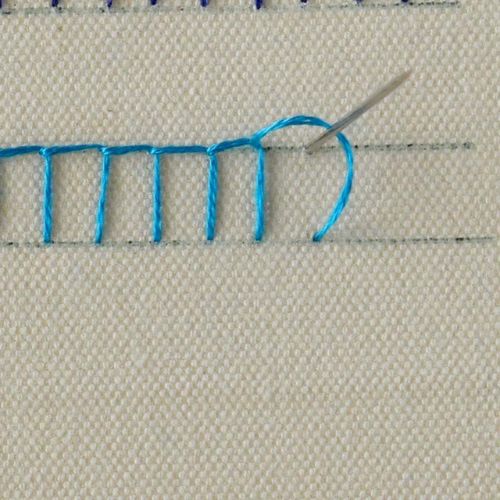
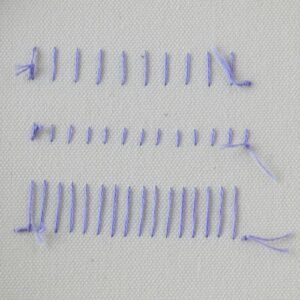
- Work from left to right.
- Push the needle up at the top left corner and make a stitch to the lower line. Leave the loop of the working thread open.
- Come up on the upper line right above the previous stitch and close the loop.
- Repeat the stitches.
Some Variations Of The Blanket Stitch
You will find an extensive list of the variations of the Blanket Stitch in the article “Blanket stitch and its variations” and all the variations for edging – in the article “Blanket Stitch Edging: 19 Decorative Embroidery Techniques For Securing and Decorating Edges“.
stitch blanket Video tutorial
If you are a visual learner, watch a video tutorial below or on the Practical Embroidery YouTube channel. In this video, you’ll find easy-to-follow, step-by-step instructions that will have you creating the Blanket stitch like a pro in no time.
What’s next?
If you’re in the mood to explore more hand embroidery stitches, check out the Stitches and Techniques page for the list of other fantastic stitches available on my blog. From timeless classics to modern twists, a whole world of stitches is waiting for you to explore and master. So, grab your hoop and needle, and let’s stitch our way to creative bliss!
Don’t miss a thing!
Follow me on YouTube, Instagram, Facebook, Flipboard, Telegram and Pinterest. On the other hand, you can subscribe to the Practical Embroidery newsletter and get embroidery tips straight to your inbox every week!
Projects for practicing Blanket stitch
Need More Guidance?
The top 10 hand embroidery stitches to learn is a free online course created for beginners.
