Sweet Stitches: Download Your Free Candy Heart Embroidery Pattern Today!
Embroider some conversation hearts for Valentine’s Day with this Free Candy Heart embroidery pattern and Step-by-step tutorial
With Valentine’s Day around the corner – or any day that calls for a sprinkle of love and affection – what better way to start a conversation and convey your feelings than through a handmade, heart-shaped embroidery?
The Inspiration Behind the Candy Heart Embroidery Pattern
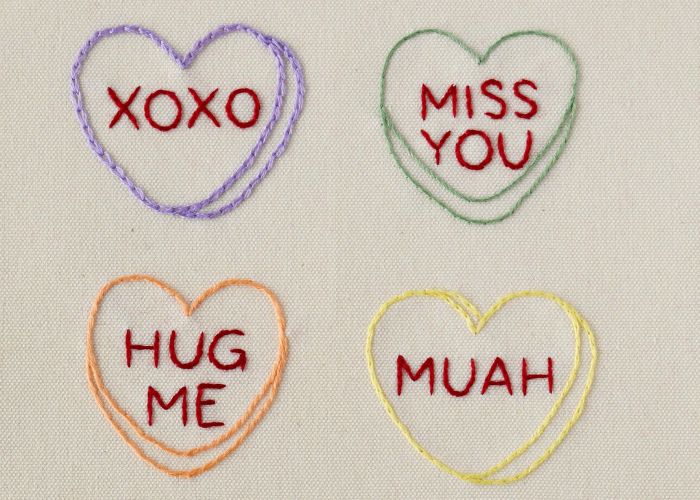
I adore Sweethearts. These iconic little sugary delights with their short and sweet conversation starters got me thinking – why not translate this adorable concept into embroidery? The idea is to capture the shape and essence of these candy hearts in the form of fabric and thread.
Did you know that since the original printed candies were a bit larger than today’s candy hearts, they featured longer phrases such as, “How long shall I have to wait? Please be considerate”. As the size of the candies decreased over time, so did the length of the sayings printed on them, to today’s “Be Mine,” “Kiss Me,” and more familiar conversation starters. Read more on this in this article.
Download your free Candy heart embroidery pattern
The pattern you will need for this project is free. Sign up for the Practical Embroidery newsletter, and I will send it to you by email .
Candy Heart Embroidery
Step-by-step hand embroidery tutorial
Tools and Materials
Tools:
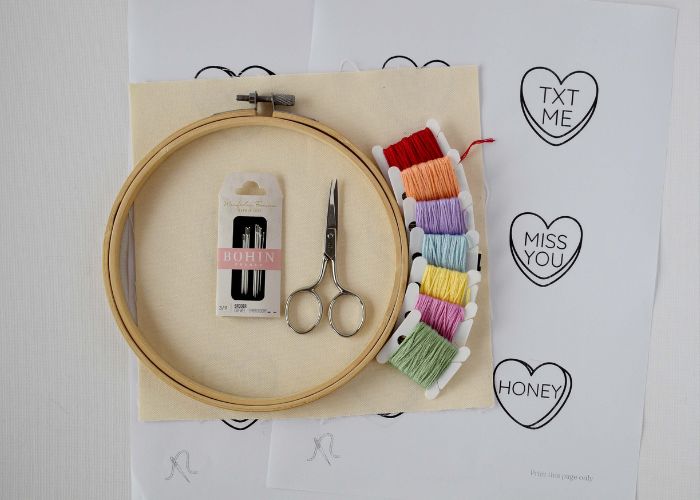
- Embroidery hoop
- Embroider scissors
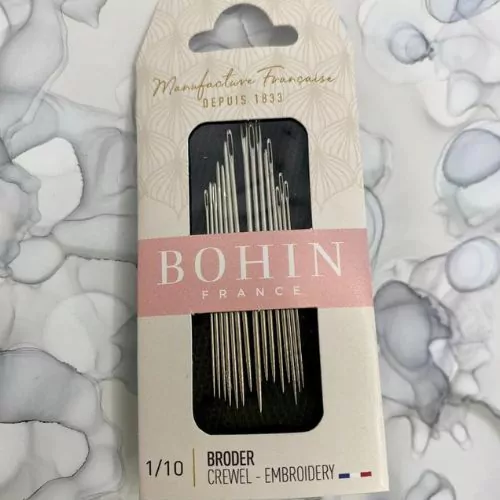
- Embroidery needle
Materials:
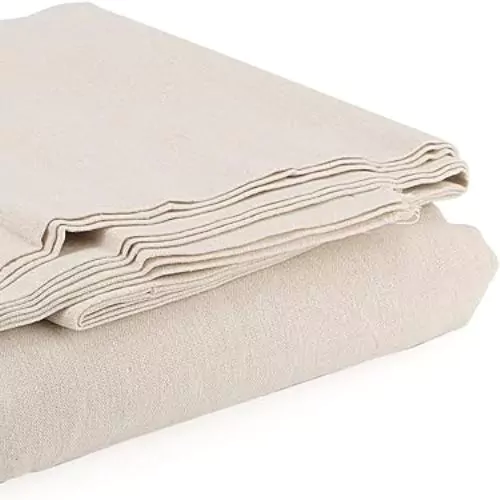
- Fabric. I chose a white blend of cotton and linen.
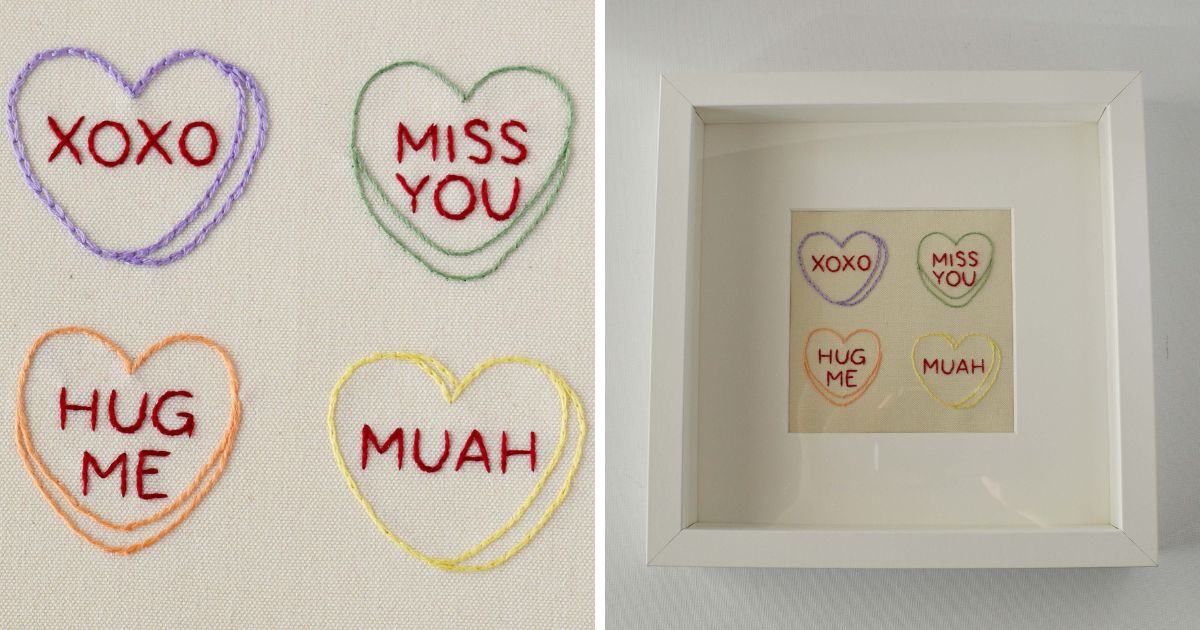
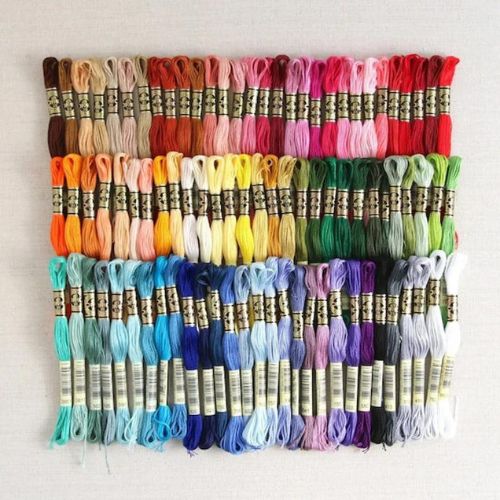
- Embroidery floss. I used embroidery thread by DMC: Red #321, Light sky blue #3761, Very light topaz #727, Light pistachio green #368, Very light plum #3608, Pale pumpkin #3825, and Mild lavender #210.
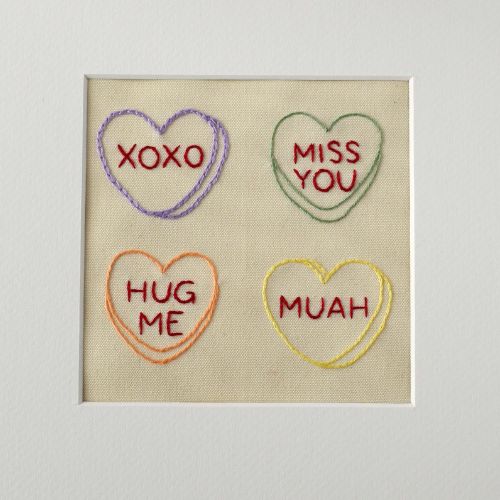
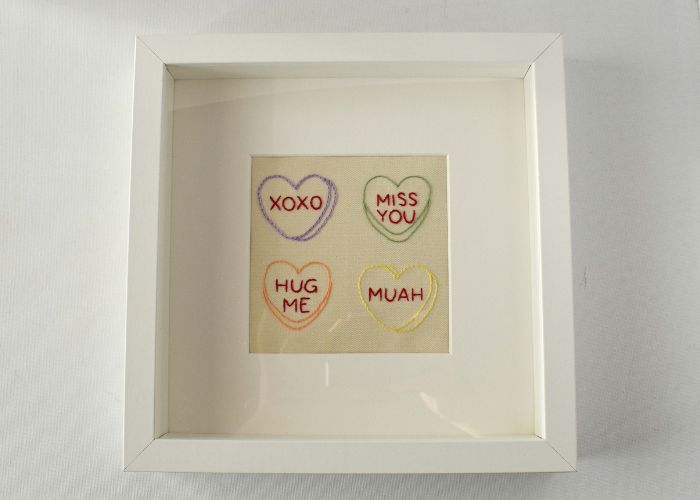
- Shadow box frame for framing. Mine is 23×23 cm from IKEA.
Instructions
- Download and print the Candy Heart embroidery pattern. Gather all the tools and materials you will need.
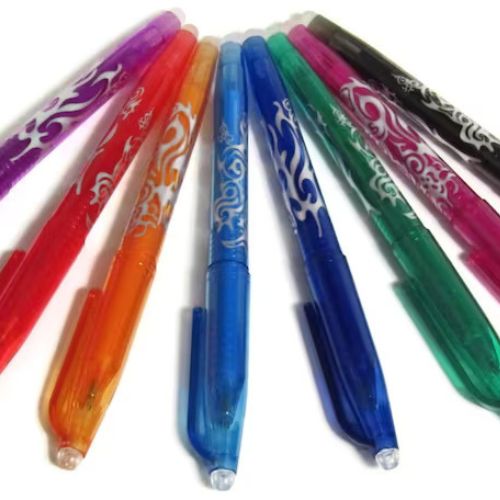
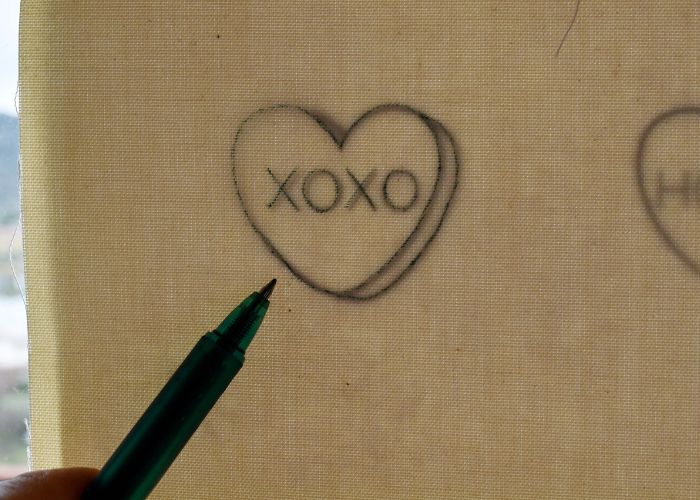
2. Print the pattern and transfer it to the fabric. I used a lightbox method and a friction pen. The transfer method you will use will depend on the fabric you choose.
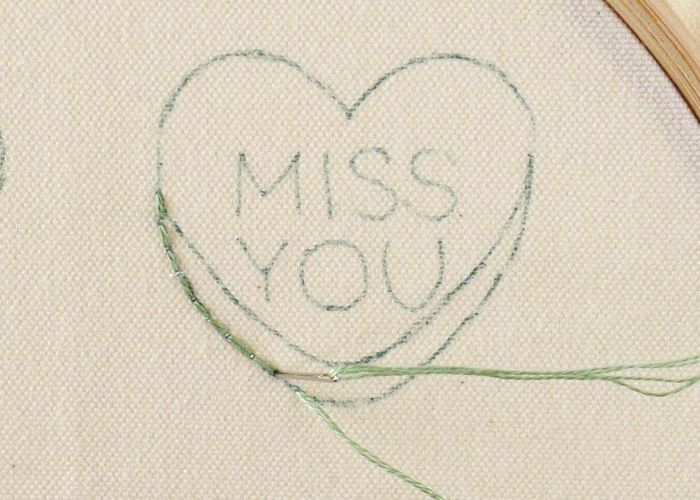
3. Green heart. Use two strands of Light pistachio green DMC # 368 embroidery floss. Embroider the outlines of the hearts with a Whipped back stitch. Start with the external element. Embroider backstitch.
4. Add whipping stitches. Use a blunt cross-stitch needle or the back of your needle for whipping.
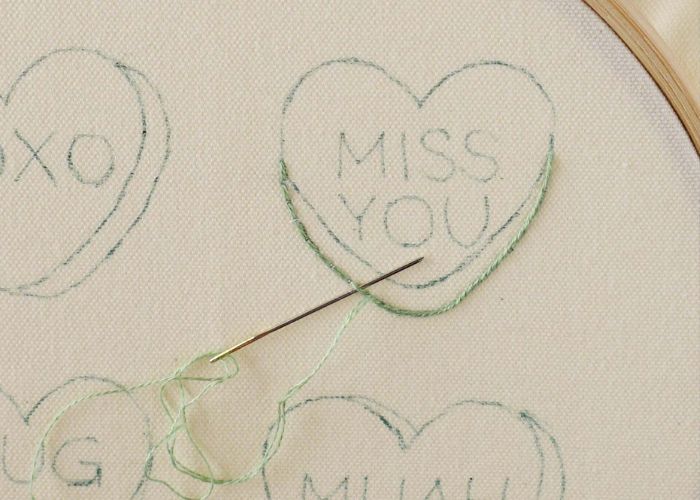
5. Embroider the central heart outline with backstitches.
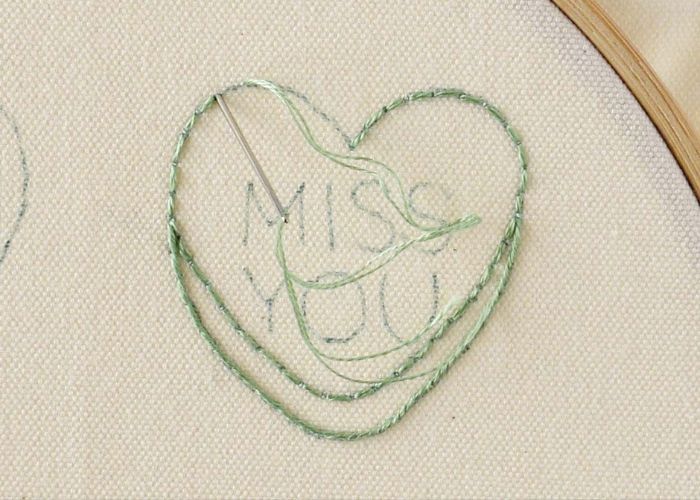
6. Add whipping stitches.
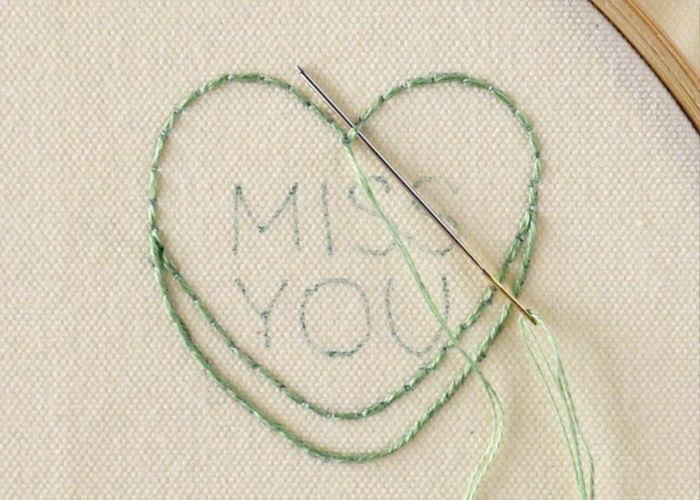
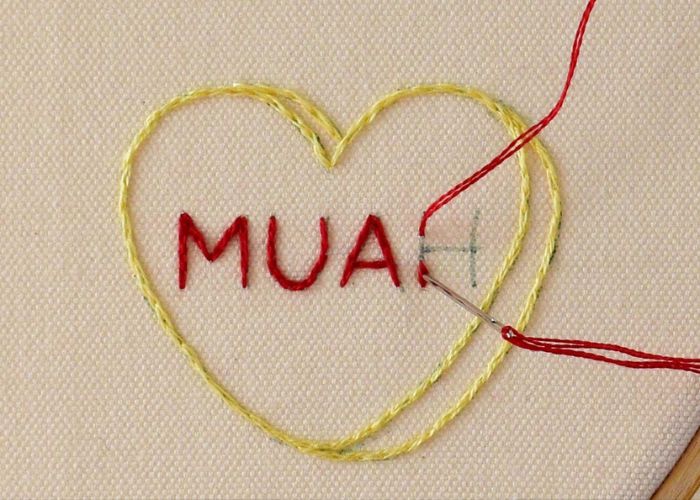
7. Embroider the lettering. Use two strands of red DMC #321 embroidery floss. Embroider with Split backstitch.
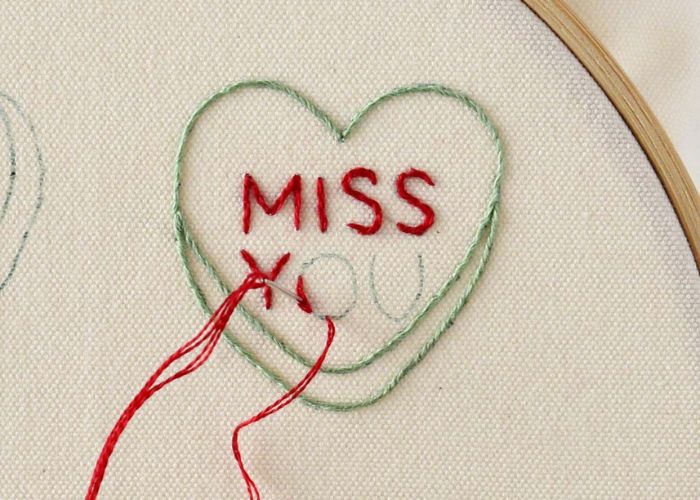
8. Yellow heart. Embroider the outline of the heart with a Split backstitch. Use two strands of Very light topaz yellow embroidery floss DMC #727.
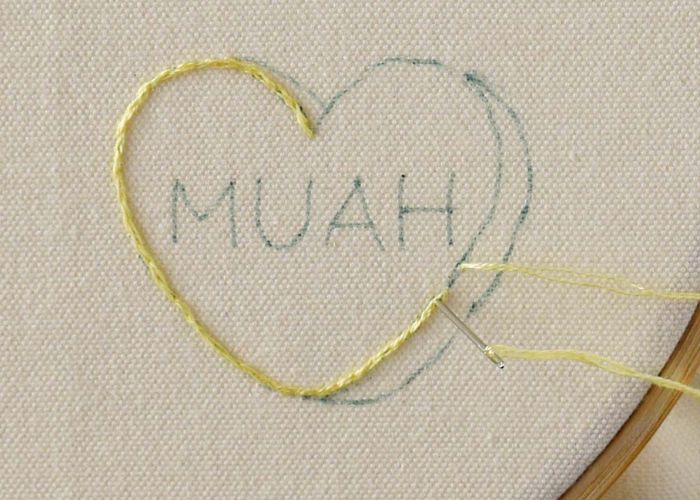
9. Embroider the additional shape elements with a Split backstitch and the same thread.
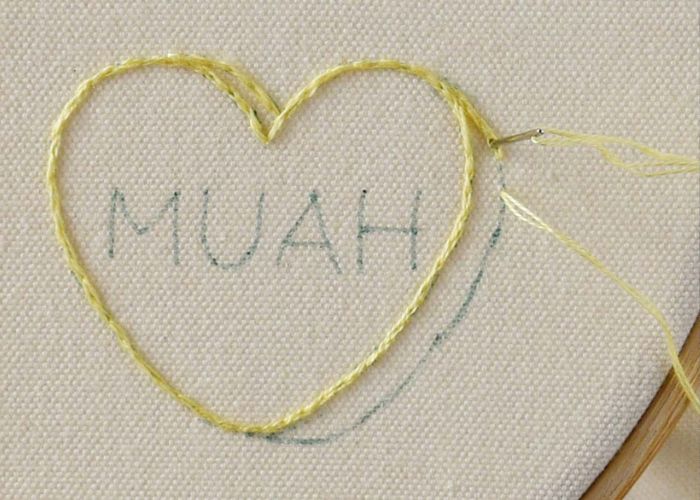
10. Embroider the lettering. Use two strands of red DMC #321 embroidery floss. Embroider with Split backstitch.
11. Violet heart. Embroider the outline of the heart with Chain stitch. Use two strands of Mild lavender embroidery floss DMC #210
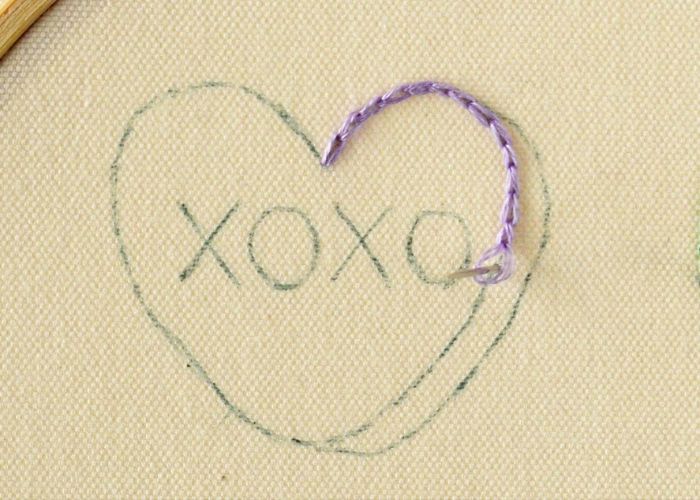
12. Embroider the additional shape line with Chain stitch and the same violet embroidery floss.
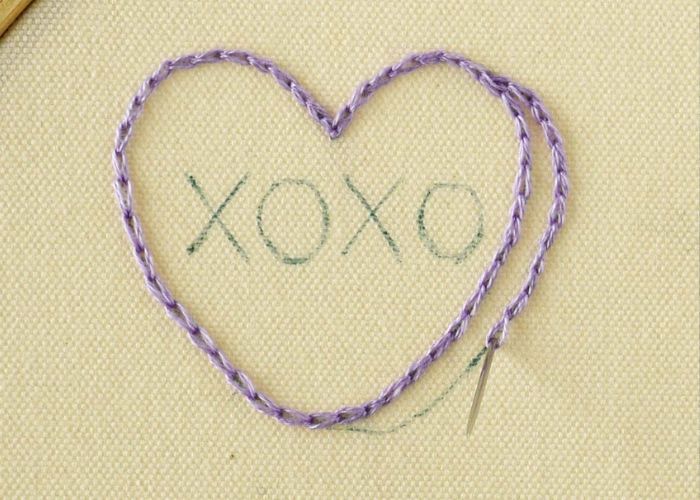
13. Embroider the lettering. Use two strands of red DMC #321 embroidery floss. Embroider with Split backstitch.
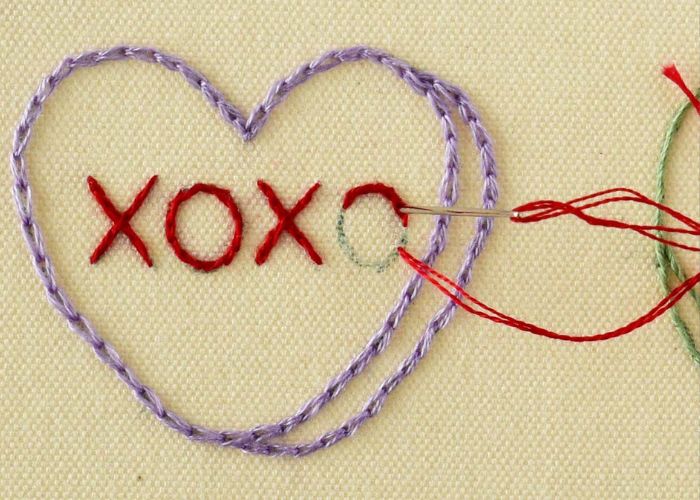
14. Peach heart. Outline the shape with Stem stitch. Use two strands of Pale pumpkin embroidery floss DMC #3825.
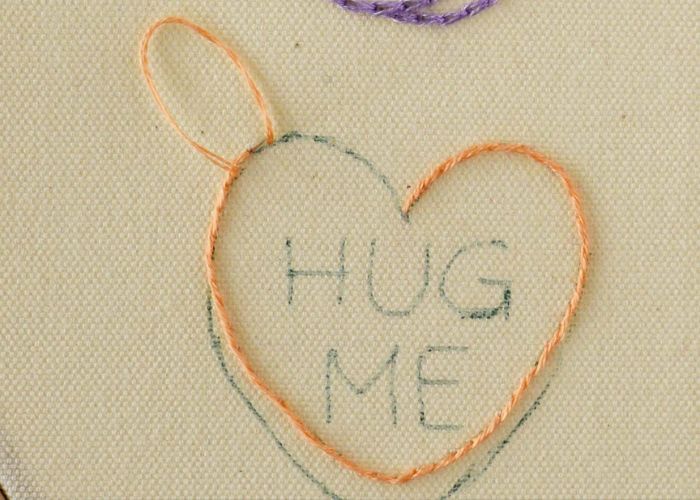
15. Embroider the shadow element of the heart with Stem stitch and the same peach embroidery floss.
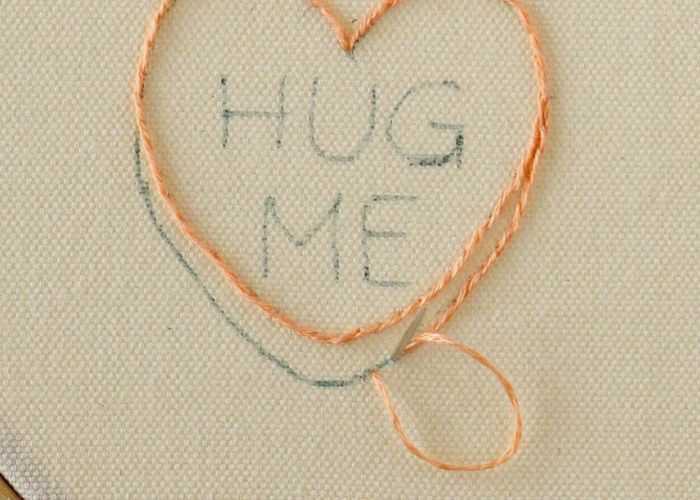
16. Embroider the lettering. Use two strands of red DMC #321 embroidery floss. Embroider with Split backstitch.
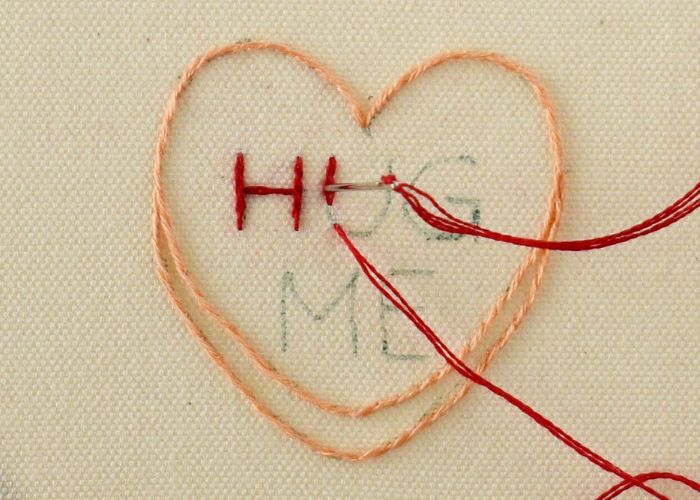
17. Remove tracing marks. Wash and iron the embroidery if needed.

18. Tape the embroidery to the inner frame of the shadow box.
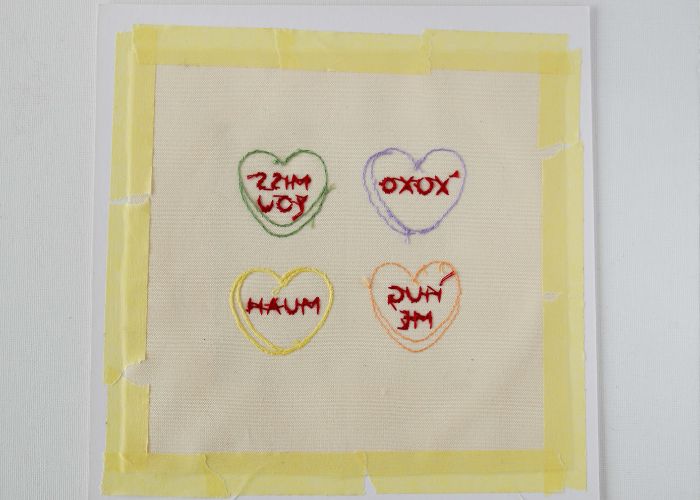
19. Assemble the frames and display your embroidery.
Video Tutorial
Recommended Products
Disclaimer. To cover the cost of creating free embroidery patterns and video tutorials for this blog, I do sometimes link to products. Please assume these links are affiliate links. If you choose to buy through my links then THANK YOU! – it will make it possible for me to keep doing this.
Tips on pattern transfer
For this tutorial, I decided to embroider a square picture with four of the hearts on a light-colored cotton blend fabric. Therefore, for the pattern transfer, I used a Lightbox method.
If you want to embroider your Candy hearts on felt fabric, jeans, or other dense or dark fabric, opt for a Water-soluble stabilizer or Tissue paper method to transfer the pattern.
Final Touches and Personalization
One of the best parts of hand embroidery is making a piece uniquely yours.
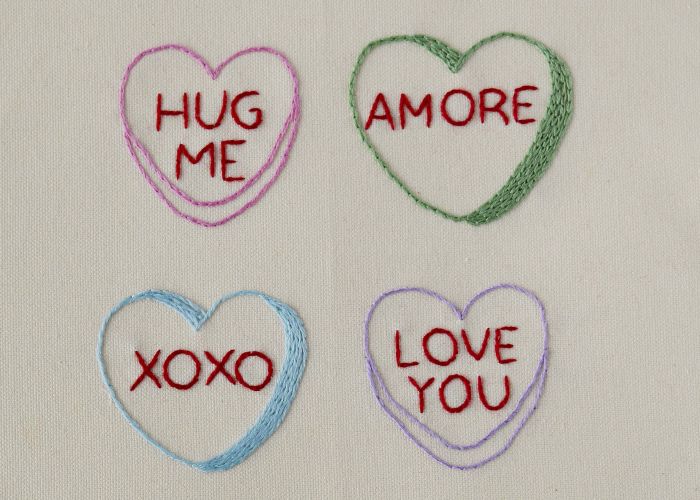
While I’ve suggested some classic candy heart phrases to embroider, feel free to personalize your heart with a message that resonates with you or the person you’re gifting it to.
The patterns of the Candy hearts you downloaded are versatile – you can embroider one heart, a couple of them, or all the hearts if you wish to.
You can adjust the embroidery stitches, too. For the shapes, you can opt for any hand embroidery stitches for outlines. Also, you can add some filling. In this sampler, I filled in some parts of the heart shapes. The Green AMORE heart is filled with Chain stitch filling, and the Blue heart XOXO is filled with Stem stitch filling.
Finishing Your Embroidery Piece
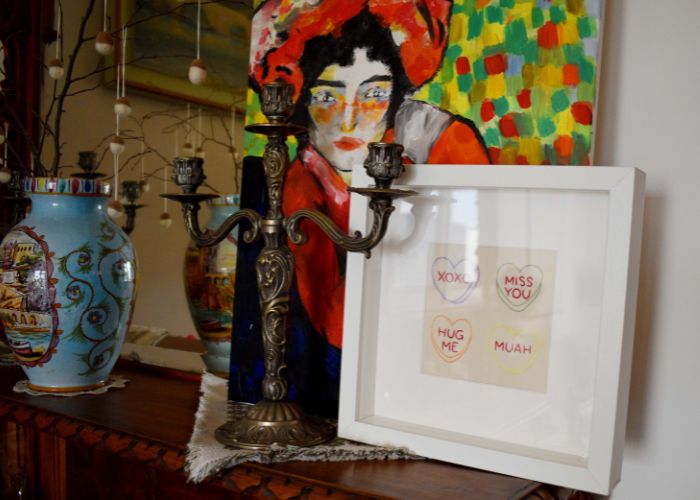
These colorful hearts will look great on the T-shirt, the back pocket of your jeans, a fabric napkin, a basketball hat, or anywhere you wish to add one.
Besides that, you can embroider these hearts on felt fabric and turn them into patches or pins.
Sharing the Love
Embroidery is more than just a hobby; it’s a way to share a piece of our heart and creativity with the world. I hope this Candy Heart Hand Embroidery project brings as much joy to you as it did to me while creating it.
Don’t forget to share your finished pieces with me on social media – I love seeing your interpretations and unique touches!
Related projects
