How to clean pattern transfer marks from fabric
Learn how to erase pencil, friction pen, tailor’s chalk, water soluble pen, and carbon paper marks from fabric
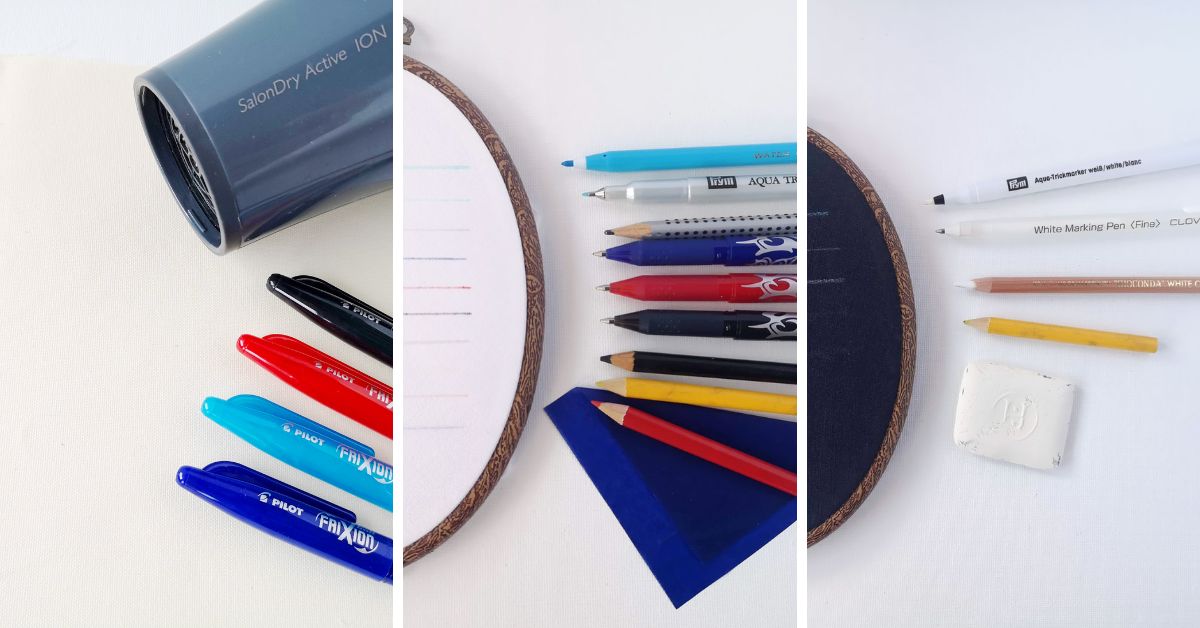
In my series of articles about hand embroidery tools and materials, I wrote about pattern transfer tools and materials for hand embroidery. Tools like pencils or friction pens let us transfer embroidery patterns directly to the fabric, making our hand embroidery easier. But after the stitching, some pattern marks are not easy to erase. So let’s find out how to clean these pattern transfer marks after finishing the embroidery.
How to clean Water-soluble pen pattern transfer marks
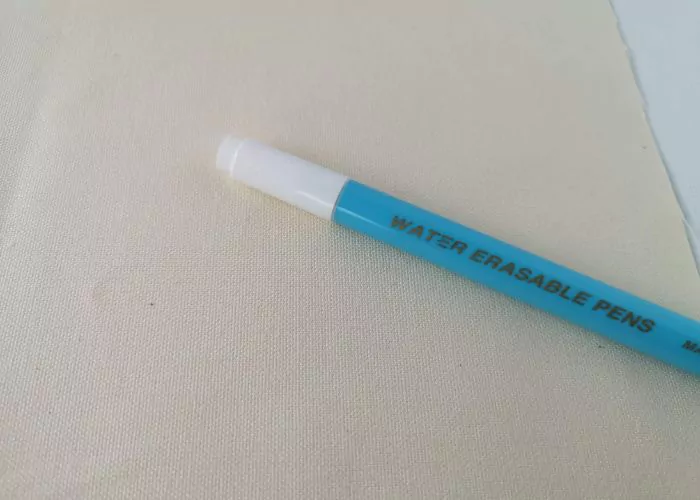
Water soluble markers are a fabulous way to trace patterns and transfer designs when embroidering. To remove tracing marks of a water-soluble pen, you can:
- Wash your embroidery in lukewarm water. I always use this method before framing the embroidery for display.
- Dab tracing marks with a wet cloth or sponge. This method is convenient when removing some marks to adjust the design but not erase all the markings.
How to remove Pencil marks
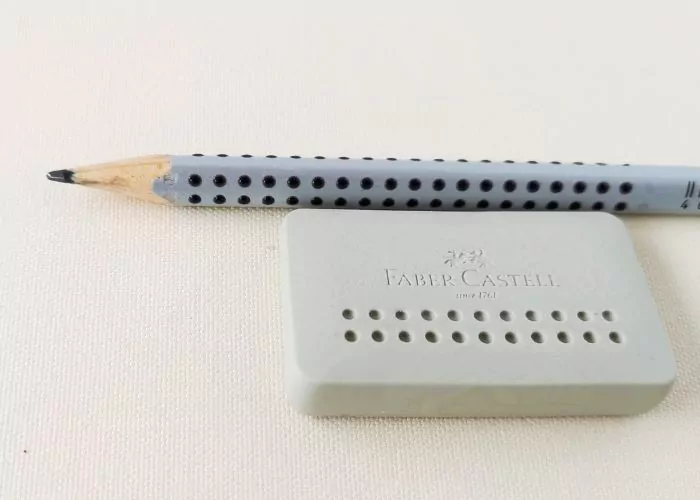
A simple pencil is one of the tracing tools everyone has at home and is widely used to transfer hand embroidery patterns. The markings pencil makes are light, so if you don’t completely cover them with stitches, you won’t notice them. However, it’s not the easiest tracing mark to remove. So in case, there are still some markings visible, try these methods to remove the traces:
- Use the eraser. A solid block eraser (the softer, the better) will work better than the little pink eraser on the tip of a pencil. Be careful not to damage the embroidery while rubbing. Also, you can try a kneadable putty rubber instead.
- If the marks resist the eraser, mix 1/4 cup cool water, 3/4 cup rubbing alcohol, and 1 tbsp of bleach-free liquid dish soap in a bowl. Dip a toothbrush into the solution and scrub the pencil mark gently until it is gone. Be extra careful not to snag the stitches.
How to erase Friction pen (heat erasable pen) marks
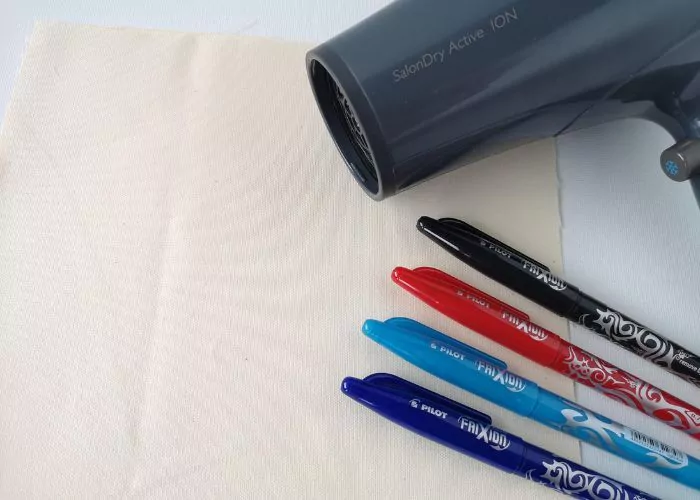
Friction pens, also called heat erasable pens look like simple ball pens and come in many different colors. I like that the line they make is thin and precise. Also, I like how easy it is to remove tracing marks after the embroidery is finished. To remove tracing marks of the friction pen, you can:
- Iron the embroidery (from the backside). The heat of the iron will remove all the marks outside and even under the embroidery stitches. Do not use the steam!
- Use a hairdryer to remove the tracing marks. This is my favorite method. Just blow hot air from the hairdryer over the embroidery (still framed in a hoop), and all the tracing marks will disappear.
How to remove the Dressmaker pen and tailor’s chalk markings
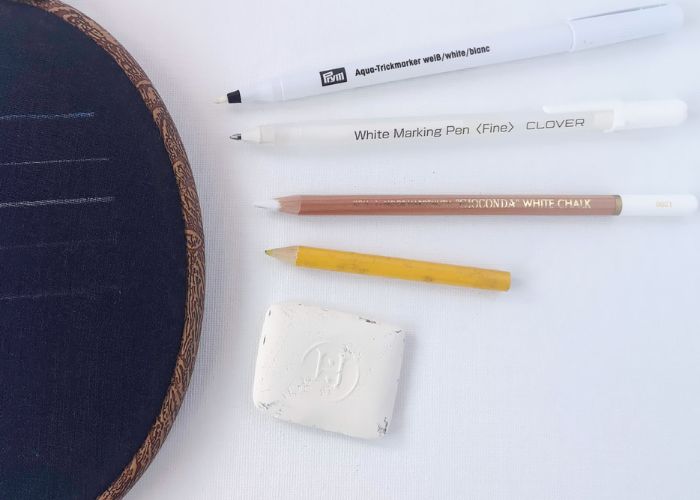
Dressmaker pen and tailor chalk are made from the same material – clay-based chalk. For this reason, the method of removing the tracing marks is the same for both marking tools.
- Use a dry soft toothbrush. Gently brush the marks until all the chalk is removed.
- If dry cleaning with a toothbrush is not working, dab the spots with a clean wet sponge.
- If the chalk marks persist, wash your embroidery in a mixture of white vinegar and water (2 parts white vinegar to 5 parts water).
How to erase Carbon paper marks from fabric
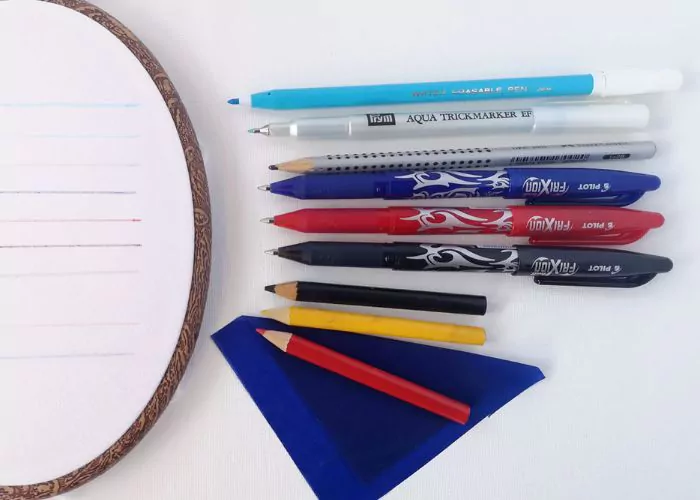
Carbon paper is an effortless way to transfer the pattern, but the marks take work to remove. If you use this pattern transfer method, use the dressmaker’s carbon paper (not a regular one made for paper).
If the marks are not covered by the stitches and are still visible after you finish your embroidery, try this to remove tracing signs:
- Remove tracing marks by dabbing them with a kneadable putty rubber. Knead a rubber to warm it between your fingers and pat it on the fabric. The rubber will absorb the residue of the carbon paper marks.
- If the marks persist – mix baking soda with dish soap to make a paste, then scrub easily with a toothbrush. Rinse and dry.
- Wash the embroidery after the tracing marks are removed.
How to clean other pattern transfer marks
Heat transfer pens and pencils are permanent and can not be removed. Remember that when transferring the design!
Iron – on transfer paper will create permanent marks too.
Stabilizer. If you use a stabilizer for pattern transfer, read the product’s instructions first. All the producers have different methods for how their stabilizers should be removed. You can choose from water soluble stabilizers, tear away stabilizers, cut away stabilizers or heat-away films.
Video tutorial
I also created a short video tutorial – “How to remove tracing marks from the fabric.” Watch it and subscribe to the Practical Embroidery YouTube channel for more hand embroidery tips and tutorials.
What’s next?
If you are new to hand embroidery, you might want to read these articles to learn more about hand embroidery pattern transferring methods and tools:
- How to transfer embroidery pattern to the fabric
- How to transfer embroidery pattern with tissue paper
- How to transfer hand embroidery patterns – simple and inexpensive Lightbox method
More about hand embroidery tools and materials:
- My favorite hand embroidery supplies, tools, and materials
- Hand embroidery needles
- Embroidery hoops
- Embroidery floss and threads
- Guide to hand embroidery fabrics
- Scissors for hand embroidery
- Water soluble stabilizers
- Carbon paper for pattern transfer
- Mending tools and materials
- Mini embroidery hoops
- Best hand embroidery books
- Embroidery materials for beginners
