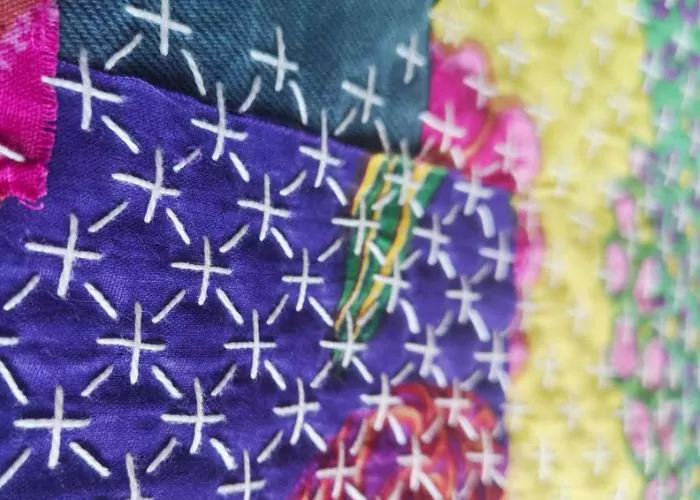

Ladder Stitch Hand Sewing
Ladder Stitch is a hand-sewing technique. We use it to create invisible seams when we do not have access to the back side of the seam, for example, when closing linings, pillows, or stuffed animals.
The sewing technique is simple: alternate small horizontal stitches between two folded fabric edges, then pull them tight to join the sides and create an invisible seam.
I used bright pink-colored thread on white linen for a clear demonstration. In reality, it is essential to use a matching thread and maintain consistent, small stitches so the seam is really invisible.
If you could see the seam from the inside, it would look like Running Stitch.
Other names of the Ladder Stitch
Due to its seamless results, this hand-sewing technique is also called the Blind Stitch or Invisible Stitch.


Applications of the Ladder Stitch
Ladder Stitch is essential in hand sewing, tailoring, and mending. Even if you use a sewing machine to assemble garments or household textiles, you may sometimes end up with small gaps in the seams that remain open when you turn the piece. Ladder Stitch was born to solve these inconveniences. It closes the gap with a robust, yet invisible stitching.
Also, this technique is great for small mends and alterations, especially for closing gaps in seams that appear over time and with extensive wear. Often, this method is faster and more accessible than using the sewing machine.
More stitches for hand sewing


Learn how to sew with Ladder Stitch
Follow the step-by-step tutorial with detailed photos below, and you will learn the Ladder Stitch hand sewing quickly. If you are a visual learner, watch a video lesson in the tutorial or on the Practical Embroidery YouTube channel to learn this hand embroidery stitch faster.

How to sew with Ladder Stitch
Step-by-step hand sewing tutorial
1. Thread the needle and make a knot at the end. Mark the seam lines or press the seam so you can use a fold as a guiding line.

2. Hide the knot in the seam and push the needle up to the surface at the beginning of the gap, along the seam line.

3. Pull the thread through and make a small straight stitch on the opposite side of the seam. The stitch follows the seam’s direction.

4. Now move back to the same side you started on and make one more small straight stitch along the seam.

5. Alternate small stitches between the sides of the fabric.

6. If you use the matching thread, the Ladder Stitch will become almost invisible when you pull the thread to tighten the seam.

7. When you reach the end of the gap, secure the thread with a loop, hide the end of the thread inside the seam, and cut it.

8. The final result of the Ladder Stitch sewing is an almost invisible, yet durable seam.

Video tutorial
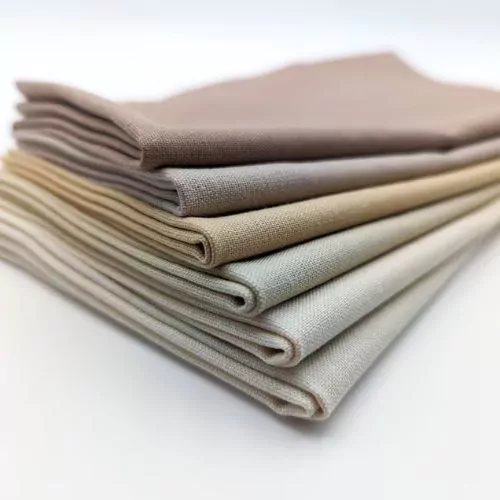
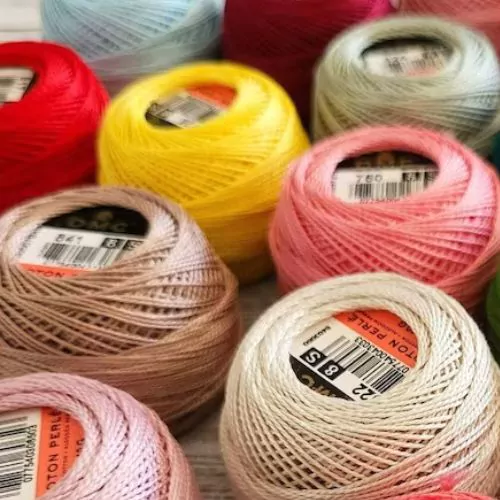
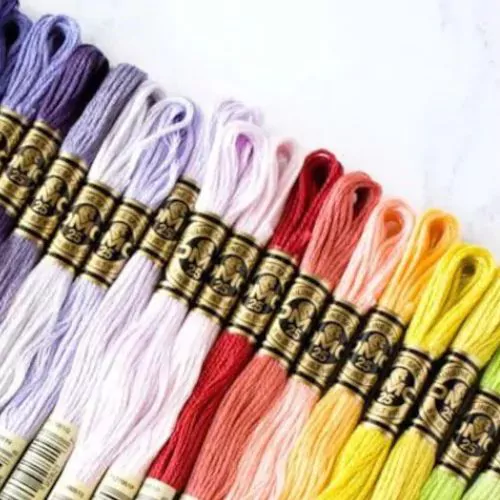
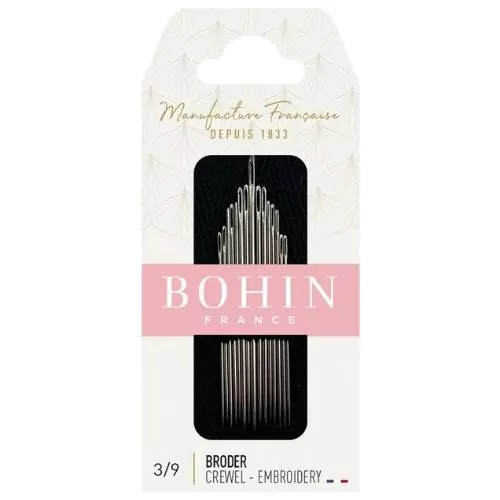
Tools and materials I used for this sampler
Disclaimer. To cover the cost of creating free embroidery patterns and video tutorials for this blog, I do sometimes link to products. Please assume these links are affiliate links. If you choose to buy through my links then THANK YOU – it will make it possible for me to keep doing this.


What’s next?
If you’re in the mood to explore more hand embroidery stitches, check out the Stitches and Techniques page for the list of other fantastic stitches available on my blog. From basic embroidery stitches to complex and playful variations of classical techniques, a whole world of stitches is waiting for you to explore and master. So, grab your hoop and needle, and let’s stitch together!
Don’t miss a thing!
Follow me on YouTube, Instagram, Facebook, Flipboard, and Pinterest. On the other hand, you can subscribe to the Practical Embroidery newsletter and get embroidery tips straight to your inbox every week!
Need More Guidance?
The top 10 hand embroidery stitches to learn is a free online course created for beginners.