Stem Stitch
how to embroider a Stem Stitch
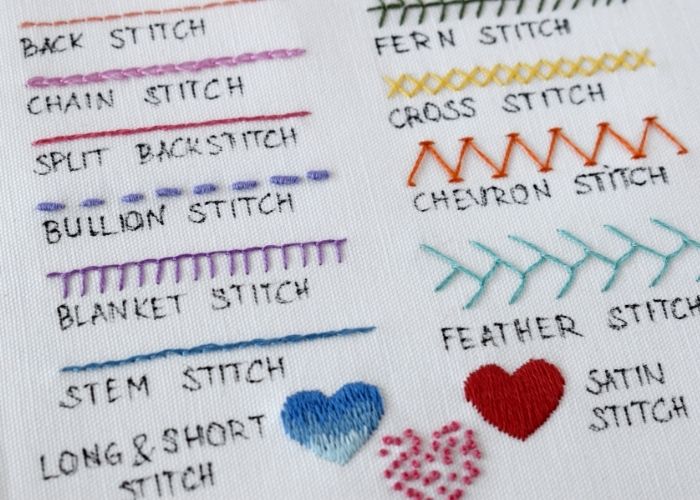
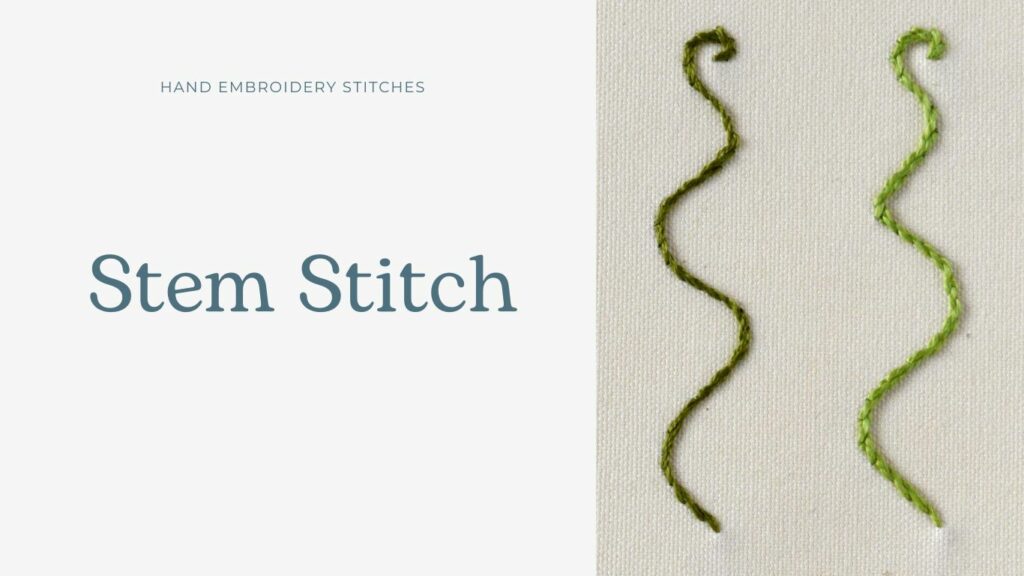
The Stem Stitch forms a rope-like line and is one of the basic hand embroidery stitches.
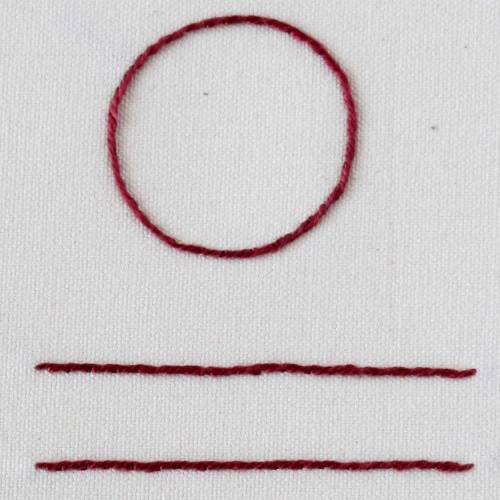
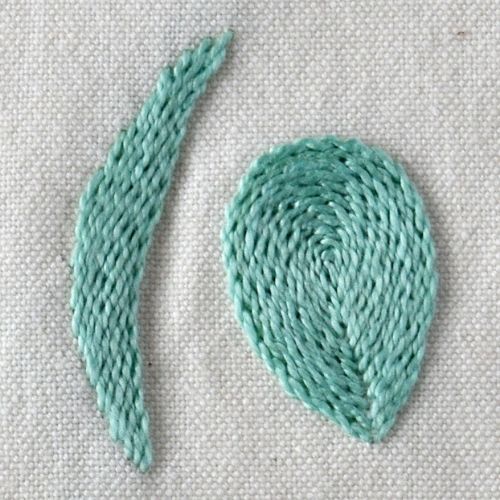
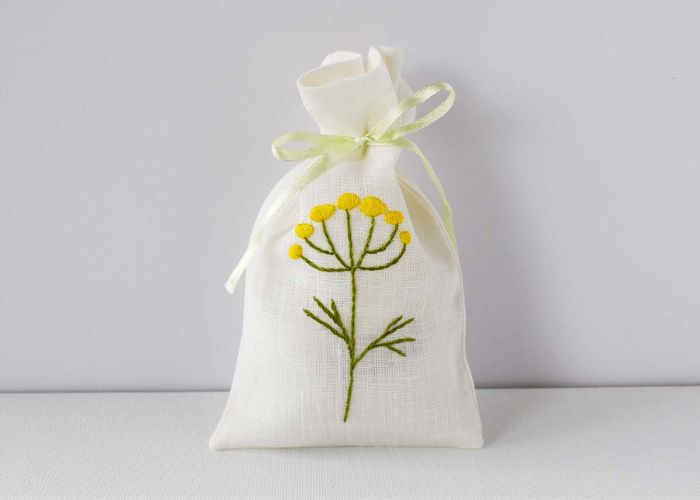
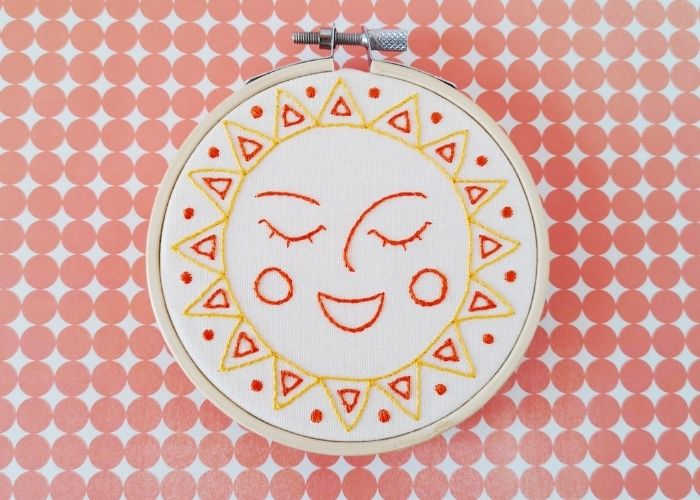
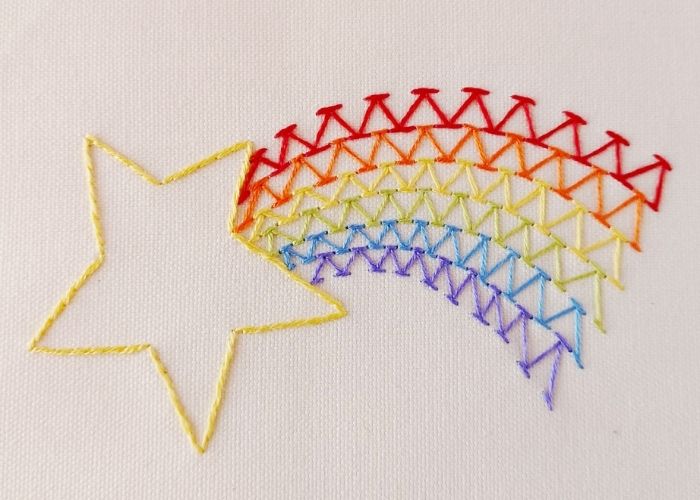
This stitch is widely used in modern surface embroidery as it is decorative and versatile. This stitch is handy for outlines, curves, waves, or tiny circles. Also, the stem stitch works well as an outline for the satin stitch. Besides that, you can use it for filling too.
Stem stitches can be worked both in the sewing and stabbing methods.
Other Names Of The Stem Stitch
Sometimes the Stem stitch is also called Crewel stitch or Stalk stitch. Also, Outline stitch and Stem stitch are two names that we often use interchangeably. These two stitches look very similar, but they aren’t the same thing.
Stem Stitch or Outline Stitch?
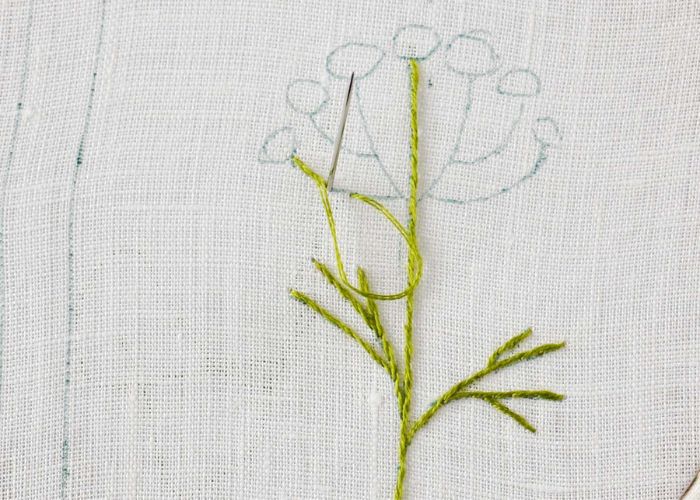
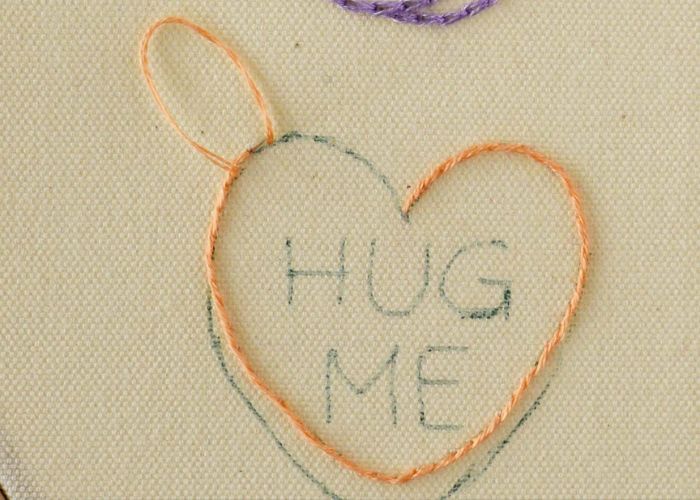
The main difference – is the position of the working thread while making the embroidery. As you work Outline stitch from left to right, always keep the working yarn above the stitching line. And when you embroider a Stem stitch from left to right, keep the working thread under the stitching line.
The other difference that you may notice – is the direction in which the “rope” of the stitch is twisted. For this reason, sometimes it’s better to use Stem stitch and sometimes – Outline stitch. If you are unsure which stitch will make a more beautiful curve and is more suitable for your design – try to make the same curved line with both and see which one you like more.
I filmed a Video lesson “Outline stitch vs Stem stitch” where I demonstrate the differences between between two stitches.
An if you care to learn more about hand embroidery stitches you can use for outlines, read the article “Hand embroidery stitches for outlines – from the most simple to decorative ones“.
Applications Of Stem Stitch In Hand Embroidery
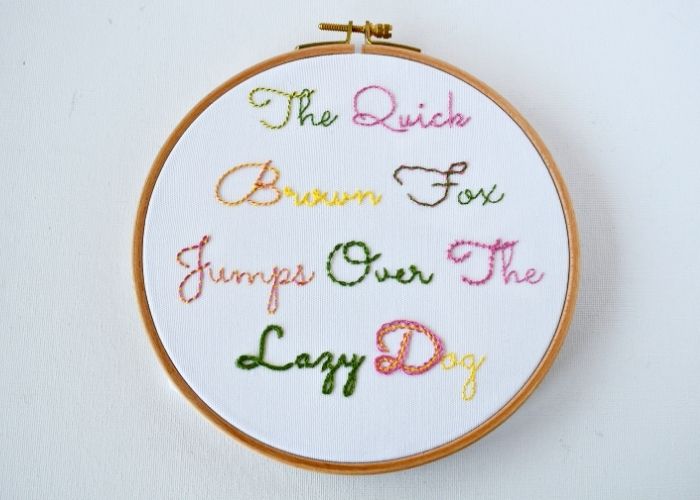
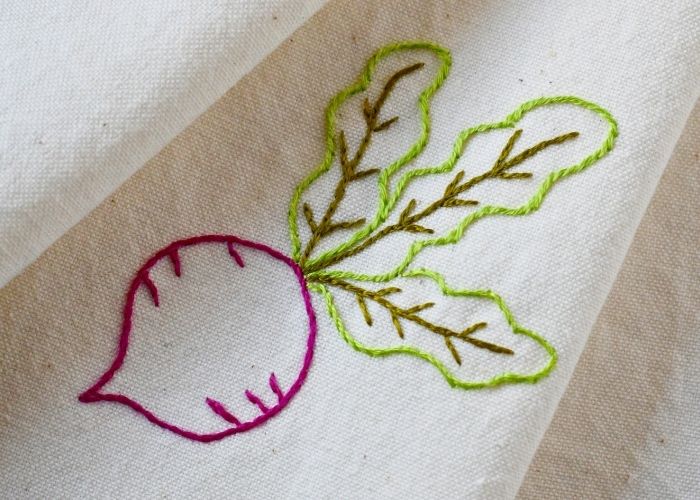
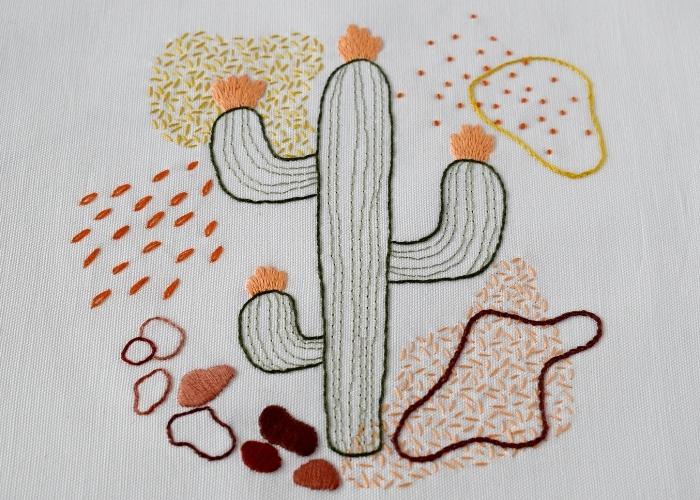
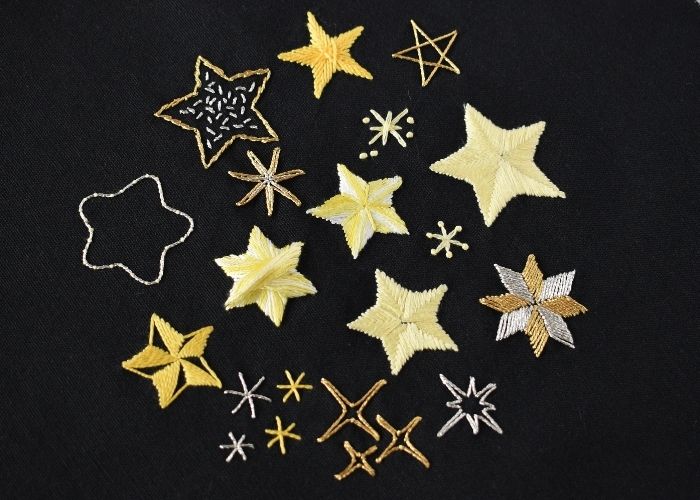
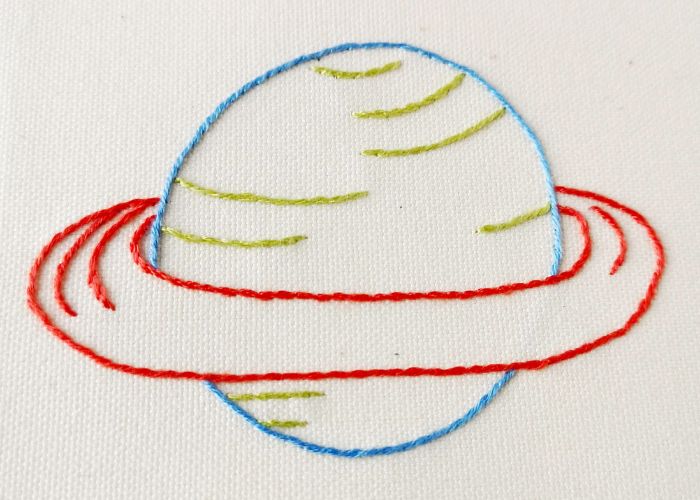
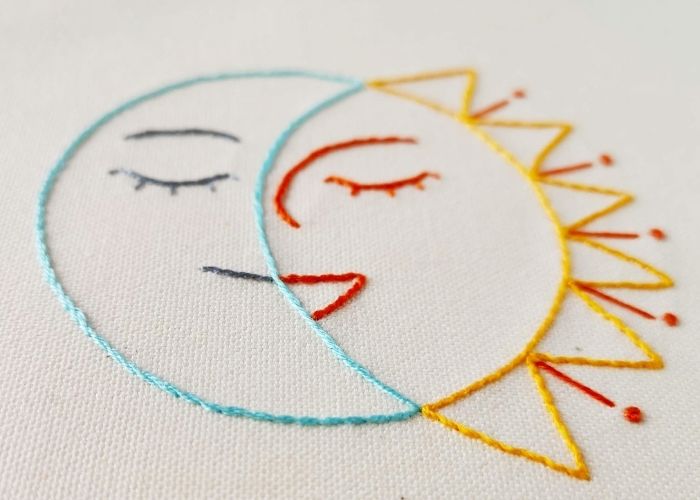
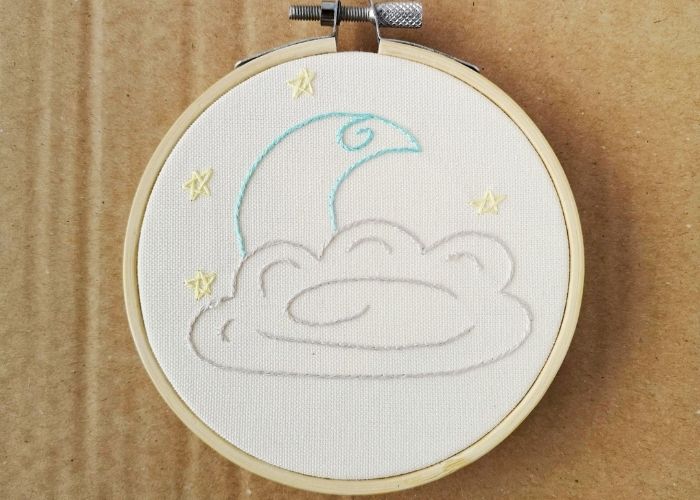
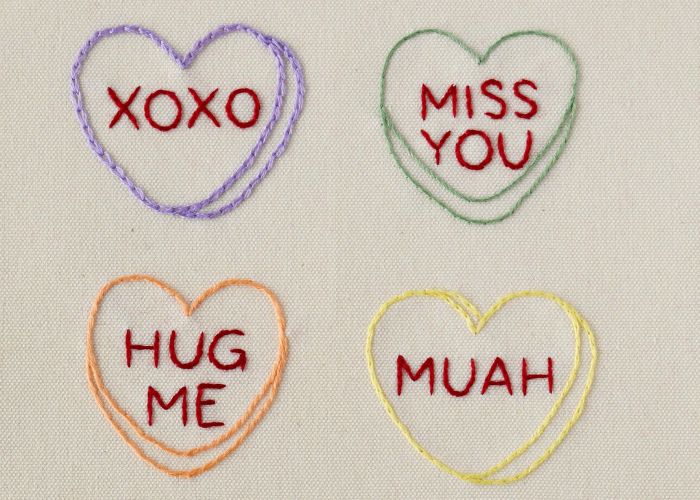
This universal stitch is used in Whitework, Redwork, Stumpwork, Crewel embroidery, and other types of hand embroidery. In modern surface embroidery, we use it for:
- Outlines
- Lettering
- Filling
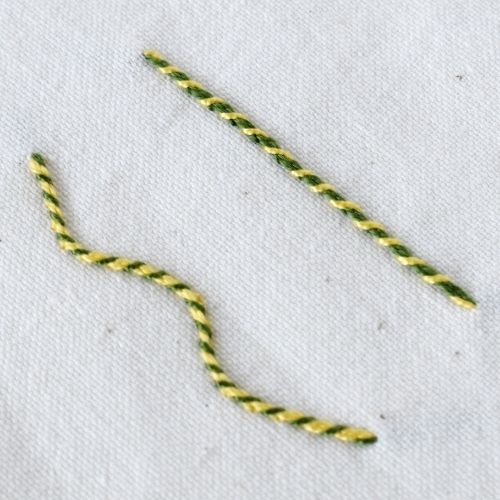
Some Variations Of The Stem Stitch
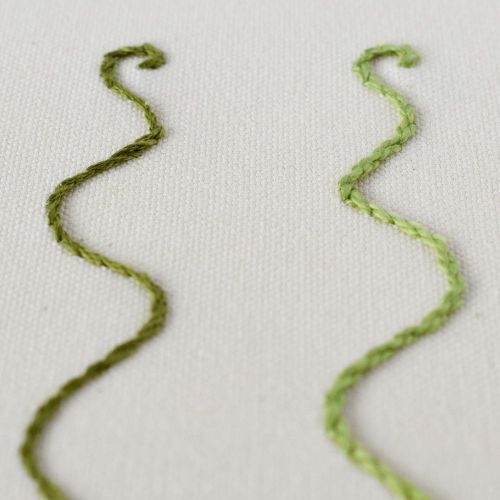
How to embroider Stem Stitch
Step-by-step hand embroidery tutorial
Instructions
1. Take the needle up to the fabric’s surface at the base of your stitching area and pull the thread through.
2. Make a stitch in the direction of the stitching.
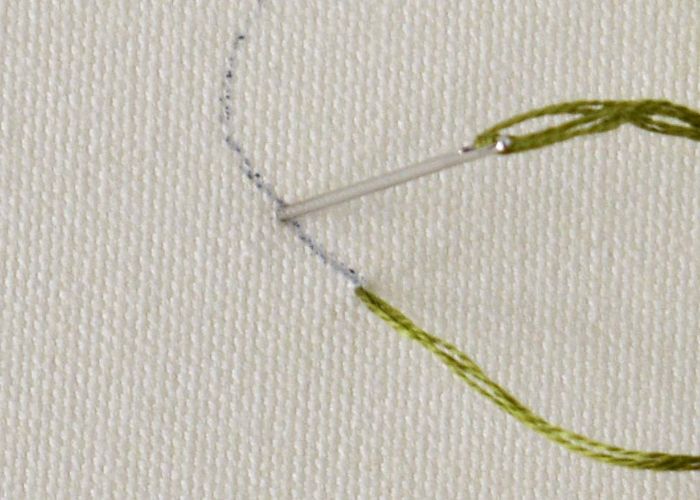
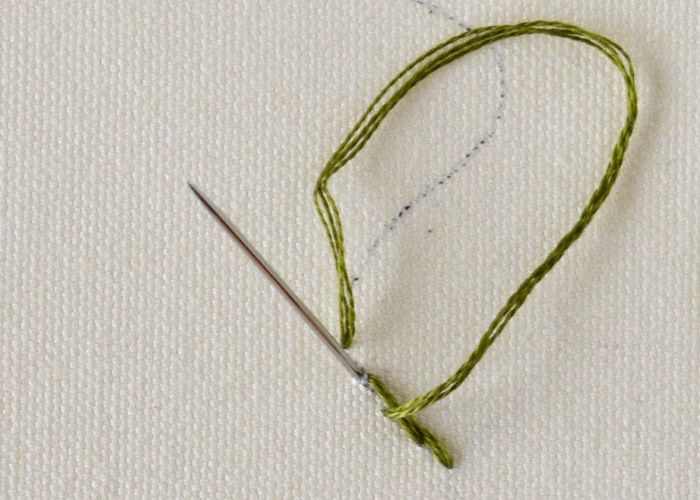
3. Pull the thread to the back of the fabric, but leave a loop of the working thread on the surface.
4. Take the needle to the surface halfway through the initial stitch while holding the loop to the right.
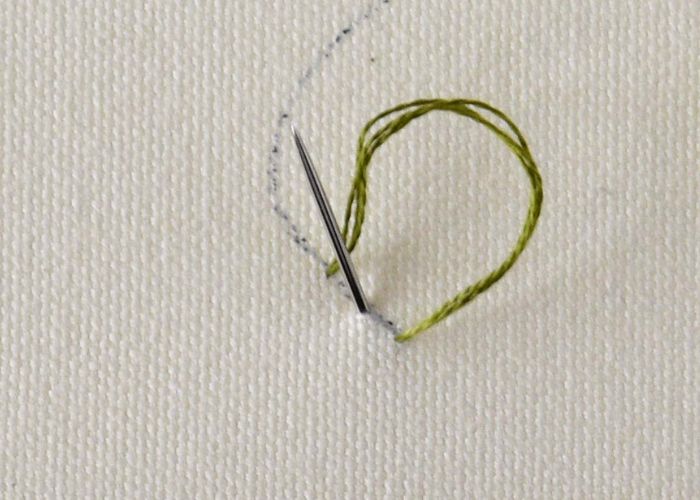
5. Pull the thread to tighten the stitch and eliminate the loop.
6. Make one more stitch in the same direction and size as the first one. Leave the loop open.
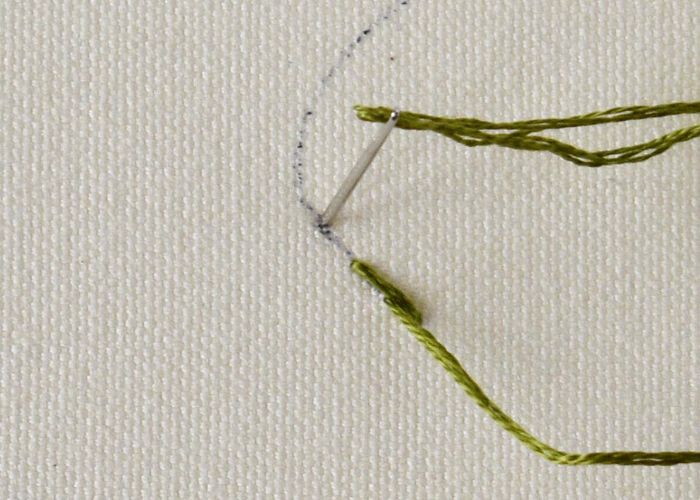
7. Bring the needle up halfway and tighten the loop.
8. Repeat the steps to embroider the entire shape.
Video tutorial
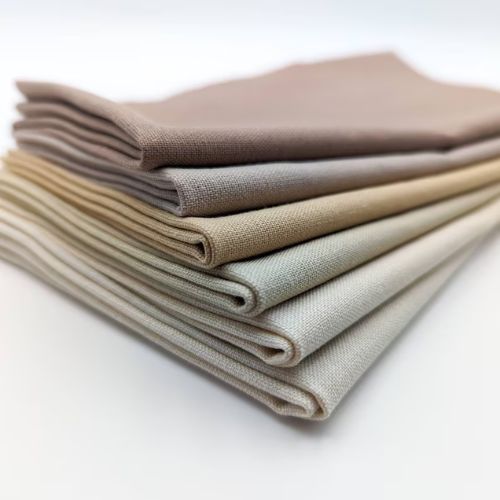
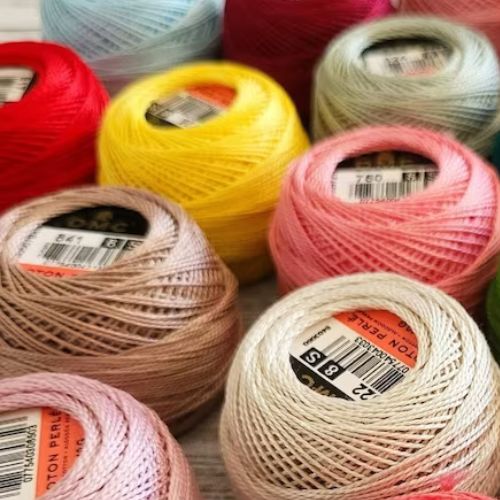
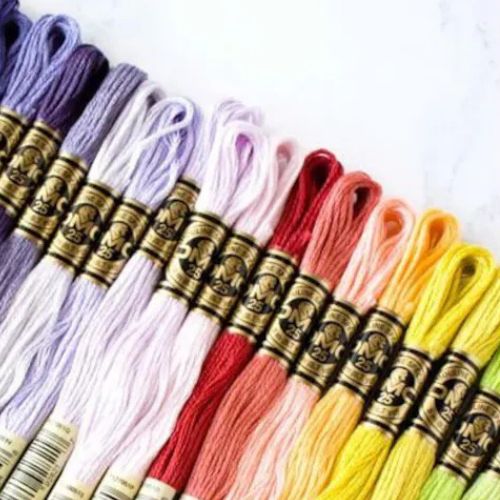
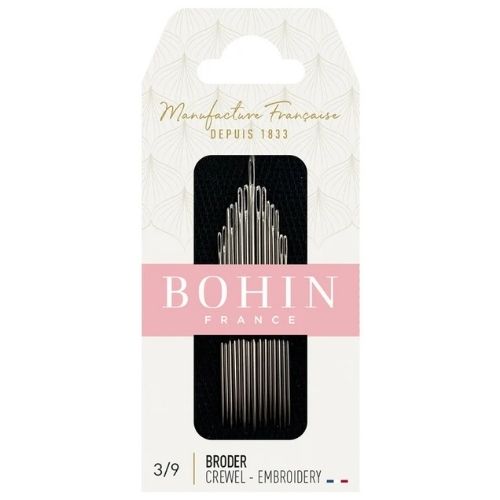
Tools and materials I used for this sampler
Disclaimer. To cover the cost of creating free embroidery patterns and video tutorials for this blog, I do sometimes link to products. Please assume these links are affiliate links. If you choose to buy through my links then THANK YOU – it will make it possible for me to keep doing this.
What’s next?
If you’re in the mood to explore more hand embroidery stitches, check out the Stitches and Techniques page for the list of other fantastic stitches available on my blog. From timeless classics to modern twists, a whole world of stitches is waiting for you to explore and master. So, grab your hoop and needle, and let’s stitch our way to creative bliss!
Don’t miss a thing!
Follow me on YouTube, Instagram, Facebook, Flipboard, Telegram and Pinterest. On the other hand, you can subscribe to the Practical Embroidery newsletter and get embroidery tips straight to your inbox every week!
Projects to practice Stem stitch
Need More Guidance?
The top 10 hand embroidery stitches to learn is a free online course created for beginners.
