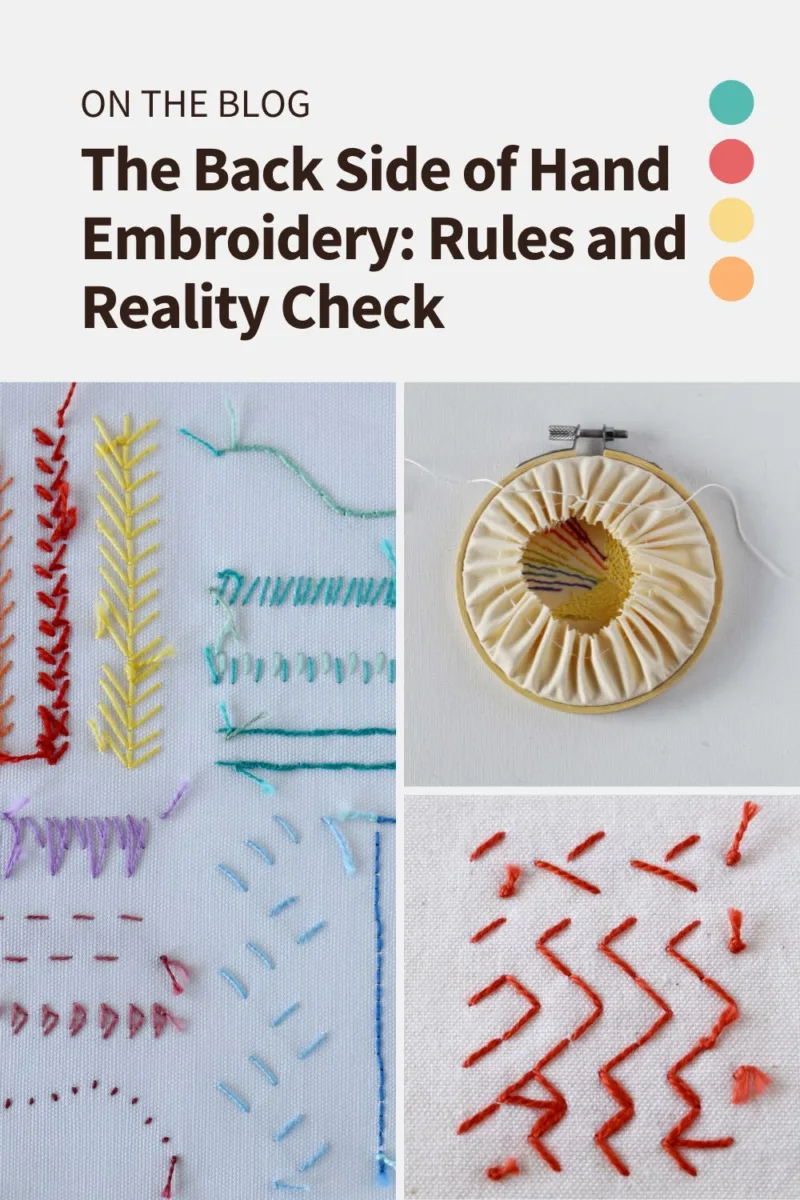

The Back Side of Hand Embroidery: Rules and Reality Check
Every time I create a new tutorial or embroidery guide, or film a new video on an embroidery technique, I have this doubt. Should I include instructions on how to start and end embroidery stitches to keep the back side of embroidery neat and clean? Is it so important, and should you even bother?
This subject is rather controversial and creates a lot of discussions. Some claim that the back is as important as the front and that the knots will ruin your work. Others leave the mess on the back and do not care as long as it looks good on the front side.
I stay somewhere in the middle. Over time, I settled on this rule: If the back side of the embroidery will affect how the front side looks or the beauty of the final product, I will take extra steps to make it super neat. If not, I will not waste my time on it.
So let’s go through various situations where the back side of hand embroidery matters, and when you can relax and take it easy. I will also give you some tips on how to make your back side of the stitching look super neat and clean when you aim for it.

When does the back side of embroidery matter?
Not all hand embroidery projects are the same. Some are practical, while other projects are purely decorative. In some cases, the back side of the fabric will be visible, while in other cases it’s not even accessible. Other times, the back is not visible but is still important.
So, when does the back side make the difference?
Hand-embroidered home textiles
Decorative and functional home textiles like napkins, tea towels, or handkerchiefs will be held in hands and turned around often. People will see both sides of them; therefore, the back side has to be neat. Also, the knots would be scratchy on the skin, and you could snag longer jumping threads when using these textiles.
Decorative home textiles like tablecloths or table runners have a less-exposed backside; still, the back should be neat, as it’s accessible and visible. Besides that, these heirloom textiles have higher sentimental value and are often gifted or inherited. The neatness of these textiles enhances their overall value.

Embroidered paper cards/ tags
The back side of embroidery matters a lot when embroidering on paper. In some cases, the back side of the embroidery will be visible, and sometimes you will cover it. In both cases, when embroidering on paper, I avoid the knots at all costs.
Paper is elastic and deforms easily. Even if you cover the back side of the card or a tag, with time, the knots will bend the paper and create a bump on the surface, which is not what I desire.

Embroidery on clothes
I avoid making knots and leaving long hanging threads on the back when embroidering on clothes that will come into direct contact with the skin, like t-shirts or blouses. The knots can irritate the skin and become itchy. Also, with wash-and-wear, knots tend to loosen, and the stitches will unravel over time. Long jumping threads risk snagging when you put on clothes, so I avoid them too.

Embroidered art that will be stretched on the rigid frames
In many cases, the back side of decorative hand embroidery will remain invisible to the viewers, so why bother?
In case of purely decorative embroidery, your chosen framing method will make a difference. When you place the embroidery on a hard surface to frame it, the knots on the back will create bumps on the front, distorting the fabric’s surface. To avoid this, choose alternative starting methods or change the framing of the needlework.
When messy back side of embroidery is ok
Hoop art
When I embroider something to be displayed in the hoop, I do not pay much attention to the back. I use knots to start stitching and leave hanging threads if I need to, without any sense of guilt.
When I know the fabric will be stretched without a solid backing and I will hide the back of the needlework behind the cover, any mess on the back is okay.

Hand embroidery with lining
If you embroider textiles that will be finished with a lining – such as tote bags, pillowcases, zipper pouches, or banners, you can use knots and carry the threads on the back more freely. The lining, or a second layer of fabric, will keep all the mess you leave on the back from showing. Sure, the knots are still risky, as they tend to unwrap; therefore, make them solid and well-made.
In case of embroidered textiles, the backing is not only a functional part of the final product. It will protect the knots and longer threads on the back, keeping all the mess invisible.
Hand embroidery on heavier clothes
Garments made from heavier fabrics are washed more aggressively, and the risk of damaging the stitches is higher, so I often add an extra layer of protection for the embroidery I make on these garments. If I embroider on jeans, jackets, or other heavier clothing, I use a layer of iron-on stabilizer to cover the back side of the embroidery after the work is finished.
I seal the back side of the stitching with a layer of stabilizer – almost invisible and safe from snags, unraveled knots, and other inconveniences heavy stitching on clothes might bring.
Hand embroidery samplers
Another circumstance when I do not waste my time on the super neat back of embroidery is if I’m testing new stitches or color combinations, or making any sampler. I will not pay much attention to how the back looks, as it has no impact on the final test result.

The solution to the nice-looking back side of embroidery
I hope we now agree that the back side of embroidery does not always have to be perfect. In some cases it is necessary; other times overthinking it is just a waste of time and effort.
When you decide that the back side matters, here’s what will help:
- To eliminate knots, start stitching with the folded-thread method or a waste-away knot. I wrote an entire blog post, “How to start and end embroidery stitches,” to demonstrate alternative methods for starting and finishing stitching.
- Carefully secure the thread ends under the stitches.
- When embroidering on paper, use washi tape or paper tape to secure the thread ends. You can see this method in detail in the tutorial “DIY Christmas Gift Tags With Snowflake Embroidery: Step-by-Step Guide + Free PDF Templates”.
- When you need to move between sections, pass the needle under the stitches you just made to avoid jumping threads. I used this method a lot in the “Hand embroidered Monogrammed Fabric Napkins” – embroidery video tutorial.

Finding Your Own Balance
The truth about the back side of embroidery is that there’s no universal rule — only context. Instead of chasing perfection on every single project, or dismissing the back entirely, the smarter question to ask is what that particular piece actually needs.
A tea towel used daily deserves a tidy back, because comfort and durability depend on it. A hoop art piece destined for a wall doesn’t need that same care, since no one will ever turn it around. The moment you start matching your effort to the purpose of the piece — rather than following a blanket rule — the whole debate becomes much less stressful.
Opt for functional thinking over perfectionism in embroidery. The back side isn’t inherently good or bad, neat or messy — it’s simply a design decision, just like choosing a thread color or a stitch type.
So next time you sit down with your hoop and pick up your needle, don’t ask yourself “should the back be neat?” as a rule to follow blindly. Ask instead: “Does this project’s back side matter here?” Let the fabric, the purpose, and the final use of your piece guide your hand — not a rigid standard someone else set.
That’s the real reality check behind the back side of embroidery: intention is more important than perfection!
More embroidery tips on this Blog

How to Find Time for Embroidery and Other Creative Endeavors

Hand Embroidery Inspiration: Where to Find and How to Keep It