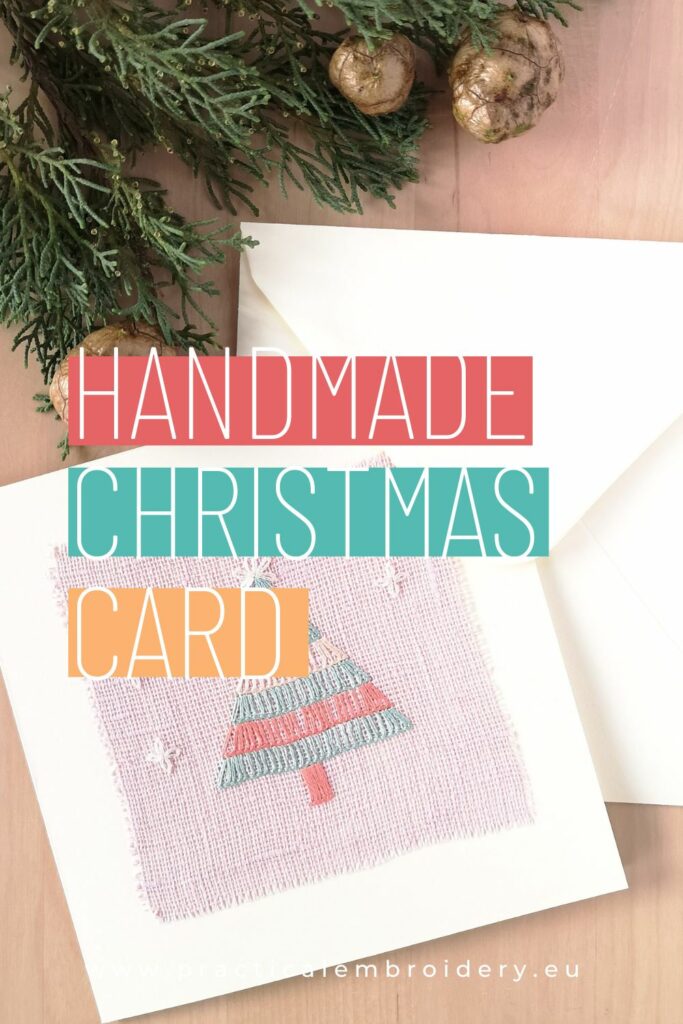
Christmas Card Tutorial: Make a Greeting Card With Hand Embroidery
Step-By-Step Christmas Card Tutorial And Free Embroidery Pattern Download
Now it’s this time of the year when our mind is occupied with the Christmas hustle and bustle. We put up the tree, turn on the lights, bake cookies, and wrap the gifts…
During this holiday marathon, we sometimes forget that showing a little attention is more important than all the expensive gifts and all the glitter.
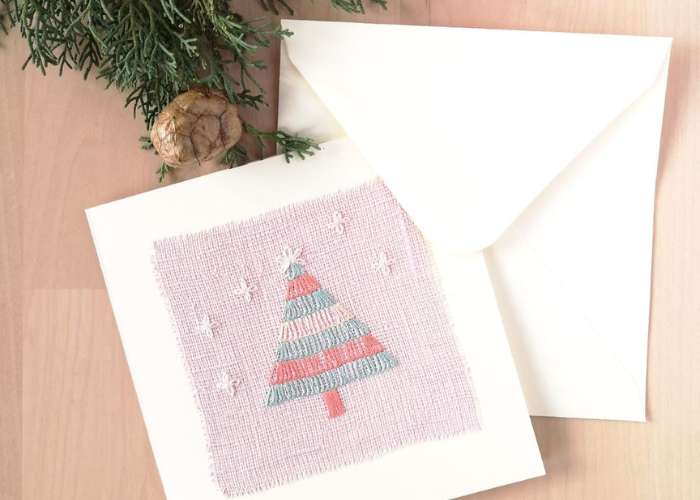
Sending a handwritten holiday greeting card is a perfect way to show your friends or family how much you care. And you can create it with your hands! This simple step-by-step Christmas card tutorial will help you make a handmade greeting card with your embroidery that would be a precious sign of your attention.
“To write is human, to receive a letter: Divine!”Susan Lendroth
Did I convince you? If yes, let’s get to work!
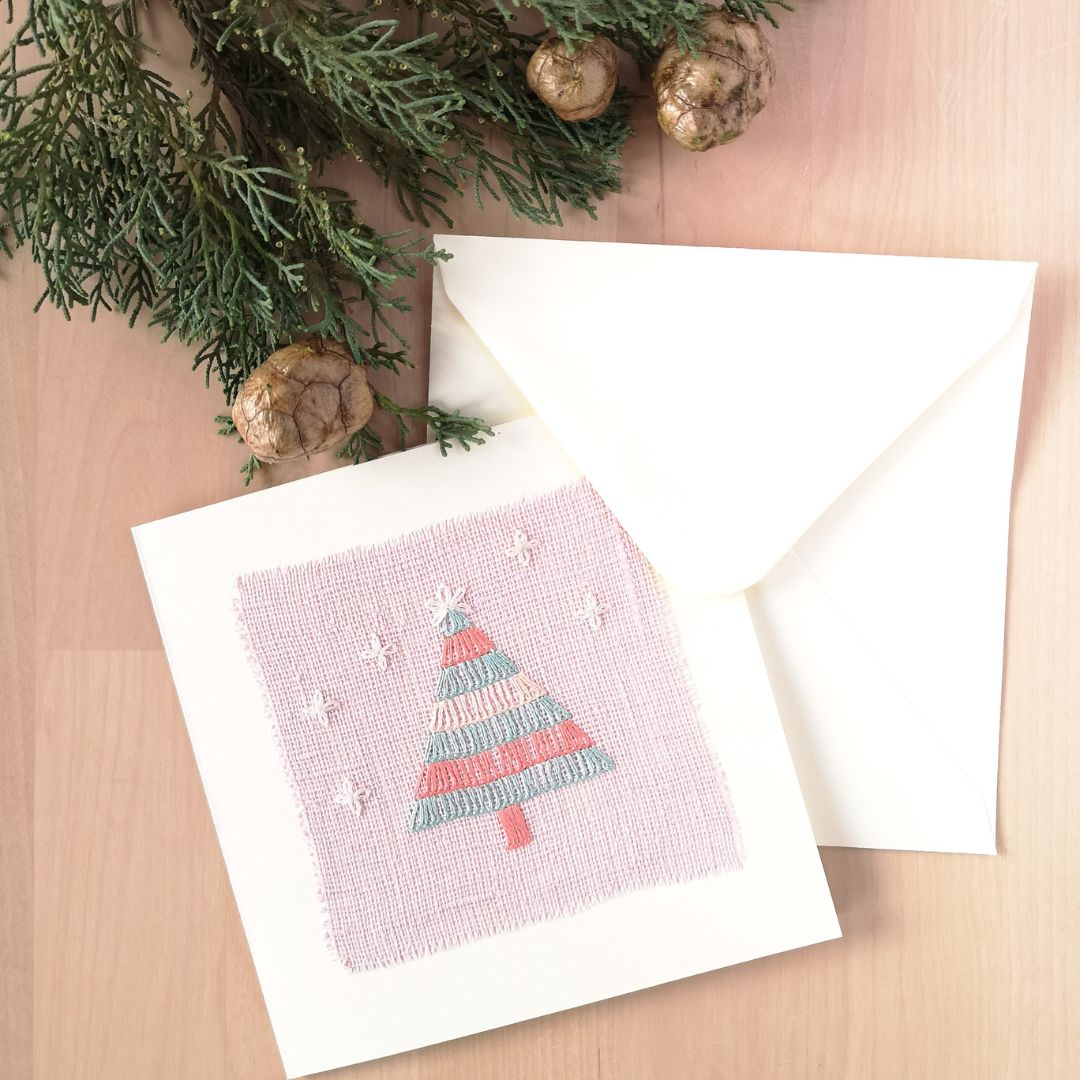
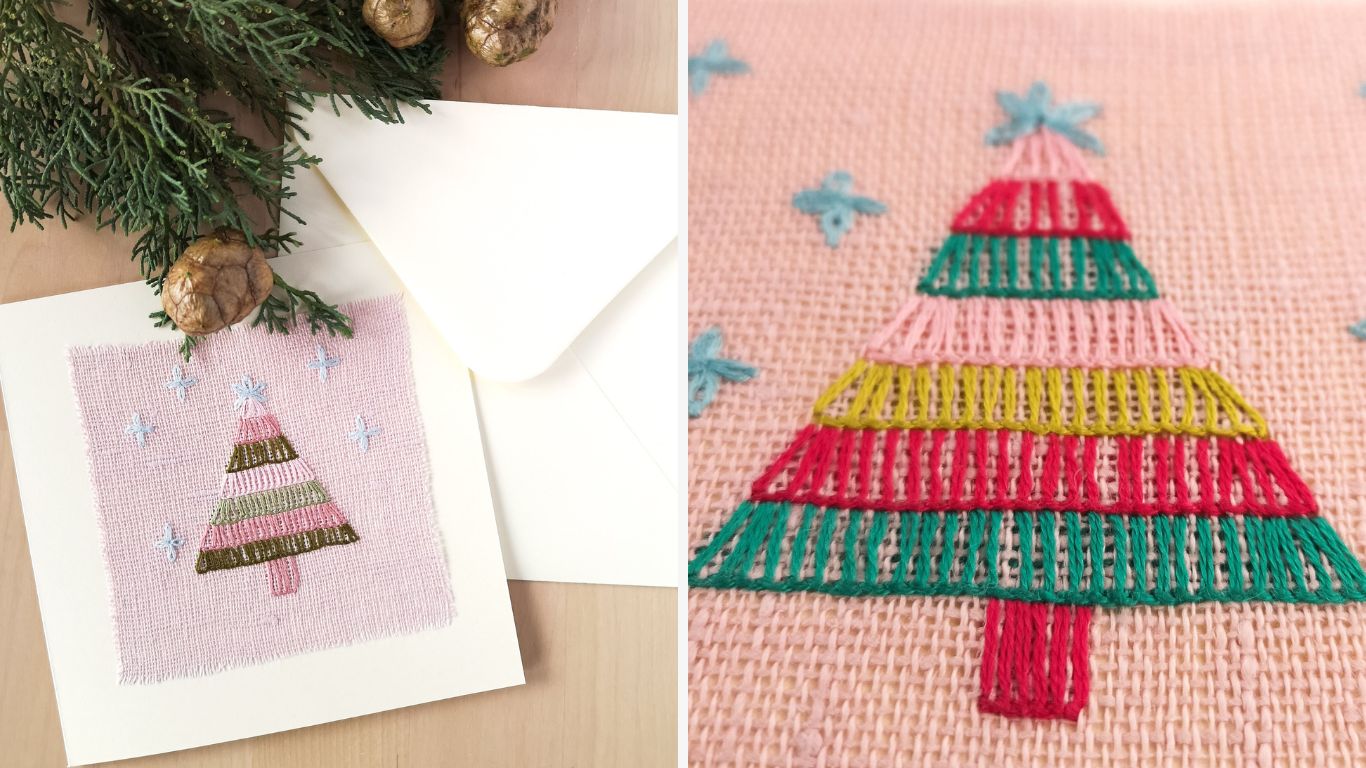
DIY Christmas card with hand embroidery
Step-by-step hand embroidery and card making tutorial
Tools and Materials you will need
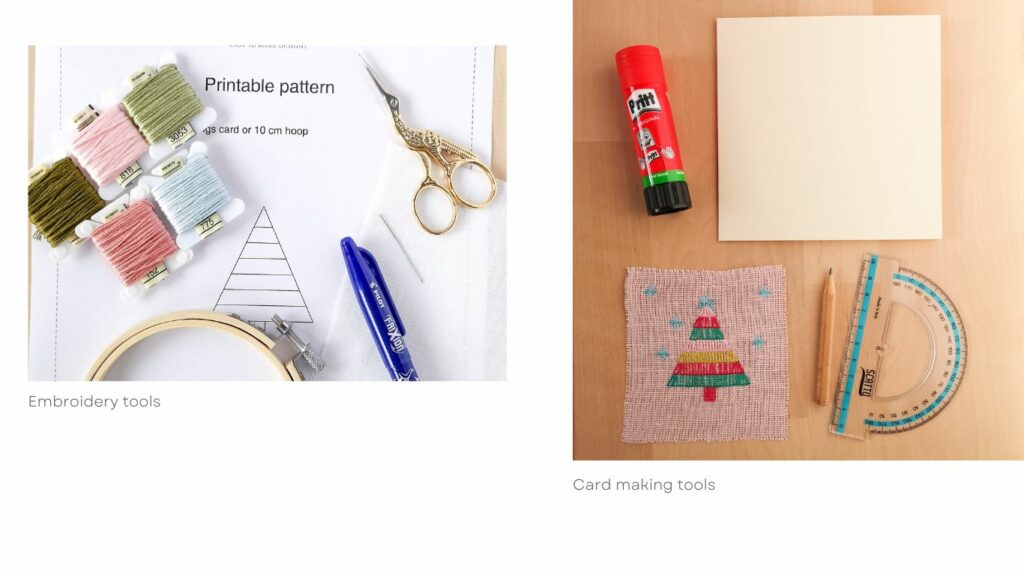
- Embroidery hoop.
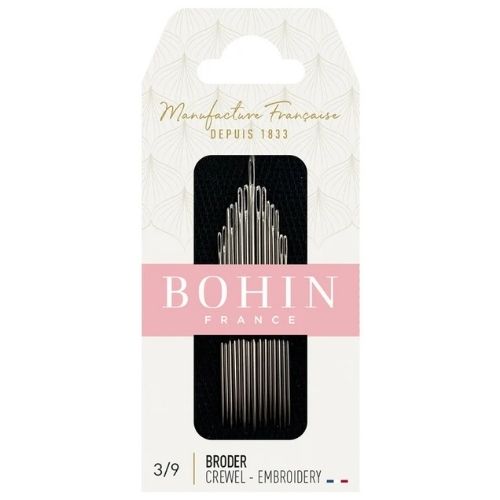
- Embroidery needle.
- Scissors or snips.
- A ruler.
- A pencil.
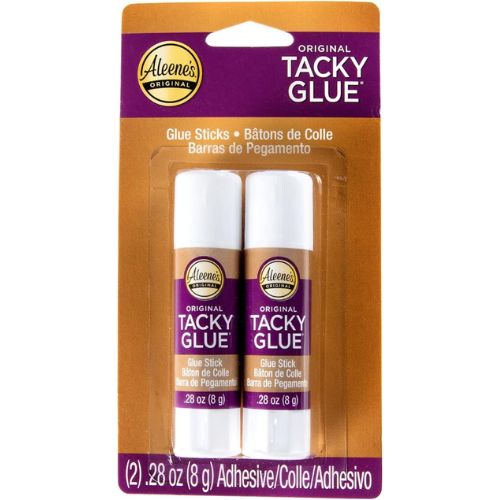
- Paper glue.
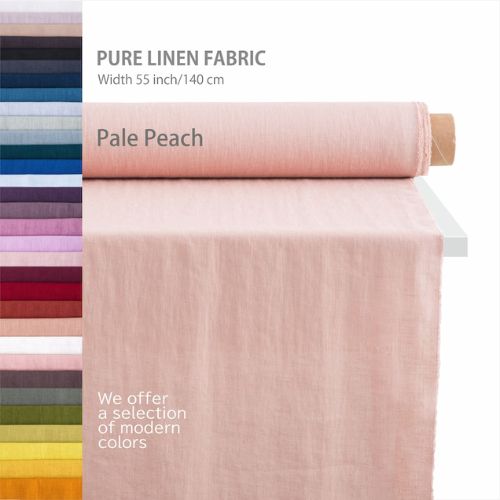
- Fabric. I used linen fabric.
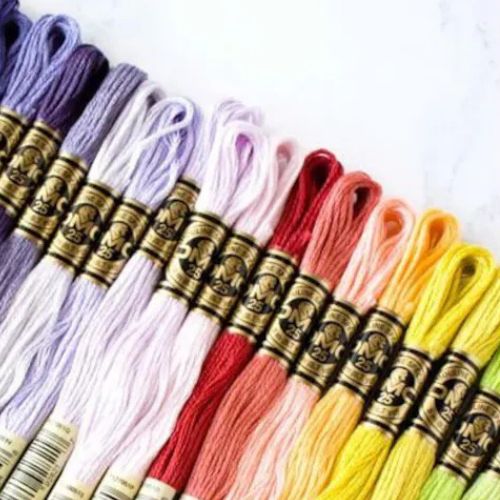
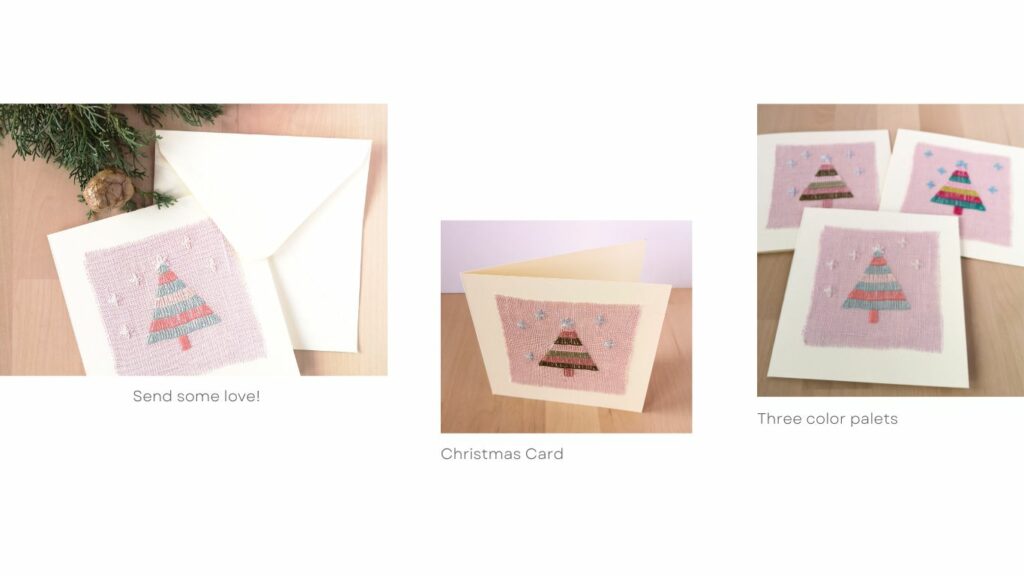
- Embroidery floss. You will find color codes of DMC embroidery floss in the pattern download. Three color pallets are available for this project.
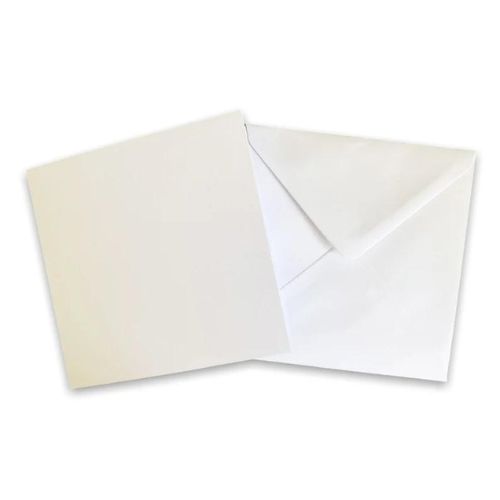
- Folded blank greetings card 13,5 x 13,5 cm (5,3 x 5,3 inches). I have used precut one, but you can definitely make it yourself from heavy paper (240 gsm would be perfect).
Embroidery instructions
1. Print the Christmas tree pattern you downloaded and transfer the design to your chosen fabric. If your fabric is light-colored, I recommend to use Lightbox method for pattern transfer. For more pattern tracing options, read the article “How To Trace Pattern on Fabric: Five Methods For Fast And Easy Embroidery Pattern Transfer” on this blog.
2. Now embroider a colorful Christmas Tree with the Blanket stitch. Start with the lowest row. Then, add the rows of the blanket stitch moving up.
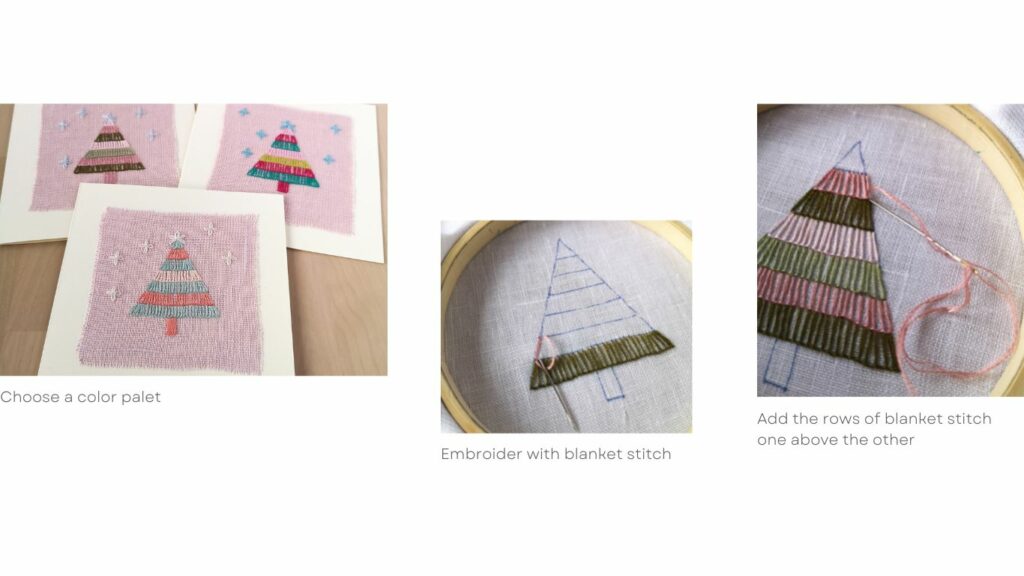
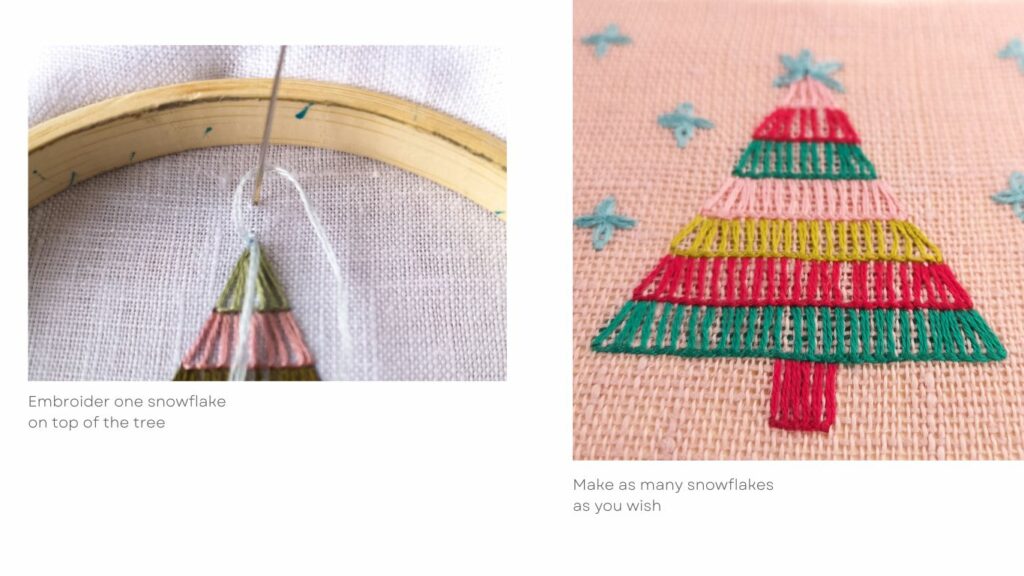
4. After you finish all the rows of the blanket stitch (the tree), add some snowflakes with the Lazy Daisy stitches. Embroider one snowflake on top of the tree and some more – around it. Make as many snowflakes as you wish.
Card making tutorial
1. On the paper card, mark the shape of the embroidery you want to attach, leaving the edges – 0,5 cm (0.2 inches). For example, if your embroidery is 10 x 10 cm – you should mark a square of 9 x 9 cm centered on the card.
2. Apply the paper glue inside the shape you have drawn. Do not go out of the lines, as the glue may leave glitter signs.
3. Attach the embroidery on the card. Start from the center and gently slide the fabric with your finger toward the edges. This way, no wrinkles will form, and all the embroidery is attached evenly.
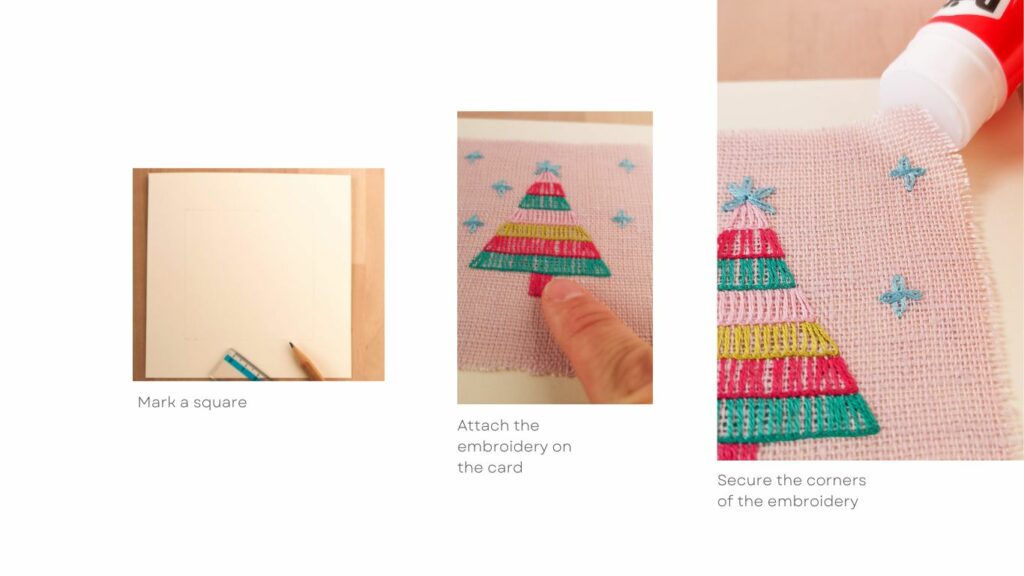
4. As we left 0,5 cm edges without the glue, you will need to secure the corners of the embroidery. Apply some glue directly on the corner of the fabric and press it to the paper card. Repeat it with all the corners.
5. Leave it to dry for 20 min.
6. Your card is ready! Send some love!
Recommended Products
Disclaimer. To cover the cost of creating free embroidery patterns and video tutorials for this blog, I do sometimes link to products. Please assume these links are affiliate links. If you choose to buy through my links, then THANK YOU! – it will make it possible for me to keep doing this.
Send Some Love!
Make more cards, write a lovely personal message inside, and hurry out to the post office!
I am an expat, and it’s not so easy to meet up with my family for Christmas every year. For this reason, I send traditional paper Christmas greeting cards via snail mail yearly. I make about twenty of them and send them out to my family and friends at the beginning of December. Believe me, they do not go unnoticed!
