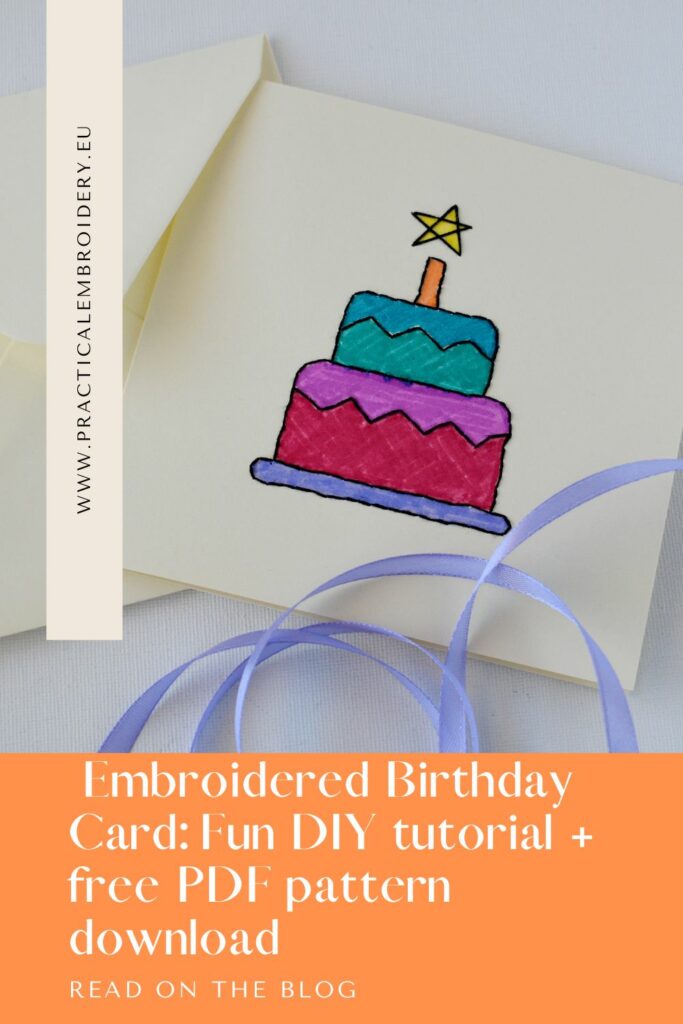
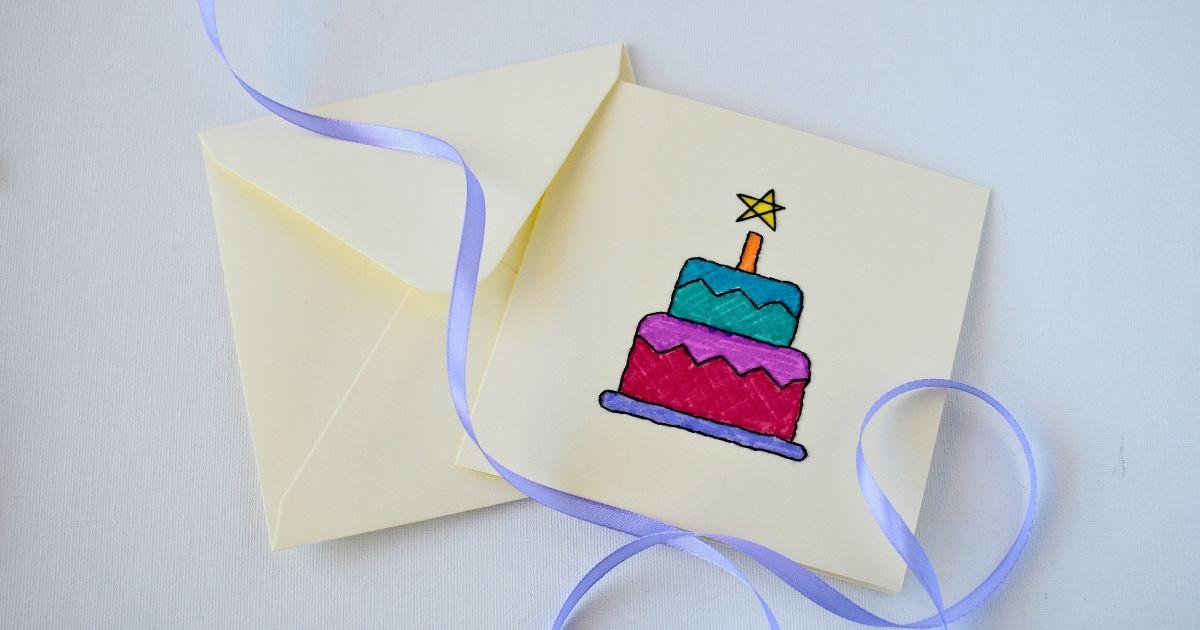
How to make hand embroidered birthday card
Fun DIY tutorial + free PDF pattern download
Looking for a creative, personal way to wish someone a happy birthday? There’s nothing like the joy of creating a hand embroidered birthday card to show your loved ones how much you care. In this tutorial, I’ll guide you step-by-step and help you create beautiful, unique birthday cards that will not only impress but also bring a smile to the recipient’s face!
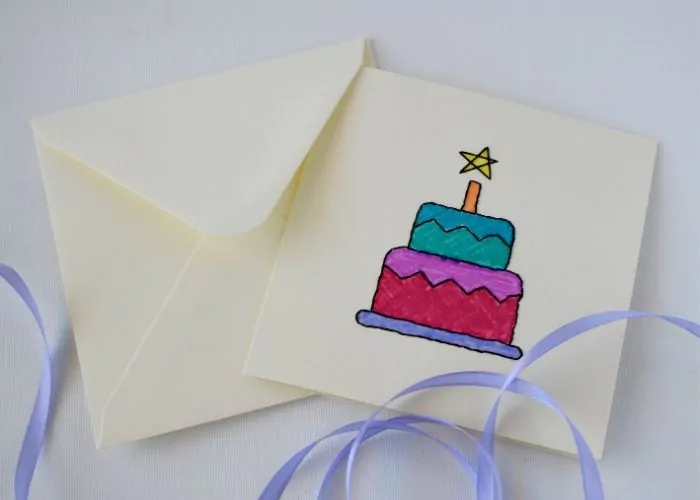
Whether you’re an experienced crafter or a complete beginner, this guide will walk you through every step, from choosing the materials to stitching the final details. The best part? I’ve included a free PDF pattern download with a birthday cake design to help you get started, so you’ll have everything you need to create a truly special card. Grab your embroidery floss and a needle. Let’s turn an ordinary piece of cardstock into a heartfelt keepsake that your friends and family will cherish forever!
Turn the cardstock into embroidered birthday cards
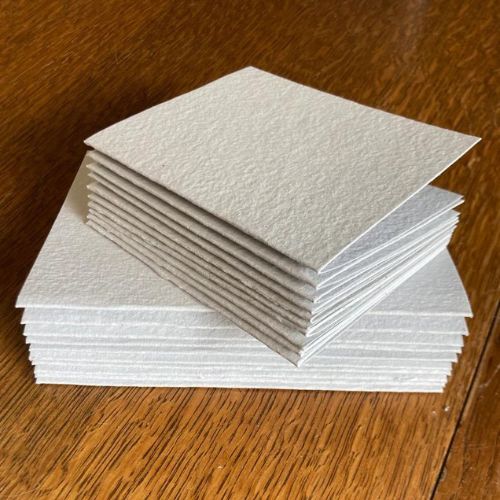
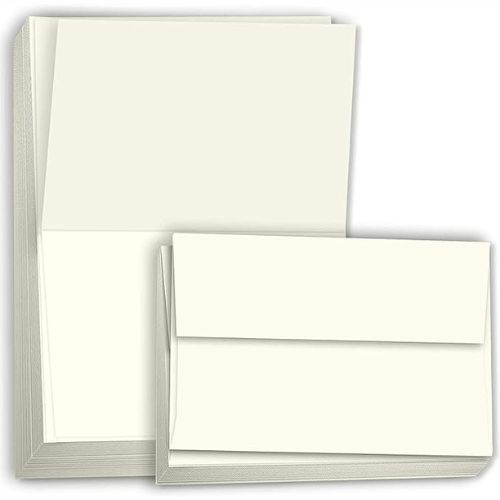
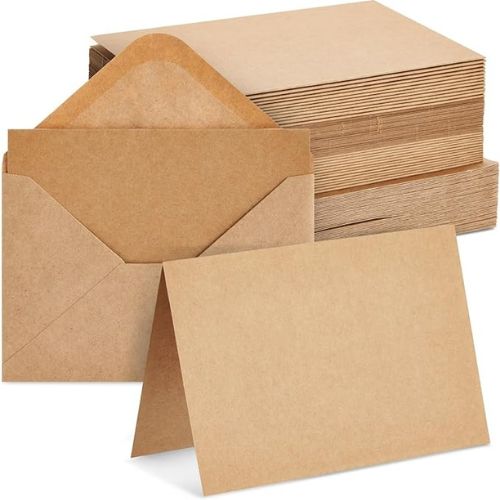
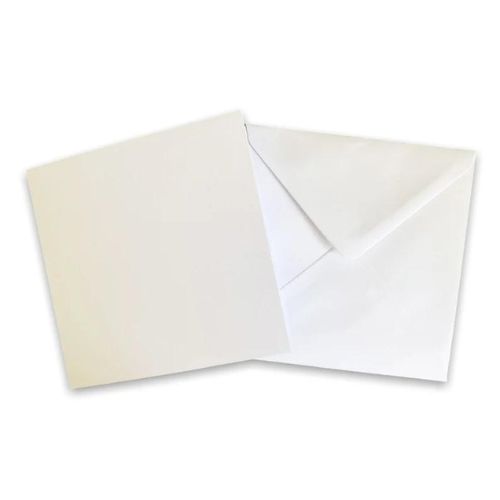
When it comes to cardmaking, the possibilities are endless. You can begin your DIY cardmaking process from scratch—cut out a card from sturdy paper, fold it, transfer the pattern, and embroider on it. Or, you can opt to work with premade blank cards that often come with matching envelopes. You can choose cards of various sizes and colors to best suit your creative idea. You can even get a card from handmade paper! The choice is yours, and the result will be a unique, personalized masterpiece.
Both options are great! If I plan to make more cards, I usually opt for premade cards, as I can start embroidering immediately. But if I only need one card and do not have a blank card, I use watercolor paper and make my card from scratch. This option is also great when you need a card with nonstandard measurements or particular folds. But in this case, remember that you will need to find or make a matching envelope, too.
Tips for creating the perfect embroidered birthday card
Creating a stitched birthday card is a fun and rewarding process, but a few extra tips can help you make a card that truly stands out. Here’s how to take your personalized birthday card from simple to stunning:
Choose the right paper or cardstock
The type of paper you use is crucial for achieving a clean, professional look. Choose sturdy cardstock or watercolor paper thick enough to support the embroidery without tearing and bending but not too thick to make stitching difficult. Premade blank cards are also a great option, especially if you want to skip the cutting and folding steps.
Pre-punch the holes for embroidery carefully
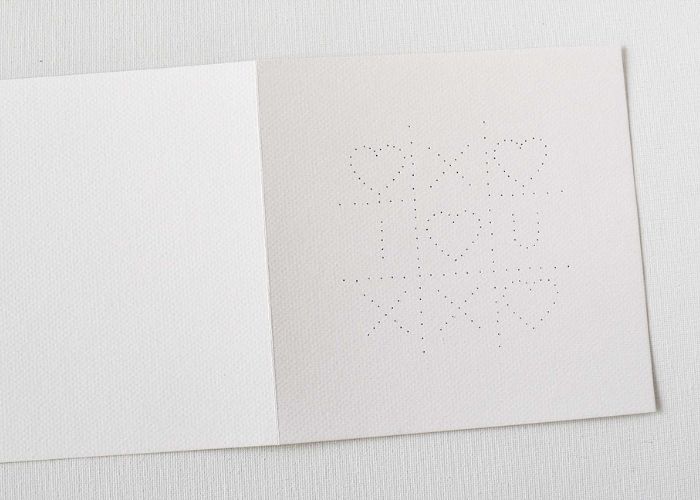
Punching holes in your paper before you start stitching is essential to prevent tearing and damaging the card and ensure your embroidery looks neat. Use a sharp needle or a fine-point awl to create evenly spaced holes along the design lines. Work on a soft surface like a foam board or cardboard to avoid damaging your needle or working area.
Use the right embroidery floss and needle
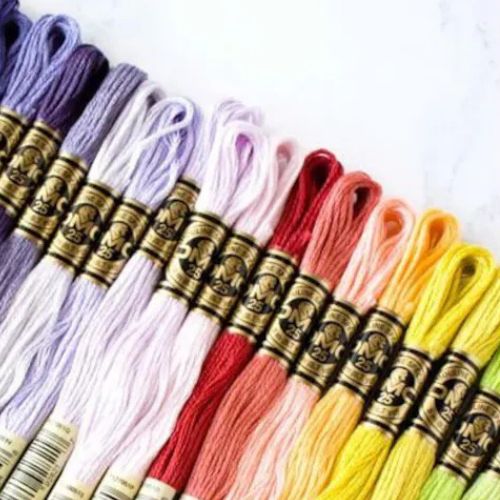
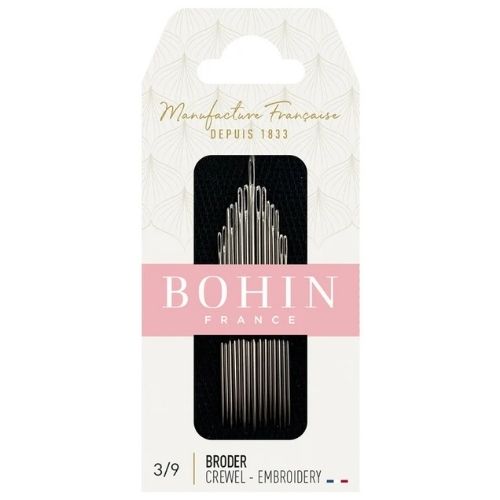
When choosing embroidery floss, opt for colors that contrast nicely with your card to make the design pop. If unsure, classic black (DMC #310) works beautifully on most backgrounds. Use a fine embroidery needle that’s easy to thread but not too thick, as a bulky needle can make larger holes that may damage the card. Embroidery needles No. 8 or 9 are great for this delicate embroidery.
Keep your stitches neat and tidy
Neat stitches are key to a professional finish. Use small, even stitches and avoid pulling the thread too tightly, which can warp or tear the paper. To start stitching, use the folded thread method. This involves folding the end of your thread over and passing the needle inside the loop to secure it, rather than tying a knot. This method keeps the back of your card neat and your design looking polished from every angle.
Secure your threads properly
Since the finishing knots are not the most beautiful part of the embroidery, it’s best to secure your thread ends by weaving them under previous stitches. To do this, simply weave the loose end of your thread under a few stitches on the back of your card. This method secures a clean finish and ensures your embroidery stays in place.
Experiment with colors and patterns
Get creative with your design! Experiment with different thread colors and embroidery stitches. Choose colored cards and various designs to create a truly unique card. You can even incorporate extra elements, like beads, sequins, or metallic threads, to make your card sparkle and shine.
Add a personal touch to your embroidered birthday cards
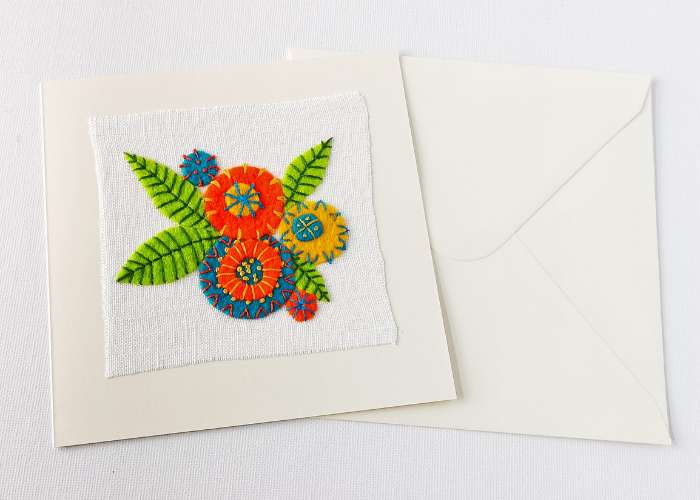
Adding a personalized message or the recipient’s name to your handmade card can make it even more special. Consider stitching their initials or writing a heartfelt note inside the card using colored pencils and markers. These little touches make your handmade card a memorable keepsake.
Practice on scrap paper first
If you’re new to embroidery on paper or working with a new design, practice on a scrap piece of paper before stitching it onto your actual card. This will help you get comfortable with the technique and ensure your final card looks flawless.
Embrace imperfections
Remember, handmade cards are meant to be unique, so don’t stress over minor imperfections! Little quirks and slight variations are what make your card truly special and show the care and effort you put into creating it.
How to make a hand embroidered birthday card
Step-by-step hand embroidery on paper tutorial
Tools and Materials
Tools:
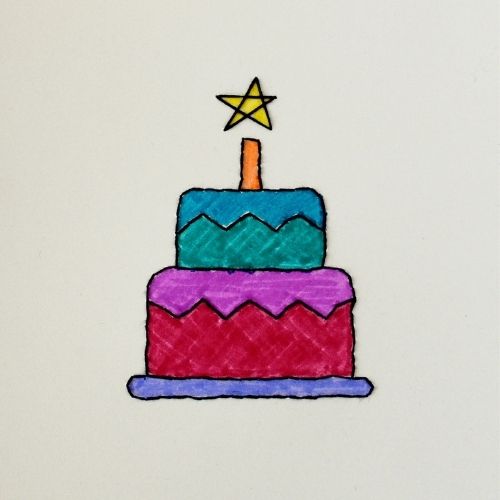
- Cake embroidery pattern. Download my free PDF pattern and print the page with the cake image.
- Needles. One sharp needle – to make holes and a smaller one – for embroidery.
- Scissors
- Ruler
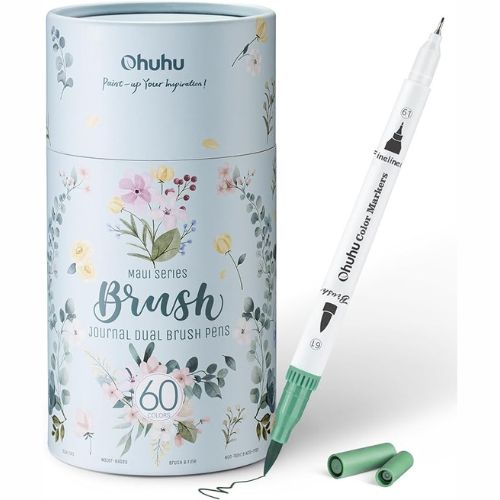
- Colored pencils or markers
- Piece of cardboard or foamboard
Materials:
- Paper card
- Black embroidery floss (DMC #310)
Instructions
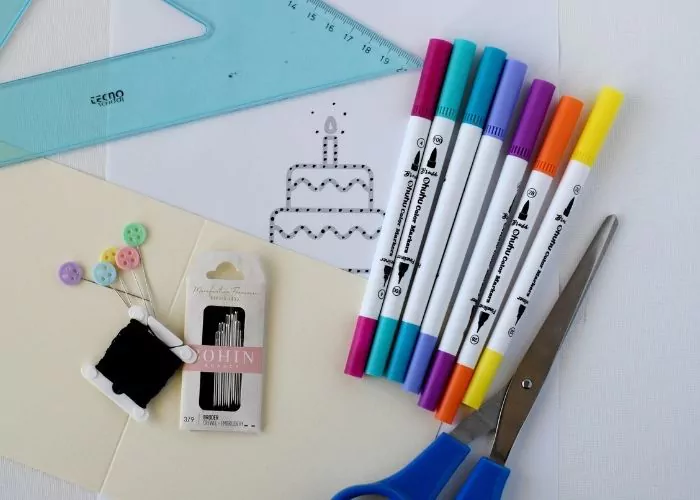
1. Download and print the PDF pattern. Gather all the tools and materials.
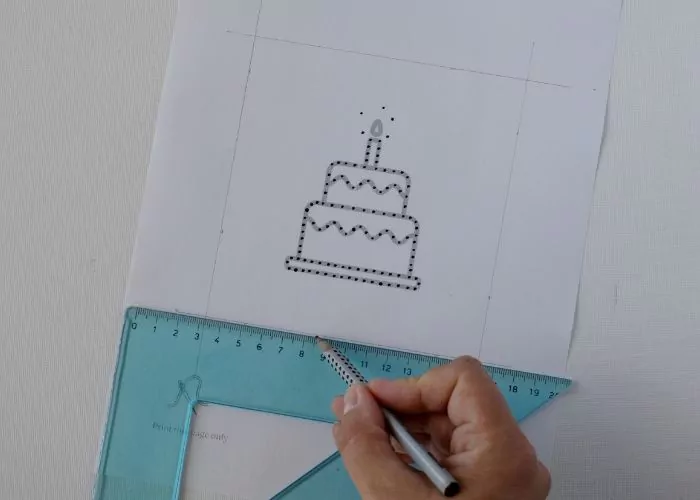
2. Measure and mark the paper pattern to the size of your card. Center the image in the middle.
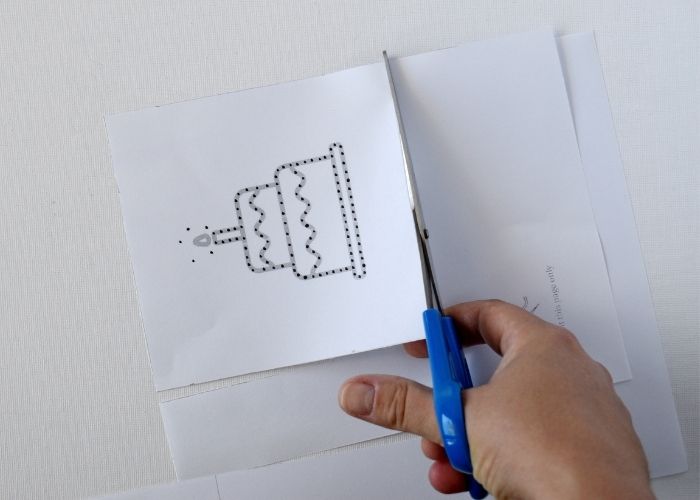
3. Cut out the paper pattern to fit your birthday card.
4. Sandwich the card above the cardboard and place the pattern on top. Secure the pattern to a card on the cardboard with some pins.
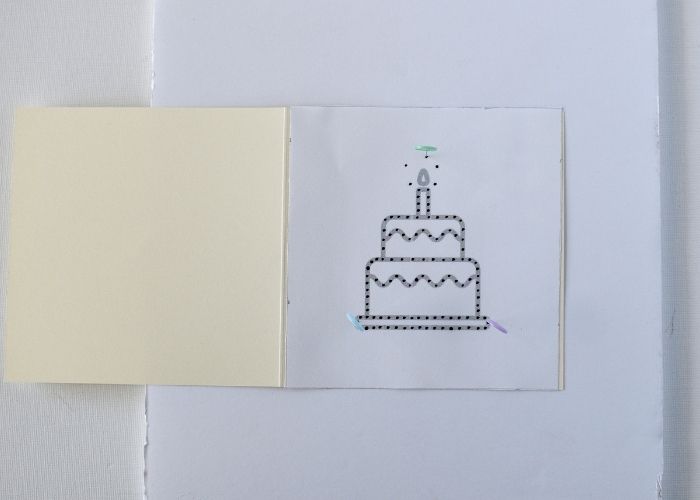
5. Poke the holes for the cake embroidery. Use a needle slightly bigger than the embroidery needle you will use. Remove the pins and get ready to stitch.
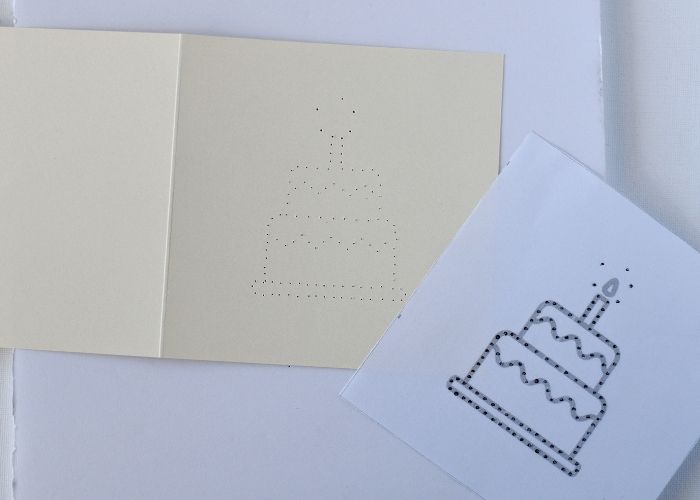
6. Embroider the outlines of the cake with a Backstitch. To start stitching, use a folded thread method to avoid the knots on the back of the card.
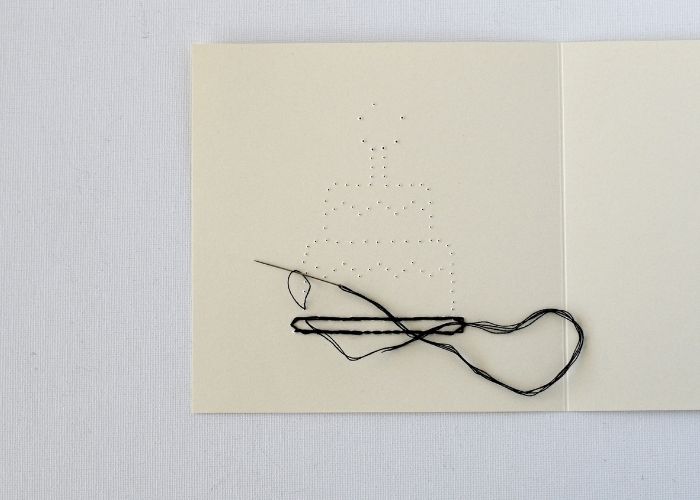
7. Secure the ends of the stitches under the previously made stitches.
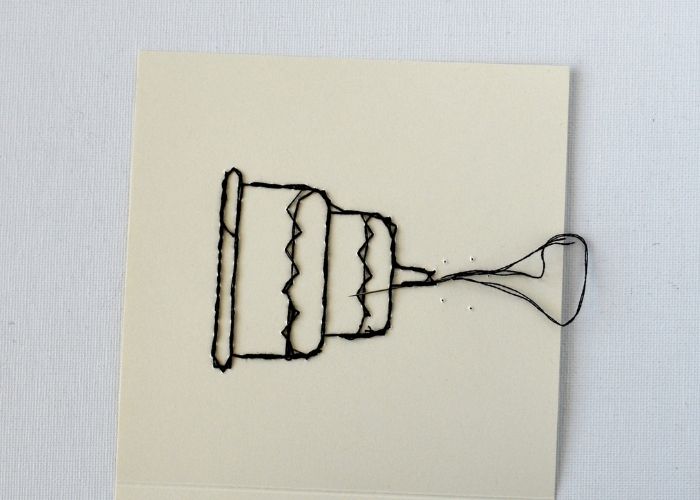
8. Embroider the star on the candle. Use a Woven Star stitch.
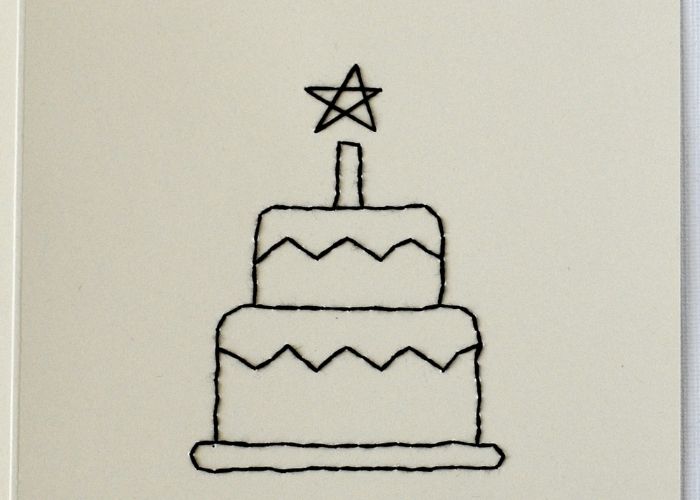
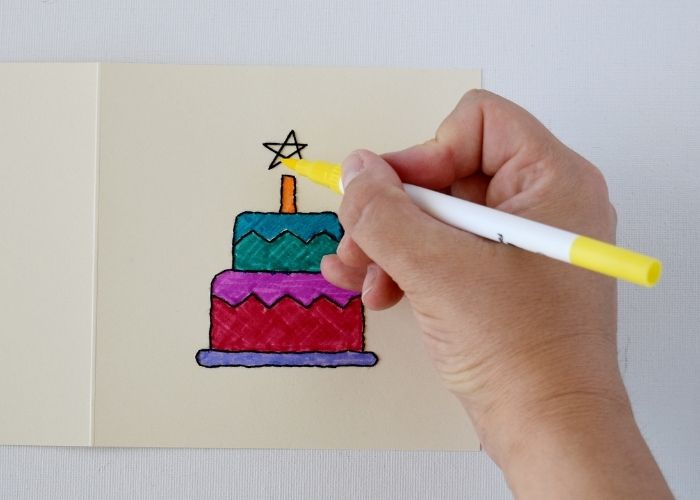
9. Add some color to the embroidered birthday card! Color the sections of the cake with markers or pencils of your choice.
Making embroidered birthday card – video tutorial
Recommended Products
Disclaimer. To cover the cost of creating free embroidery patterns and video tutorials for this blog, I do sometimes link to products. Please assume these links are affiliate links. If you choose to buy through my links then THANK YOU! – it will make it possible for me to keep doing this.
Over to you
And there you have it—a beautiful, hand-embroidered birthday card that will brighten anyone’s special day! This DIY project is a perfect way to craft a personalized card to carry your birthday greetings. Following the simple steps outlined in this tutorial, you’ll transform an ordinary piece of cardstock into a charming, handcrafted keepsake.
You can customize your embroidered birthday card by choosing different thread colors, opting for a colored card, adding extra details, or writing text on the card.
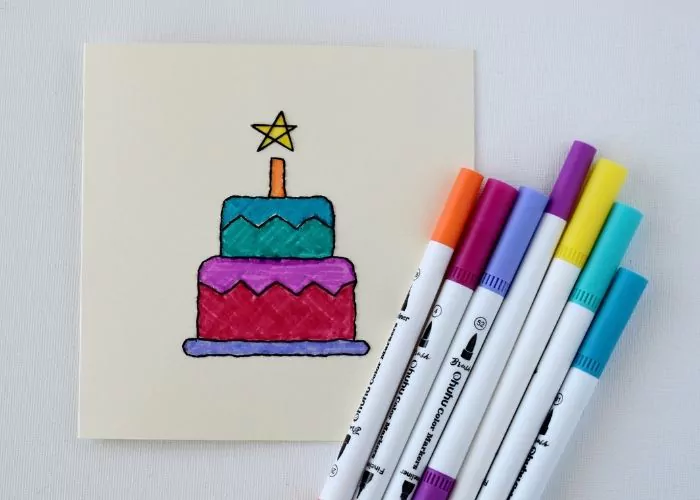
Whether you’re gifting it to a friend, family member, or colleague, your embroidered card will leave a lasting impression and become a cherished memory.
Ready to create your own embroidered birthday card? Download the free PDF pattern now and start stitching!
Don’t miss a thing!
Follow me on YouTube, Instagram, Facebook, Flipboard, Telegram and Pinterest. On the other hand, you can subscribe to the Practical Embroidery newsletter and get embroidery tips straight to your inbox every week!
More DIY tutorials on this Blog
