How to Frame Embroidery in a Hoop: Six Methods of finishing the back of the hoop
Frame Embroidery in a Hoop and display your craftsmanship
“It’s funny how the beauty of art has so much more to do with the frame than the artwork itself.”
― Chuck Palahniuk
Embroidery art, with its complex patterns and original designs, tells a story that transcends time. Each stitch holds a tale of patience, dedication, and creativity. But what enhances its beauty further? The way it’s framed and displayed. The elegance and authenticity of framing embroidery in a hoop have gained immense popularity in textile art for their aesthetic appeal and simplicity. Whether you’re a seasoned stitcher or a newbie, framing your artwork in a hoop offers a unique way to showcase your hand-stitched masterpiece. In this guide, we’ll delve into the art and craft of framing embroidery in a hoop, ensuring that your needlework stands out as a piece of art and a testament to your craftsmanship.
Best hoops for framing textile art
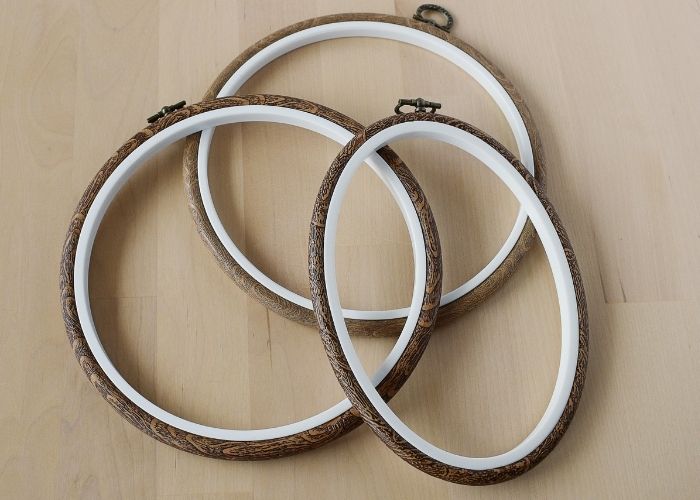
Flexi hoop
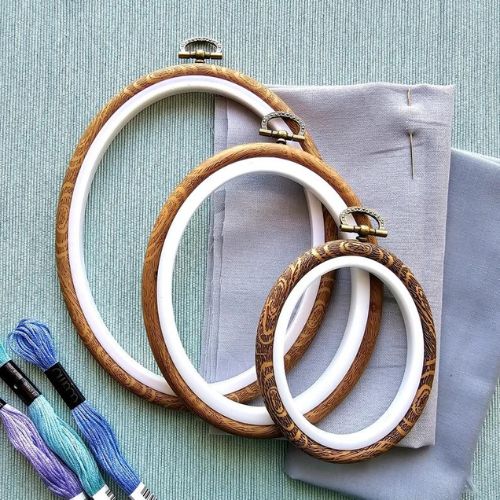
These hoops are created for the embroidery display and come with an integrated loop for hanging the textile art. Besides that, you can find flexi hoops of all shapes, sizes, and colors that best suit your embroidery and home decor.
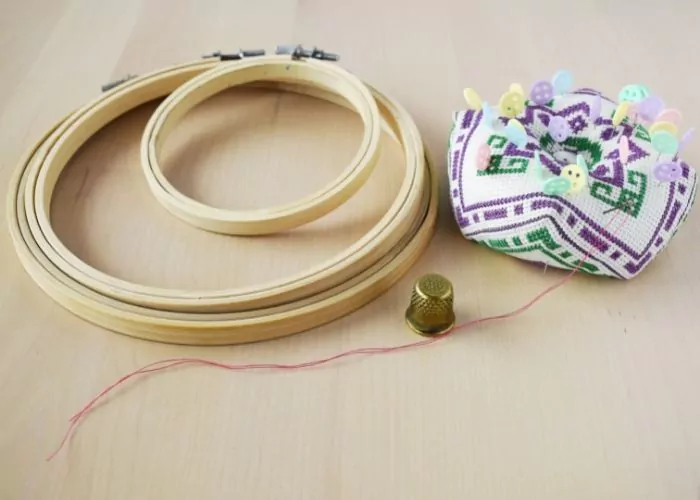
Bamboo hoops
It is the most affordable and accessible option on the market. Besides being a low-cost option, these hoops are also very versatile. You can paint them, wrap them with a ribbon, or add a decorative border to best suit your artistic framing idea and create a one-of-a-kind hoop display.
Wooden hoops
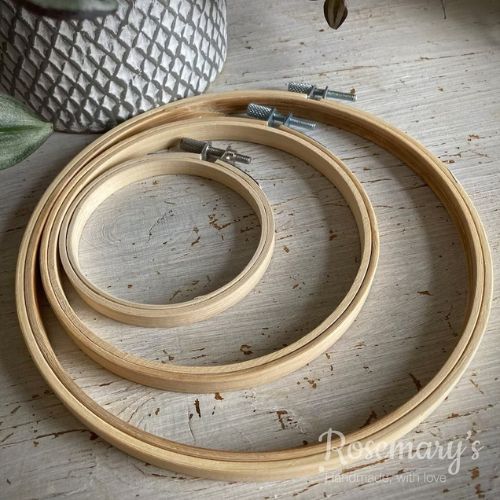
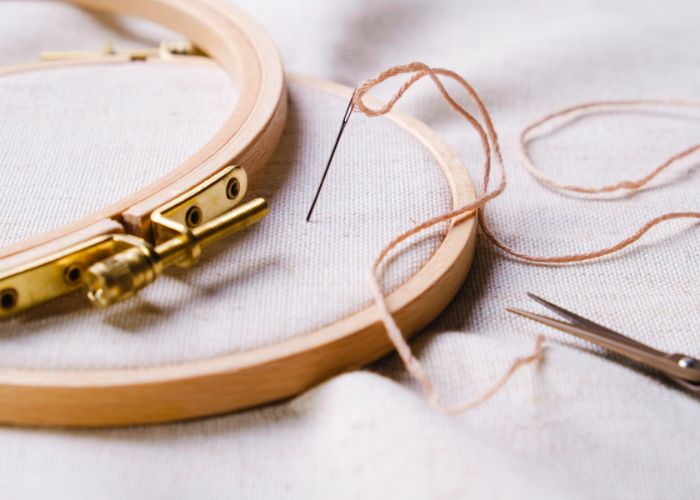
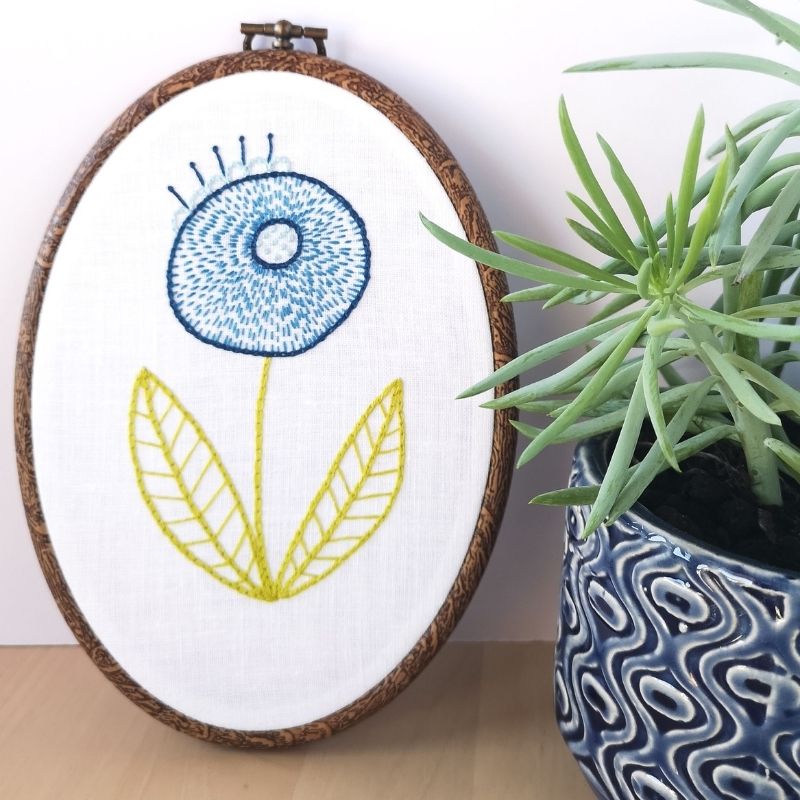
If you are looking for the most natural and simple look – opt for the wooden hoops. These frames come with a beautiful brass screw and have a gorgeous natural finish.
How to frame embroidery in a hoop: Six options for finishing the back of the hoop
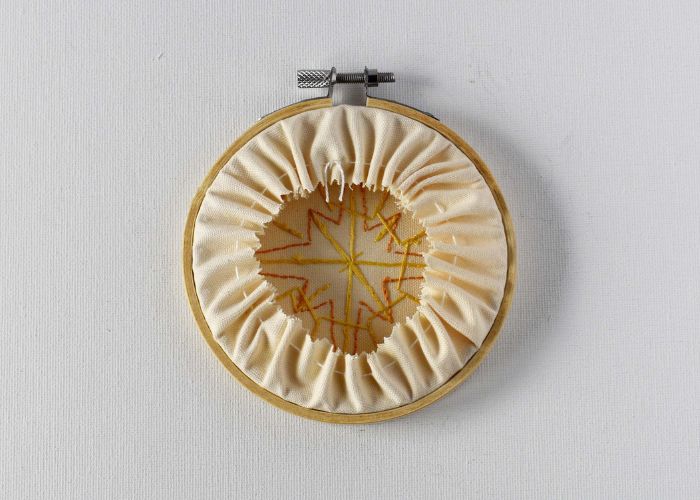
Leave it open
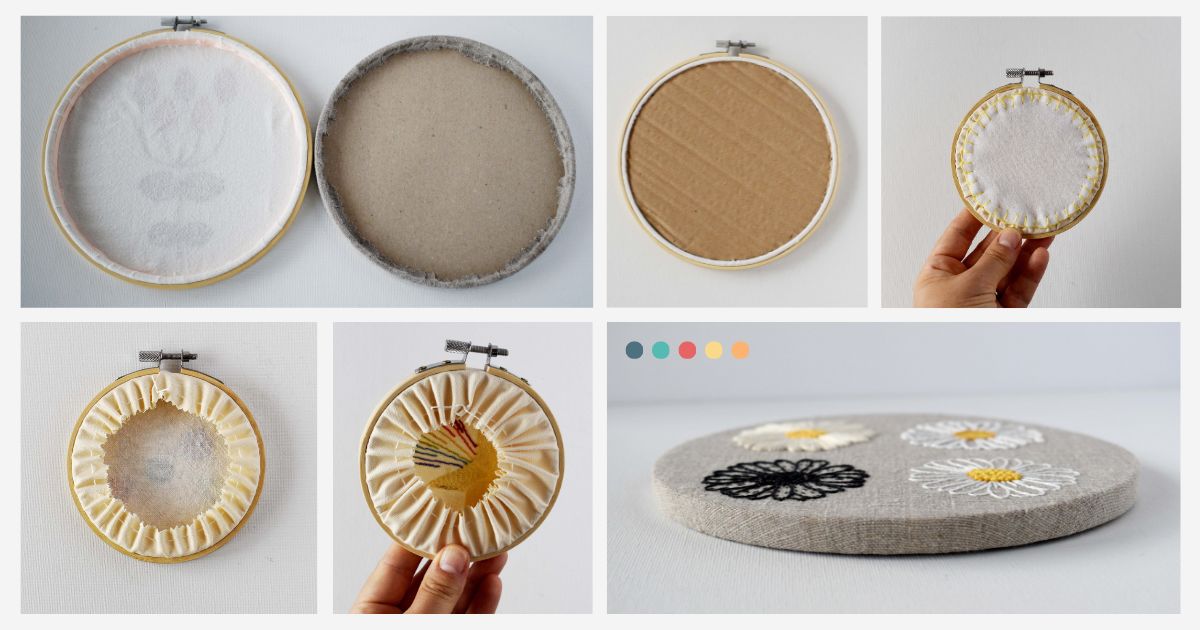
Leave the back of the hoop open to display your mastery and all the tiny stitches it took you to create this piece of textile art. Simply gather the edge of the fabric with big running stitches to prevent the excess material from showing outside the hoop and leave it as it is. This method keeps the fabric tension and does not require much work or time. It is also great for temporary display. Read the article “How to Finish Embroidery Hoop for Wall Hanging with Running Stitches” for detailed instructions.
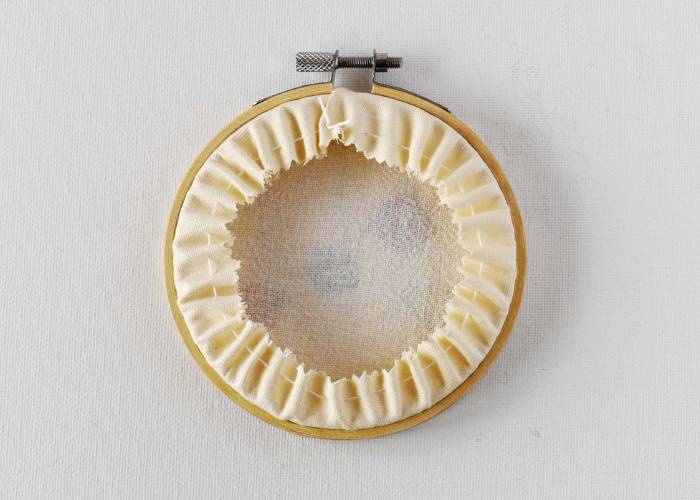
Gather with a running stitch
This technique leaves the back of the hoop covered with the backing material. The embroidery stitches are hidden, but taking the embroidery out of the ring is still relatively easy. This method works great with all hoop sizes and is straightforward and fast. The detailed step-by-step tutorial for this method is published in this blog post: “How to Finish Embroidery Hoop for Wall Hanging with Running Stitches.”
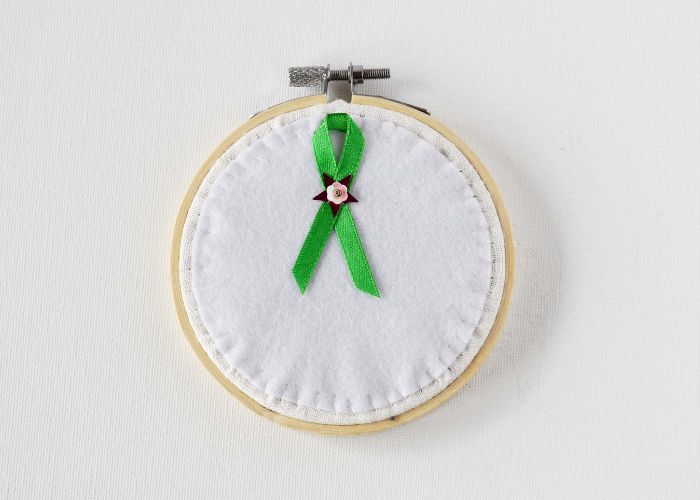
Cover the back of the hoop with felt fabric
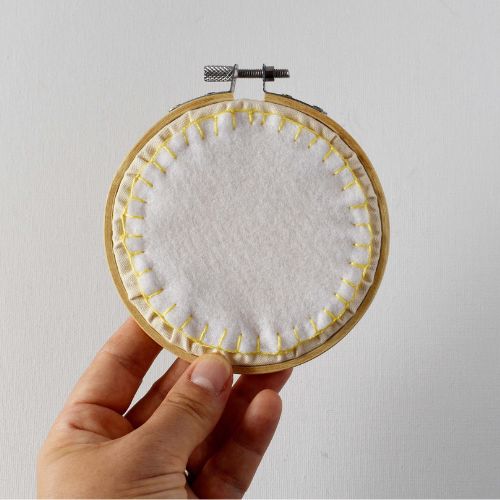
This method of embroidery backing fully covers the stitches and tangled embroidery floss on the backside. It creates a permanent display of the textile piece and provides a neat and professional finish to the craft project. Besides that, a felt cover is a perfect canvas for adding your name and date, a stitched motif, or a personal message if your embroidery is a gift. Read a full tutorial in the article: “How to back embroidery hoop with felt or cardboard.”
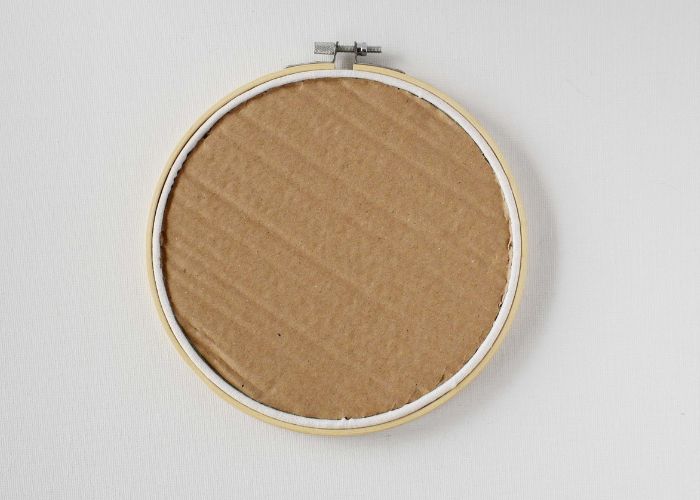
Make a cardboard cover
With this hoop finishing method, the back of the embroidery is fully covered. Still, getting the embroidery out of the hoop and washing it if needed is relatively easy. This method provides a clean cover and a space for personal messages. You will find more details on this method and a step-by-step tutorial in the article “How to back embroidery hoop with felt or cardboard.”
The adhesive method
Gluing the fabric to the hoop creates the most permanent framing for display. There is no way to remove the embroidery from the frame for washing or changing the framing method. To learn more about the benefits and downsides of this method, read the article “Finishing Embroidery Hoop with Glue. Two Ways to Frame Embroidery in a Hoop With Adhesive Method” on this Blog.
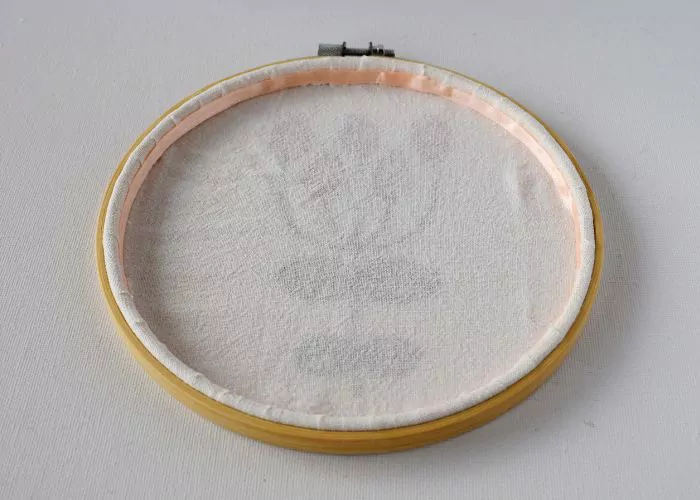
No outer hoop method
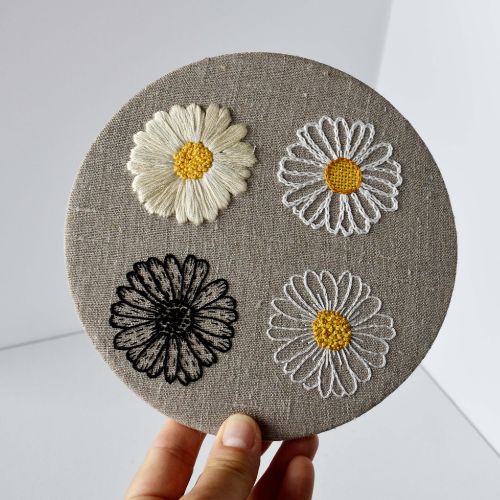
If you do not like the hardware – the metal parts and a screw but still want to keep your embroidery framed with a round hoop shape, this method is for you. Read the article “Finishing Embroidery Hoop with Glue. Two Ways to Frame Embroidery in a Hoop With Adhesive Method” for the detailed step-by-step tutorial.
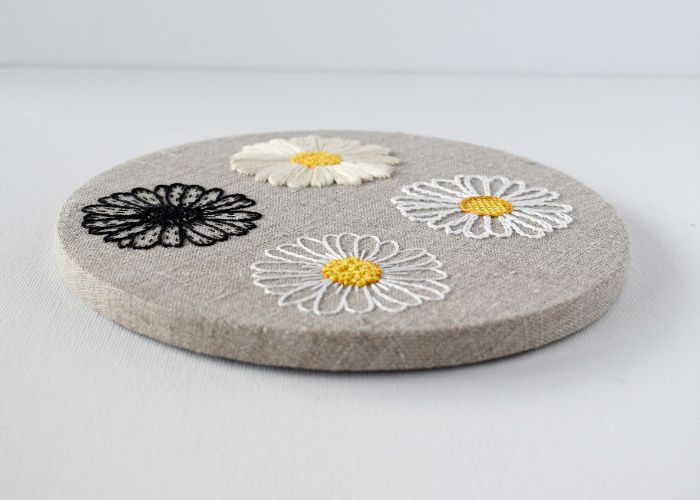
Video Tutorial
If you prefer to learn while watching a video tutorial – head to the Practical Embroidery YouTube channel or watch a video lesson below and learn all six methods of framing embroidery in a hoop!
Benefits of framing embroidery in a hoop
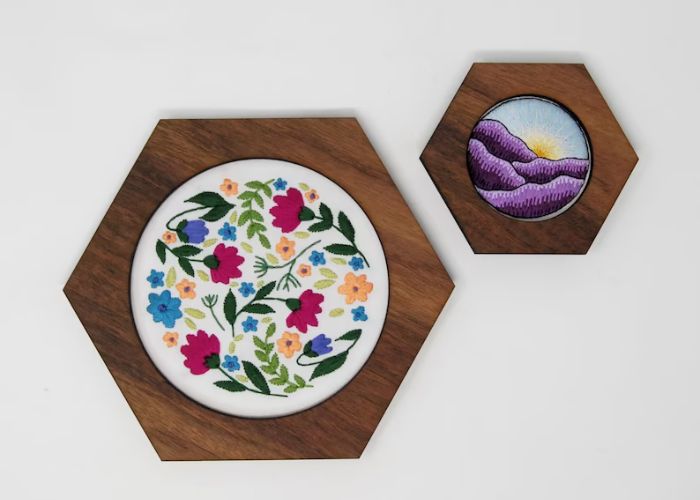
- Aesthetics: Many embroidery patterns look best framed in round frames like a hoop. This method can create a simple, modern, rustic display or vintage embroidery look for your handmade decor.
- Functionality: Protects the threadwork and maintains tension.
- Portability: Easy to move, store, or even gift the fabric art.
- Affordability. The hoops are affordable and widely available.
- Versatility. This method works great for modern embroidery, cross-stitch, needlepoint, goldwork, or other techniques.
The downsides of embroidery displayed in a hoop
- The embroidery can be exposed to dust, humidity, or direct sunlight.
- Only some embroidery designs will look great framed in a round-shaped hoop.
Frequently asked questions about framing embroidery in a hoop
How to hang embroidery hoop
- Use hoop frames. Hoop frames are created to cover the embroidery hoop and provide various hanging options on the back of the structures..
- Use the tension screw as a hook to hang the ring on the nail or a hook.
- Use mounting blocks or nail-free solutions for picture hanging.
- Add a hanging loop near the screw on top of the hoop. Drape a circle of string along the top screw of your embroidery hoop. Hang this loop over any nail or wall hook to display your embroidery wherever you’d like.
- Sew a hanging loop to the backing material of the frame.
How to back an embroidery hoop with fabric
You can use a layered backing material, sew the felt backing, or make a cardboard backing for your embroidery display. You will find detailed instructions in the article “How to back embroidery hoop with felt or cardboard.”
How to care for the embroidery piece framed in a hoop
- Avoid placing the embroidery in direct sunlight to prevent color fading.
- Dust regularly with a soft cloth.
- Store it in a dry place if not on display.
How to hide the tension screw of the hoop
- Tie or glue a bow to the top of your hoop as an extra decoration.
- Add a small felt decoration to hide the screw.
- Remove the outer hoop entirely. I explain how to do this in the article “Finishing Embroidery Hoop with Glue. Two ways to frame embroidery in a hoop with adhesive method.”
How to display embroidery without the hoop
Of course, framing embroidery in a hoop is not the only way to display your artistic textile. Here are some alternative display methods:
- Mount the textile piece on the canvas
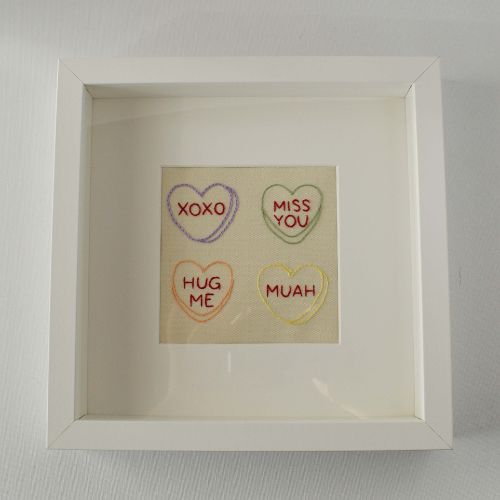
- Use the photo frame to display embroidery
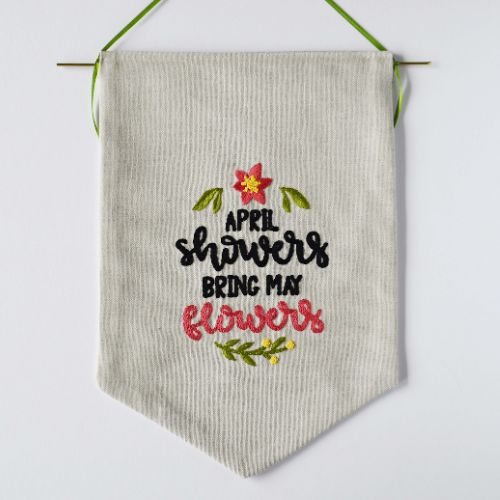
- Make a banner with your embroidered art
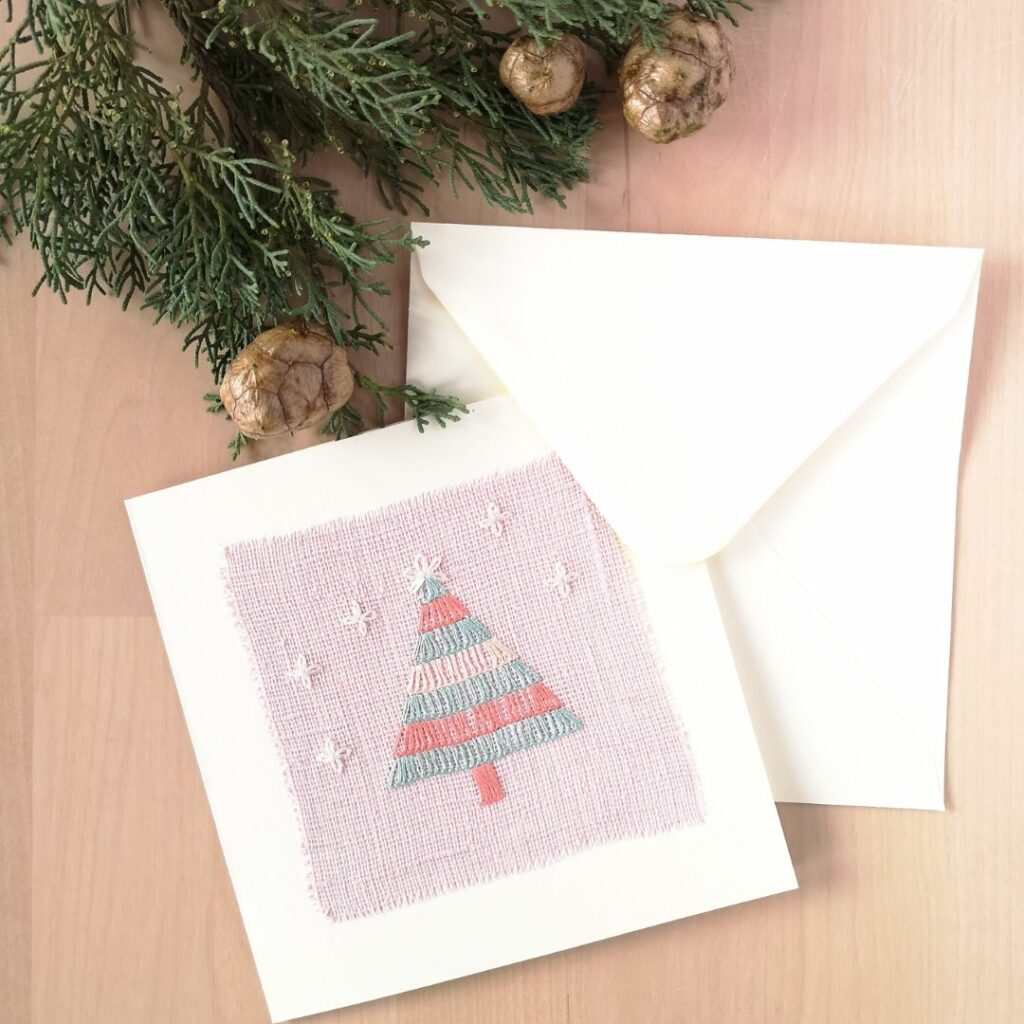
- Use your embroidery to make a postcard
Will you frame your embroidery in a hoop?
Now you know six different options on how to finish the back of the hoop and all the cons and pros of displaying the embroidery in a hoop. I hope all your questions about framing embroidery in a hoop were answered, and you can confidently try all the methods and choose your favorite one.
My preferred method is finishing the hoop with felt fabric. I like the color options available and the possibility to personalize the back of the frame – add my brand name, personalized message, or extra details like a small applique, some beads, or a hook. Besides that, the hoop finished with the felt looks professional and clean.
More about hand embroidery tools and materials:
- My favorite hand embroidery supplies, tools, and materials
- Hand embroidery needles
- Embroidery hoops
- Embroidery floss and threads
- Guide to hand embroidery fabrics
- Scissors for hand embroidery
- Water soluble stabilizers
- Carbon paper for pattern transfer
- Mending tools and materials
- Mini embroidery hoops
- Best hand embroidery books
- Embroidery materials for beginners
