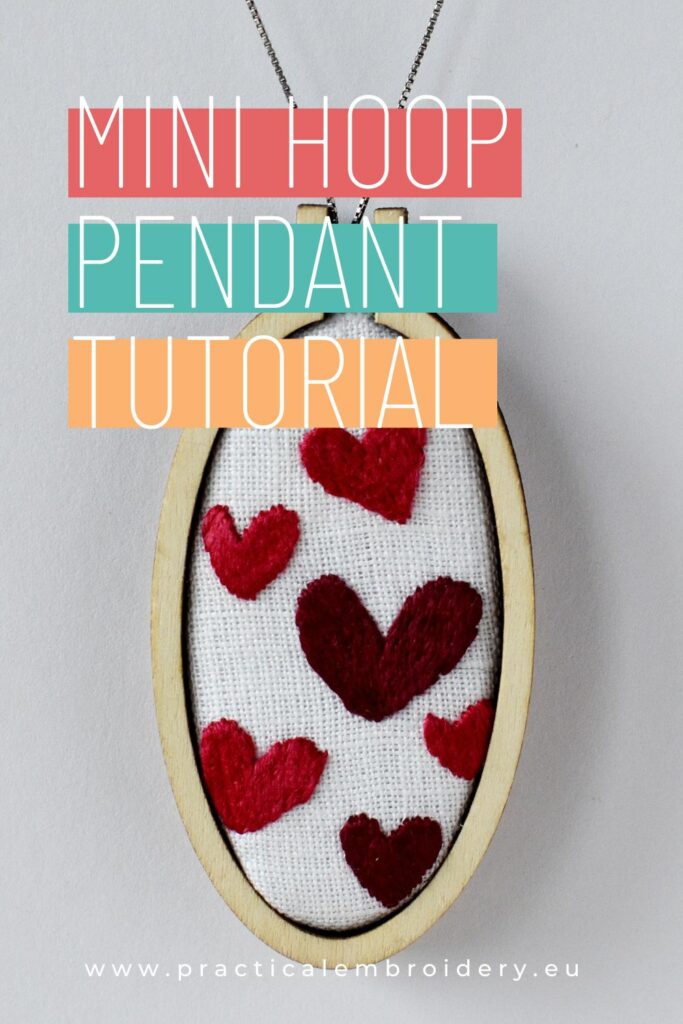
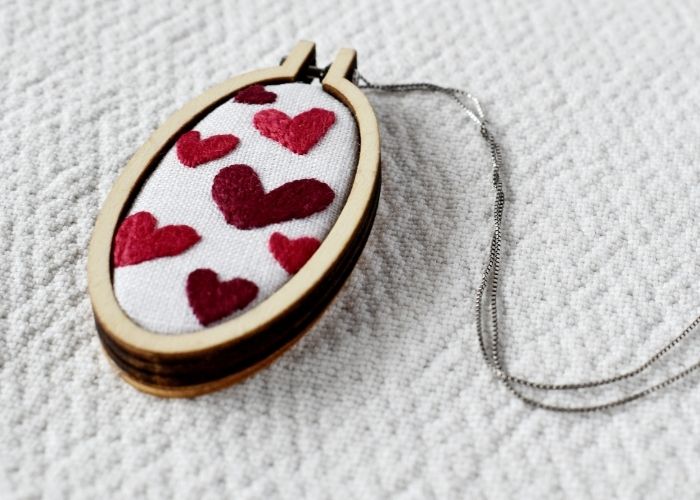
Mini Hoop Pendant Tutorial + Free Heart Embroidery Pattern: Create Stunning Gifts!
A Sweet, Quick Hand Embroidery Project
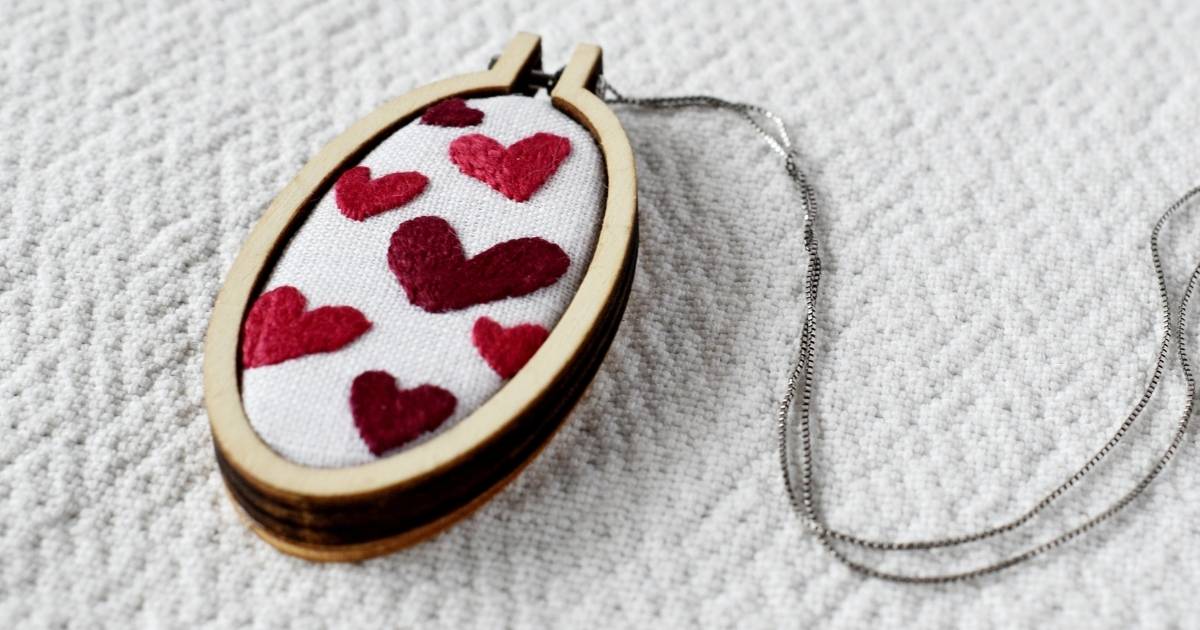
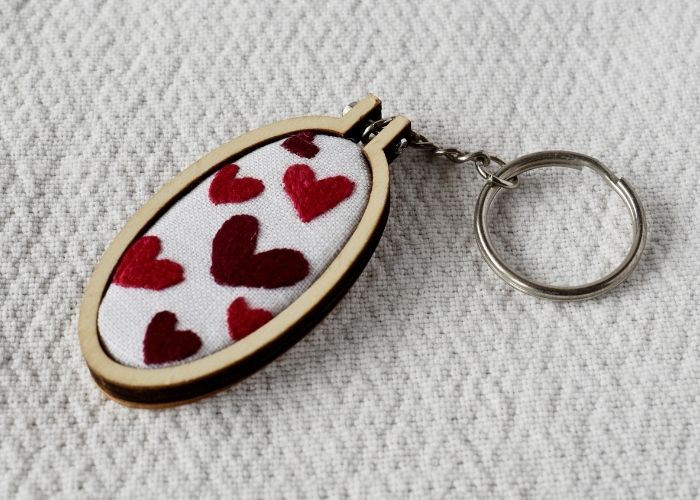
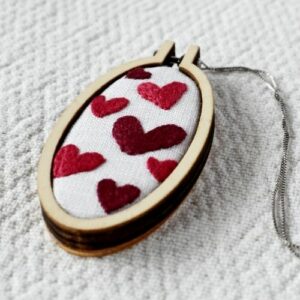
Looking for a small hand embroidery project that’s both charming and practical? In that case, this mini hoop pendant with embroidered hearts is a perfect choice. It’s a quick and beginner-friendly piece that’s fun to stitch and also makes a lovely handmade gift. Whether finished as a pendant, keychain, or bag charm, it adds a personal touch to any occasion.
This tutorial includes a free downloadable heart pattern for various sizes of mini hoops and step-by-step instructions to guide each part of the process—from transferring the design to finishing your mini hoop. Besides that, it’s a great project for practicing satin stitch and long and short stitch in a playful, bite-sized format.
All the tools and materials used in this tutorial are linked below, so it’s easy to gather what’s needed and start stitching right away. Whether crafting for Valentine’s Day, Mother’s Day, or a thoughtful “just because” gift, this mini hoop pendant tutorial is a great place to start.
Mini hoop pendant tutorial
Hand embroidery and pendant making guide
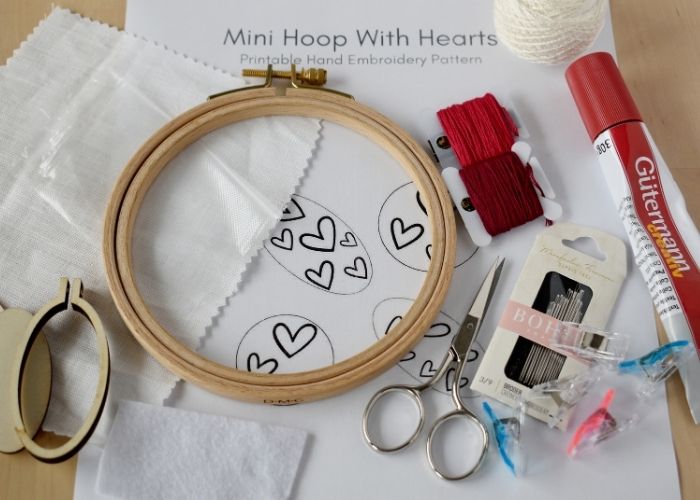
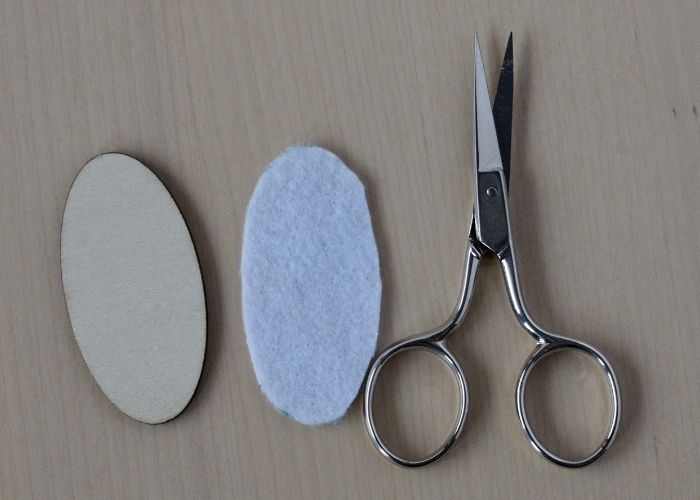
Tolls and materials
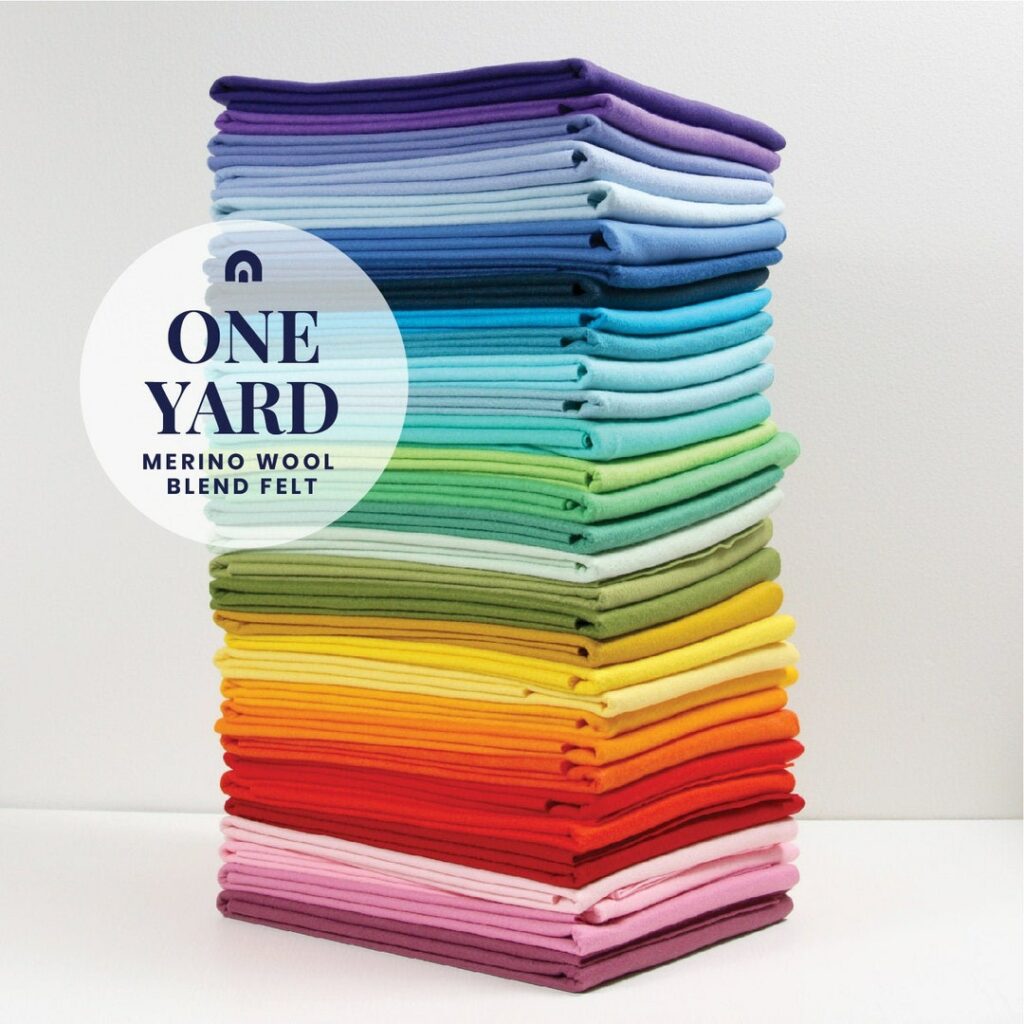
- Fabric of your choice. In any case, avoid sturdy or dense materials as they are too bulky to frame in the mini hoop.
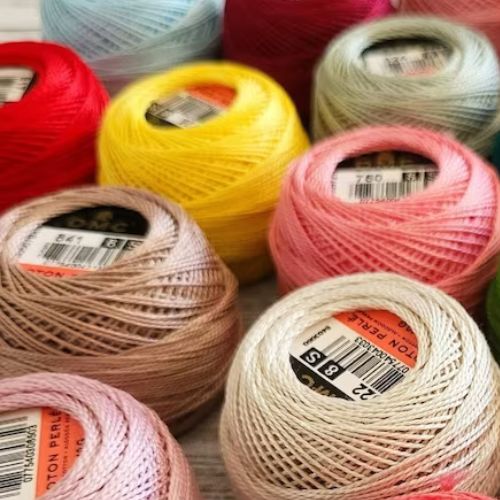
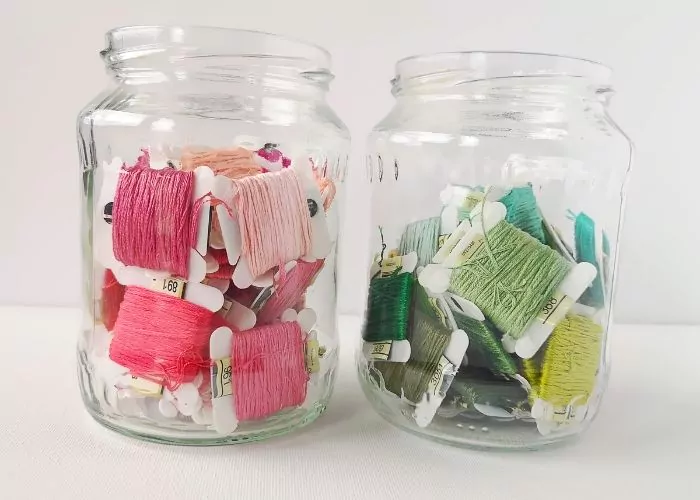
- Embroidery floss. I used two strands of cotton floss by DMC.
- Pearl cotton or other durable thread.
- Embroidery needle and one bigger needle for sewing.
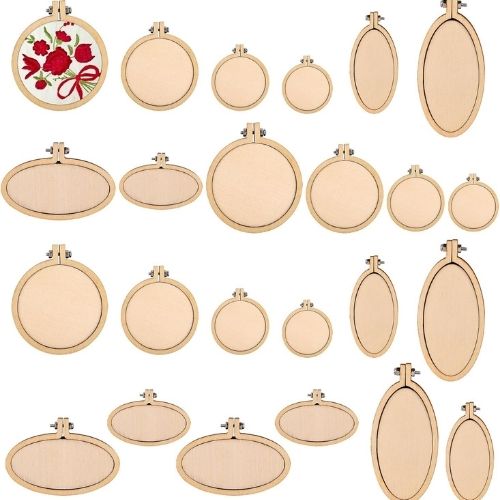
- Mini hoop.
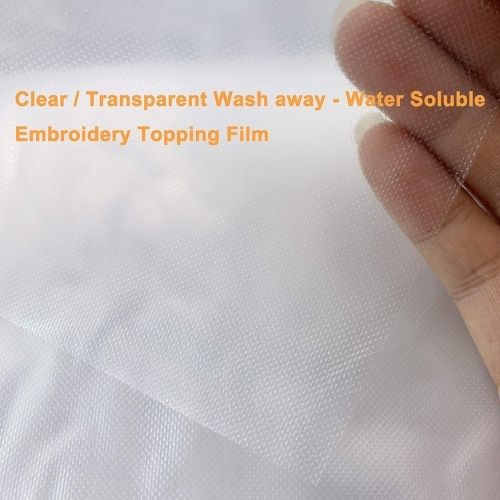
- Water-soluble film or stabilizer for pattern transfer.
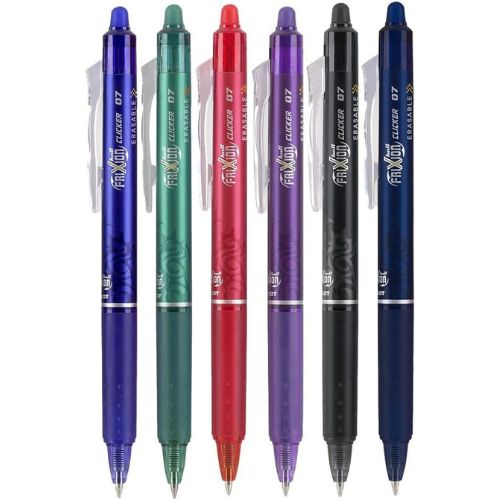
- Friction pen or other transfer tool.
- Scissors.
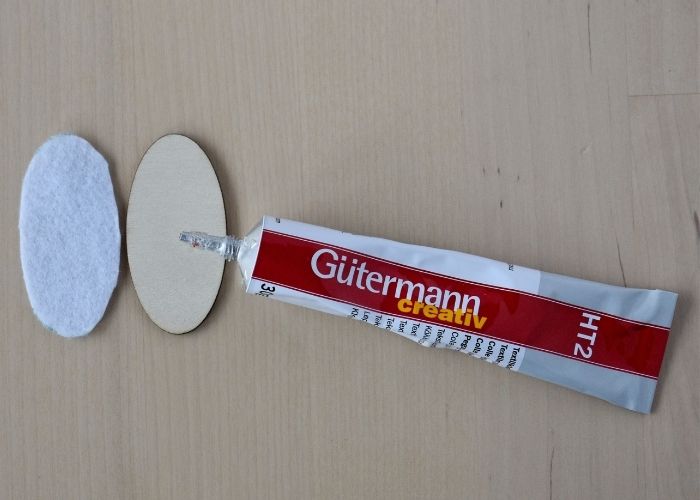
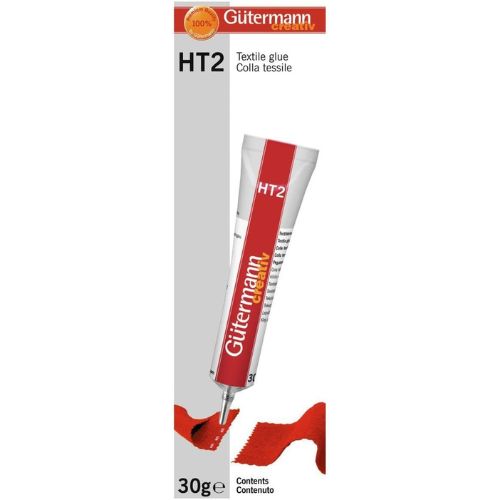
- Fabric glue.
- Small piece of felt fabric for padding (the size of your mini hoop).
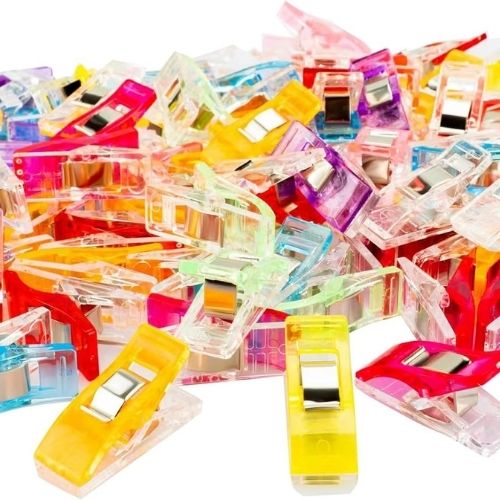
- Few sewing clips or clothespins.
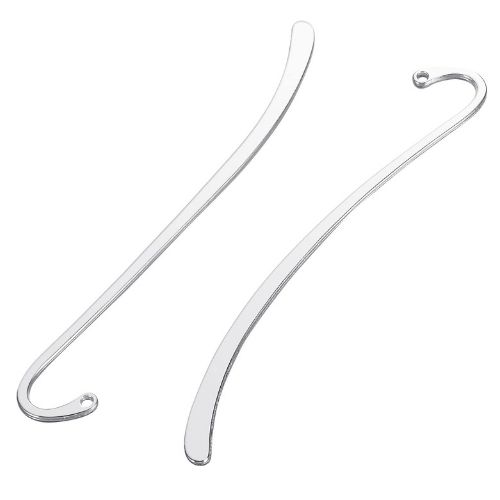
- Optional: jump ring, chain, or keyring hardware.
Mini hoop pendant tutorial: embroidery instructions
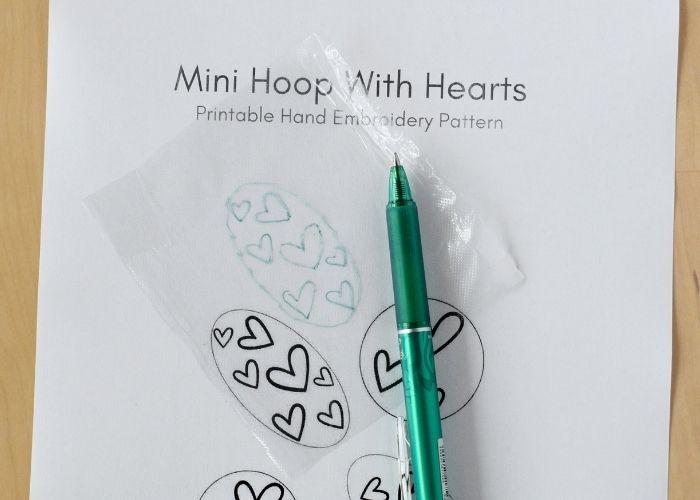
1. Download the pattern and gather all the tools and materials you will need.
2. Transfer the pattern to the water-soluble film or use your favorite pattern tracing method.
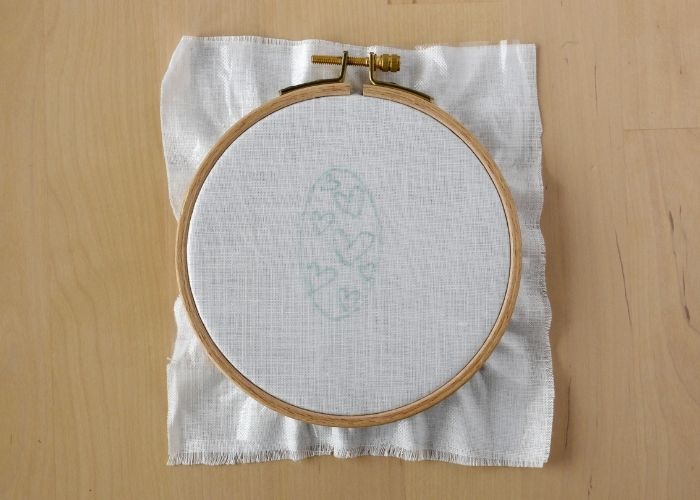
3. Layer the fabric and the film and frame them in the hoop. Stretch the fabric and tighten the screw to maintain the stable fabric tension.
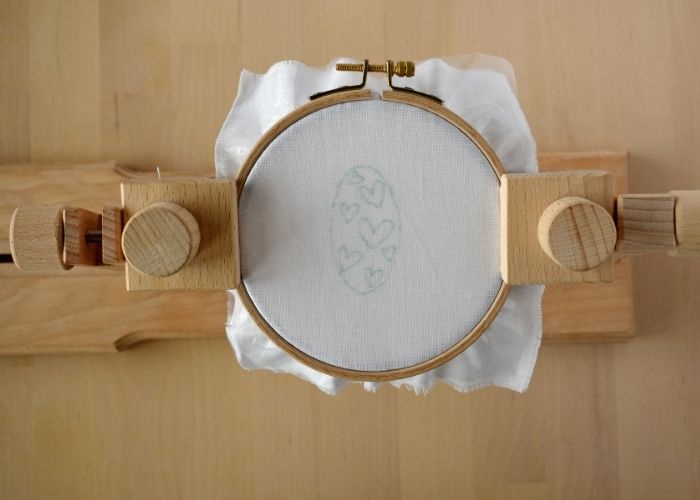
4. In addition, you can place the hoop in the hoop stand for convenience and the possibility of stitching with both hands.
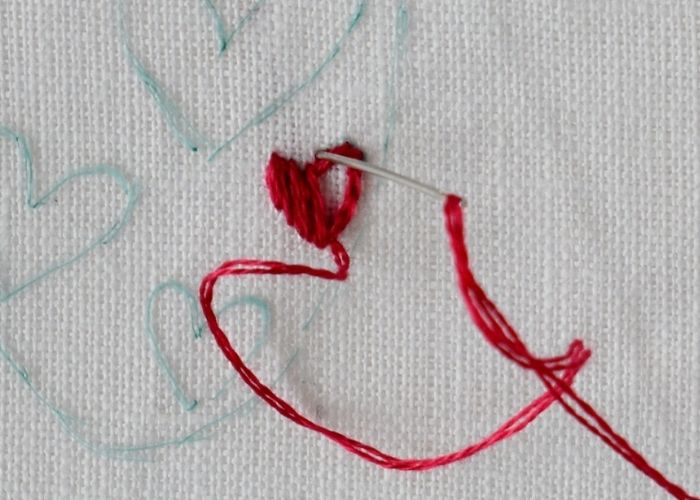
5. Start with smaller hearts that you will fill with the Satin stitch. Use the folded thread method to start stitching.
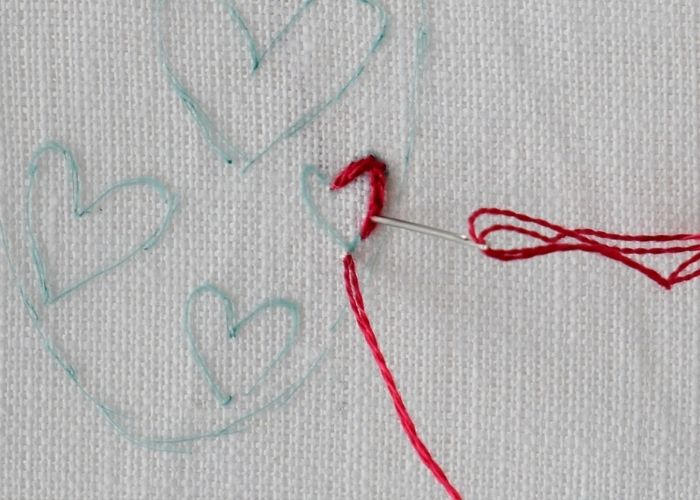
6. Firstly, outline the shape with a Split Backstitch. Use two strands of red embroidery floss.
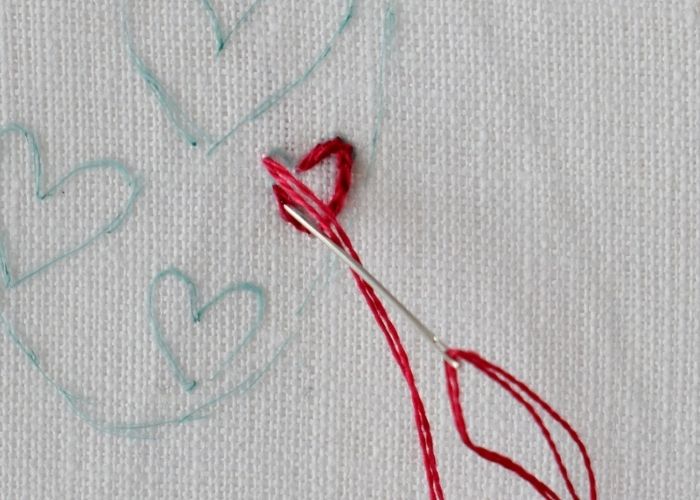
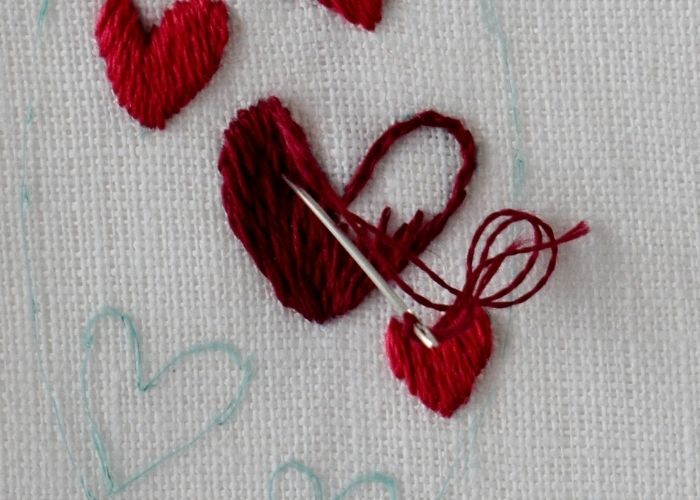
7. After that, start making Satin stitches. Make the first stitch in the center of the heart shape.
8. Then, add more stitches and fill one side of the heart shape.
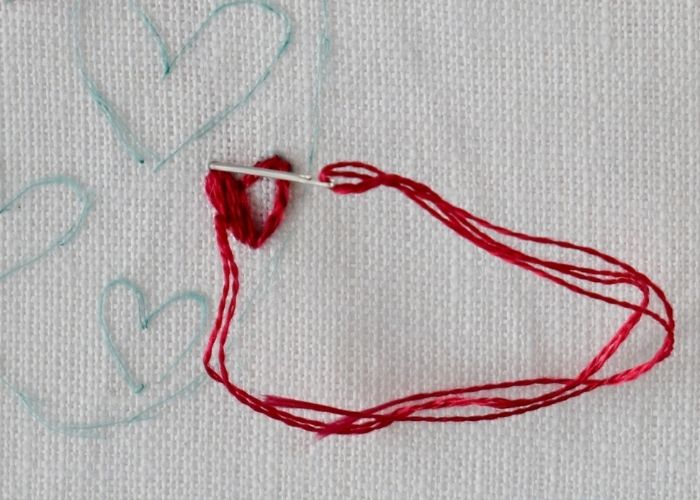
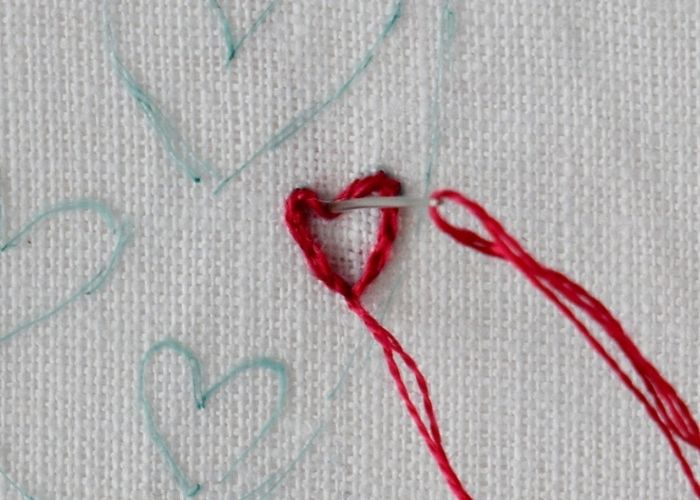
9. After embroidering one side of the shape, return to the center and fill the other half.
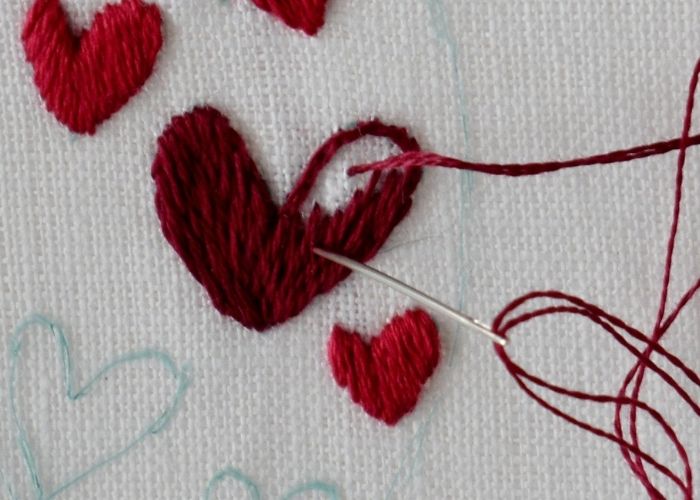
10. Firstly, outline the shape first for the Long and Short Stitch filling. I used a Split Backstitch for the outline, but also a Stem or Split stitch are great options for outlines.
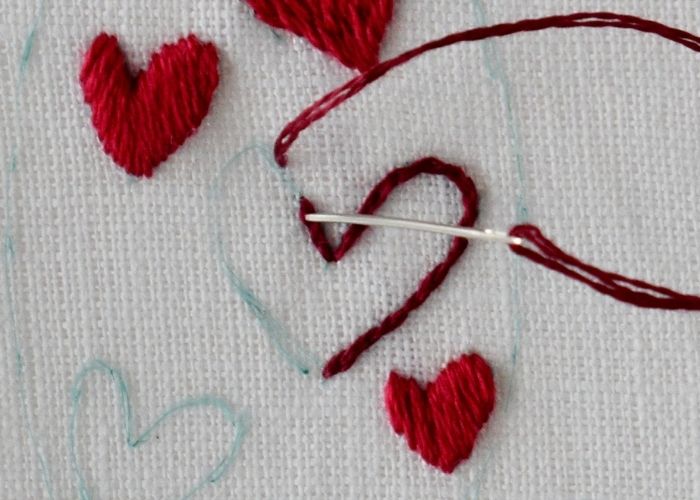
11. Start filling from the center of the shape. At first, make some straight guiding stitches that will indicate the direction of the filling.
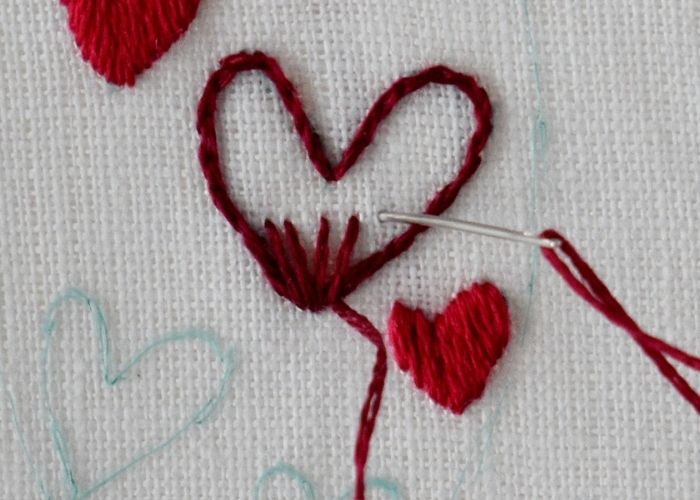
12. Then, start adding the rows of stitches to fill the entire shape.
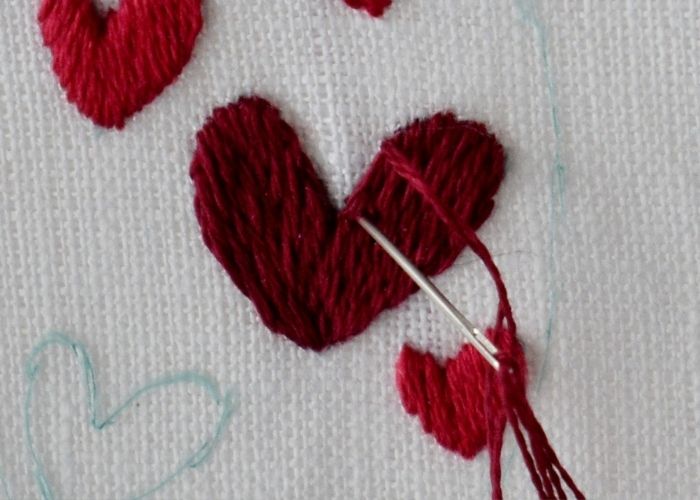
13. In the first place, fill one side of the heart.
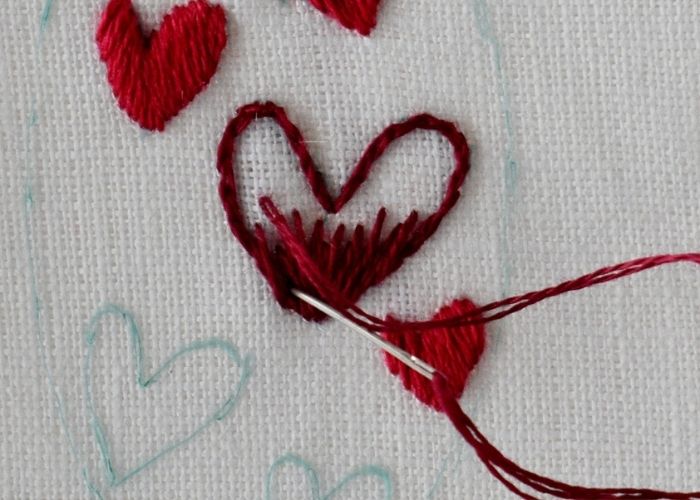
14. Then, move to the other side of the shape.
15. Finally, carefully fill all the gaps.
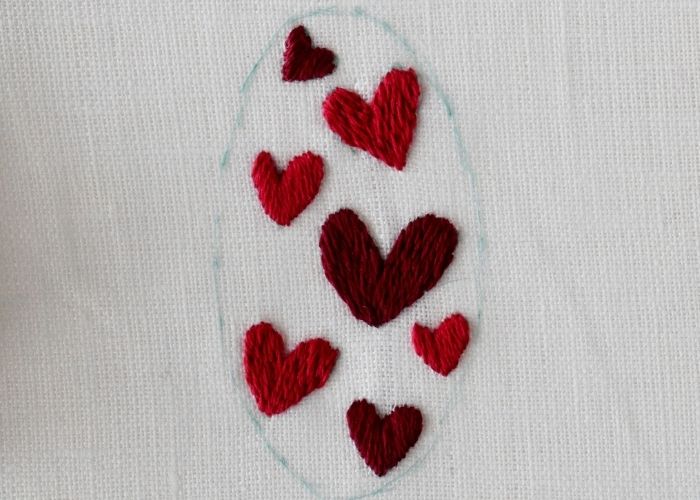
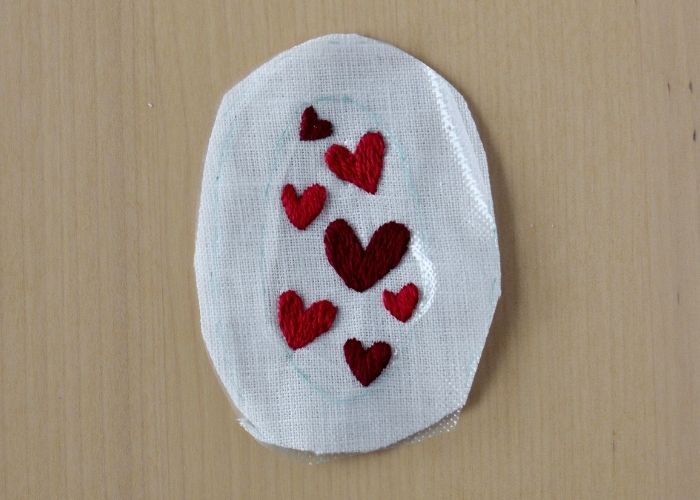
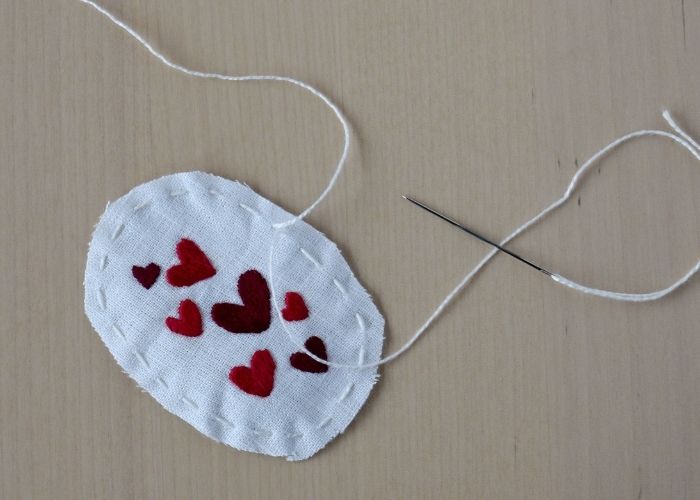
16. Eventually, stitch all the hearts, following the stitch and color guide.
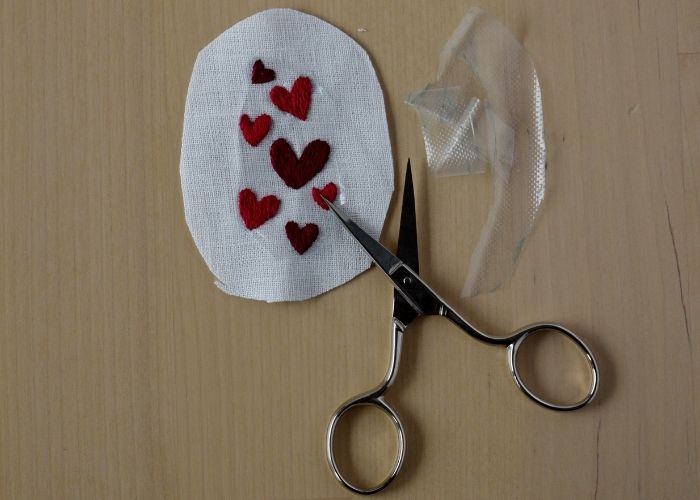
17. After that, remove the fabric from the hoop and mark the shape of the mini hoop + 1 cm border. Cut out the shape with the border.
18. Then, cut away the excess of the stabilizer film.
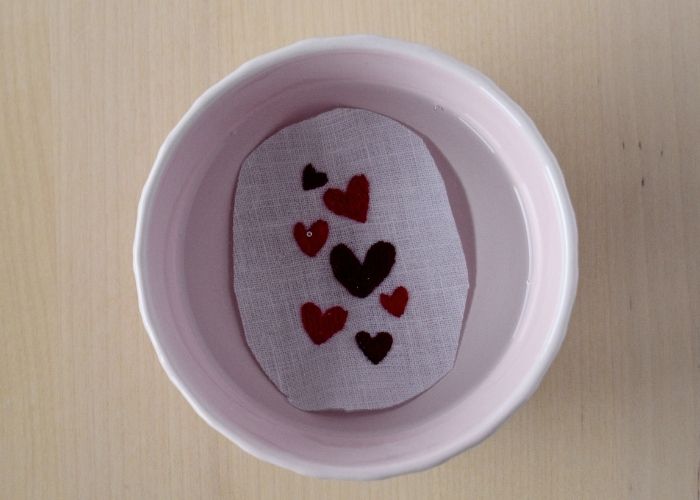
19. Place the embroidery in lukewarm water to dissolve the transferring film. When the stabilizer is gone, rinse it under running water.
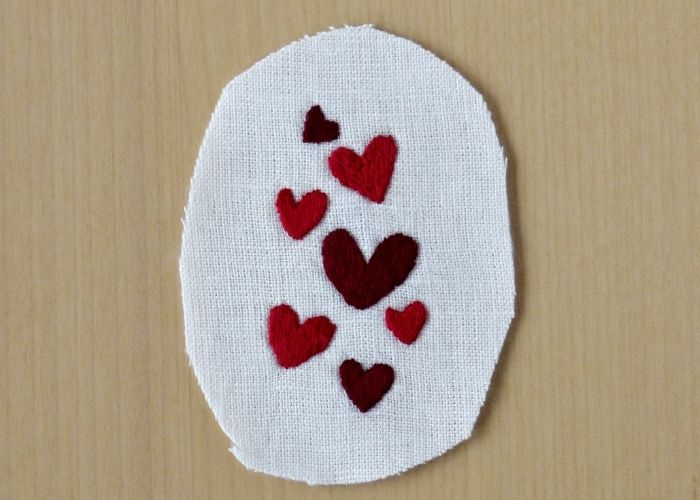
20. Finally, dry and iron the finished embroidery.
Mini hoop pendant tutorial: framing instructions
1. Measure the padding. Outline the shape of the mini hoop on the felt fabric.

2. Use sharp scissors to cut out the padding from the felt.
3. Finally, glue the padding to the base of the mini hoop. Use a textile glue.
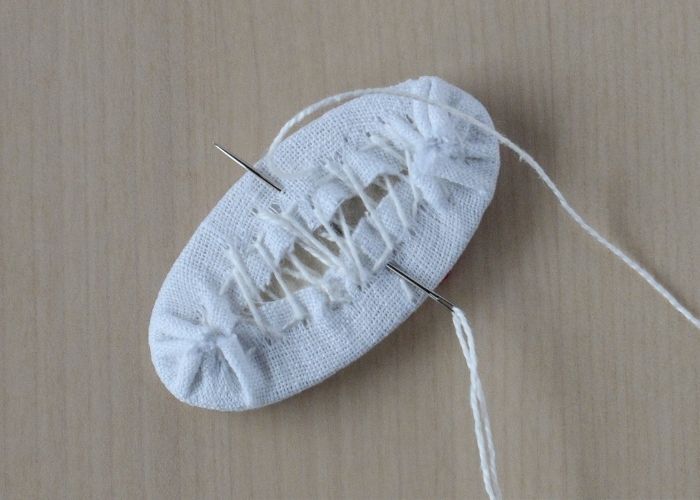
4. While the glue is drying, gather the edge of the fabric with tiny Running stitches. Use a robust thread and leave long loose ends that you will use for sewing later.
5. Now that the glue is dry, place the base of the mini hoop with the padding on the reverse side of the embroidery and pull both ends of the thread. This will lock the base of the pendant in the center of the embroidery.
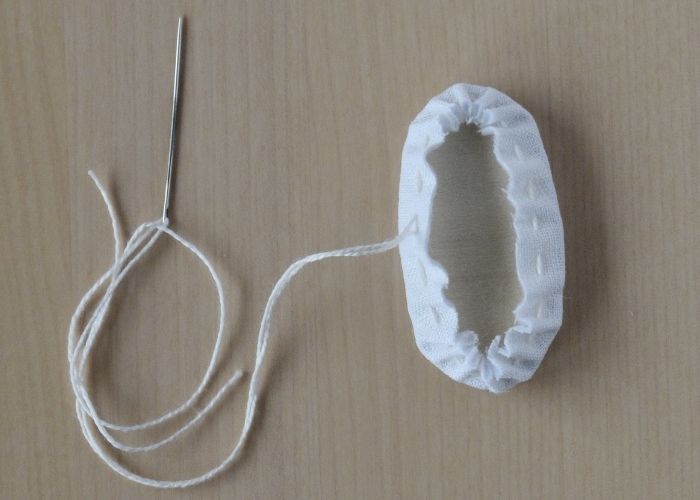
6. Use the loose ends of the thread to sew the edges of the fabric together. Make your stitches tight and secure the ends well.
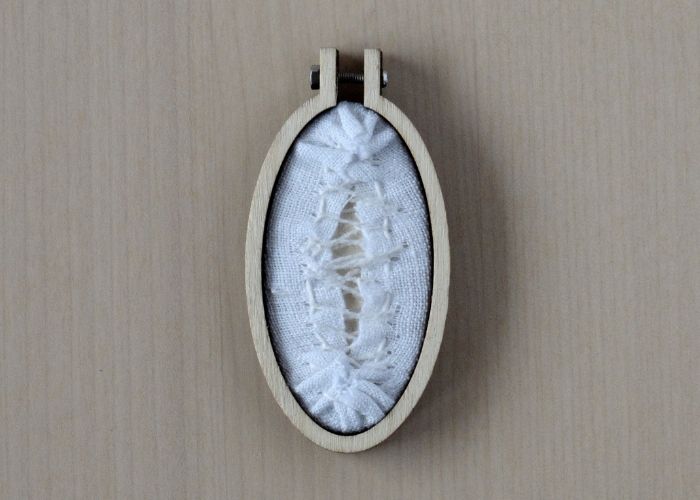
7. After that, frame the base of the pendant in the mini hoop. Tighten the screw.
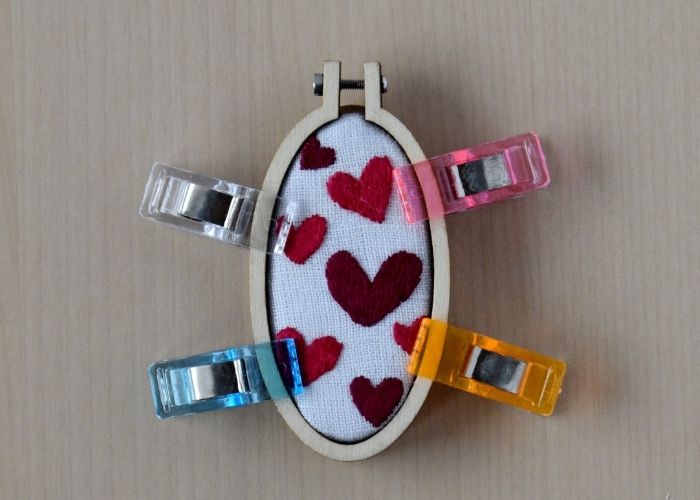
8. Finally, glue the cover on the back. Use the sewing clips or clothespins to hold the pieces together while the glue hardens.
Mini hoop pendant tutorial: Video guide
Recommended Products
Disclaimer. To cover the cost of creating free embroidery patterns and video tutorials for this blog, I do sometimes link to products. Please assume these links are affiliate links. If you choose to buy through my links then THANK YOU! – it will make it possible for me to keep doing this.


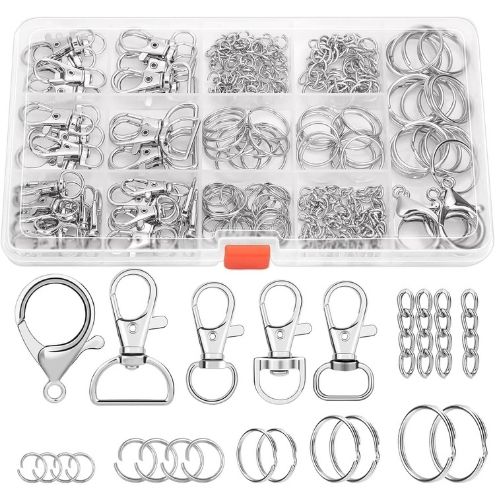
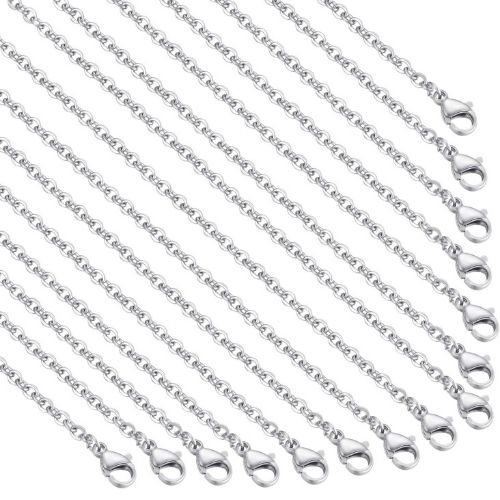
Add hardware: from a mini hoop to a DIY gift
Mini hoops are not only cute but also very versatile. You can use them to make a necklace, a key tag, a charm for your handbag or tumbler, a gift tag, a bookmark, a pair of earrings, or anything you envision. This makes mini hoops a great handmade gift idea.
For more ideas, read the article “Mini Embroidery Hoops: How to Choose the Best Tiny Hoop and How to Use Them.“
Here is some hardware that can turn your mini hoop into a DIY gift:
Get creative! Ideas for variations
My execution of the free Hearts printable hand embroidery pattern for mini hoops is only one of the options. Obviously, you can make plenty of creative decisions to make this pendant truly yours.
Change the sizing
This simple heart embroidery pattern was created for 4 different mini hoop sizes:
- Oval 3×5.5 cm – 1.2×2.2 inches
- Oval 2.5×5 cm – 1×2 inches
- Round 4×4 cm – 1.6×1.6inches
- Round 3.5×3.5 cm – 1.2×1.2 inches
However, you can resize the pattern to suit your mini hoop’s shape and size.
Play with colors
In my mini hoop pendant tutorial, I used two shades of dark red color to embroider the hearts, but you can choose other colors:
- Lighter shades of pink would look great on dark fabric.
- A black-and-white option would give a nice contrast.
- Bright red would suit for Valentine’s day.
- Each heart embroidered with different rainbow colors would look playful and fun.
Experiment with stitches
I chose two classical filling stitches to embroider the hearts for this mini hoop pendant tutorial, but you can try other options:
- Embroider only the outlines of the hearts. For example, use a Stem Stitch or a Whipped Backstitch for a nice and smooth outline, or look for inspiration in the article “Hand embroidery stitches for outlines—from the most simple to decorative ones.”
- Use other filling stitches for the hearts. For inspiration, read the article “How to Embroider Hearts: 13 Ways to Stitch a Heart.” I think hearts filled with French knots would look cute.
- Make inverse embroidery. Stitch out the space around the hearts and leave the heart shapes empty. For examples and inspiration, read the article “Art of Negative Space in Hand Embroidery: Unique Patterns and Designs.”
Over to you
This little heart embroidery is a joy to make and even more fun to gift. Whether it becomes a pendant, keyring, or bag charm, it’s a meaningful way to share handmade love.
Don’t forget to download the free pattern and get stitching today!
And if this project sparked an idea—share it in the comments! What kind of DIY gift are you planning to make with this mini hoop design?
Don’t miss a thing!
Follow me on YouTube, Instagram, Facebook, Flipboard, Telegram and Pinterest. On the other hand, you can subscribe to the Practical Embroidery newsletter and get embroidery tips straight to your inbox every week!
More DIY projects on this blog
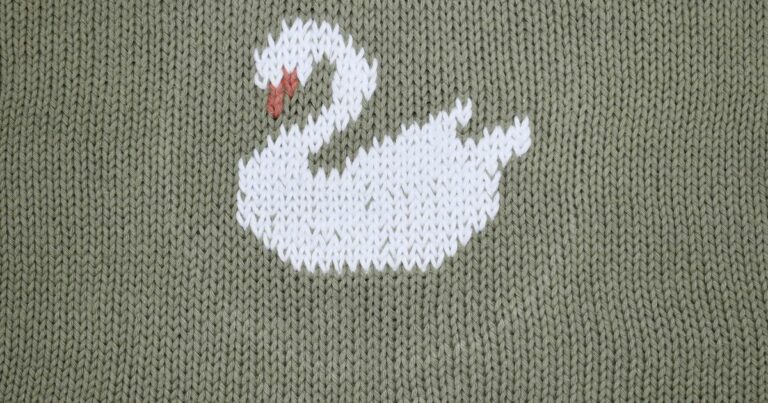
Duplicate Stitch Embroidery Tutorial: Decorate Your Knitwear Step-by-step
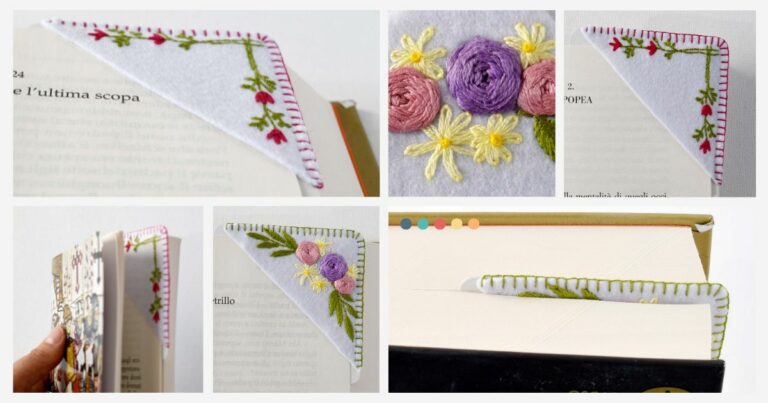
Hand Embroidered Corner Bookmark: A Step-by-Step Guide to Crafting a heartfelt gift for a book lover
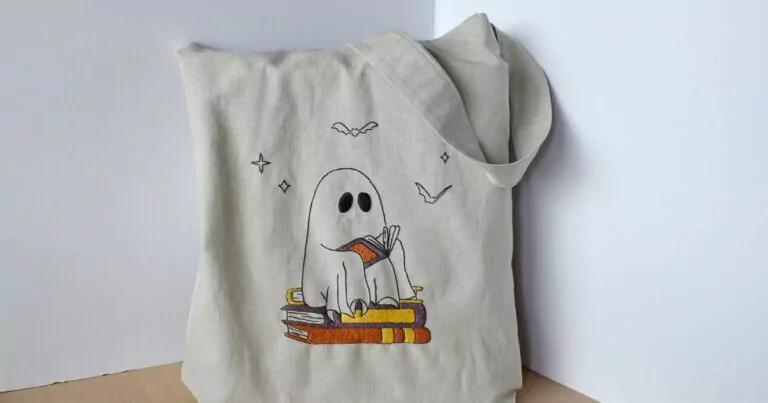
DIY Hand Embroidered Tote Bag: Complete Guide with Free PDF pattern