French knot Stitch
how to Embroider French Knots stitch
French Knot Stitch hand embroidery is a textural decorative hand embroidery technique. It has many uses – from filling areas and accent stitches to being a part of complex composite stitches as a lattice stitch. I consider this stitch one of the embroidery stitches you should learn when you are starting your embroidery journey.
The French knot is an embroidery technique in which the thread is knotted around itself in a specific way. This stitch has a reputation for being one of the most difficult, but I find it very simple, and I like to use it. Follow these simple tips, and you’ll love French knots as I do:
- Use both hands to make this stitch.
- Wrap the thread around the needle 2 times (3 times is maximum). If you need a bigger knot – use thicker yarn or more strands.
- Leave a small space between the beginning of the stitch and the place where you take the needle down into the fabric. The knot will not pop to the back of the material.
- Pull the thread slowly through the wraps to the back of the fabric. Also, keep the working thread under tension until the last possible moment as it passes to the back of the cloth.
- Use a milliner needle instead of an embroidery needle. It has an eye that’s the same thickness as the shaft, so it’s easy to pass the needle through the tight wraps without getting hung up on the eye.
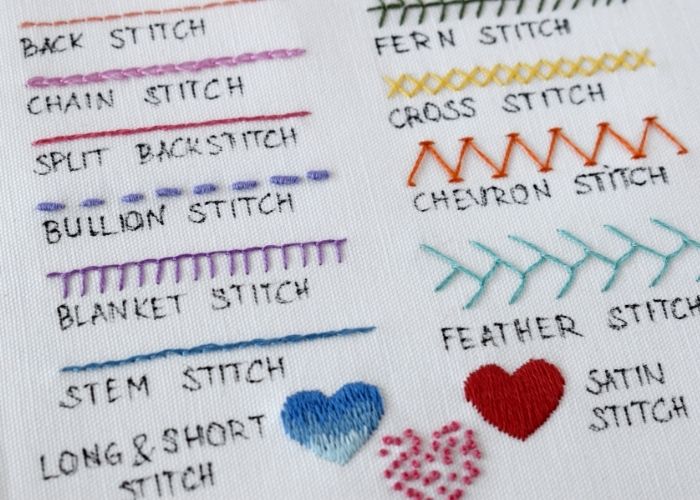
Other Names Of The Stitch
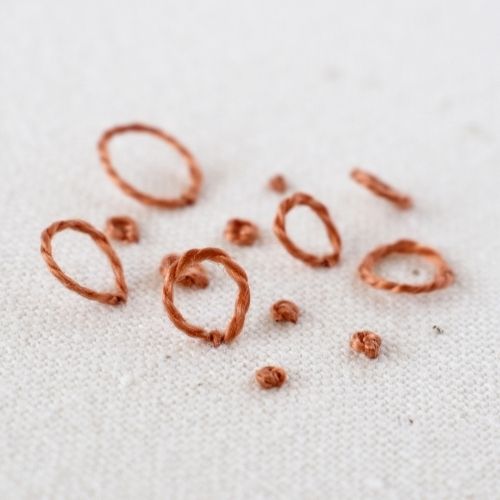
Sometimes French knot is also called a French dot, knotted stitch, or twisted knot stitch. Sometimes French knots are mistaken with Colonial knots. Read the article “French and Colonial Knots Explained: Hand Embroidery Beginner’s Guide” to learn the difference.
Applications Of The French Knot Stitch
- This decorative stitch creates one or more knots or dots on the surface.
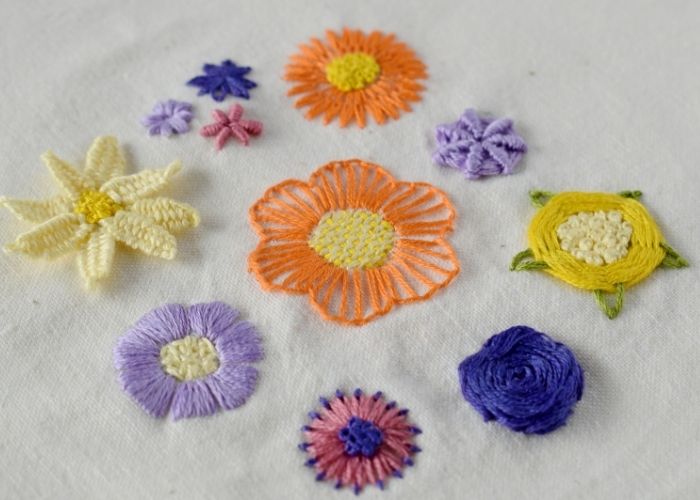
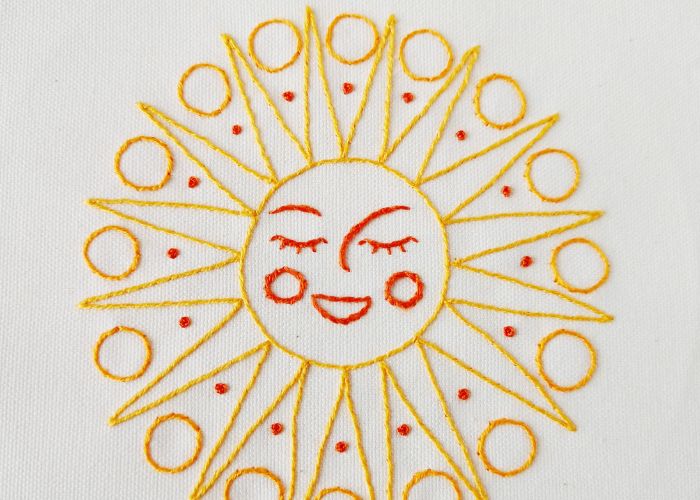
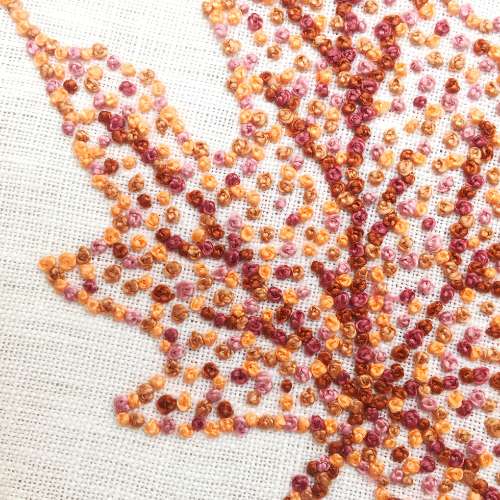
- It is a filling stitch when you need to create a textural surface. Widely used in floral embroidery to fill the flowers’ centers or depict blooms. Also, this stitch is excellent to imitate all soft surfaces – like a cloud or a sheep.
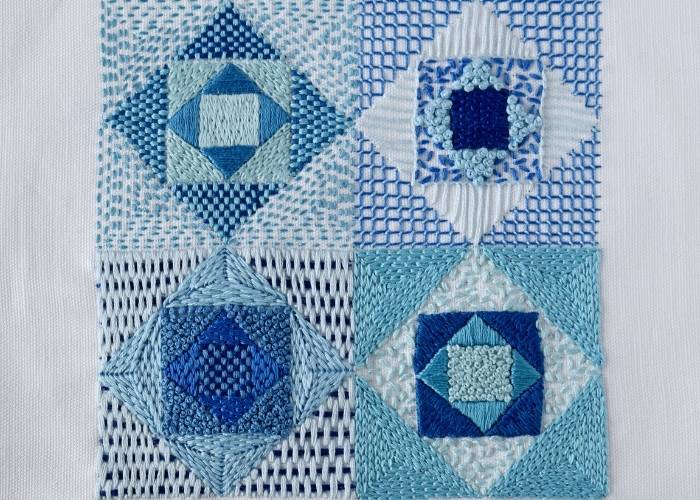
- Often, French knot is a part of composite stitches – like Lattice stitch or Guilloche stitch.
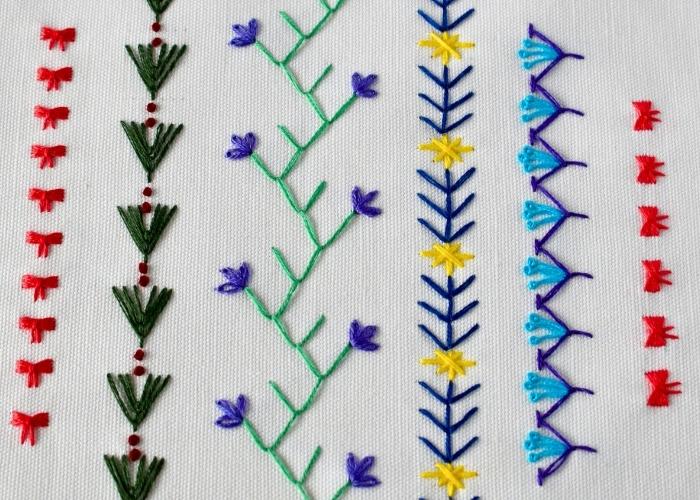
- Also, it is handy when you create a border design with decorative elements.
- Use this knotted stitch to pin down sequins and beads in bead embroidery.
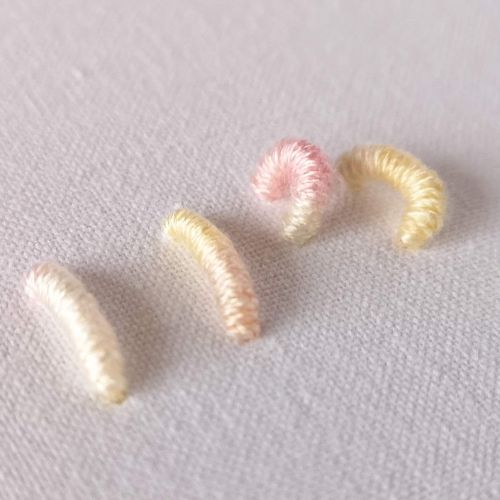
More embroidery stitches from the Knots family
How to embroider French Knots
Step-by-step tutorial
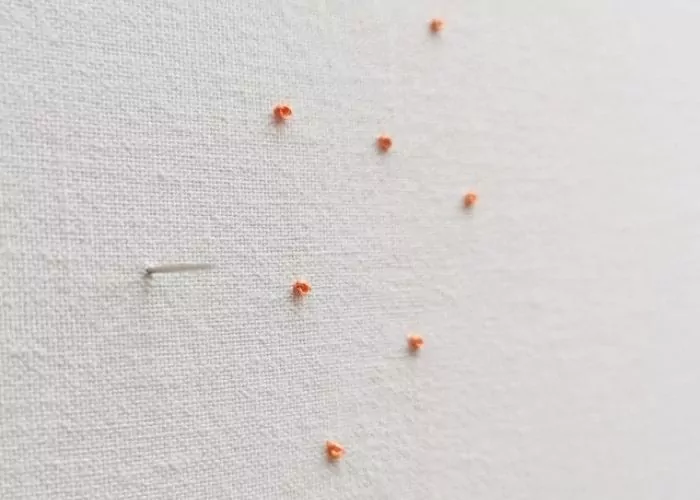
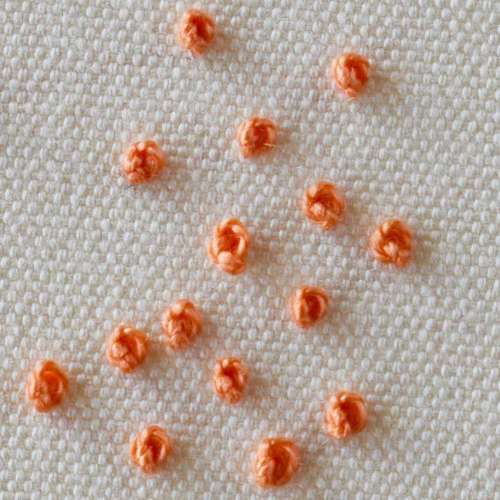
1. To make a French knot, take the needle to fabric’s surface and pull all thread up.
2. Hold the needle in one hand and wind the thread around the needle two times with the other hand.
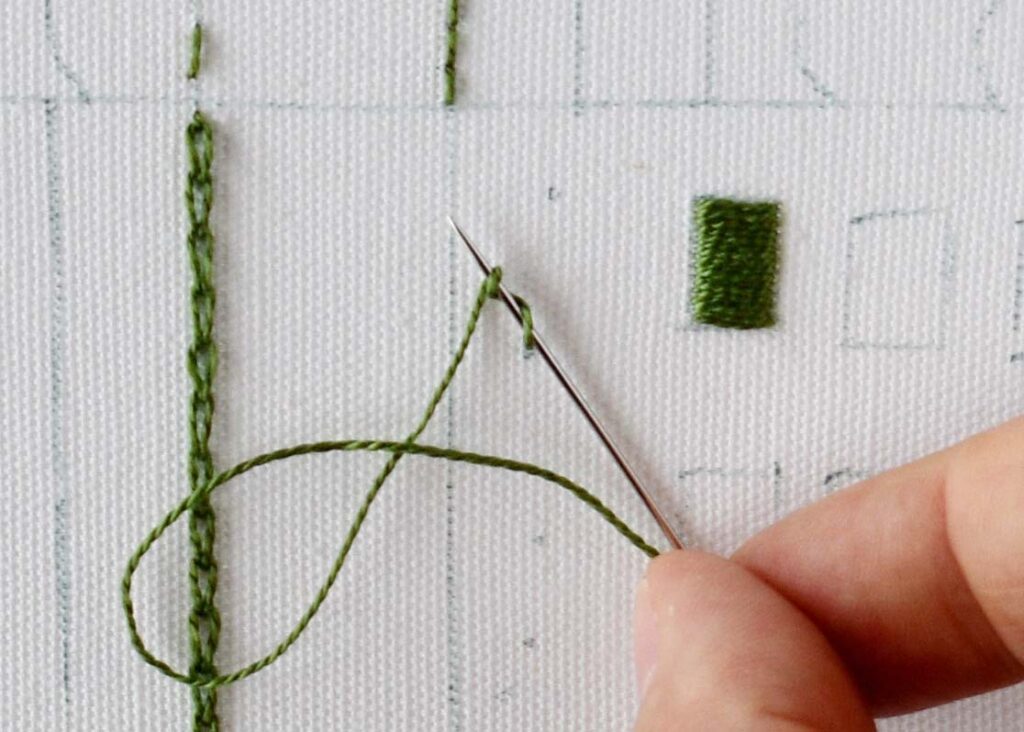
3. Push the needle tip to the fabric close to the starting point. Hold the needle and pull the working thread to tighten the winded thread.
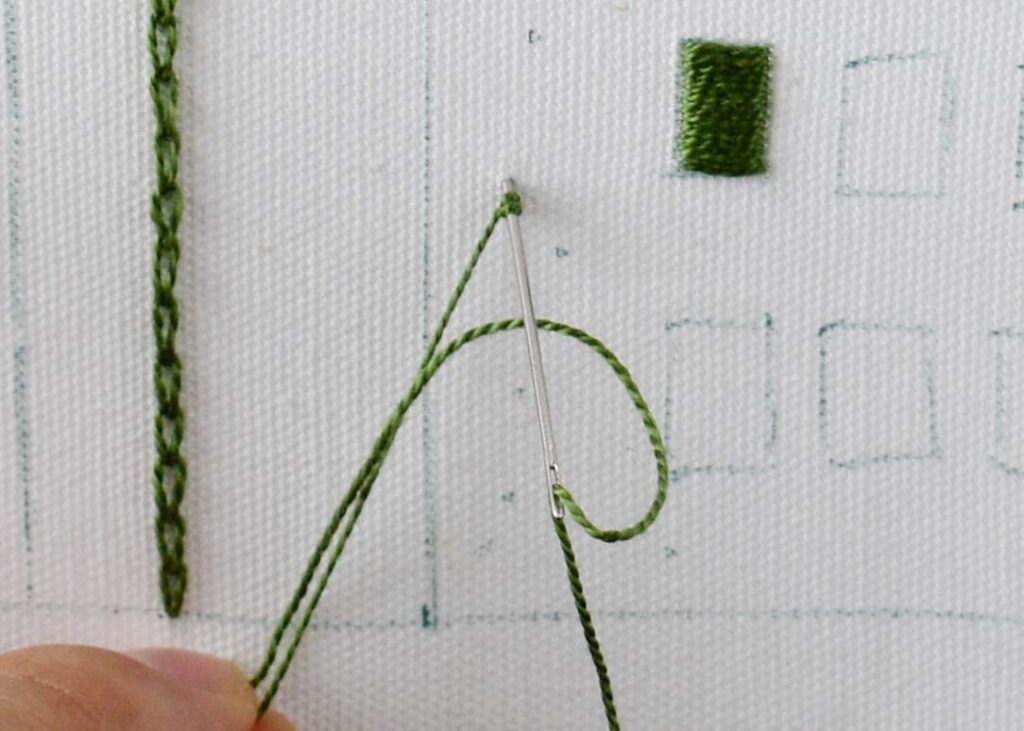
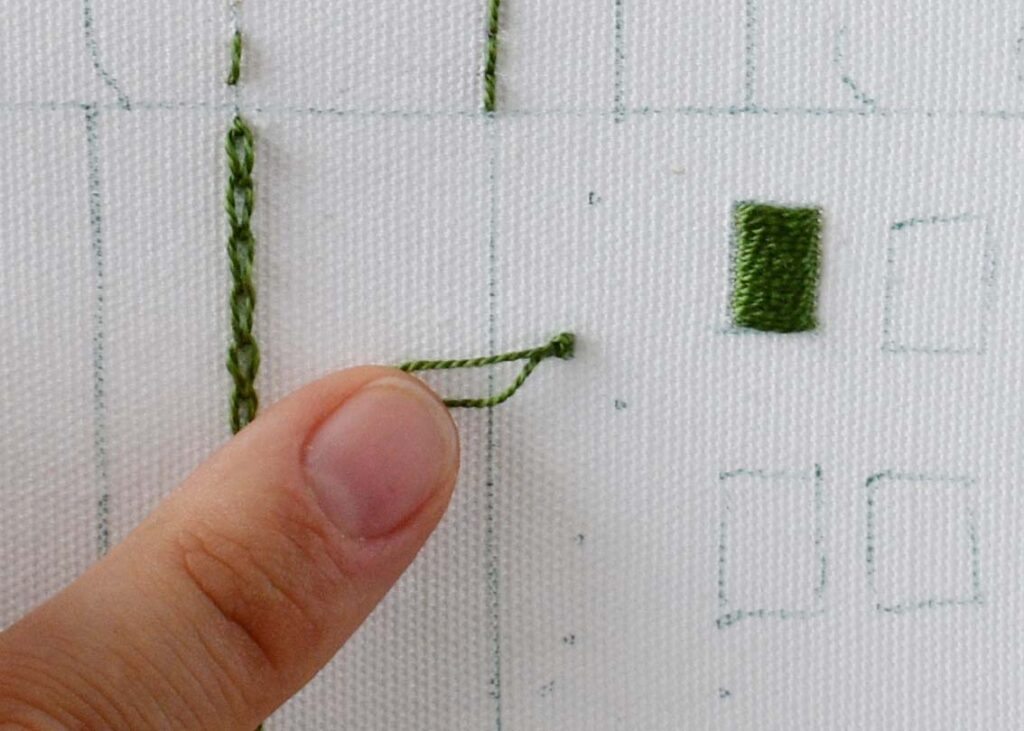
4. Pull the needle from the back side while holding the working thread in tension with another hand. Keep the thread in tension until the last moment when the knot is formed. This will help to avoid tangled threads
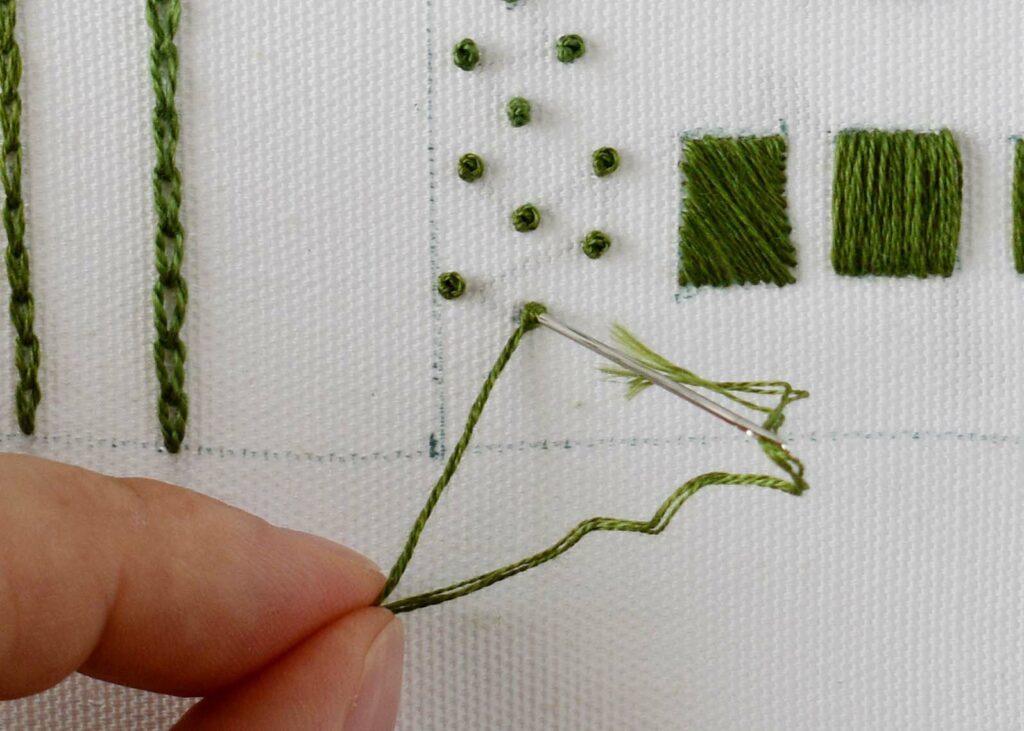
5. This stitch requires some practice and patience. Try embroidering French knots with a single strand, two strands, or all six strands of embroidery floss. Note how the knot’s size changes and which number of strands is your favorite.
Video Tutorial
Tools and materials I used for this sampler
Disclaimer. To cover the cost of creating free embroidery patterns and video tutorials for this blog, I do sometimes link to products. Please assume these links are affiliate links. If you choose to buy through my links then THANK YOU – it will make it possible for me to keep doing this.


What’s next?
If you’re in the mood to explore more hand embroidery stitches, check out the Stitches and Techniques page for the list of other fantastic stitches available on my blog. From timeless classics to modern twists, a whole world of stitches is waiting for you to explore and master. So, grab your hoop and needle, and let’s stitch our way to creative bliss!
Don’t miss a thing!
Follow me on YouTube, Instagram, Facebook, Flipboard, Telegram and Pinterest. On the other hand, you can subscribe to the Practical Embroidery newsletter and get embroidery tips straight to your inbox every week!
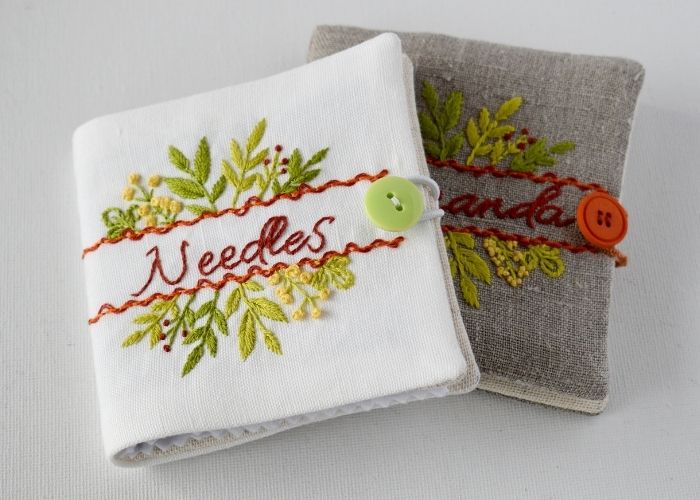
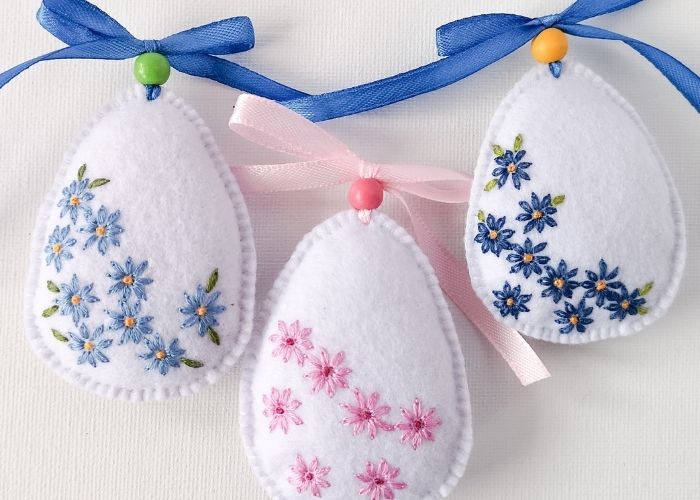
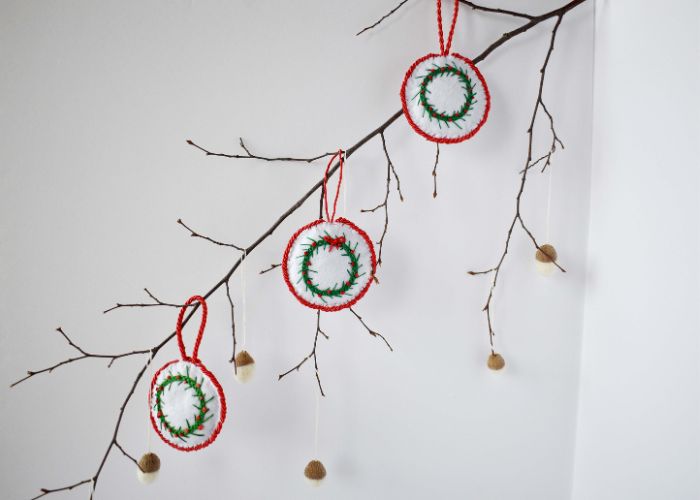
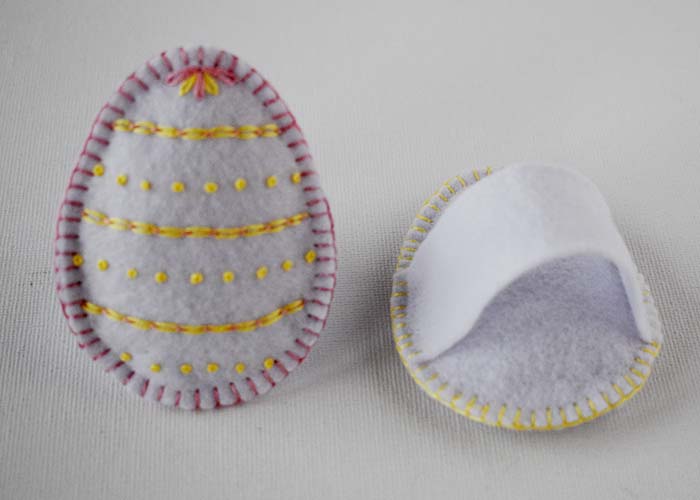
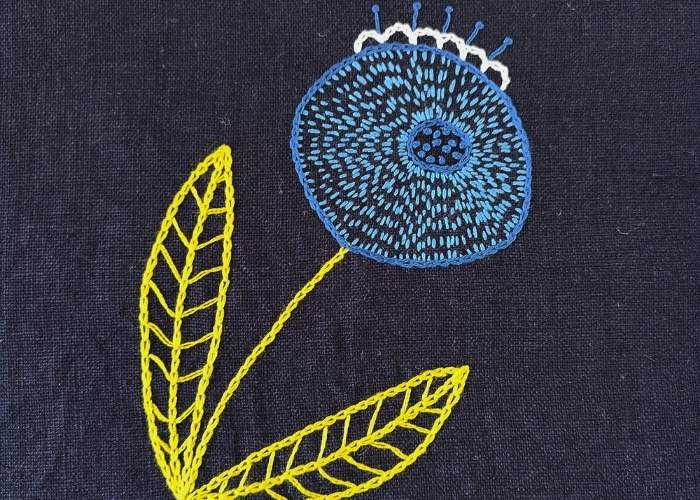
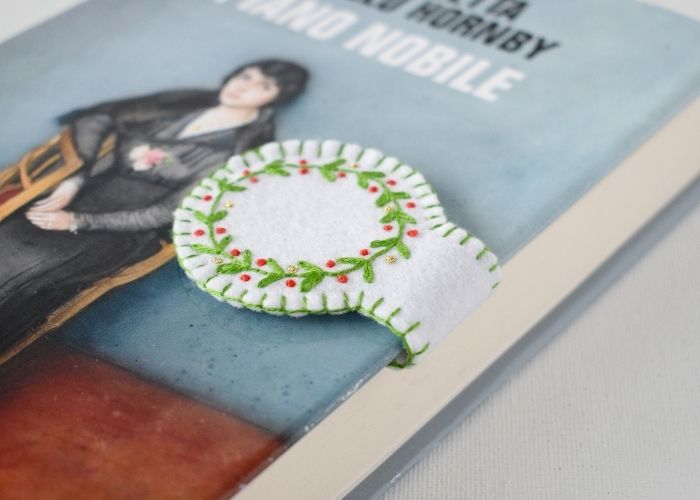
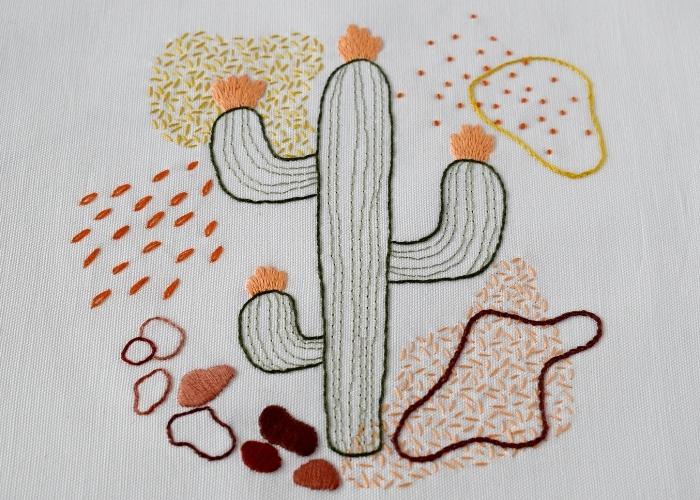
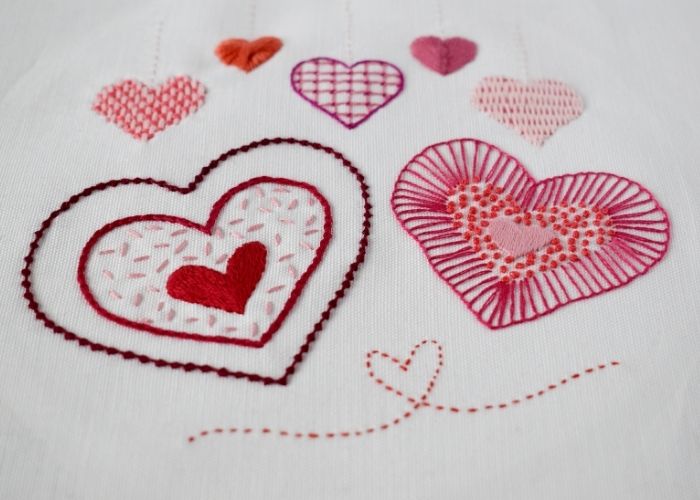
Projects to start practicing French Knots