Hand embroidery stitches for mending
Best embroidery stitches to learn for mending, darning, and adjusting your clothes
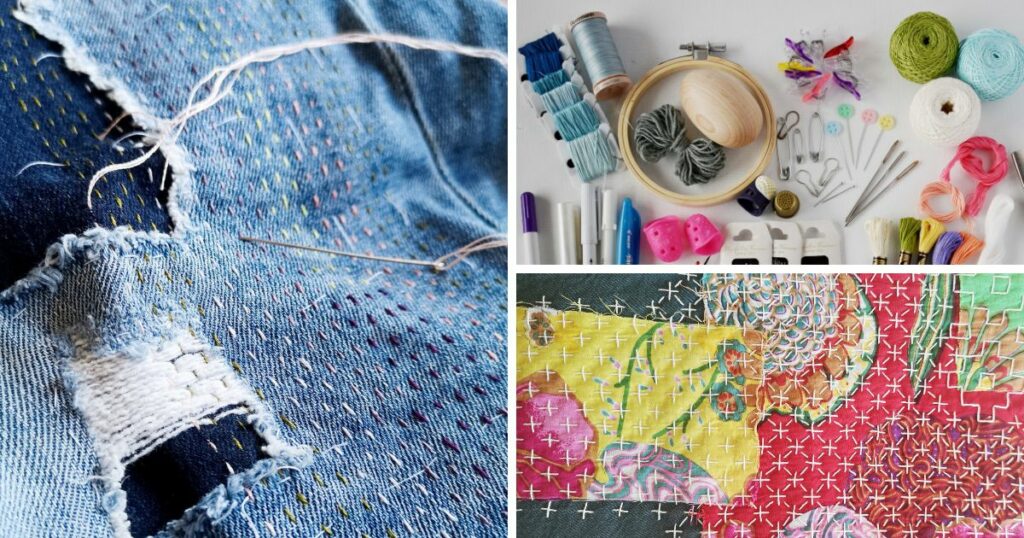
Hand embroidery is an excellent medium for creative means. But, at the same time, it’s a very grounded and practical skill that we can use in our daily lives to patch a hole, darn a sock or repair loved pieces of clothing and prolong their life span.
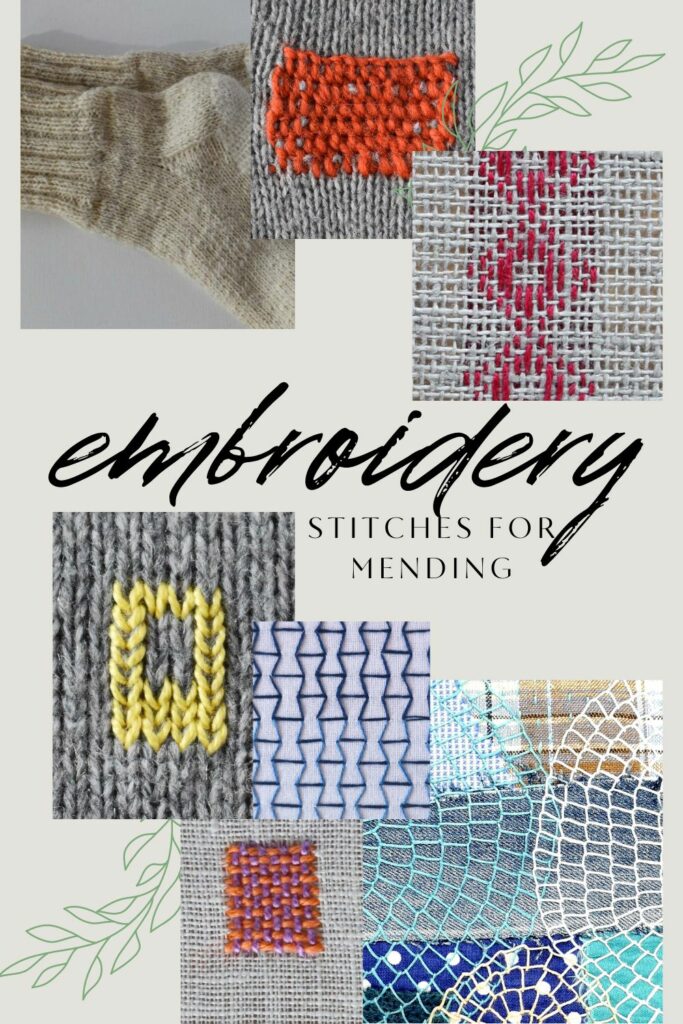
We can use any hand embroidery stitch for mending or embellishing clothing, but some stitches work better than others. So let’s take a look at the embroidery stitches for mending I recommend learning first. I divided these stitches into two main categories – Straight stitches and Looped stitches. Straight stitches are great for non-stretchy fabrics. Looped stitches are better for jerseys, knitwear, and other elastic materials.
Straight stitches
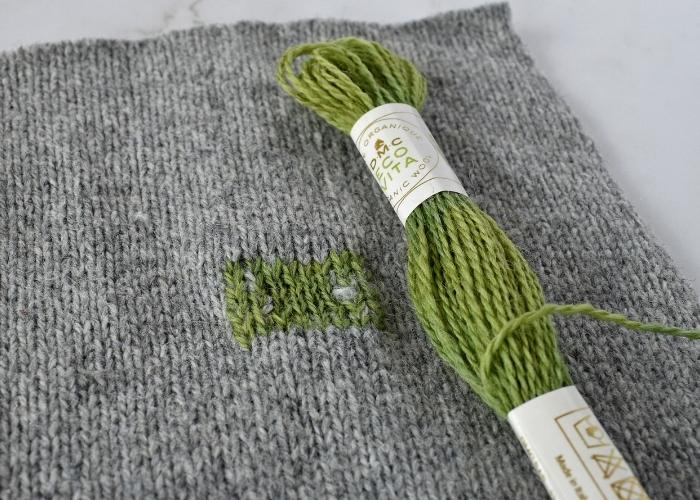
Threads applied in one direction (horizontal or vertical) form straight stitches. These stitches cannot stretch when the fabric is pulled. These stitches are great for woven fabrics like cotton or linen. The mends made with straight stitches are very sturdy and stable. If applied to stretchy fabrics, these stitches can break when pulled, and your mended part can be torn.
Here are some straight embroidery stitches for mending:
Darning stitch
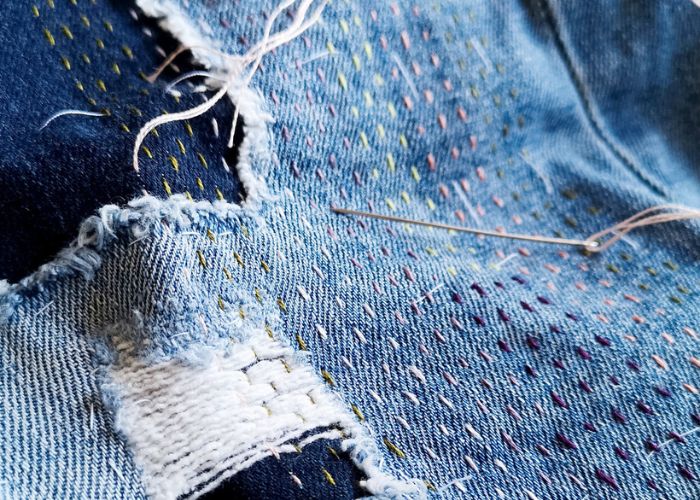
Darning stitch is a variation of the Running stitch and has excellent features for mending. Running stitch is the most basic and straightforward hand embroidery stitch that exists. Yet, it has a lot of variations that we use for mending and darning.
You can strengthen a worn-out fabric with a Darning stitch or attach a patch on top or behind the hole.
The method of this stitch is very straightforward – apply the parallel rows of the Running stitches close to each other to create a dense pattern of straight stitches.
Japanese Sashiko patterns are also created with a Running stitch and could be considered a darning stitch at some point. But that is a separate topic I will not dive into in this article.
Remember that the Darning stitch is not stretchy, so it’s not best for jersey clothes or knitwear. However, some parts of the knit clothes could be adjusted with this method, just not the collar or ankle zones that have to remain elastic.
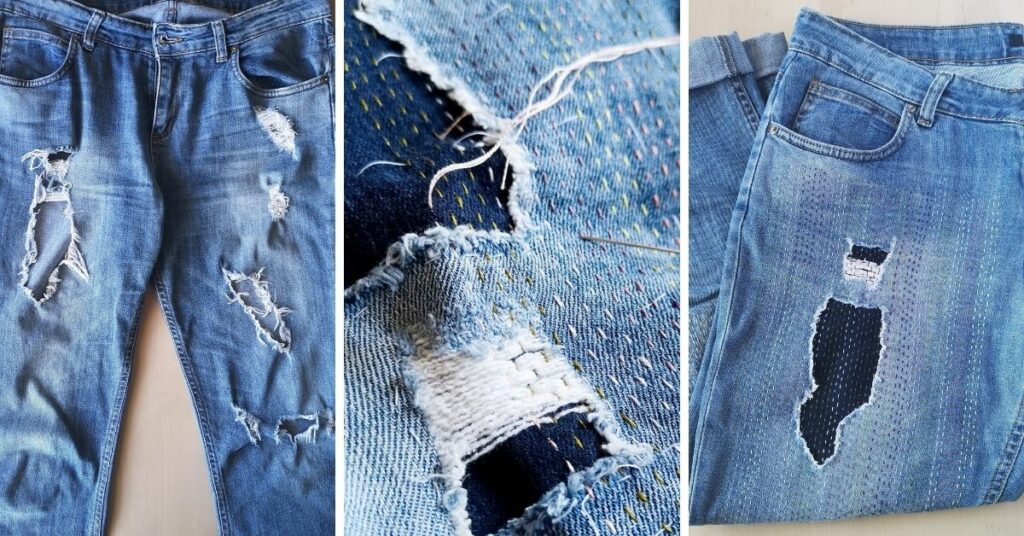
I used the Darning stitch technique in my Jeans mending project. You can read a step-by-step tutorial and use it for your mending project.
You can read more about the Darning stitch or watch a video tutorial to learn it.
Kogin stitch
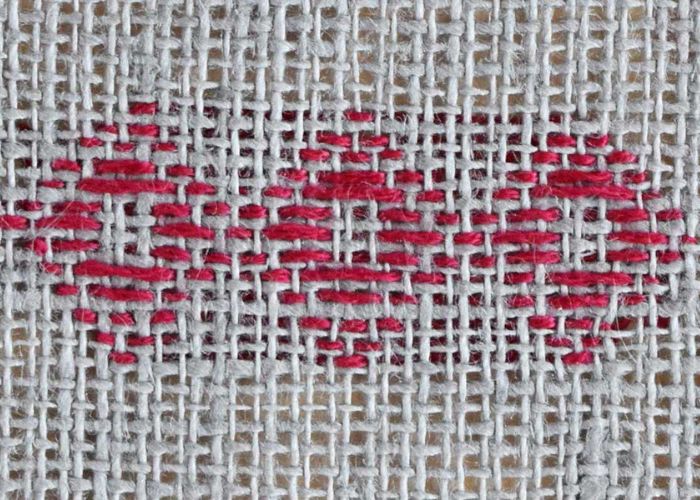
A Kogin stitch is a Darning stitch where the running stitches of different lengths, applied next to each other, form surface patterns.
This traditional Japanese technique is ancient and has millennial traditions. You can find beautiful patterns for Kogin stitches on the Kogin bank website.
You can read more about the Kogin stitch or watch a video tutorial to learn it.
Japanese Darning stitch
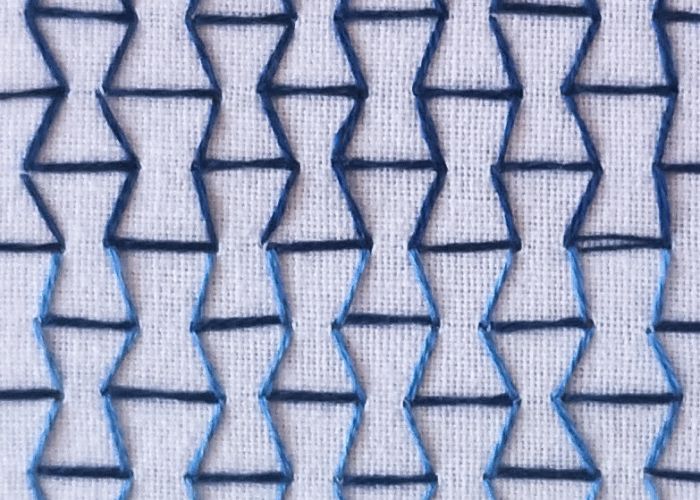
One more beautiful variation of the Running stitch for mending projects is a Japanese darning stitch. The method of this stitch is more complex – first, we apply the horizontal lines of Running stitches and then – add vertical lines that create a beautiful geometric pattern. This stitch is more decorative and sturdy than a simple Darning stitch.
Use it to emphasize the mend and show it to the world.
You can read more about the Japanese Darning stitch or watch a video tutorial to learn it.
Weave stitch (Woven stitch)
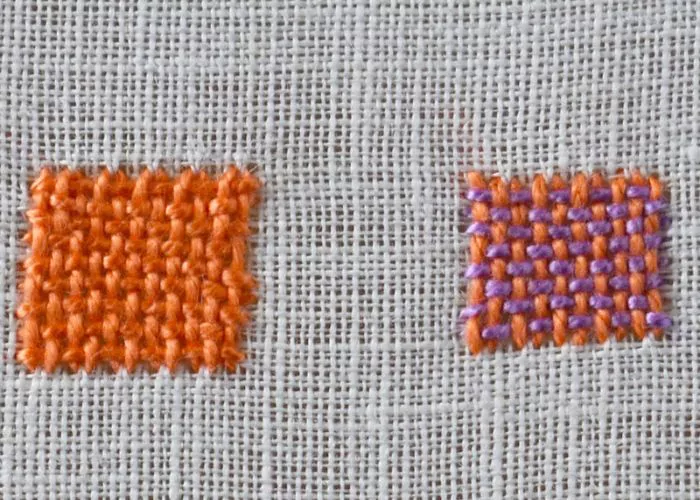
This beautiful stitch is something in between embroidery and weaving. First, stitches are made in horizontal or vertical, parallel lines. Then, the other stitches are made vertically or horizontally, weaving through the horizontal/vertical stitches at a straight angle.
This stitch is widely used for mending as it can recreate the missing parts of the fabric and cover the hole completely.
You can opt for the invisible mend and use the same threads as the fabric for mending, or you can go bold and create colorful patterns.
Also, you can change the weaving style and make twill, basket, or satin weaves instead of plain weaving.
You can read more about the Weave stitch or watch a video tutorial to learn it.
Looped stitches
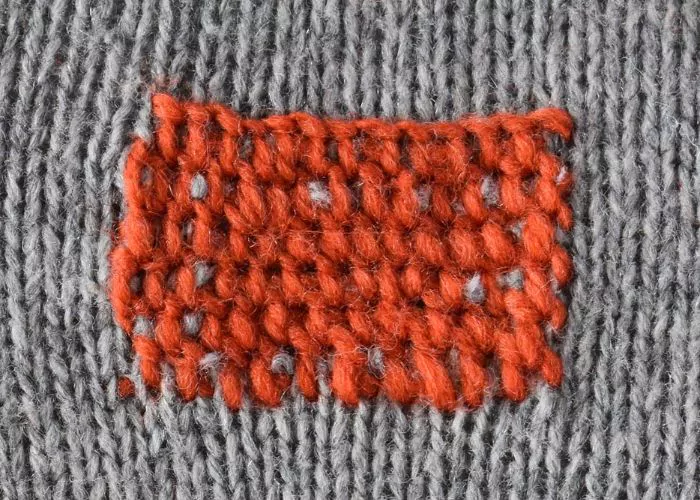
Looped stitches are created when the stitch is made in two directions simultaneously – the horizontal part of the stitch is looped with a vertical component of the stitch. This method gives these stitches the benefits of being elastic and stretchy. These properties are essential for mending knitwear, jersey, or elasticized fabrics.
Here are some options for elastic stitches:
Blanket stitch
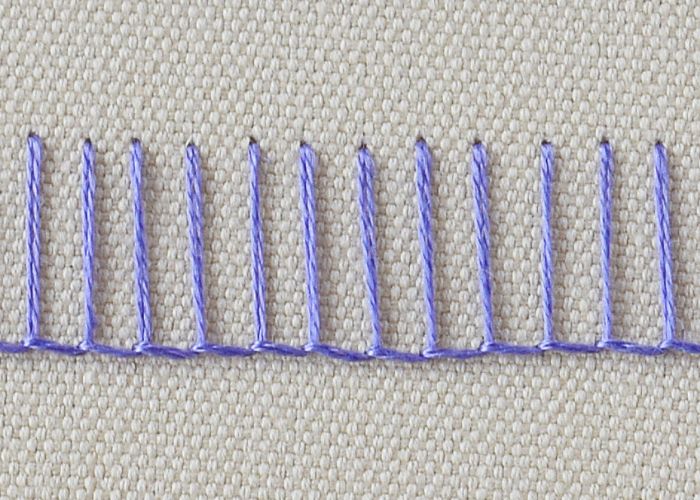
Basic Blanket stitch is excellent for adjusting hems or any textile edge. Also, this is a great stitch for sewing appliques or patches to garments. This stitch creates a horizontal line with the legs, formed from L-shaped stitches. Therefore, we can adjust the length of the legs and the density of the stitches for different aesthetics.
You can read more about the Blanket stitch or watch a video tutorial to learn it.
Blanket stitch filling
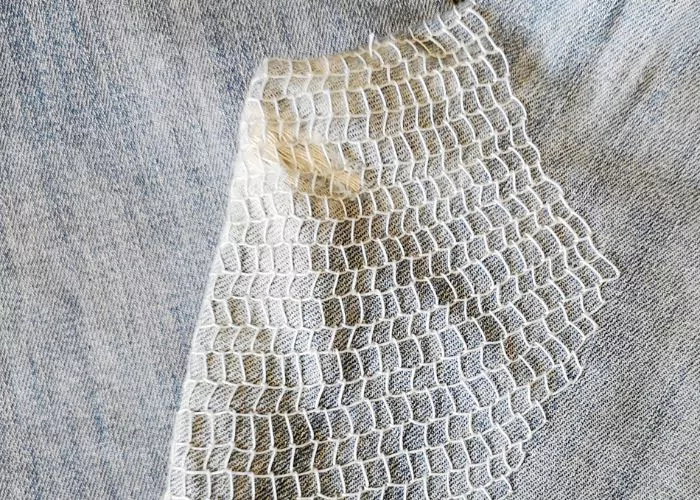
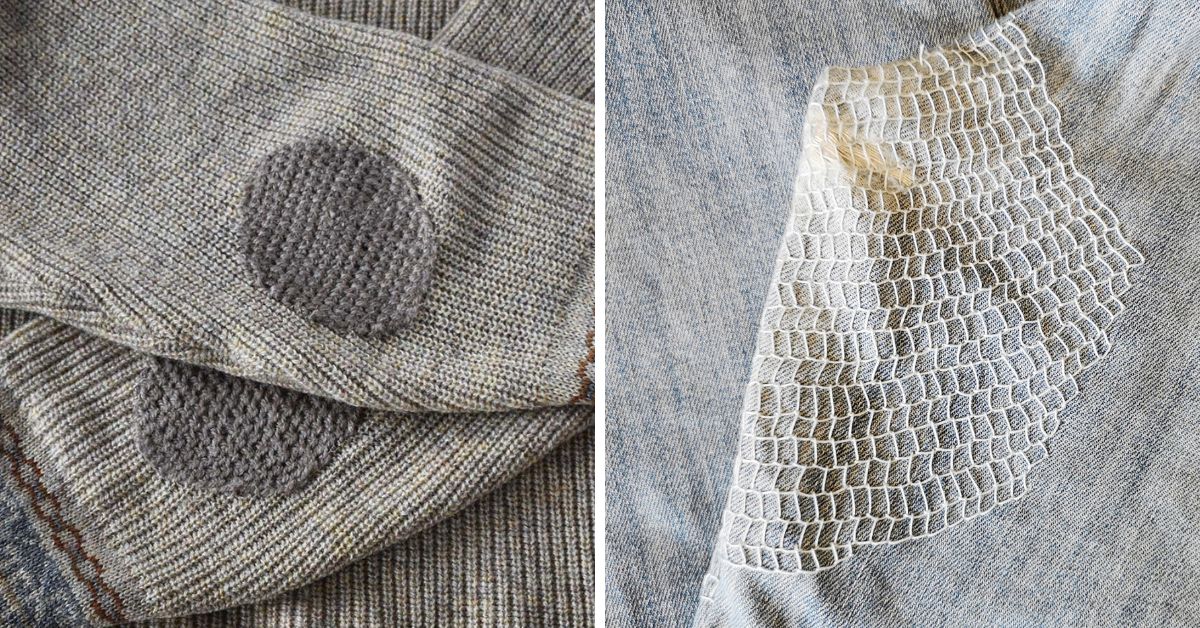
When the rows of the Blanket stitches are applied next to each other, it creates a net-like pattern. This stitch is great for reinforcing the worn-out fabric or adding patches. I use this stitch for mending projects because it’s stable, stretchy, and adds a nice texture to the repaired pieces.
You can read more about the Blanket stitch filling or watch a video tutorial to learn it.
Blanket stitch filling in Circles
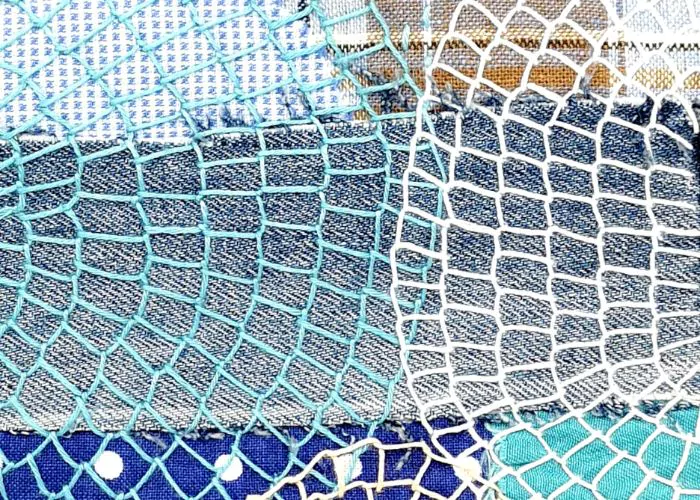
If you form the rows of the Blanket stitches in circles instead of straight lines, this will form beautiful circular nets. These Blanket stitches are stretchy and very decorative.
You can read more about the Blanket stitch filling in circles or watch a video tutorial to learn it.
Buttonhole stitch
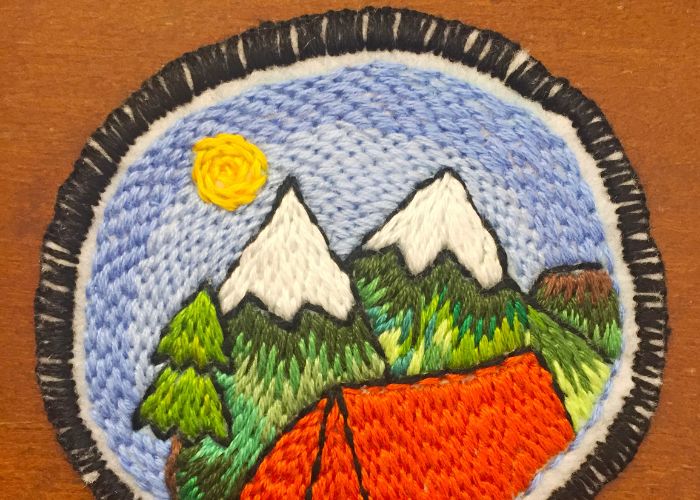
Buttonhole stitch is our first choice when fixing a broken buttonhole. This stitch has a robust edge that is great for heavily used areas like buttonholes. Besides that, it’s a great stitch for the edges of the patches.
You can read more about the Buttonhole stitch or watch a video tutorial to learn it.
Scotch darning stitch
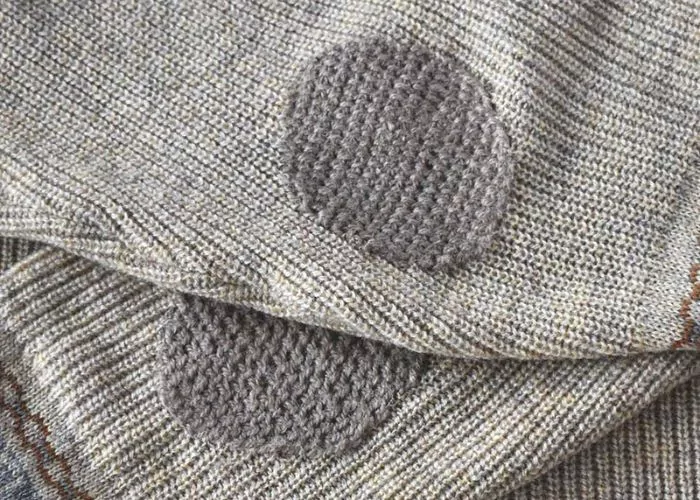
Scotch darning stitch is incredibly widely used when darning knitwear. This stitch creates a robust and secure mend and is perfect for mending the heels of socks and the elbows of sweaters – parts that suffer from most wear.
Mending areas are robust and stable and can cover the hole completely. Still, this stitch is stretchy enough for the knitwear.
You can read more about the Scotch darning stitch or watch a video tutorial to learn it.
Duplicate stitch
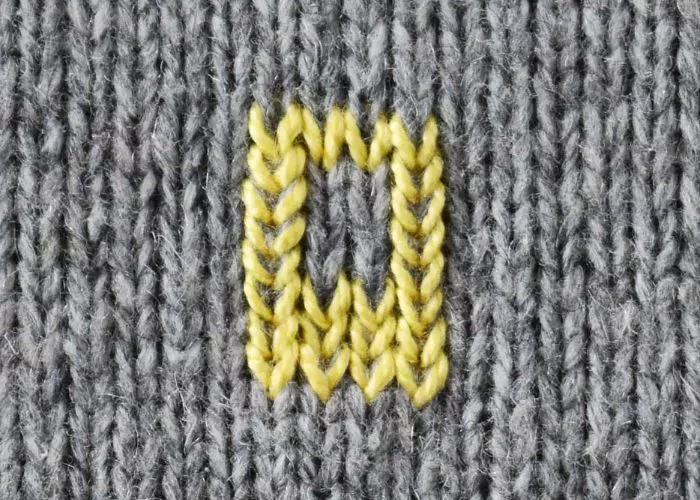
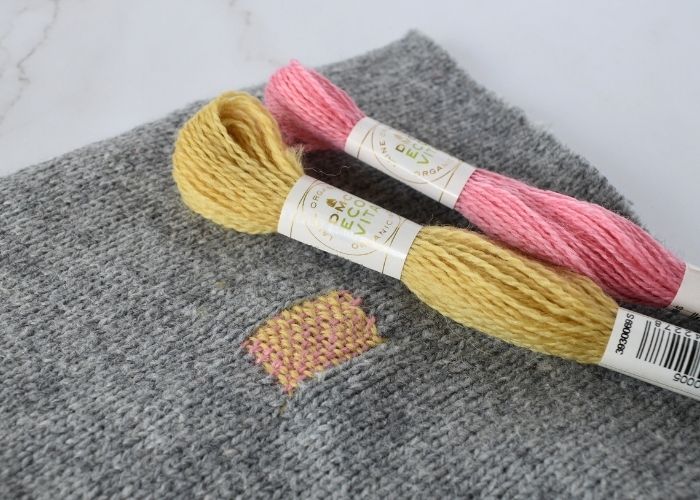
One more stitch for the knitwear mends is a Duplicate stitch, also called Swiss darning. This stitch repeats the A or V stitches from the knitting stockinette stitch, making the knitwear’s darning invisible. On the other hand, you can choose colorful threads and make the stitches stand out.
You can read more about the Duplicate stitch or watch a video tutorial to learn it.
Final thoughts
The ability to mend clothes we wear is an essential skill. It can help us save some money, lower our environmental impact and allow us to stay away from fast fashion and consumerism.
Besides that, it is a very meditative and fun practice!
Don’t miss a thing!
Follow me on YouTube, Instagram, Facebook, Flipboard, Telegram and Pinterest. On the other hand, you can subscribe to the Practical Embroidery newsletter and get embroidery tips straight to your inbox every week!
