How to Embroider Stars and Sparkles: Hand Embroidery Stitches + Free Sampler Download
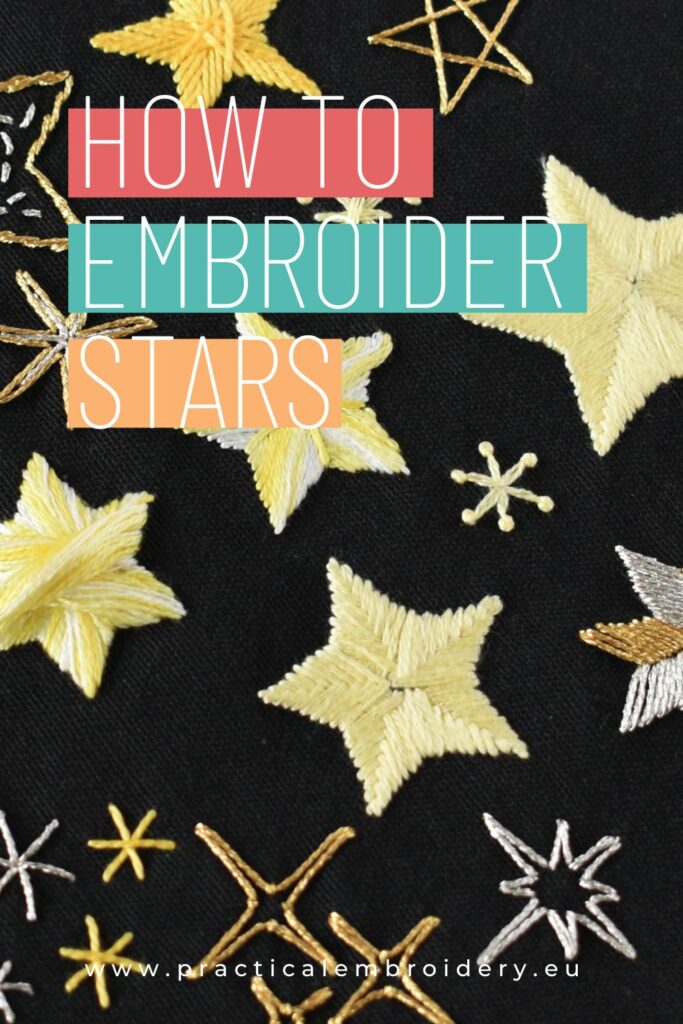
Stars and sparkles are traditional needlework motives in modern embroidery. We use them in festive and Christmas embroidery, for mending and embellishing garments, in hoop art, and many other types of surface embroidery. Learn how to embroider stars and you will be able to incorporate these motives in your original embroidered art, add a new mending technique to your tool kit, or embellish your Christmas cards.
Ready to learn how to embroider stars and sparkles? Download my free “17 Stars to Embroider” sampler and follow a video tutorial to stitch along with me.
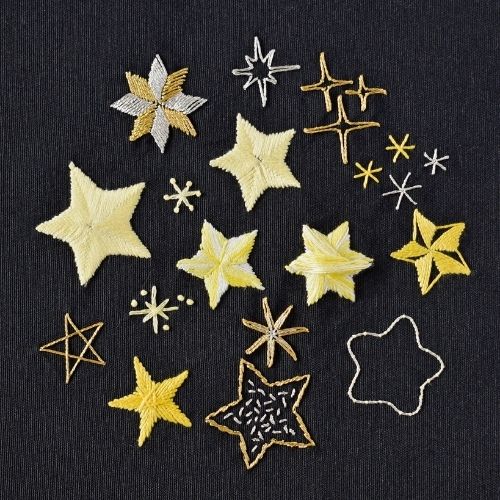
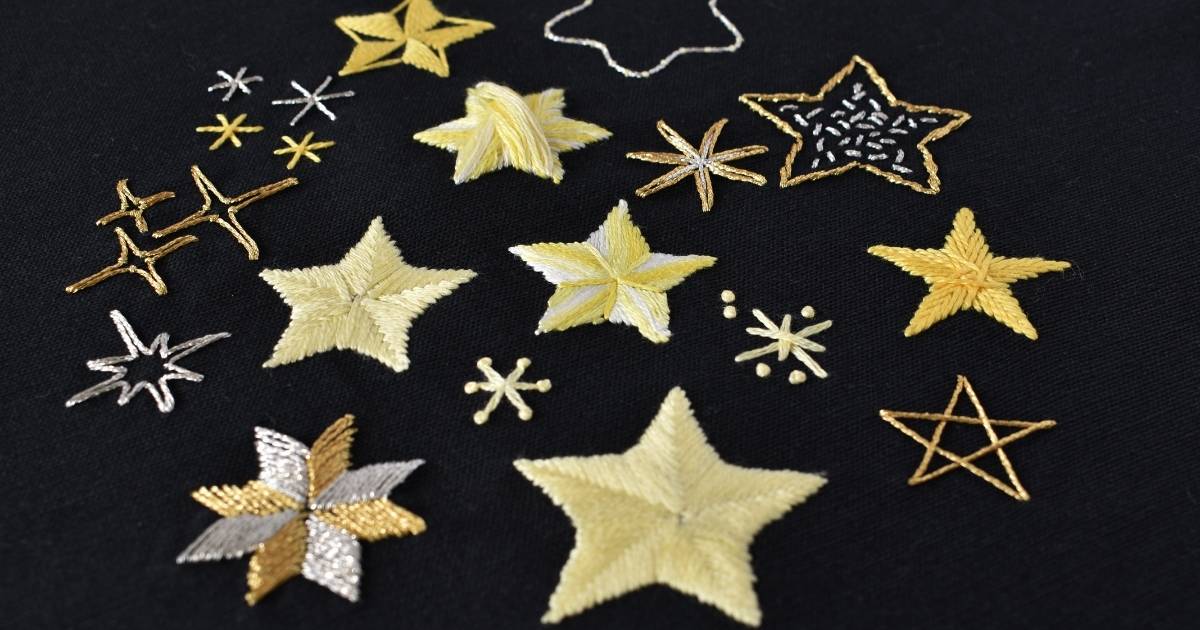
How to embroider stars: 17 Stars to embroider sampler
If you want to practice stitching all these beautiful stars with me, download a free PDF sampler, and let’s stitch together!
Tolls and materials
- Printed sampler of “17 Stars to Embroider“.
- Fabric. Choose natural, even weave fabrics for hand embroidery. Linen and cotton blends are the most simple to work with. I used black cotton blend fabric.
- Embroidery hoop. I used an 18 cm hoop. You can resize the pattern if needed.
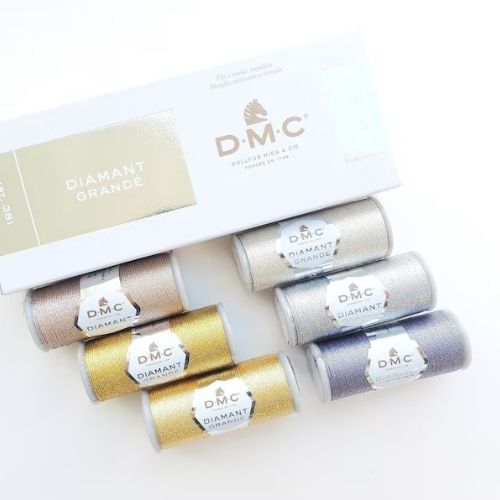
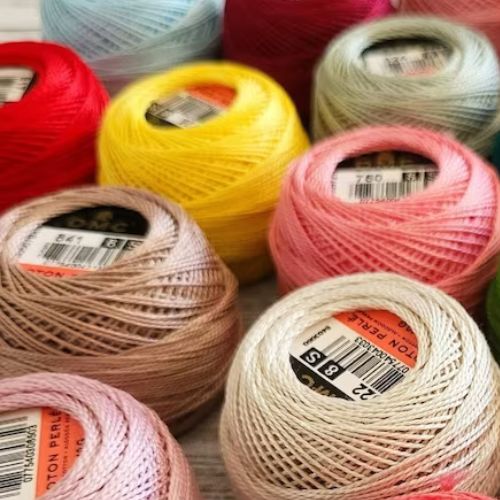
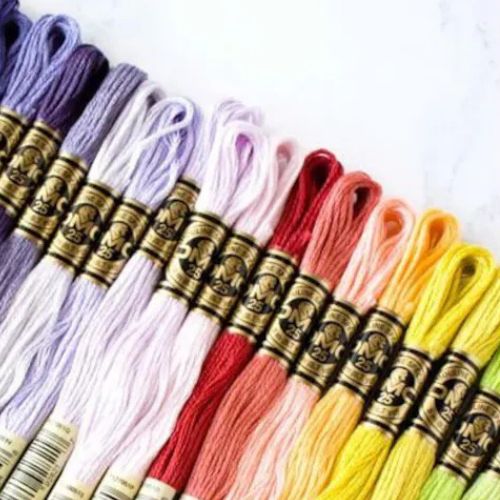
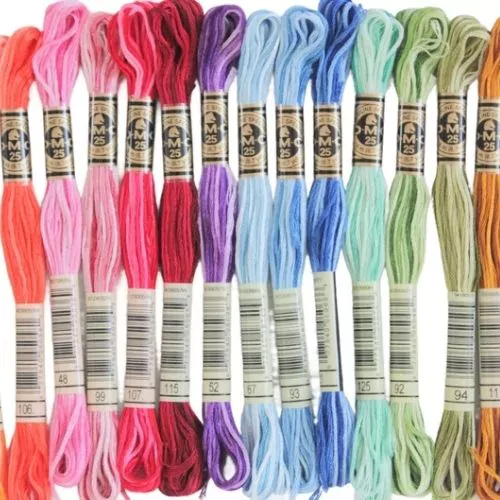
- Embroidery floss. I used golden and silver DMC Diamant Grande (G168 and G3821), Yellow Pearl cotton #8 by DMC (726), DMC Variegated floss Morning Sunshine (4077), and very light golden yellow floss (3078).
- Embroidery scissors.
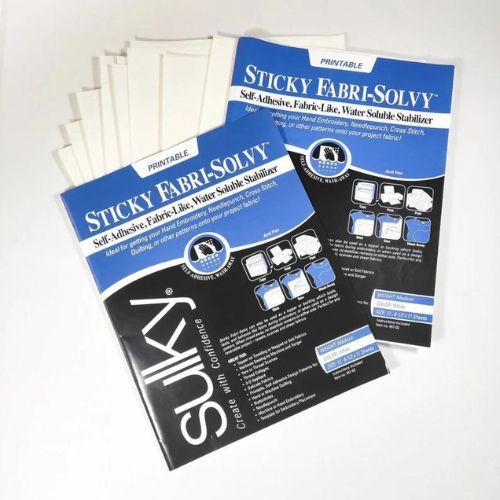
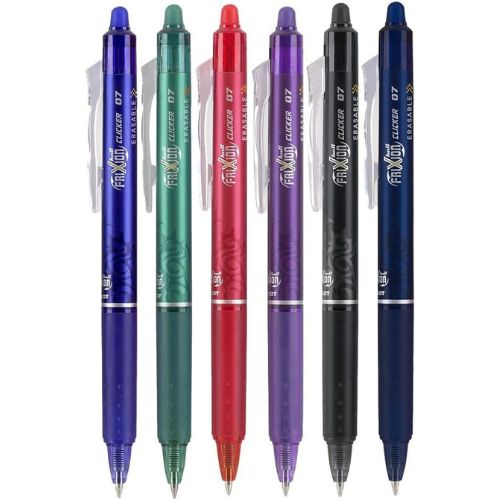
- Friction pen and water-soluble stabilizer for pattern transfer.
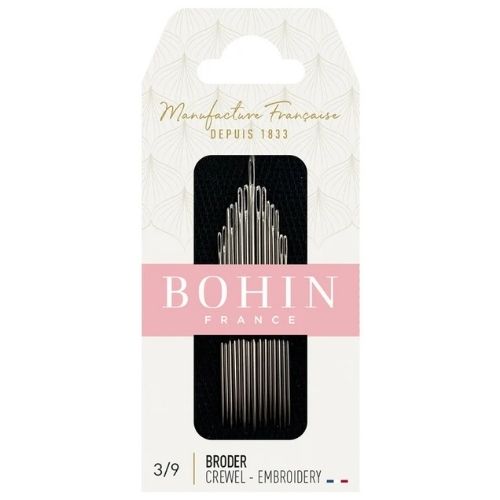
- Embroidery needles.
Video Tutorial
Recommended Products
Disclaimer. To cover the cost of creating free embroidery patterns and video tutorials for this blog, I do sometimes link to products. Please assume these links are affiliate links. If you choose to buy through my links then THANK YOU! – it will make it possible for me to keep doing this.
How to embroider stars – hand embroidery stitches to use
There are various shapes and sizes of the stars and many ways how to embroider stars and sparkles. For this tutorial, I paired the most common shapes of the stars with hand embroidery stitches that were most convenient for stitching them and placed them in one sampler.
Here are the star shapes and stitches I used in the “17 Stars to Embroider” sampler.
Woven Star Stitch outline
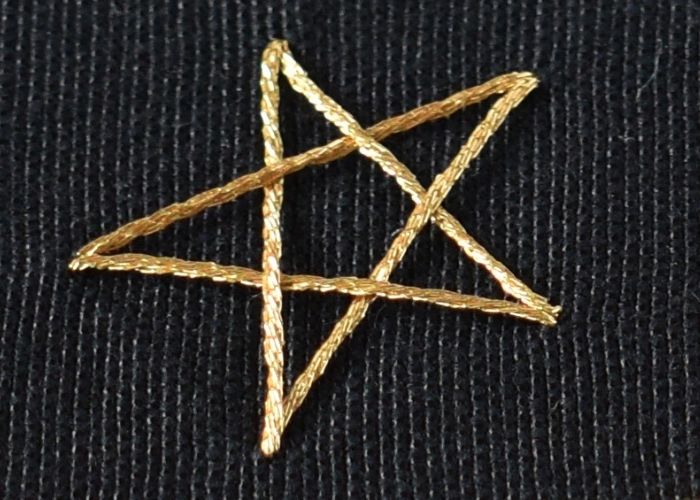
A Woven Star Stitch outline is one of the simplest ways to embroider stars. This stitch will work great for five and six-pointed stars.
You will find a detailed Woven Star Stitch step-by-step embroidery tutorial and Woven Star Stitch video guide in the library of embroidery stitches on this blog.
Woven Star Stitch filling
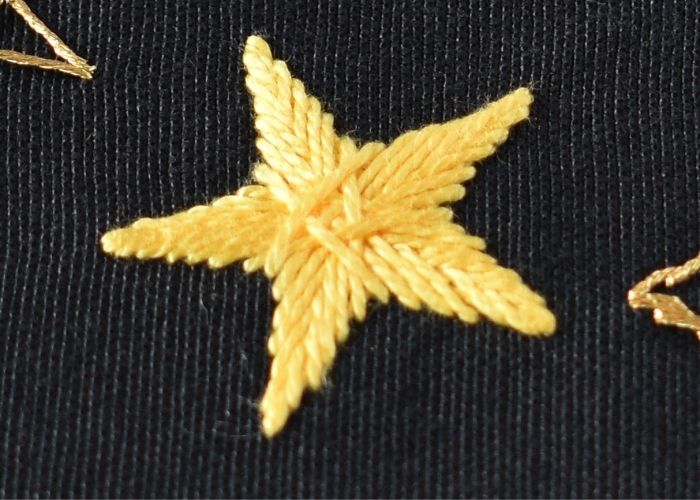
Woven Star Stitch filling is a variation of the Woven Star stitch, where many layers of the stitch are repeated to fill the shape of the star. You can embroider five or six-pointed stars with this technique.
Raised Fishbone Stitch
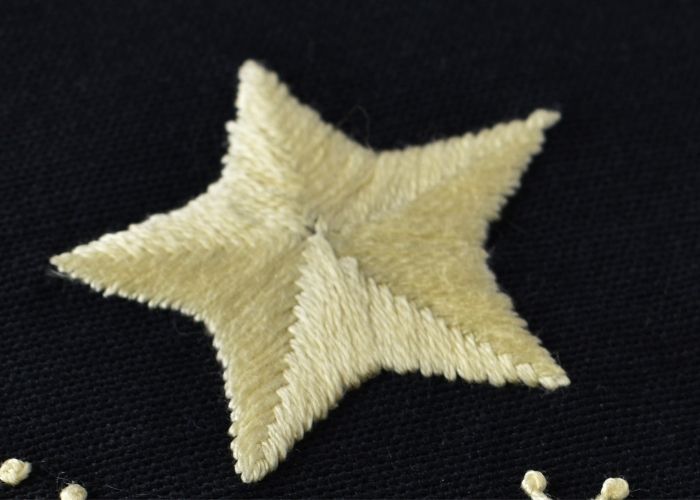
If you are looking for a way how to embroider a star that will stand out and fully cover the fabric, Raised Fishbone Stitch is a great choice. This embroidery stitch will work great for five and six-pointed stars with a symmetrical form, where all the rays are of the same size.
You will find a detailed Raised Fishbone Stitch step-by-step embroidery tutorial and Raised Fishbone Stitch video guide in this blog’s library of embroidery stitches.
Satin Stitch in two colors
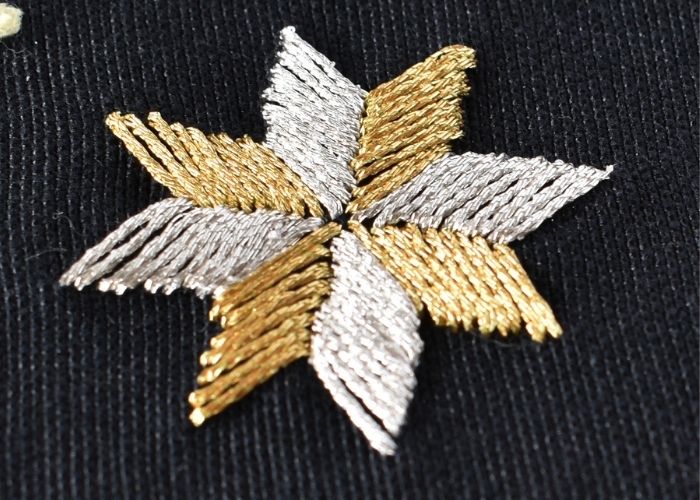
If you are looking for the most straightforward method of embroidering stars – use the Satin Stitch. This embroidery technique allows for various layouts and configurations that result in stars with multiple looks. I used two thread colors for this star and filled the shapes with diagonal Satin stitches.
You will find a detailed Satin Stitch step-by-step embroidery tutorial and Satin Stitch video guide in the library of embroidery stitches on this blog.
Double Cross Stitch
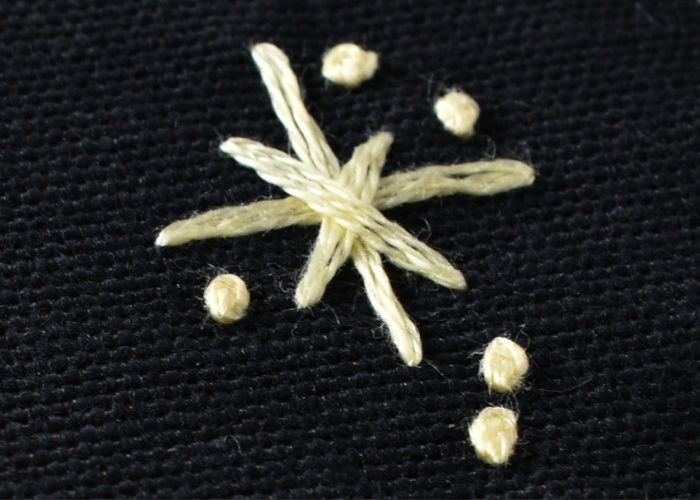
Double Cross Stitch is one of the most simple and fast ways to embroider basic stars and sparkles. Two pairs of Cross Stitch are positioned one above the other to create a simple star shape. I added French knots to the design to add flair and visual interest to this star.
Pistil Stitch
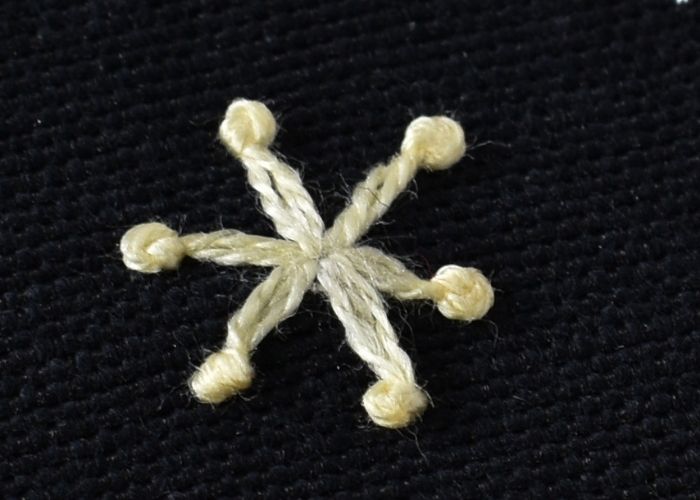
It is another fast and simple way to embroider a basic star, snowflake, or sparkle.
Pistil Stitches, positioned in a circle, will create a star shape. You can vary the number of spokes, lengths, and positioning of the stitches to create interesting shapes.
You will find a detailed Pistil Stitch step-by-step embroidery tutorial and Pistil Stitch video guide in the library of embroidery stitches on this blog.
Satin Stitch
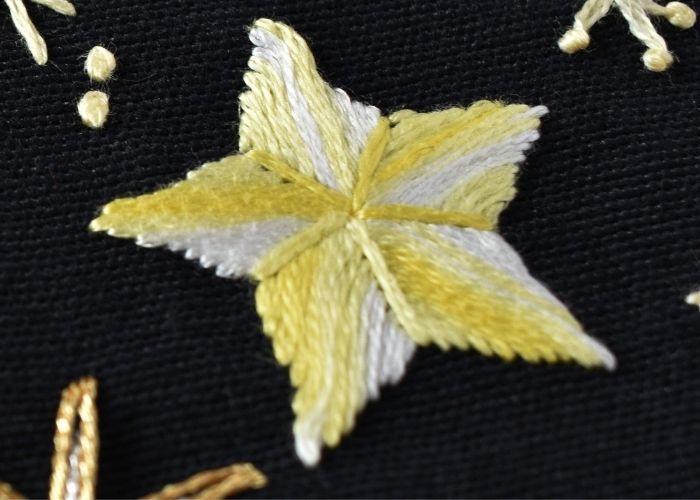
One more example of how to embroider stars with Satin Stitch. In this case, all the satin stitches are positioned in the same direction towards the center.
This embroidery method will work for small and medium stars with a regular shape. If the star is bigger than 2-3 cm, consider other stitch options, as the central stitches will be too long and might lose their shape after washing or wearing.
Combination of the Seed Stitch & Stem Stitch
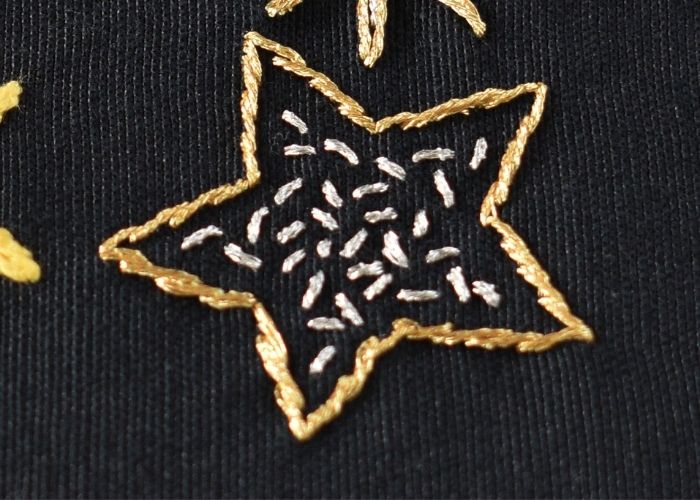
I combined Seed Stitch filling in the center and the Stem Stitch outline to embroider this star. This combination of the stitches will work for any shape and size of the star. For the outlines, you can substitute the Stem stitch with a Whipped Backstitch, Split Backstitch or with a Split Stitch. Keep in mind that metallic thread is rather challenging to work with; therefore, avoid split stitches if you work with metallic threads.
If you need some help, the Seed Stitch step-by-step tutorial and Seed Stitch video guide will help you with filling, and the Stem Stitch step-by-step guide and Stem Stitch video tutorial will assist you with Stem Stitch.
Double Eyelet Star Stitch
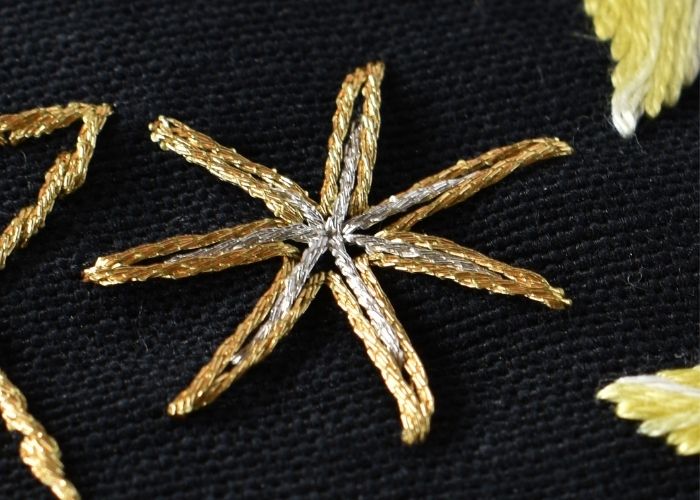
This combination of the Eyelet Star Stitch and Straight Stitch creates an effortless yet decorative star, snowflake, or sparkle. First, embroider the Eyelet Star stitch, and then – add straight stitches to double the rays of the star. This stitch will look especially decorative if you embroider it with metallic threads.
Take a look at the Eyelet Star Stitch step-by-step tutorial or an Eyelet Star Stitch Video tutorial for more guidance and embroidery tips.
Rhodes Stitch
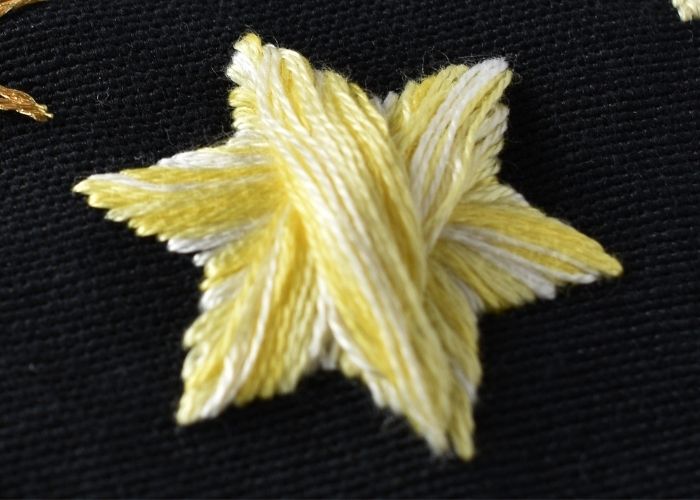
Rhodes Stitch is an embroidery filling technique that you can use to embroider symmetrical shapes. This stitch is made by adding straight stitches close to each other and filling the shape this way. This technique will create a bump of the threads in the shape’s center, adding volume and dimension to the star.
Rhodes Stitch will work for symmetrically shaped, small stars. Keep in mind that this stitch uses a lot of thread. Also, if you make the star bigger, long threads on the surface of the stitch are not suited for frequent washing or wearing.
You will find a detailed Rhodes Stitch step-by-step embroidery tutorial and Rhodes Stitch video guide in this blog’s library of embroidery stitches.
Couching Stitch
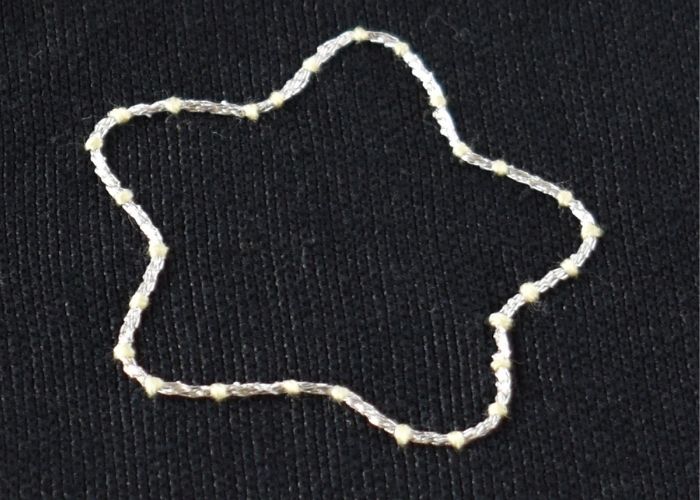
Couching Stitch is an excellent technique to embroider a star of any shape or size. You can play with various laid and couching thread combinations to create festive or bold designs. In my sampler, I opted for a metallic laid thread and embroidery floss for couching.
You will find a detailed Couching Stitch step-by-step embroidery tutorial and Couching Stitch video guide in this blog’s library of embroidery stitches.
Herringbone Stitch
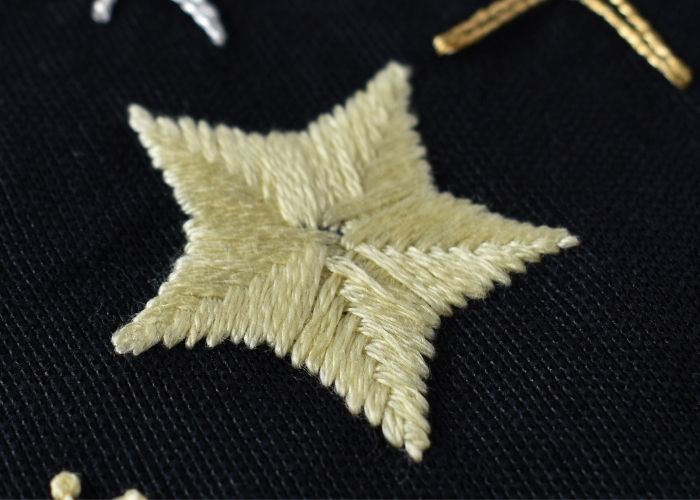
Herringbone Stitch, embroidered in a circle is an excellent choice for filled stars. You can embroider the rays of the star separately (as I did in a Raised Fishbone Stitch star example), or you can embroider the entire star in a circular movement. This embroidery technique will work great for symmetrical five or six-pointed stars.
If you need to refresh the technique, take a look at the Herringbone Stitch step-by-step embroidery tutorial and Herringbone Stitch video guide in the library of embroidery stitches on this blog. Also, Herringbone Square embroidery tutorial and Herringbone Square video guide might be helpful.
Backstitch
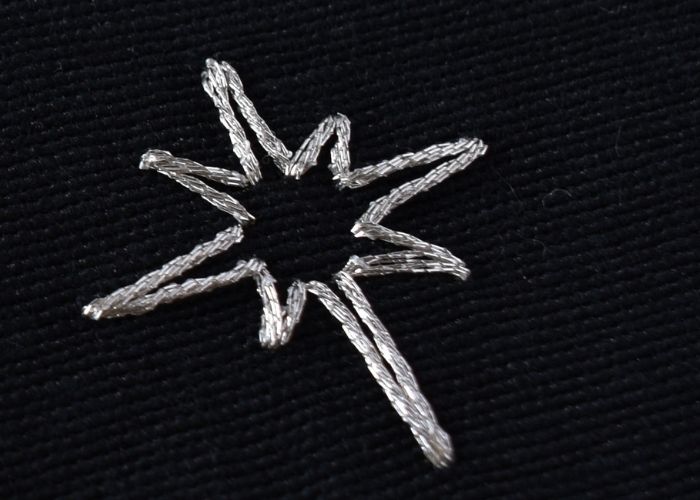
If you are looking for a simple and fast way how to embroider star, opt for a Backstitch. This technique will work with any shape or size of the star.
In this example, I used long stitches to make a small star, but you can use more than one stitch per side and embroider stars of any dimension and shape.
Fly Stitch
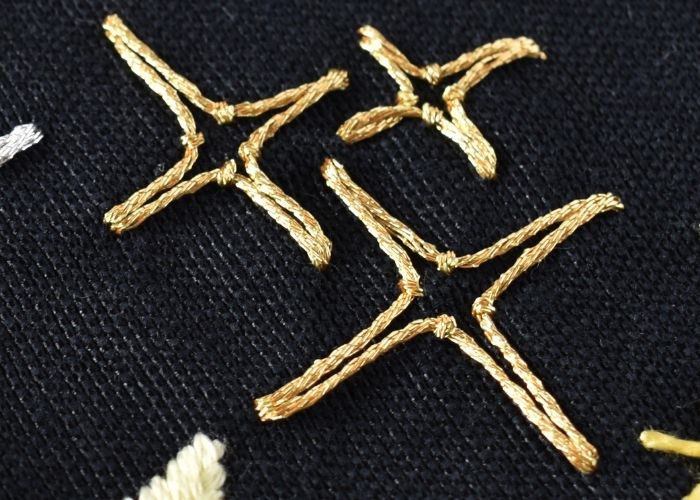
Fly Stitch is a great embroidery technique for depicting sparkles and stars. Positioned in the round, fly stitches will create a star of any size or shape. You can make Fly Stitch into four-pointed sparkles or five – six-pointed stars.
You will find a detailed Fly Stitch step-by-step embroidery tutorial and Fly Stitch video guide in the library of embroidery stitches on this blog.
Star Stitch
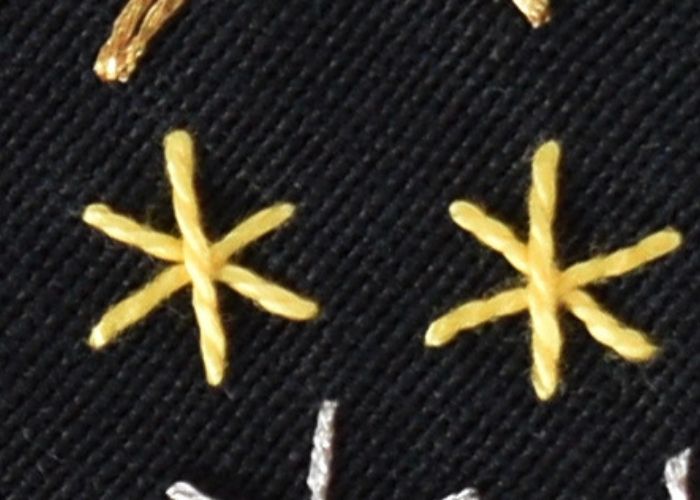
Star Stitch is the most straightforward way to depict a small, simple star. Crossing straight stitches will form the stars with an even number of spikes.
Use this technique when you need to add small decorative stars or snowflakes to the design.
On this blog, you will find a detailed Star Stitch step-by-step embroidery tutorial and a Star Stitch video guide in the library of embroidery stitches.
Eyelet Star
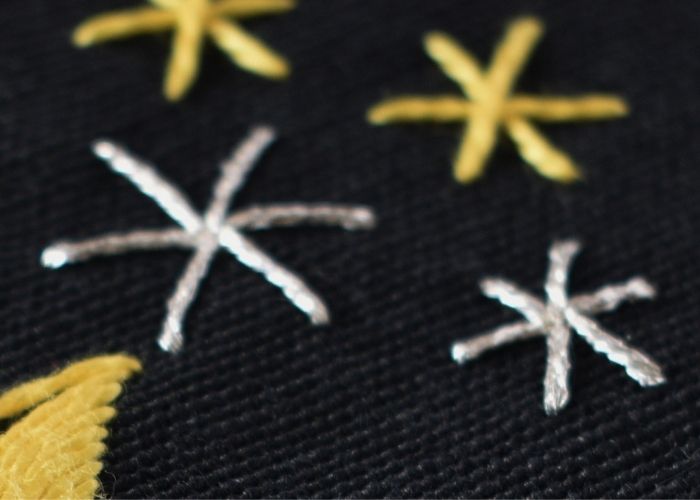
Eyelet Star is another embroidery technique that creates small, simple stars. This stitch is made by positioning straight stitches around the center. It allows for making stars of irregular shapes with any number of spikes of various lengths.
You will find a detailed Eyelet Star Stitch step-by-step embroidery tutorial and Eyelet Star Stitch video guide in the library of embroidery stitches on this blog.
Satin Stitch – half filling
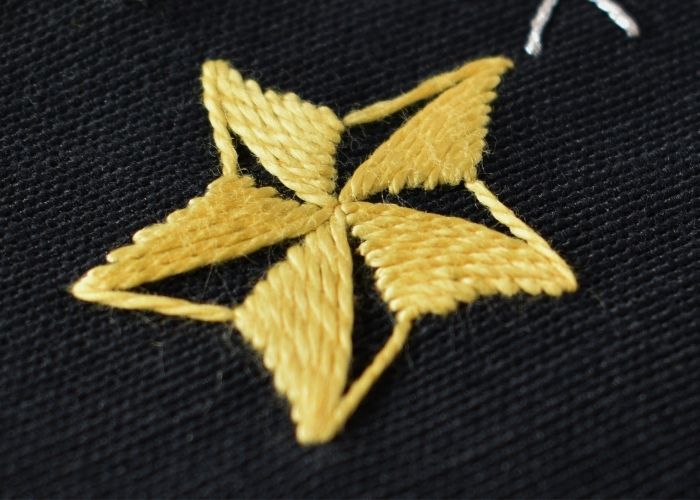
In this variation of the Satin Stitch star, I used Satin Stitch to fill only half of the shape. This creates a different visual effect and requires less time stitching and less thread.
Over to you
Stars and sparkles are fun to embroider and add that special touch to any hand embroidery design. Learn how to embroider stars, and you can have fun stitching Christmas designs, embellish or mend your clothing, or create original hoop art with cosmic motives.
Download the free sampler below and start stitching!
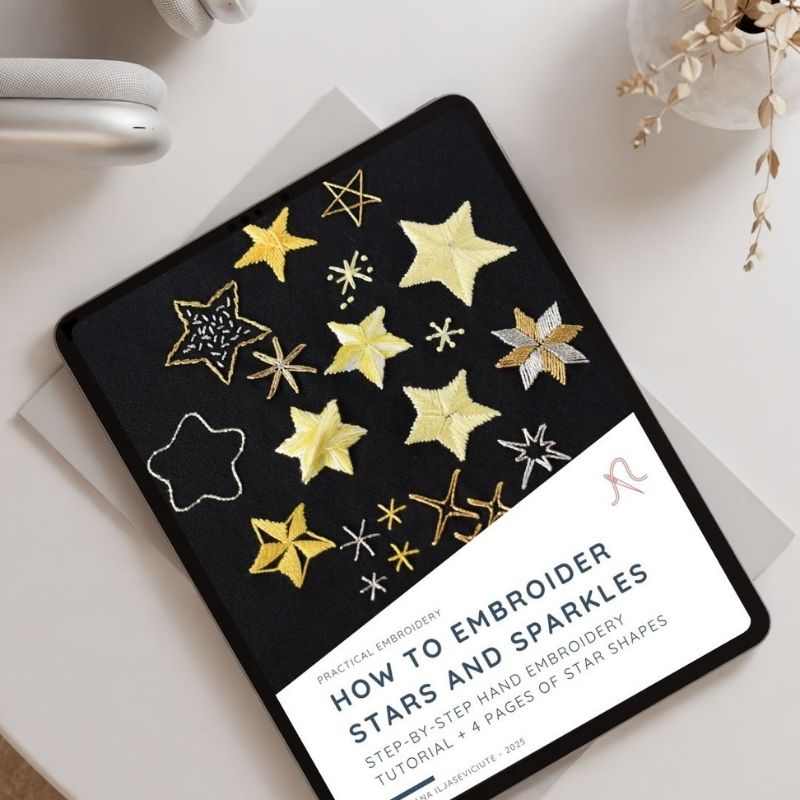
Need more star shapes for your projects? Check out this PDF – “Stars to Embroider”. You will get free sampler + four pages of Star shapes of various shapes and sizes for your hand embroidery projects.
Bonus: get the Ad-free, printable PDF tutorial!
Why get the PDF?
- Printable pattern, Stitch guide, embroidery instructions and Step-by-step of every stitch – all in one convenient PDF.
- Save it forever – no need to search for the tutorial again; download once and keep it on your device.
- Print & stitch anywhere – take it to your craft room, stitch on the go, or add it to your embroidery workbook.
- Clean, ad-free layout – focus on learning without distractions.
- Support future tutorials – your purchase helps me create more free content!
More stitch samplers to practice hand embroidery
