Mending tools and materials
What you need to get started with visible mending
Mending and Repairing
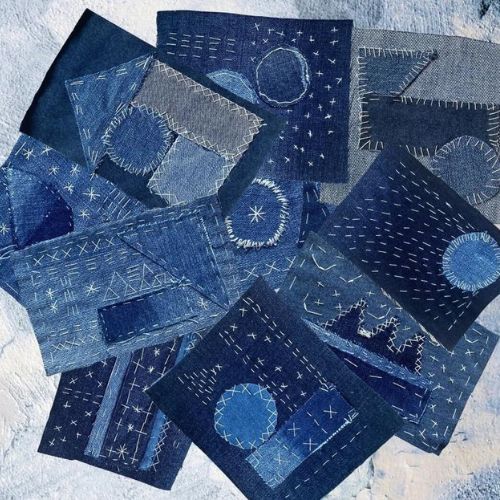
Mending and repairing clothes were standard practices throughout the centuries. Our ancestors valued the work put into creating the garments and cared for their clothes well. Simple mending tools and materials were used. Traditional mending and darning techniques like Sashiko, Boro, Kogin, patchwork, and applique were born to preserve clothes and make them last.
The rise of mass production in the 20th century and the fast fashion industry, characterized by low-quality clothing at affordable prices, has disrupted these age-old traditions of repairing and adjusting clothes. Modern consumers have lost the knowledge of how to mend clothes and find it easier to dispose of damaged garments and buy new ones.
The world now consumes about 80 billion new pieces of clothing every year. This is 400% more than the amount we consumed just two decades ago.
Fashion Revolution, ‘Can we mend our relationship with repairing clothes? – #MendItMay’
“A mountain of discarded clothes in the Atacama Desert of northern Chile has reached such huge proportions that it can be seen from space.” And this colossal garment pile is growing by about 39,000 tons a year. Says the headline of an article on space.com
As we face the environmental impact of fast fashion, there is a renewed interest in the practices of the past. Embracing mending tools and materials not only helps reduce waste but also reconnects us with the craftsmanship our ancestors cherished. As we reconsider our relationship with clothing, the lessons from history remind us that repairing and adjusting clothes can be both sustainable and fulfilling.
So, what can we do about it?
Learn basic mending skills
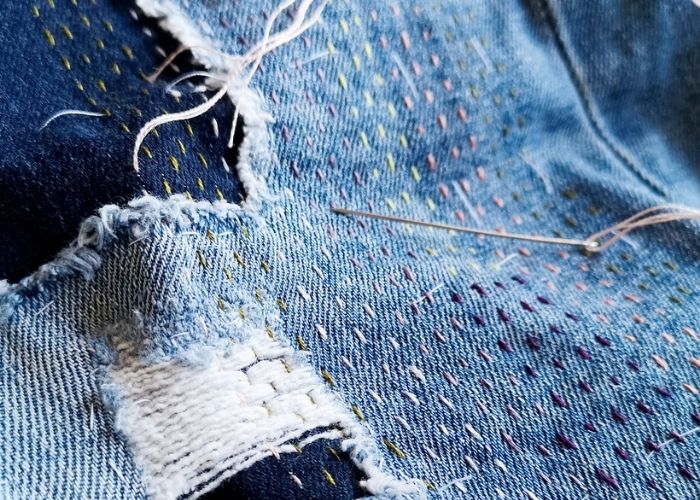
Mending and repairing clothes may seem like a highly complicated task.
But fear not! Core sewing and embroidery skills will help you to repair most of your clothes.
Where to start learning?
- Learn survival sewing skills with the lessons from Repair What You Wear.
- Read a book about mending. One of my favorites – “Mending Matters: Stitch, Patch, and Repair Your Favorite Denim & More” by Katrina Rodabaugh.
- Read the article “Hand Embroidery Stitches for Mending” on this blog, watch the video tutorials it includes, and learn embroidery stitches for visible mending.
- The guide “Embroidery Mending Basics: Beginner’s Guide to Sustainable Wardrobe” will help you make the first steps in mending.
Choose the method of mending
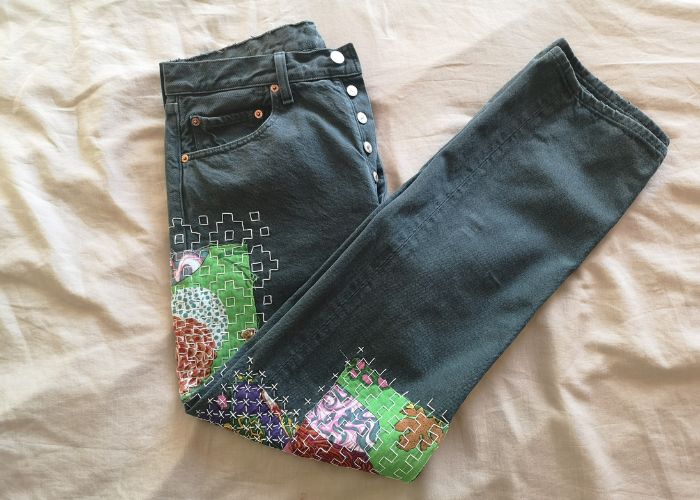
First of all, evaluate the damage. Is your garment torn, stained, or worn out? How big is the area you need to cover?
Then, think about what mending style inspires you. Colorful patches, subtle Sashiko darning, floral embroidery? The art of mending comes in different styles and sizes.
Now, you can look for creative mending ideas and choose your method.
Where to find creative mending ideas?
My Pinterest boards “Embroidery on clothes,” “Embroidery on knitwear,” and “Visible mending, fixing and darning clothes” will give you some ideas.
Some of my favorite mending accounts are: @modernmending, @milli_and_the_bee, @wrenbirdmends, @barnburnermending, and @mindful_mending.
Mending books
- Modern Mending: How to minimize waste and maximize style by Erin Lewis-Fitzgerald
- Mending Matters: Stitch, Patch, and Repair Your Favorite Denim & More by Katrina Rodabaugh
- Visible Mending: A Modern Guide to Darning, Stitching and Patching the Clothes You Love by Arounna Khounnoraj
Choose mending tools and materials
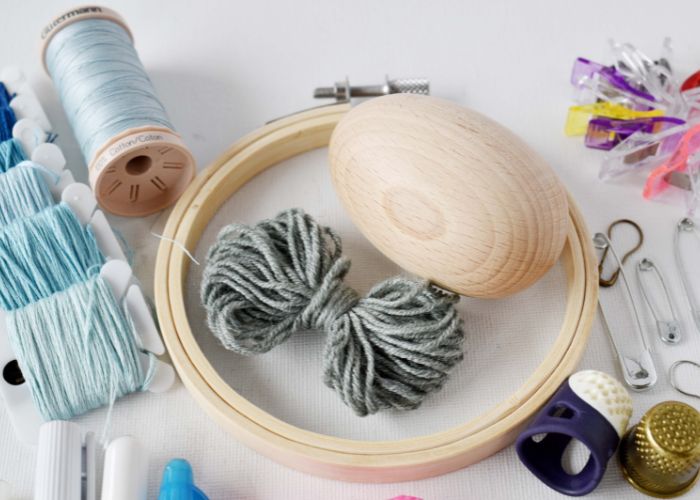
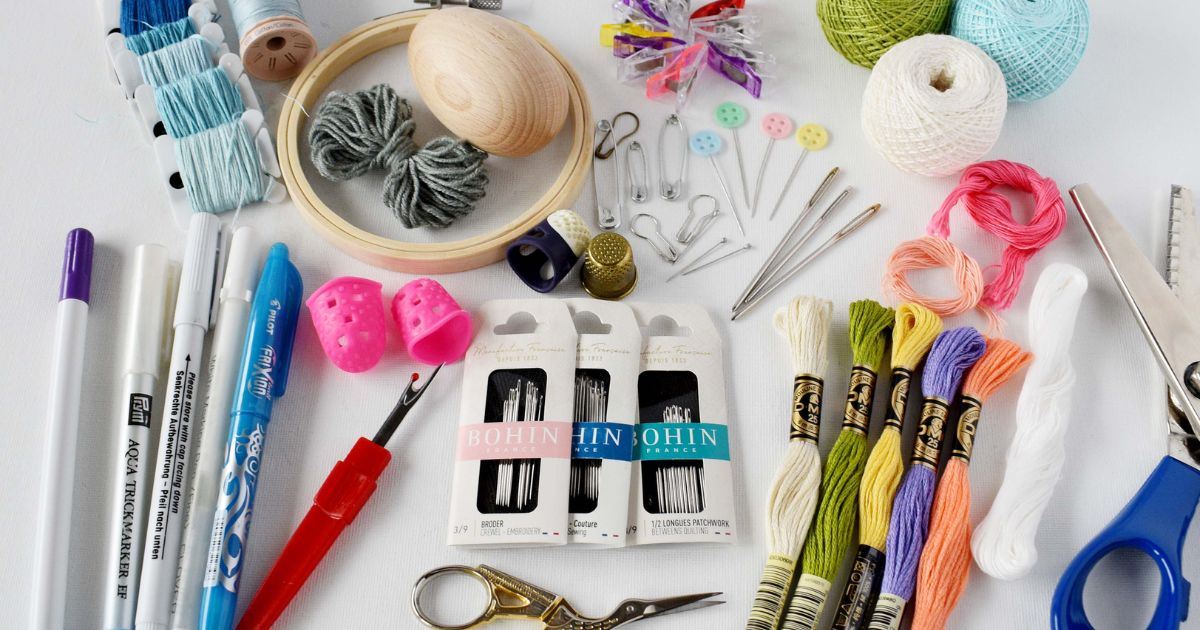
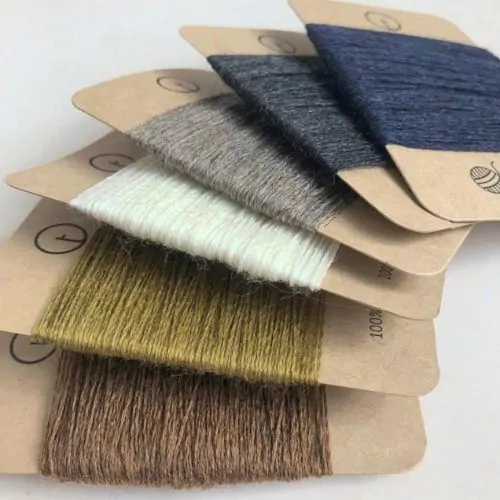
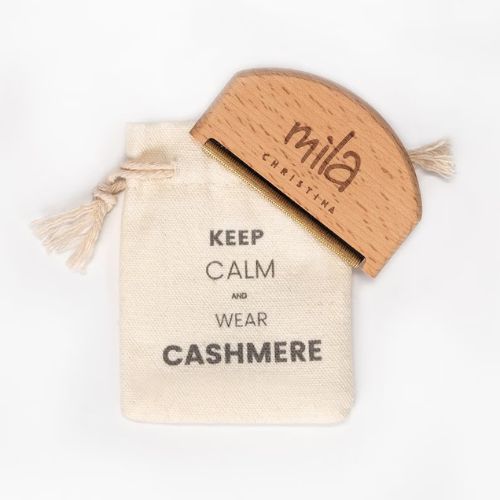
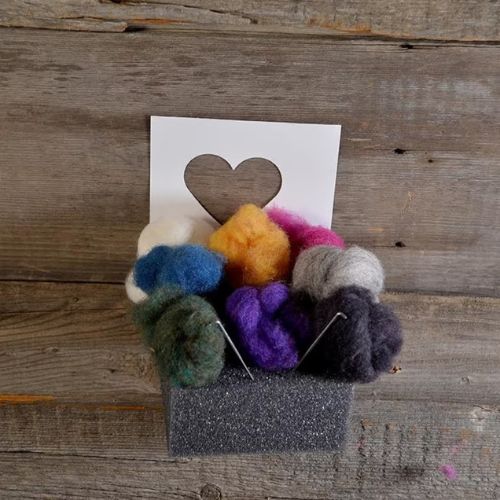
There is a wide variety of tools and materials that you could use for mending. For various mending projects, you will need different equipment. You will need darning needles, wool yarn, or a knitwear brush to fix a wool sweater. Sewing notions and fabric scraps are the materials for patching clothes. For jeans, cotton threads and fabric for patches are used, and so on.
I shortlisted my favorite tools and materials for mending in the list below.
The list got long, but fear not. Remember that you may have some materials at home, so use what you have beforehand. It is the most sustainable choice for eco-friendly mending. So, continue to read more about mending tools and materials.
Disclaimer. To cover the cost of creating free embroidery patterns and video tutorials for this blog, I do sometimes link to products. Please assume these links are affiliate links. If you choose to buy through my links then THANK YOU – it will make it possible for me to keep doing this.
Embroidery hoops
Embroidery hoops will help you keep the fabric’s tension while you patch, embroider, or darn it. It is a tool you will need in many DIY repair clothing projects.
Choose the size of the hoop according to the space you have. For example, you will need a smaller hoop to access the elbow of the shirt.
To learn more about embroidery hoops, read the article “Embroidery hoops. Types, sizes, and how to choose the best hoop for hand embroidery.”
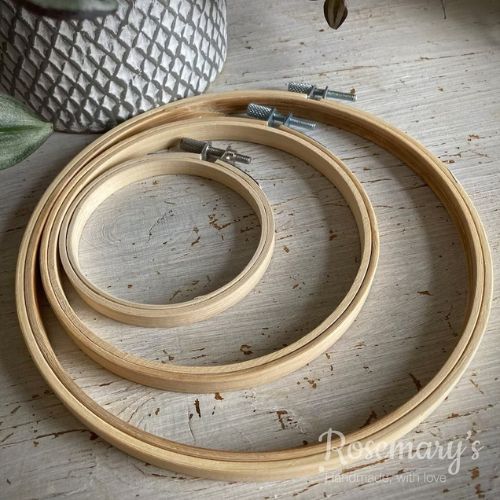
Beechwood embroidery hoops
Beechwood embroidery hoops are a golden standard of wooden embroidery hoops. They are robust and have a smooth surface. There are no splinters that can snag your threads or hurt your fingers. Also, it has solid and durable all-brass hardware for tension regulation with a screw.
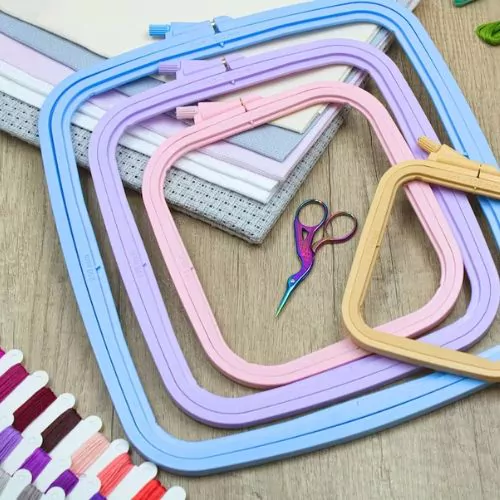
Square plastic embroidery hoops
Square (rectangular) plastic embroidery hoops are perfect for most needlecraft, embroidery & mending needs. The hoops are lightweight and rigid. They make it easy to sew into corners.
A notch in one hoop fits into a groove on the other, keeping the fabric firm when sewing.
Needles
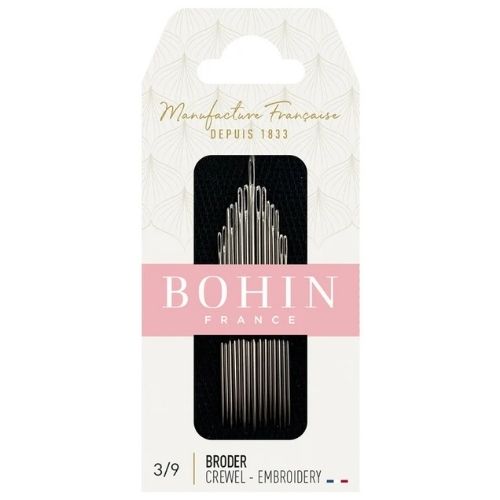
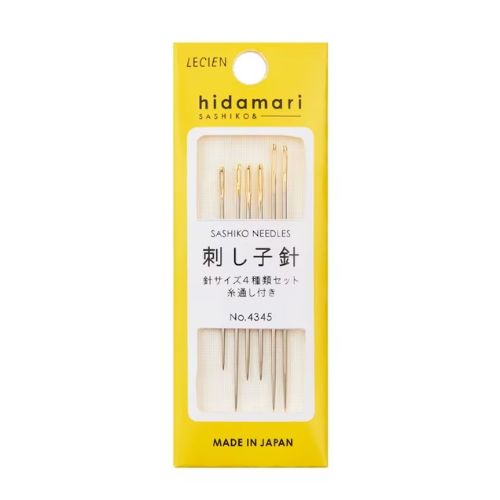
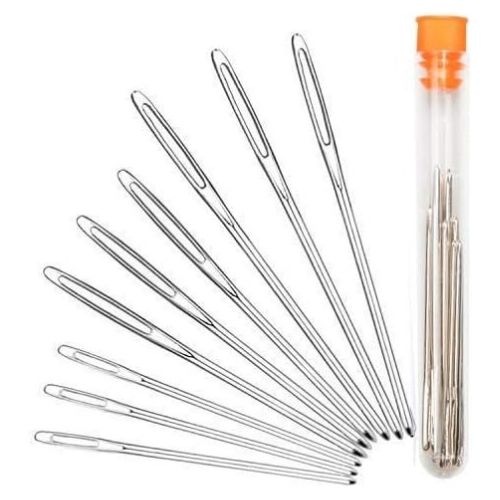
Another significant group of mending tools is the needles. You will need a different type of needle for various tasks. Choosing the right needle will make your hand embroidery, darning, or mending process more pleasant and easy.
I listed the types of needles you might need for mending below. If you want to learn more about needles for hand embroidery, read the article “Hand embroidery needles and all you need to know to choose the right one” on this blog.
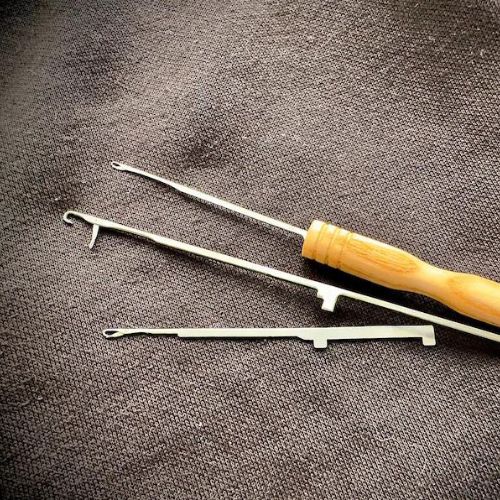
Needles with latch hook eye
These needles, also called Ladder darners, are snap hooks used to repair knitted fabrics, also known as ladders or latch hooks, stocking run menders, and the run mender for any silk stockings.
These needles resemble crochet hooks and are indispensable for mending knitwear and jersey fabrics.
Scissors
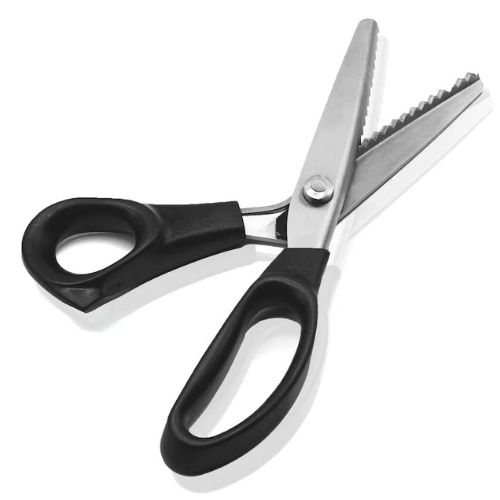
Often, this tool gets the least of our attention, but the scissors may significantly impact the smooth mending process.
I listed the types of scissors you will need for mending below. I recommend reading the article “Scissors for Hand Embroidery” on this blog to learn more about this sharp tool.
Darning tools
This group of tools is designed to help you speed up the darning process. You can frame the fabric in a hoop and embroider the Weave stitch over the hole, but it’s not always an option.
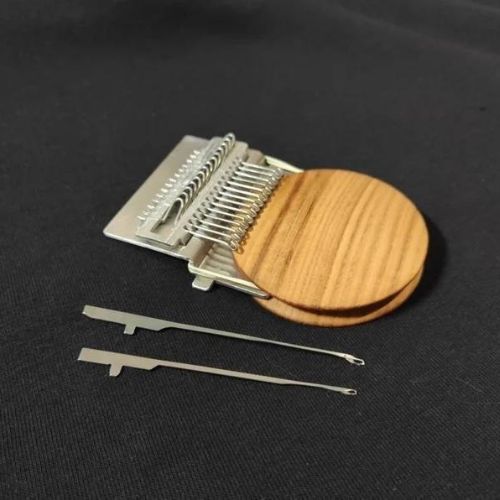
Weave loom (aka darning loom)
This mending device is made from a wooden disc and a metallic part with hooks. It speeds up the weaving process and helps you create original woven patches on your clothes to cover up the holes or stains. Besides that, you can apply the woven patches on the narrow pieces like the sleeves.
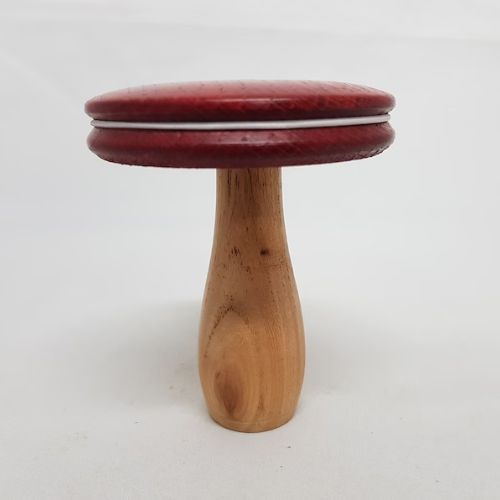
Darning mushroom
A darning mushroom is a classical tool for mending knitwear. I remember that both my grandmothers had one, and my mom is still using the one that my grandma had. I considered it a toy as a child, but it is a handy tool.
This simple device allows you to keep the tension of the fabric while you are mending it. It works great on narrow spaces like elbows and will enable you to repair curved surfaces like the heels of the socks.
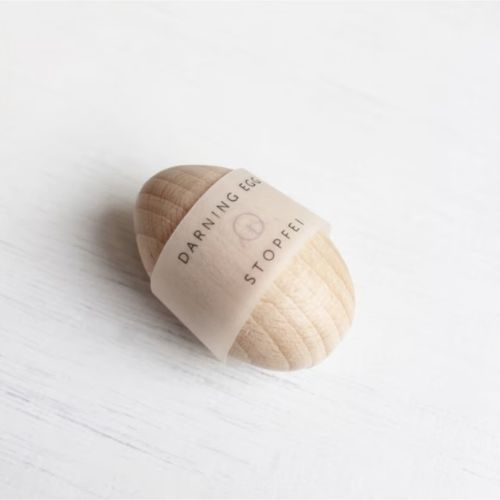
Darning Egg
A darning egg is a cousin of the darning mushroom. It is an egg-shaped mending tool made of stone, porcelain, wood, or similar hard materials. The egg is inserted into the toe or heel of the sock to hold it in the proper shape and provide a foundation for repairs. This tool is smaller than the mushroom and has surfaces with different curve levels for different needs.
Pins, Safety pins
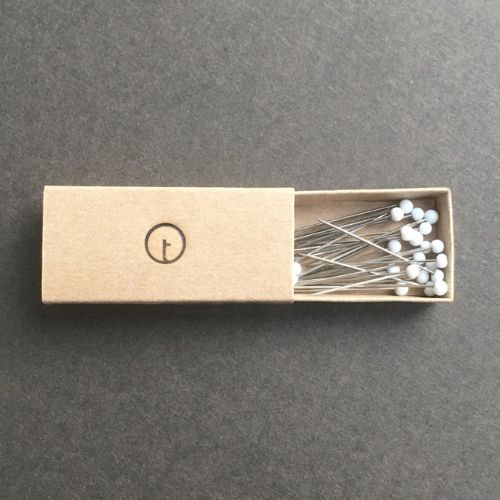
This group of mending supplies is handy for sewing, repairing, upcycling textiles, and patching projects. These tools keep two pieces of fabric together while we apply the stitches.
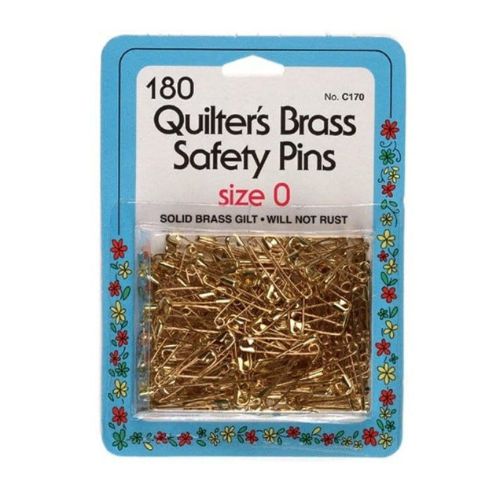
Safety pins
Sometimes, sewing pins are not an excellent option to keep the fabric in place while you stitch. To avoid basting the patches to the garment, pin them with safety pins and start sewing immediately. Your fingers will thank you for saving them from stabbing with sharp pins.
Sewing clips
Sewing clips are a classical notion for sewing with the sewing machine. But I use them a lot in my mending project, too. They are great for temporarily securing the folds and edges of the fabrics while you work on them. Like safety pins, they will save your fingers from stabbing with the pins and let you skip the basting part.
Thimbles
One more group of the underestimated tools – the thimbles. I’m sure your grandma had one. Mine had more than one, and I greatly liked playing with them.
Over time, I gathered a collection of thimbles too.
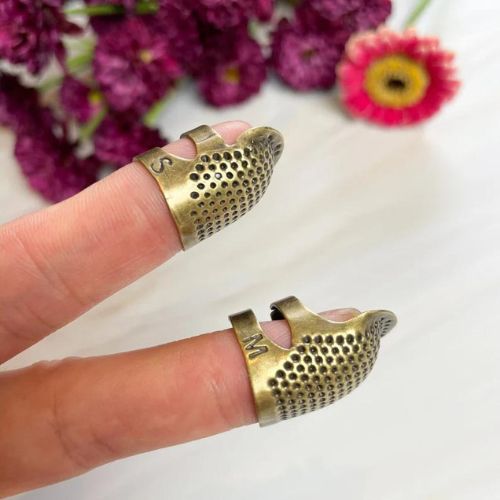
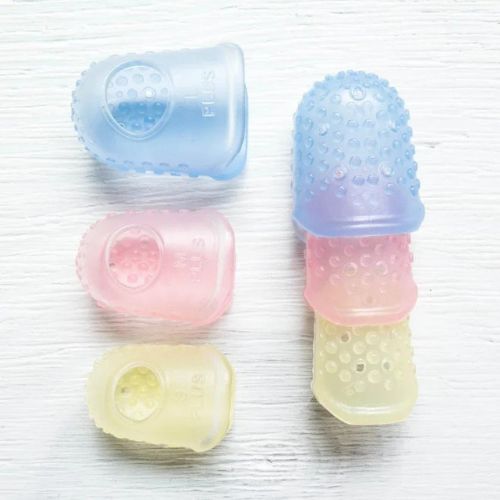
The list of thimbles I recommend for anyone sewing, mending, darning, or creating with fibers:
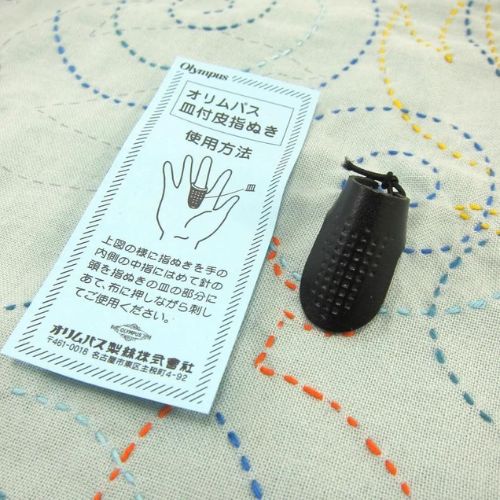
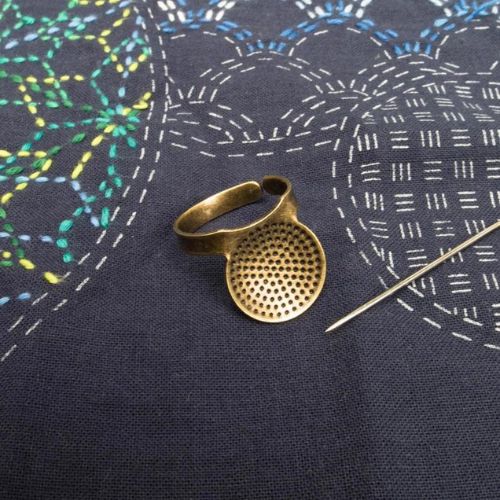
Leather palm thimble
If you do a lot of darning and Sashiko embroidery, opt for the palm thimble. Leather sashiko thimbles are traditionally worn low on the middle finger and over the palm of your hand to help push the long sashiko needles through the fabric. The elastic cord makes the thimble adjustable to just about any finger size for comfortable wear.
Fabric marking tools
In the thick of embroidery for repair or darning, you will need to transfer the pattern to the fabric or mark the area for mending. Listed below are some fabric marking tools that I recommend to have.
You can read more about the pattern-transferring tools in these articles:
Fabric marker
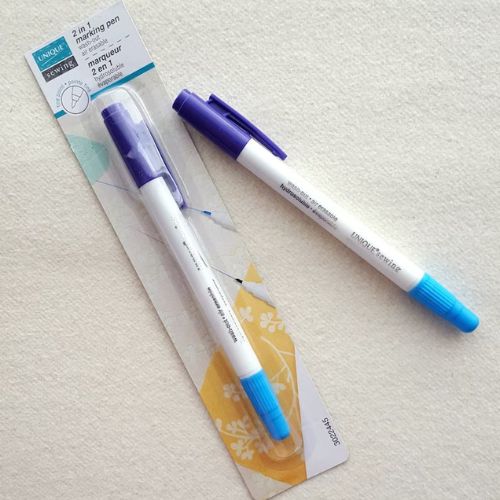
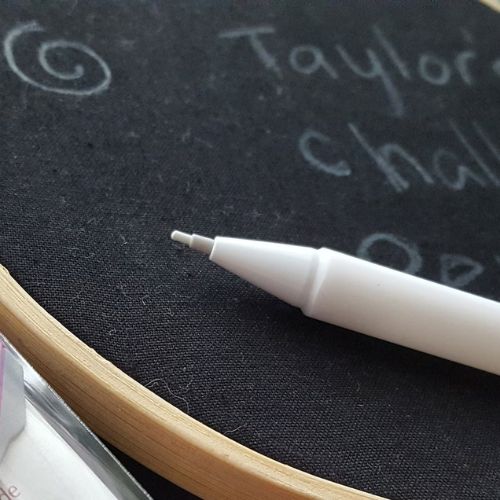
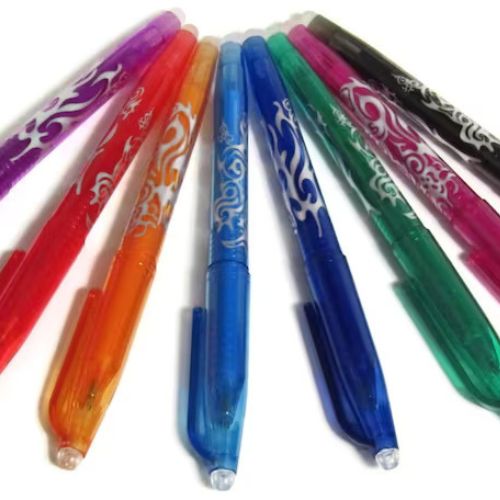
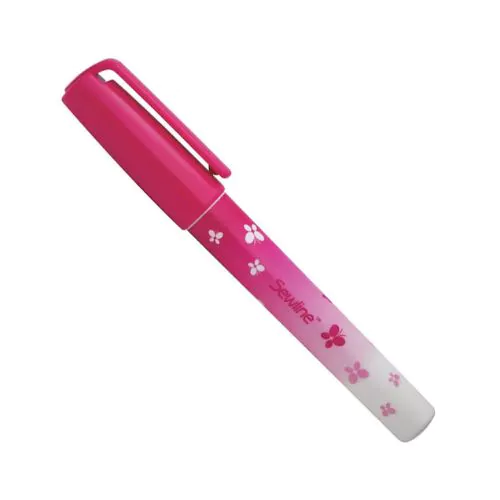
Fabric markers are a must-have item in the mending toolbox. Every clothing repair guide will suggest you get one. A water-soluble marker and disappearing pen 2in1 is an excellent solution. One part of the marker will leave washable marks. The other – will create temporary marks that will disappear in a couple of hours.
Glue
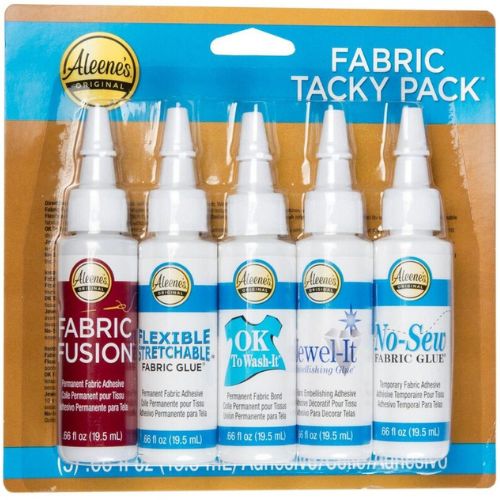
Like it or not, some repairs require some glue. The glue is convenient for mending leather accessories, shoes, or outdoor wear.
Permanent Fabric Glue
This glue set for fabrics and crafts will satisfy any need. Each bottle contains a different adhesive for versatile use in your crafting projects, and each one boasts a tapered tip for easy, accurate application right where you want it. Use this fabric glue to secure materials together, decorate clothing, and temporarily repair hems and edges.
Stabilizers
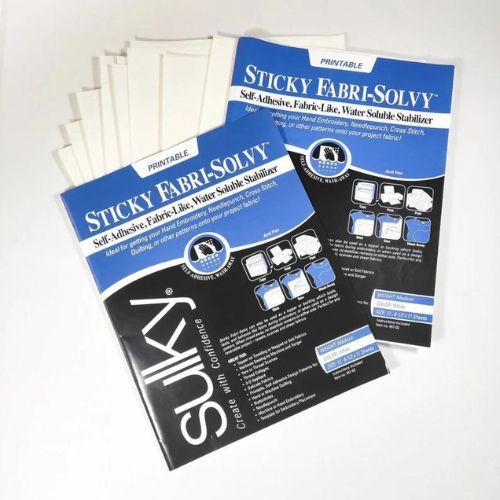
Another crucial group of mending materials is stabilizers. Some will help with pattern transfers. Others – will eliminate basting from the patching process.
If you care to learn more about water-soluble stabilizers for embroidery – read “The Ultimate Guide to Water-Soluble Stabilizers for Hand Embroidery” on this blog.
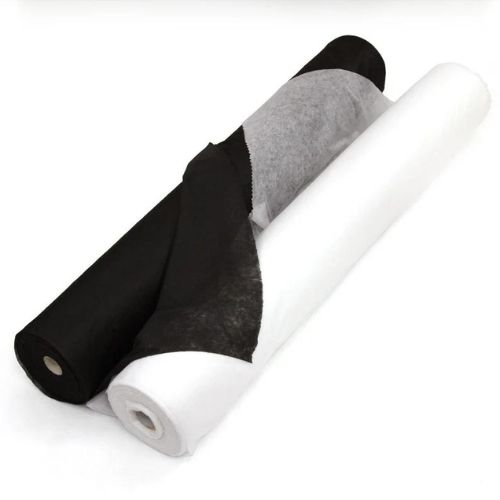
Fusible interlacing fabric
This material, widely used by sewists, is convenient for holding two pieces of fabric together while you darn them. I use this fusible fabric for mending tears in the jeans. Apply fusible interlacing material on the back side of the garment and apply darning stitches above. The mending will be almost invisible if you use a sewing machine and a matching color thread.
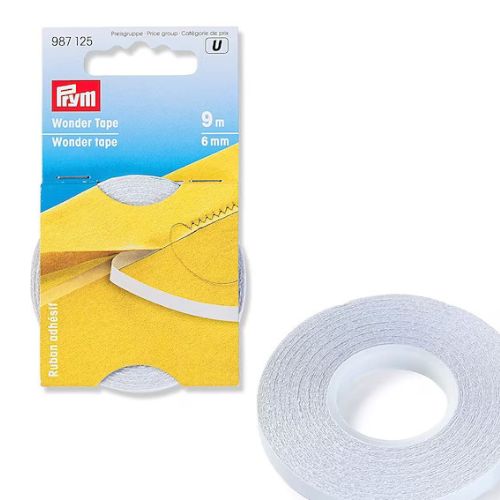
Double Sided Dissolvable Stay Tape
Prym Wonder Tape is a water-soluble double-sided tape and is a practical alternative to pins. Use it instead of hand basting to keep the area you wish to sew flat. It works well when installing zippers, especially on fleece or Jersey fabrics.
Threads
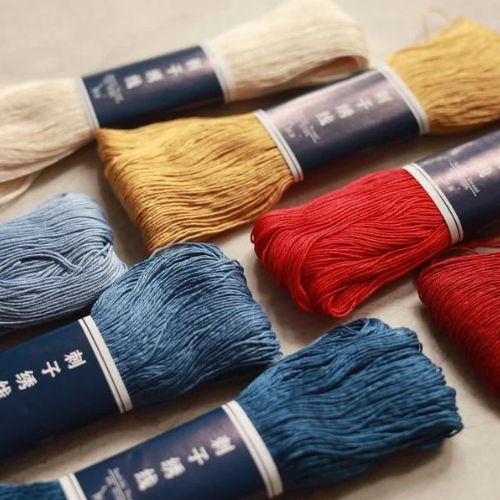
No mending would be possible without the threads. What threads to choose for your mending project will depend on various factors.
- What is the garment you want to fix?
- What materials is it made from?
- What is your creative idea?
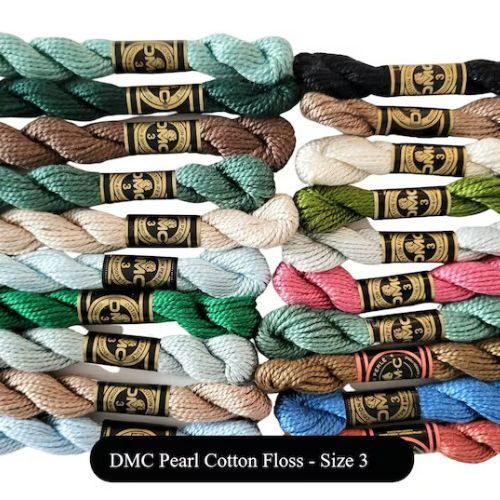
Below, I shortlisted only a few threads mainly used for fabric repairs and upcycling textiles.
To learn more about hand embroidery threads, read this article – “Embroidery floss and threads. An in-depth guide to hand embroidery threads, floss, and other types of yarn you can use to embroider.”
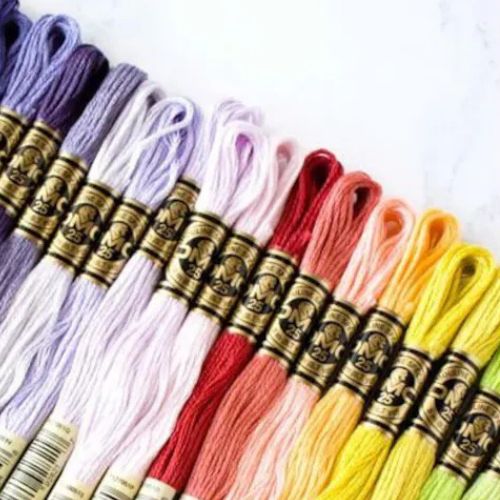
Embroidery floss
My favorite embroidery floss is produced by DMC. It comes in five hundred colors and will surely satisfy your creative needs. Besides that, embroidery floss is made from six threads, so you can choose how many threads to use to reach any thickness of the stitches.
DMC embroidery floss is 100% cotton, perfect for all cotton clothes. The colors do not bleed, and the floss is machine-washable.
Depillers
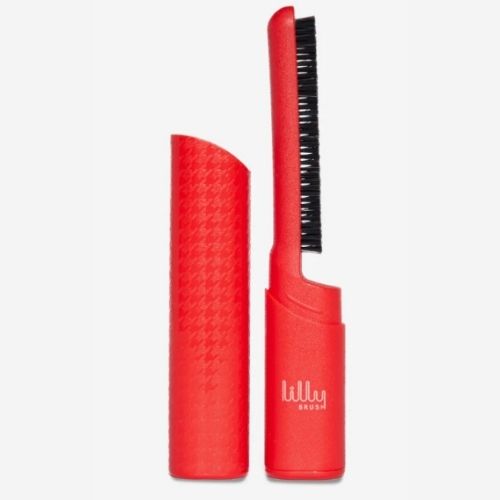
Sometimes, our knitwear and jumpers look like a hot mess, not because they are torn or have holes, but because of the pill that has formed from wearing them. Several tools can help de-pill these messy sweaters.
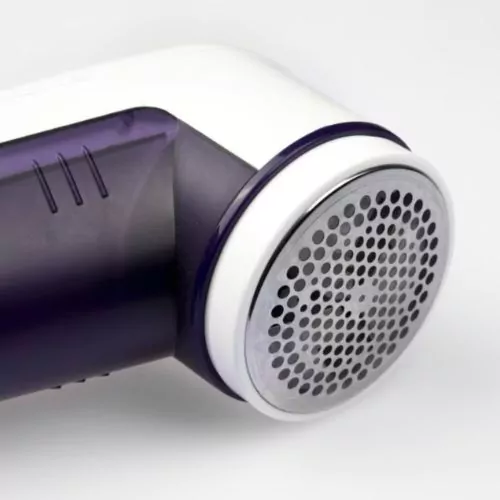
Electric lint shaver
One of the methods you can use to revive your knitwear is to use a lint shaver. It leaves woolen clothing looking like new in the twinkling of an eye. Behind the shaving head with holes, a shear device with sharp blades rotates. When you pass this over the material, applying slight pressure, it shaves the protruding lint and little knots off and collects them in its collection cup.
Other materials for mending clothes
Besides the tools mentioned above, some other tools and materials could be helpful for your next project.
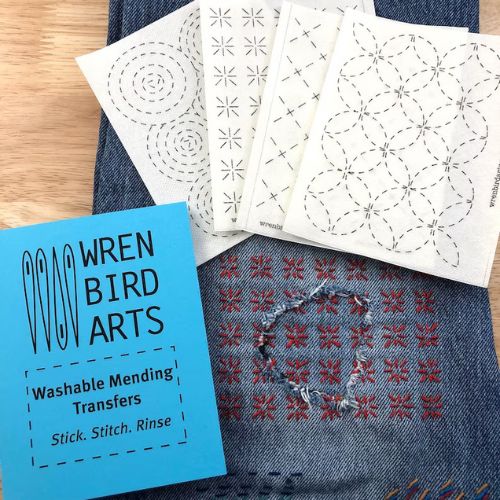
Washable Mending Transfers
If you have no time to draw the designs to the fabric, grab washable mending transfers already printed with the patterns. Simply stick the transfer to the area to be mended, stitch the pattern, and then rinse off the sticker, and reveal your precise stitched design.
Frequently asked questions about mending tools and materials and repairing clothes
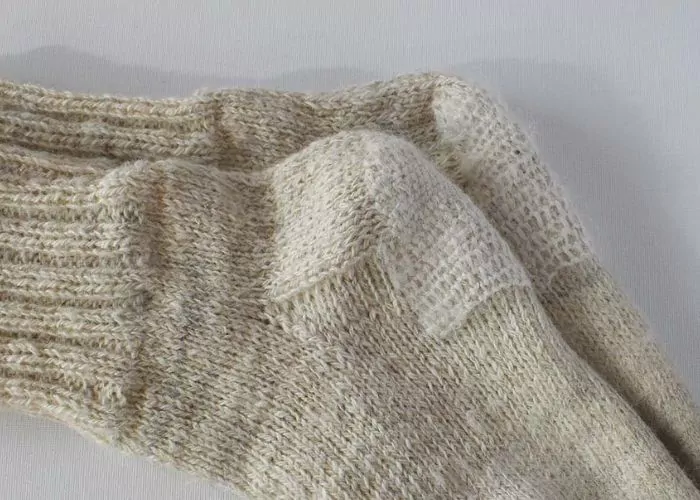
What is mending?
Mending clothing is repairing defects that have developed from being well-worn. These include tears, holes, consumed, thin or worn-out fabric, missing buttons, or permanent stains. Mending clothes can be visible or invisible.
To learn more about mending, read the article “Embroidery Mending Basics: Beginner’s Guide to Sustainable Wardrobe“.
What thread should I use for mending jeans?
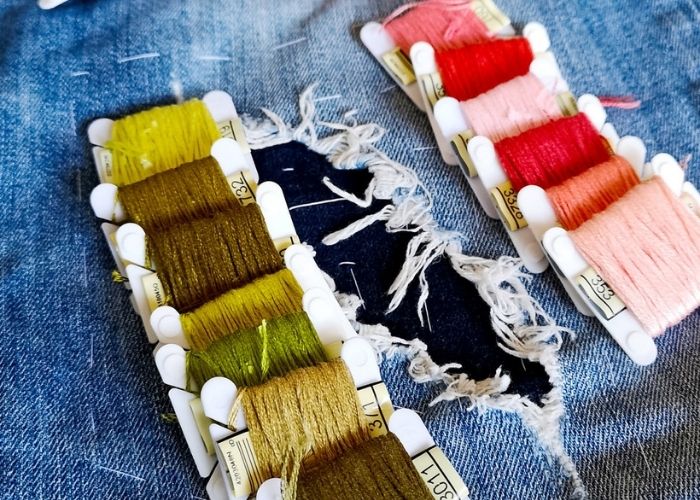
Use 100% cotton thread. The jeans are cotton, so the matching fiber threads fit the best. You can choose from sashiko thread, pearl cotton, embroidery floss, quilting thread, or any cotton threads you have.
In my mending jeans by hand project, I used DMC embroidery floss.
What is the difference between mending and darning?
Darning is just one of the mending techniques, like patching, sewing, or seam repair.
What are the methods of mending?
The mending methods include darning, patching, sewing, fusing, gluing, applique, and embroidery.
What are the best stitches for mending?
The most common stitches for mending are Backstitch, Running stitch, Darning stitch, Blanket stitch, and Duplicate stitch. You can learn more about the best stitches for mending in the article “Hand Embroidery Stitches For Mending. Best Embroidery Stitches To Learn For Mending, Darning, And Adjusting Your Clothes“.
What will you mend first?
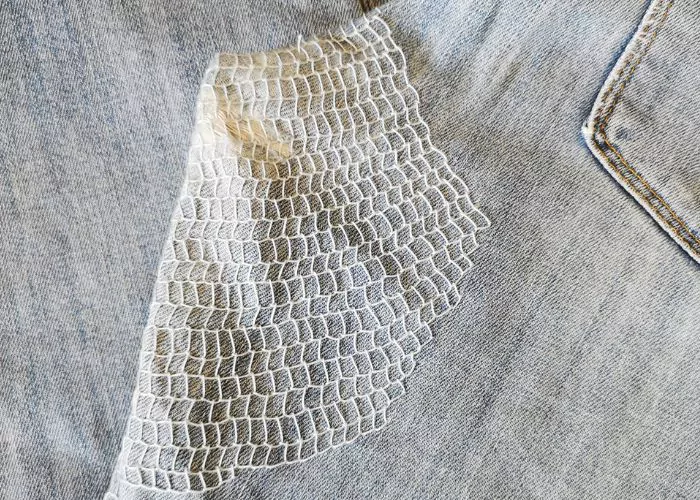
Do you have a garment you love and wear a lot, but you can’t wear it anymore because of some kind of damage? Try to mend it!
Grab mending tools and materials suited for the project, learn basic mending skills and stitches, and give your clothes another chance to serve you.
Don’t miss a thing!
Follow me on YouTube, Instagram, Facebook, Flipboard, Telegram and Pinterest. On the other hand, you can subscribe to the Practical Embroidery newsletter and get embroidery tips straight to your inbox every week!

