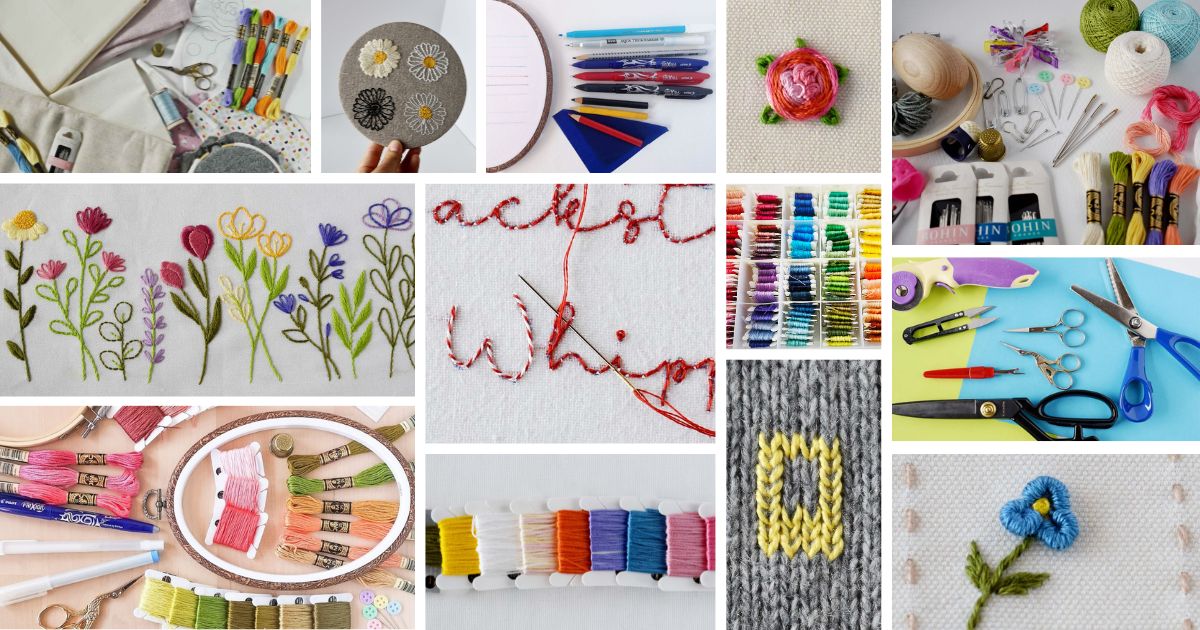
Hand Embroidery Basics: A Beginner’s Guide to Needlework
Hand embroidery is not just a craft, it’s a world of endless possibilities. With just a needle, thread, and fabric, you can transform simple textiles into stunning works of art, decorate your household, or embellish your clothing. The versatility of hand embroidery is what makes it so exciting-you can create anything from intricate floral designs to bold geometric patterns, all with your own unique touch.
This practical guide to hand embroidery basics will equip you with everything you need to know to start, from selecting materials to mastering essential stitches.
Why Hand Embroidery?
Embroidery is more than just a hobby; it’s a form of artistic expression. Hand embroidery has many benefits – it allows you to create personalized gifts, decorate your home, and even upcycle old clothing. But beyond that, it’s a therapeutic escape. The meditative process of stitching can provide a soothing and calming break from the hustle and bustle of daily life, inviting you to a world of tranquility and creativity.
Hand Embroidery Basics: Essential Materials
Disclaimer: To cover the cost of creating free embroidery patterns and video tutorials for this blog, I do sometimes link to products. Please assume these links are affiliate links. If you choose to buy through my links then THANK YOU – it will make it possible for me to keep doing this.
Before you begin, you’ll need to gather a few basic supplies. Here’s a list of essential materials for hand embroidery:
Fabric
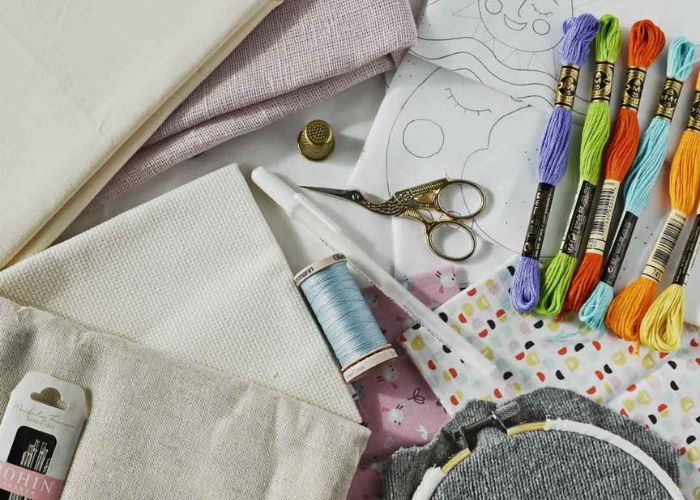
Choosing a suitable fabric is crucial. Beginners often start with cotton, linen, or their blends, as they are easy to work with. These fabrics have a tight weave that supports the stitches well. Later, you might explore silk, velvet, or canvas for more advanced projects.
Embroidery Hoops
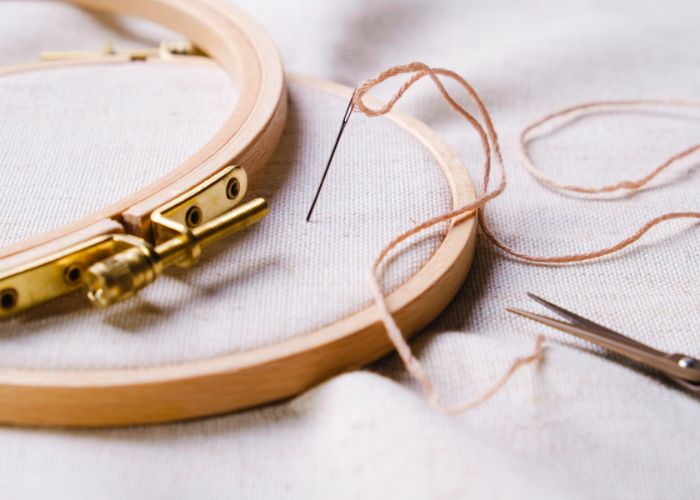
An embroidery hoop keeps your fabric taut while you work. Embroidery hoops vary in size, typically 4 to 12 inches (10-30 cm) in diameter. The most common hoops are wooden and plastic, and each offers different benefits. Wooden hoops provide a traditional feel, while plastic hoops often have a tighter grip.
Needles
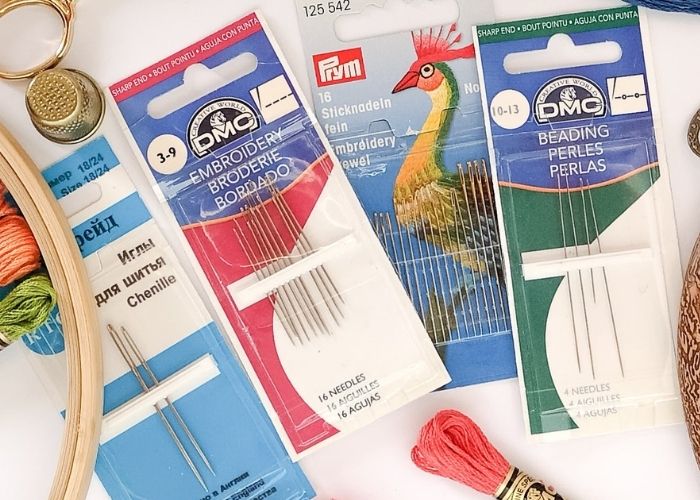
Hand embroidery needles come in different sizes and types. For surface embroidery, choose Crewel (aka Embroidery) needles labeled between sizes 3 and 9. For all 6 strands of embroidery floss, I recommend using needle size 5, 3-4 strands—No. 7, 2-3 strands—No. 8, and a single strand—No. 9.
Tapestry needles, with their blunt tips, are helpful for whipping stitches.
Threads
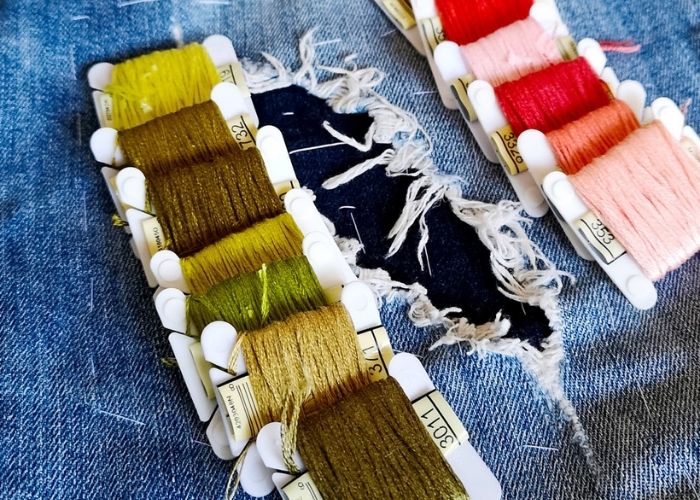
Embroidery threads come in various materials, including cotton, silk, and metallic. DMC and Anchor are popular brands for cotton embroidery floss and are known for their wide range of colors. Each skein of floss can be separated into six individual strands, allowing you to customize the thickness of your stitches.
You do not need a lot of threads and floss colors to start embroidering. Just organize your embroidery floss well and keep them from tangling.
Scissors
A small pair of sharp embroidery scissors is essential for snipping threads precisely. Look for scissors with pointed tips for easy maneuvering around tight stitches.
Patterns and Transfer Tools
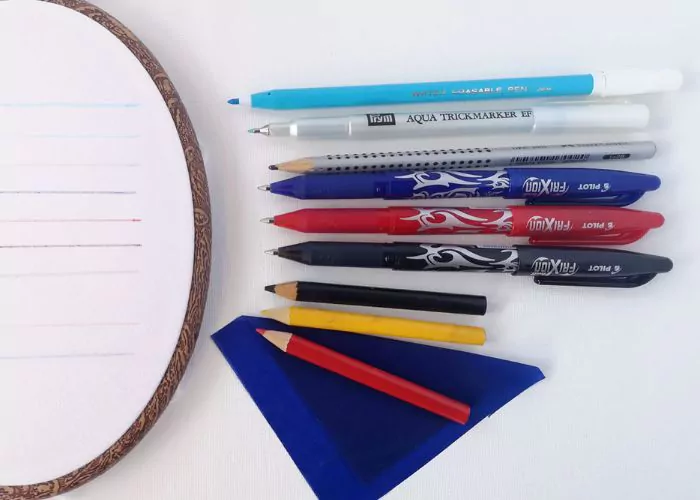
You can use water-soluble pens, friction pens, carbon paper, iron-on transfers, or stick-and-peal water-soluble stabilizers to transfer patterns onto your fabric. Many beginners start with embroidery kits that provide pre-printed patterns to practice their stitches.
Basic pattern transfer techniques are the lightbox method, tissue paper method, tracing, and using carbon paper or a water-soluble stabilizer.
Hand Embroidery Basics: Embroidery Stitches
Mastering a few basic stitches will provide a solid foundation for your embroidery projects. Below, I listed some essential hand embroidery stitches to get you started. Read through the Stitch Library A-Z for more stitches, and choose the stitch you wish to learn.
To learn basic stitches faster, download a Free e-book “Five essential hand embroidery stitches for beginners” and start learning to stitch today.
Running Stitch
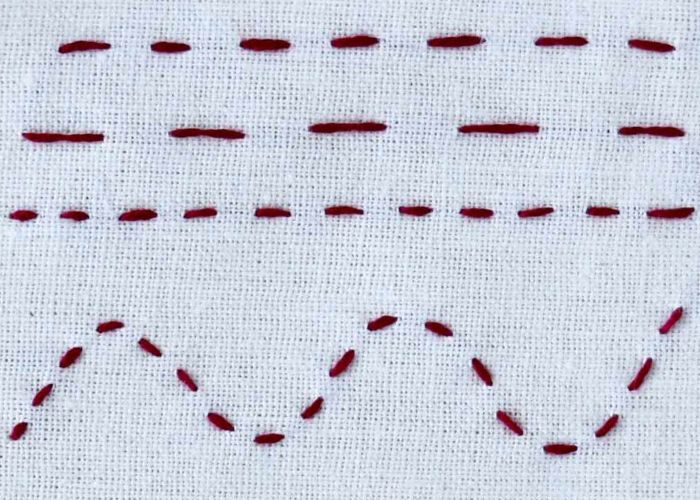
The Running Stitch is the most simple. It is used to outline shapes or create dashed lines. Simply weave the needle in and out of the fabric, creating evenly spaced stitches.
Backstitch
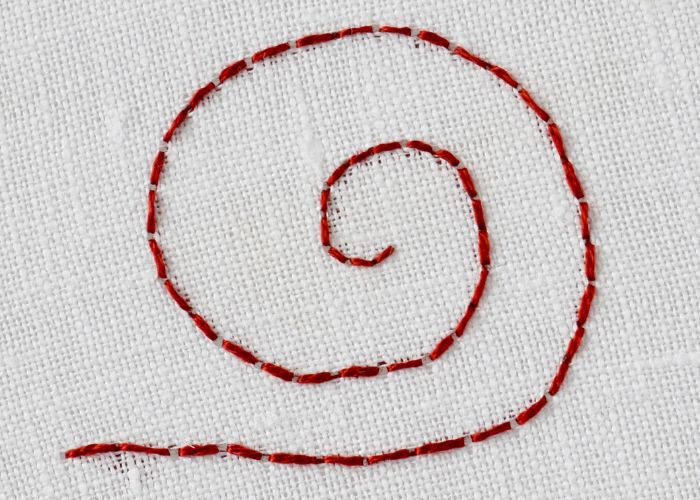
The Backstitch is perfect for outlining and detailing. Start by making a single stitch, then bring the needle up a short distance away and insert it back at the end of the previous stitch.
Satin Stitch
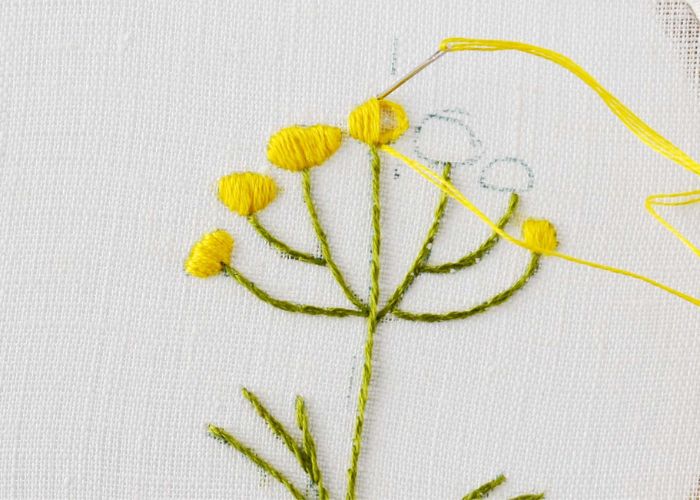
The Satin Stitch is an embroidery technique used to fill in shapes with solid color. Work closely spaced parallel stitches across the shape, ensuring they lie flat and smooth.
French Knot
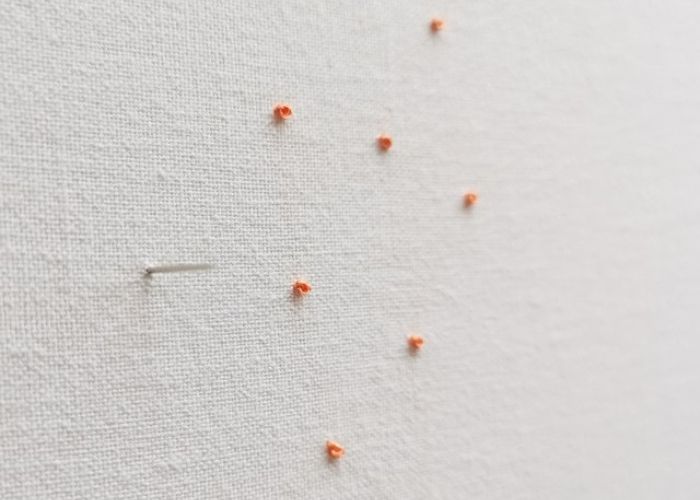
The French Knot adds texture and dimension. Wrap the thread around the needle two or three times, then insert the needle back into the fabric close to where it emerged, pulling the thread tight.
Chain Stitch
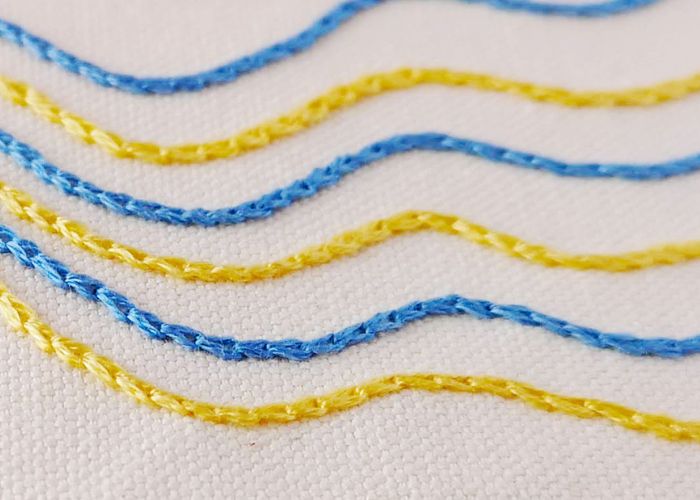
The Chain Stitch creates a series of looped stitches resembling a chain. Bring the needle up through the fabric, make a loop with the thread, then insert the needle back into the starting point and come up a short distance away, catching the loop with the needle.
Hand Embroidery Basics: First Embroidery Project
Now that you have your materials and know some basic stitches, it’s time to start your first project. Follow these steps to create a simple embroidered design.
Choose a Pattern
Select a beginner-friendly pattern, such as a floral design or a simple geometric shape. You can opt for one of Shop Embroidery Patterns, choose from Free PDF patterns on this blog, or purchase embroidery books with patterns for inspiration. Besides that, Pinterest and Etsy are fantastic places to search for hand embroidery patterns.
Transfer the Pattern
Transfer the pattern onto your fabric using your preferred method. Watch this “How to transfer embroidery patterns to fabric” short video tutorial to learn various methods for pattern transfer.
Secure the Fabric
Position your fabric in the hoop, ensuring it is taut but not stretched. Tighten the screw to secure the fabric in place.
Start Stitching
In the article “How to start and end embroidery stitches,” you will learn different methods for starting and securing the thread in hand embroidery. Choose your favorite method and follow the instructions of your chosen pattern.
Finish Your Project
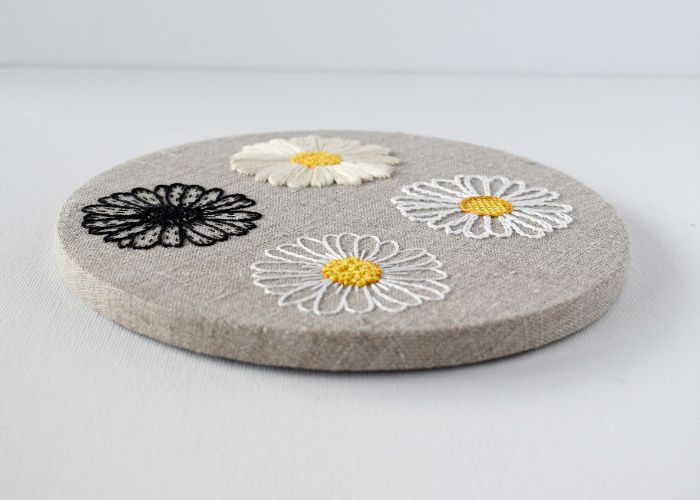
Once you’ve completed your stitching, remove the fabric from the hoop and clean tracing marks. Wash and iron the embroidery.
You can frame your finished embroidery in a hoop, use it to make decorated objects like zipper pouches and tote bags, or use it as pieces for quilts.
Tips and Tricks for Successful Embroidery
Embroidery is a skill that improves with practice. Here are some tips and tricks to help you along the way:
Keep Your Tension Even
Maintaining consistent tension is critical to achieving neat stitches. Avoid pulling the thread too tight, as this can cause the fabric to pucker. Conversely, leaving the thread too loose can result in uneven stitches.
Practice Regularly
Embroidery, like any craft, requires dedication and practice. The more you practice, the more your skills will improve. Set aside time each week to work on your projects and experiment with new stitches and techniques. Remember, every stitch is a step towards mastering this beautiful craft, so keep at it and watch your skills grow.
Explore Different Threads and Fabrics
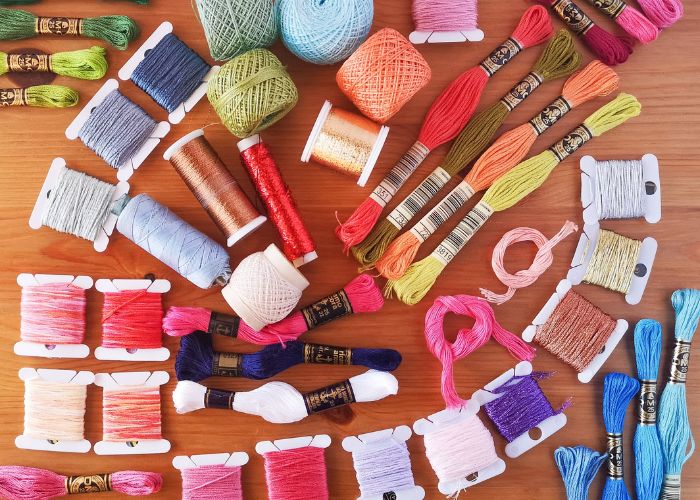
Feel free to experiment with different threads and fabrics. Metallic threads can add sparkle to your designs, while wool threads provide a textured, rustic look. Similarly, trying different fabrics can open up new possibilities for your projects.
Join an Embroidery Community
Connecting with other embroiderers can provide inspiration and support. Join online forums and Facebook groups, attend local workshops, or follow embroidery artists on social media to stay motivated and learn from others.
Over to you
Hand embroidery is a delightful and fulfilling craft that offers endless creative possibilities. By mastering hand embroidery basics, gathering suitable materials, and practicing regularly, you’ll be ready to create beautiful embroidered pieces. Remember, embroidery is as much about the process as the finished product. Enjoy the meditative rhythm of stitching and let your creativity flourish. Whether you’re embellishing clothing, creating home decor, or crafting personalized gifts, the skills you develop will serve you well in countless future projects.
So, gather your supplies, choose a simple pattern, and start stitching. The world of hand embroidery awaits you!
Some projects to start with
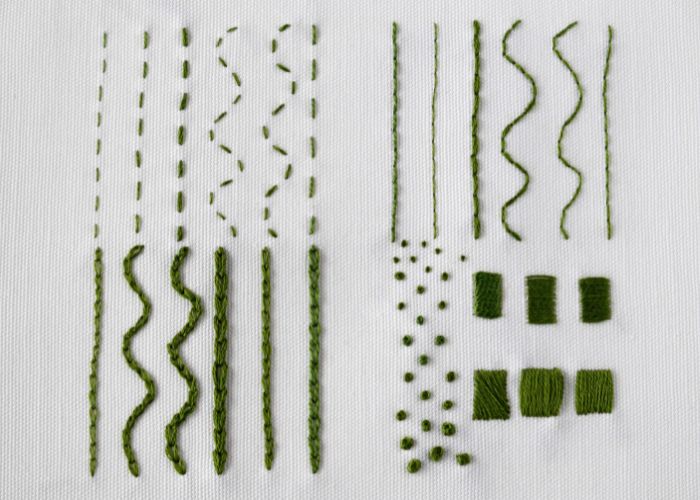
Free e-book Five Essential Hand Embroidery Stitches For Beginners
This detailed hand embroidery guide with step-by-step photo instructions will help you make your first stitches. This way, you will be ready to stitch more complex and fun projects in the future.
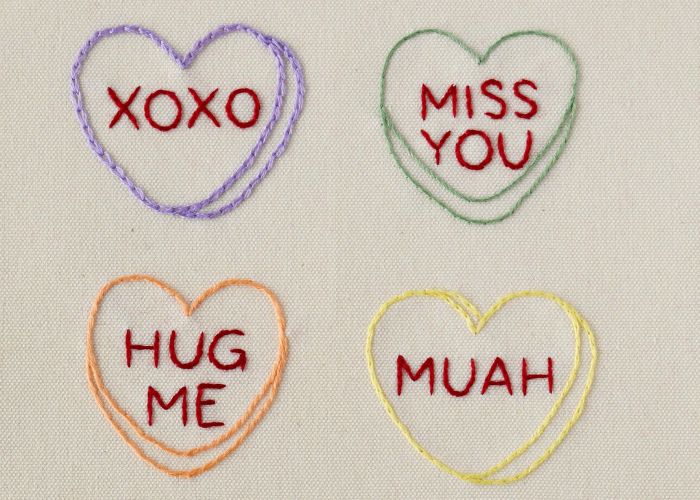
Sweet Stitches: Download Your Free Candy Heart Embroidery Pattern Today!
This project features four simple outline stitches and a free PDF pattern download.
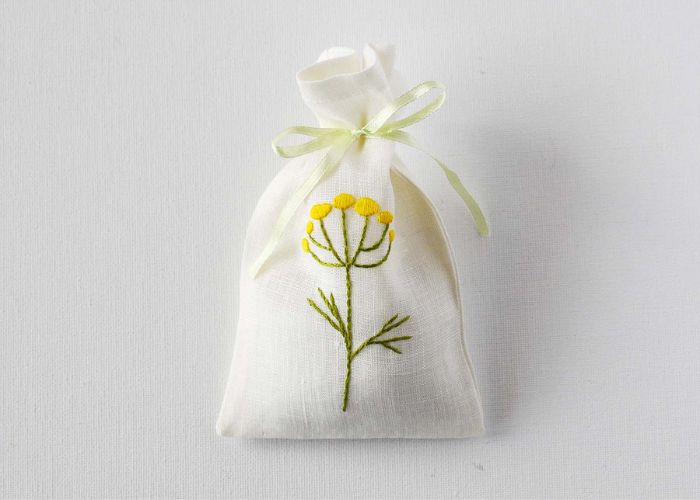
Scented sachets with a floral embroidery DIY tutorial.
This step-by-step DIY guide offers a free PDF pattern download and teaches how to embroider simple satin stitch and stem stitch flowers.
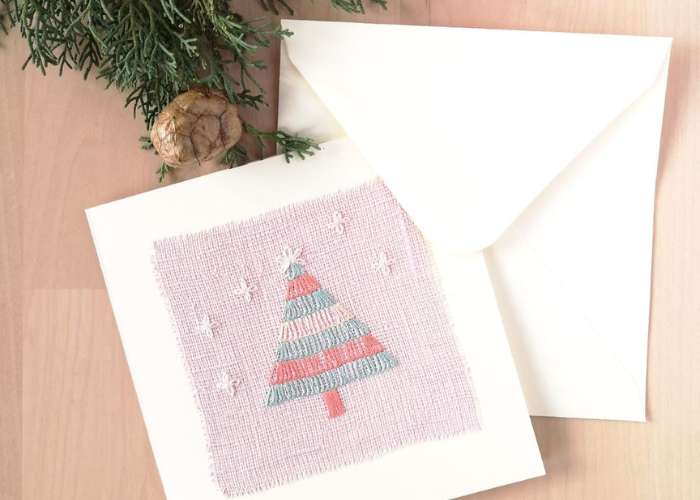
Inside this project, you will find a free PDF pattern download and detailed embroidery and card-making instructions.
Don’t miss a thing!
Follow me on YouTube, Instagram, Facebook, Flipboard, Telegram and Pinterest. On the other hand, you can subscribe to the Practical Embroidery newsletter and get embroidery tips straight to your inbox every week!

